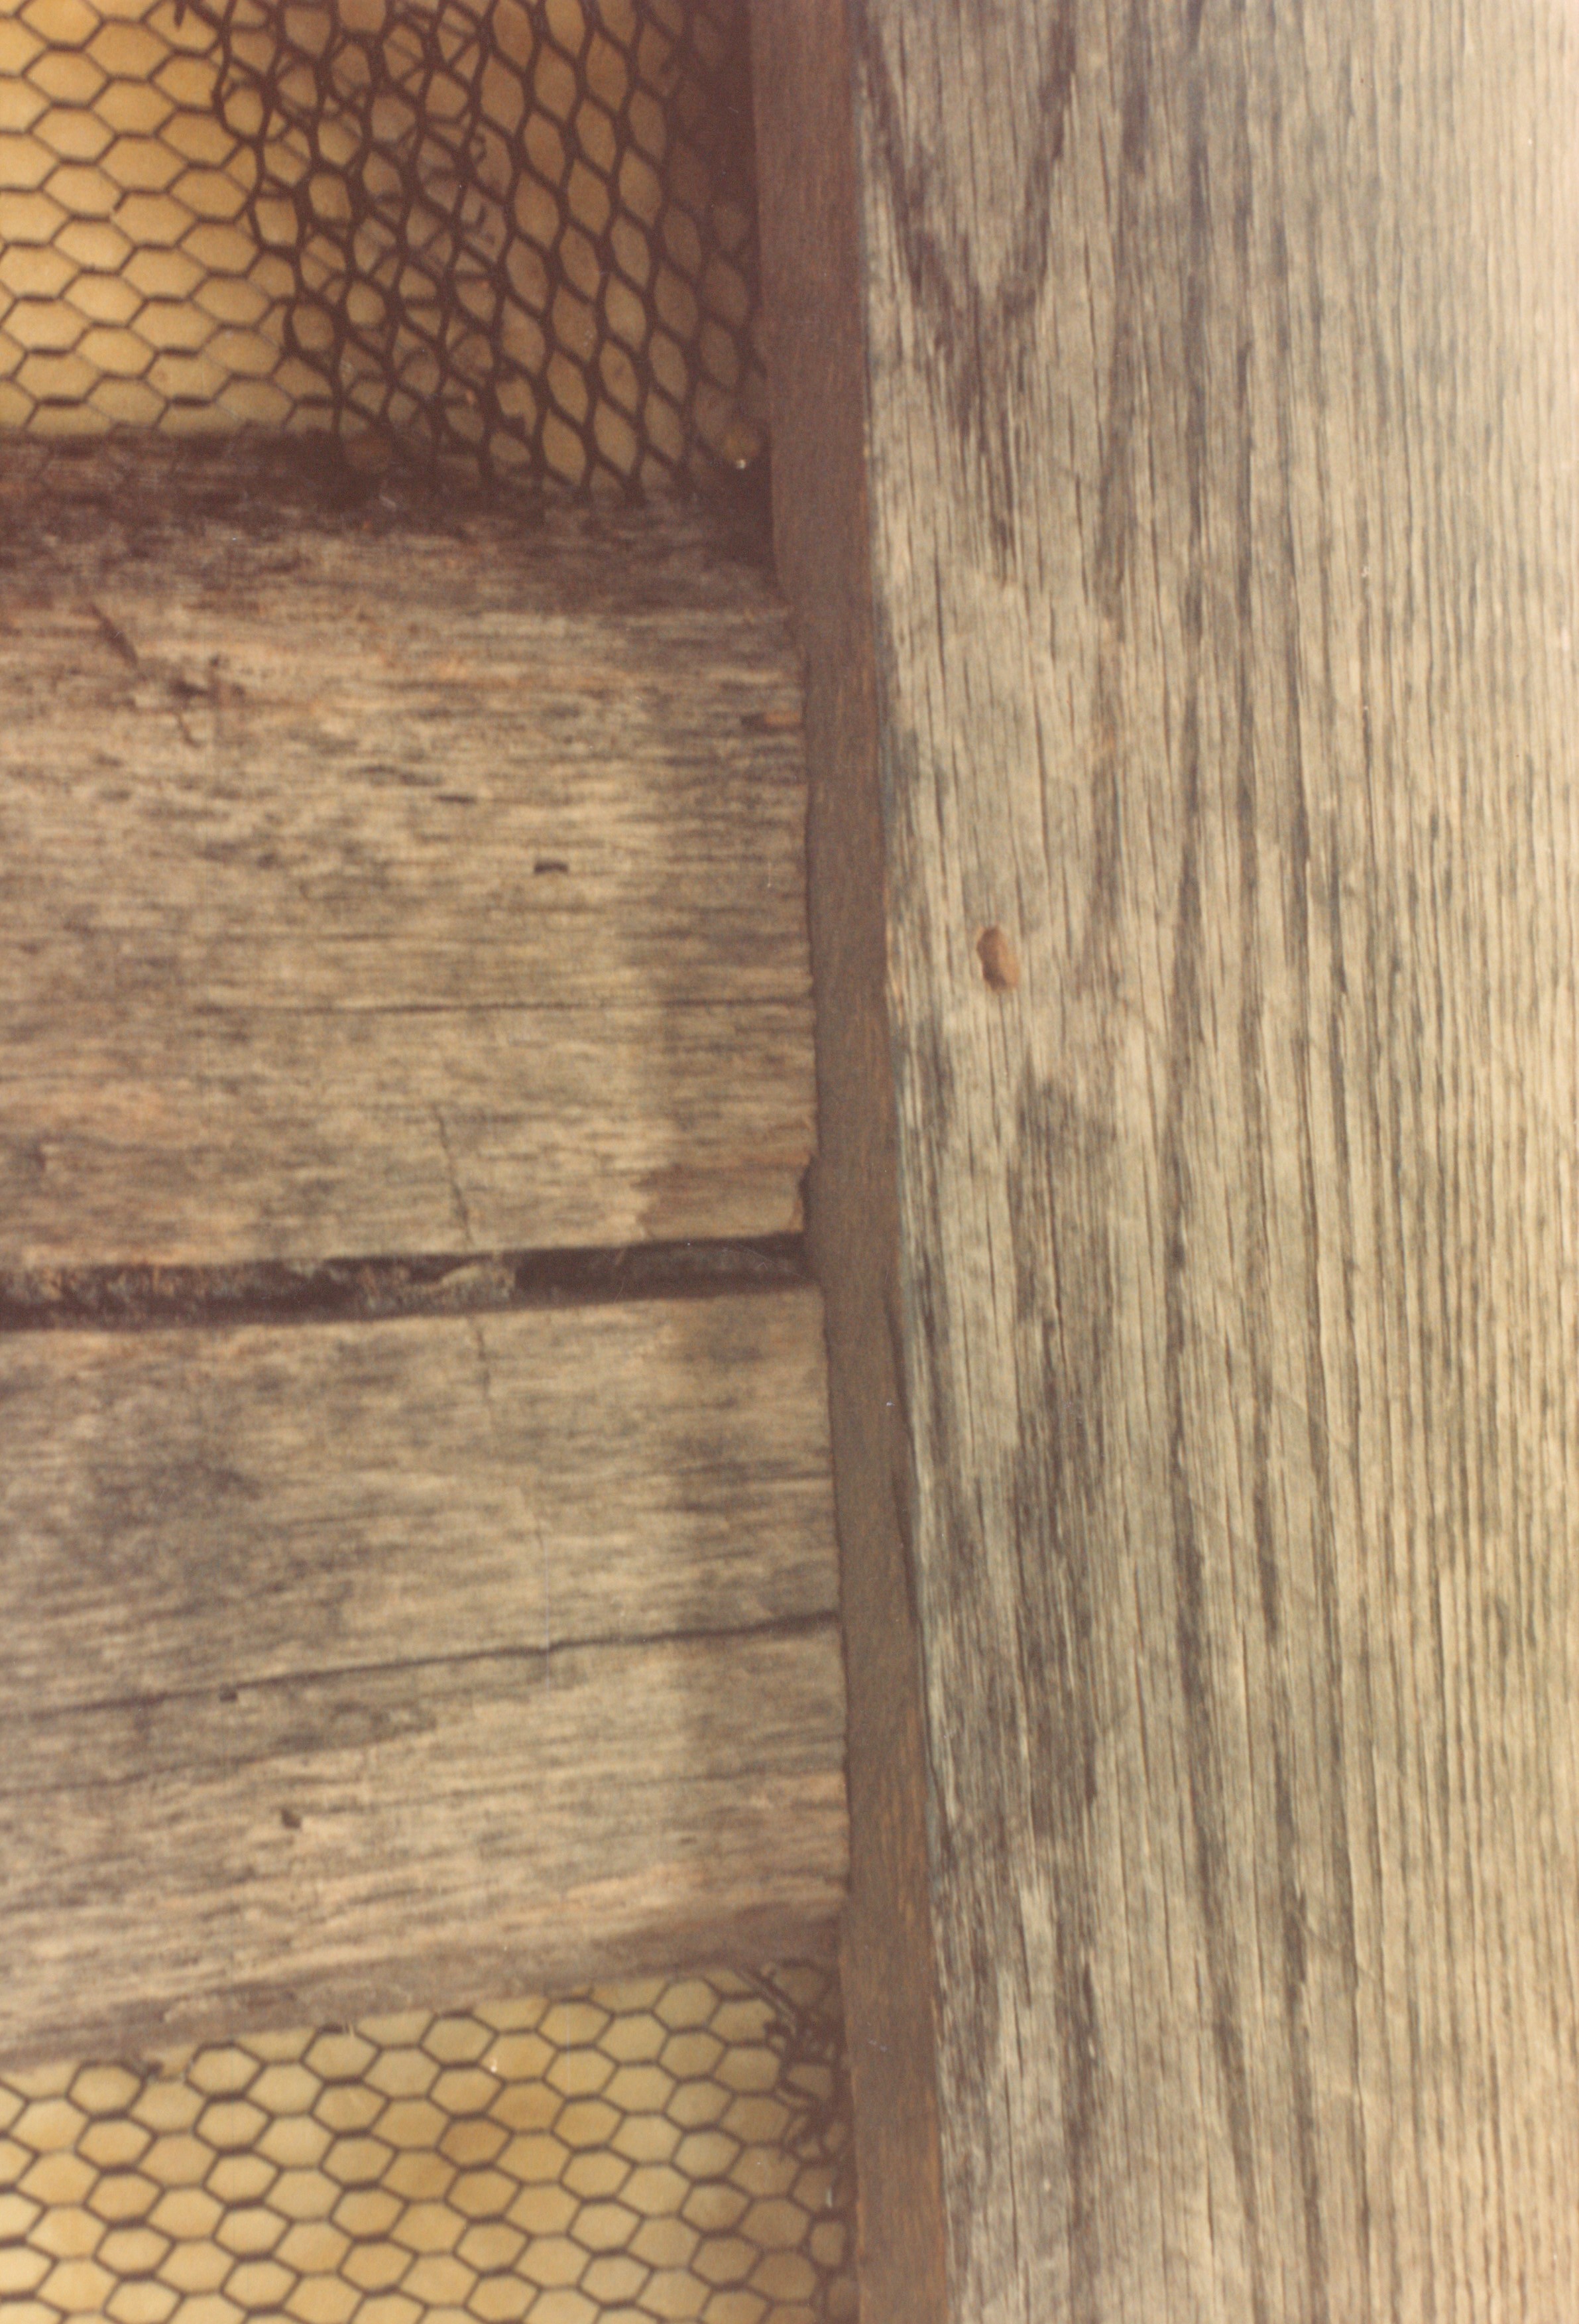
Here are a few close-up photos that illustrate our chinking prep work. We used old fenceboards for the window trim on this cabin (they were handy, free, and a perfect match to the logs) Take note of how much care and attention we gave to creating a perfect fit.
Window and door trim need to be installed before you chink. A person always chinks to the trim… not trims to the chink joint.

You will see fiberglass insulation behind the lathe wiring… this is an old photo… we now use spray-in foam.
On exterior chinking it is vital that the chinking be tucked back from the face of the log on top and flush with the log on the bottom… if you don’t do this you will allow water infiltration and rot out your logs.
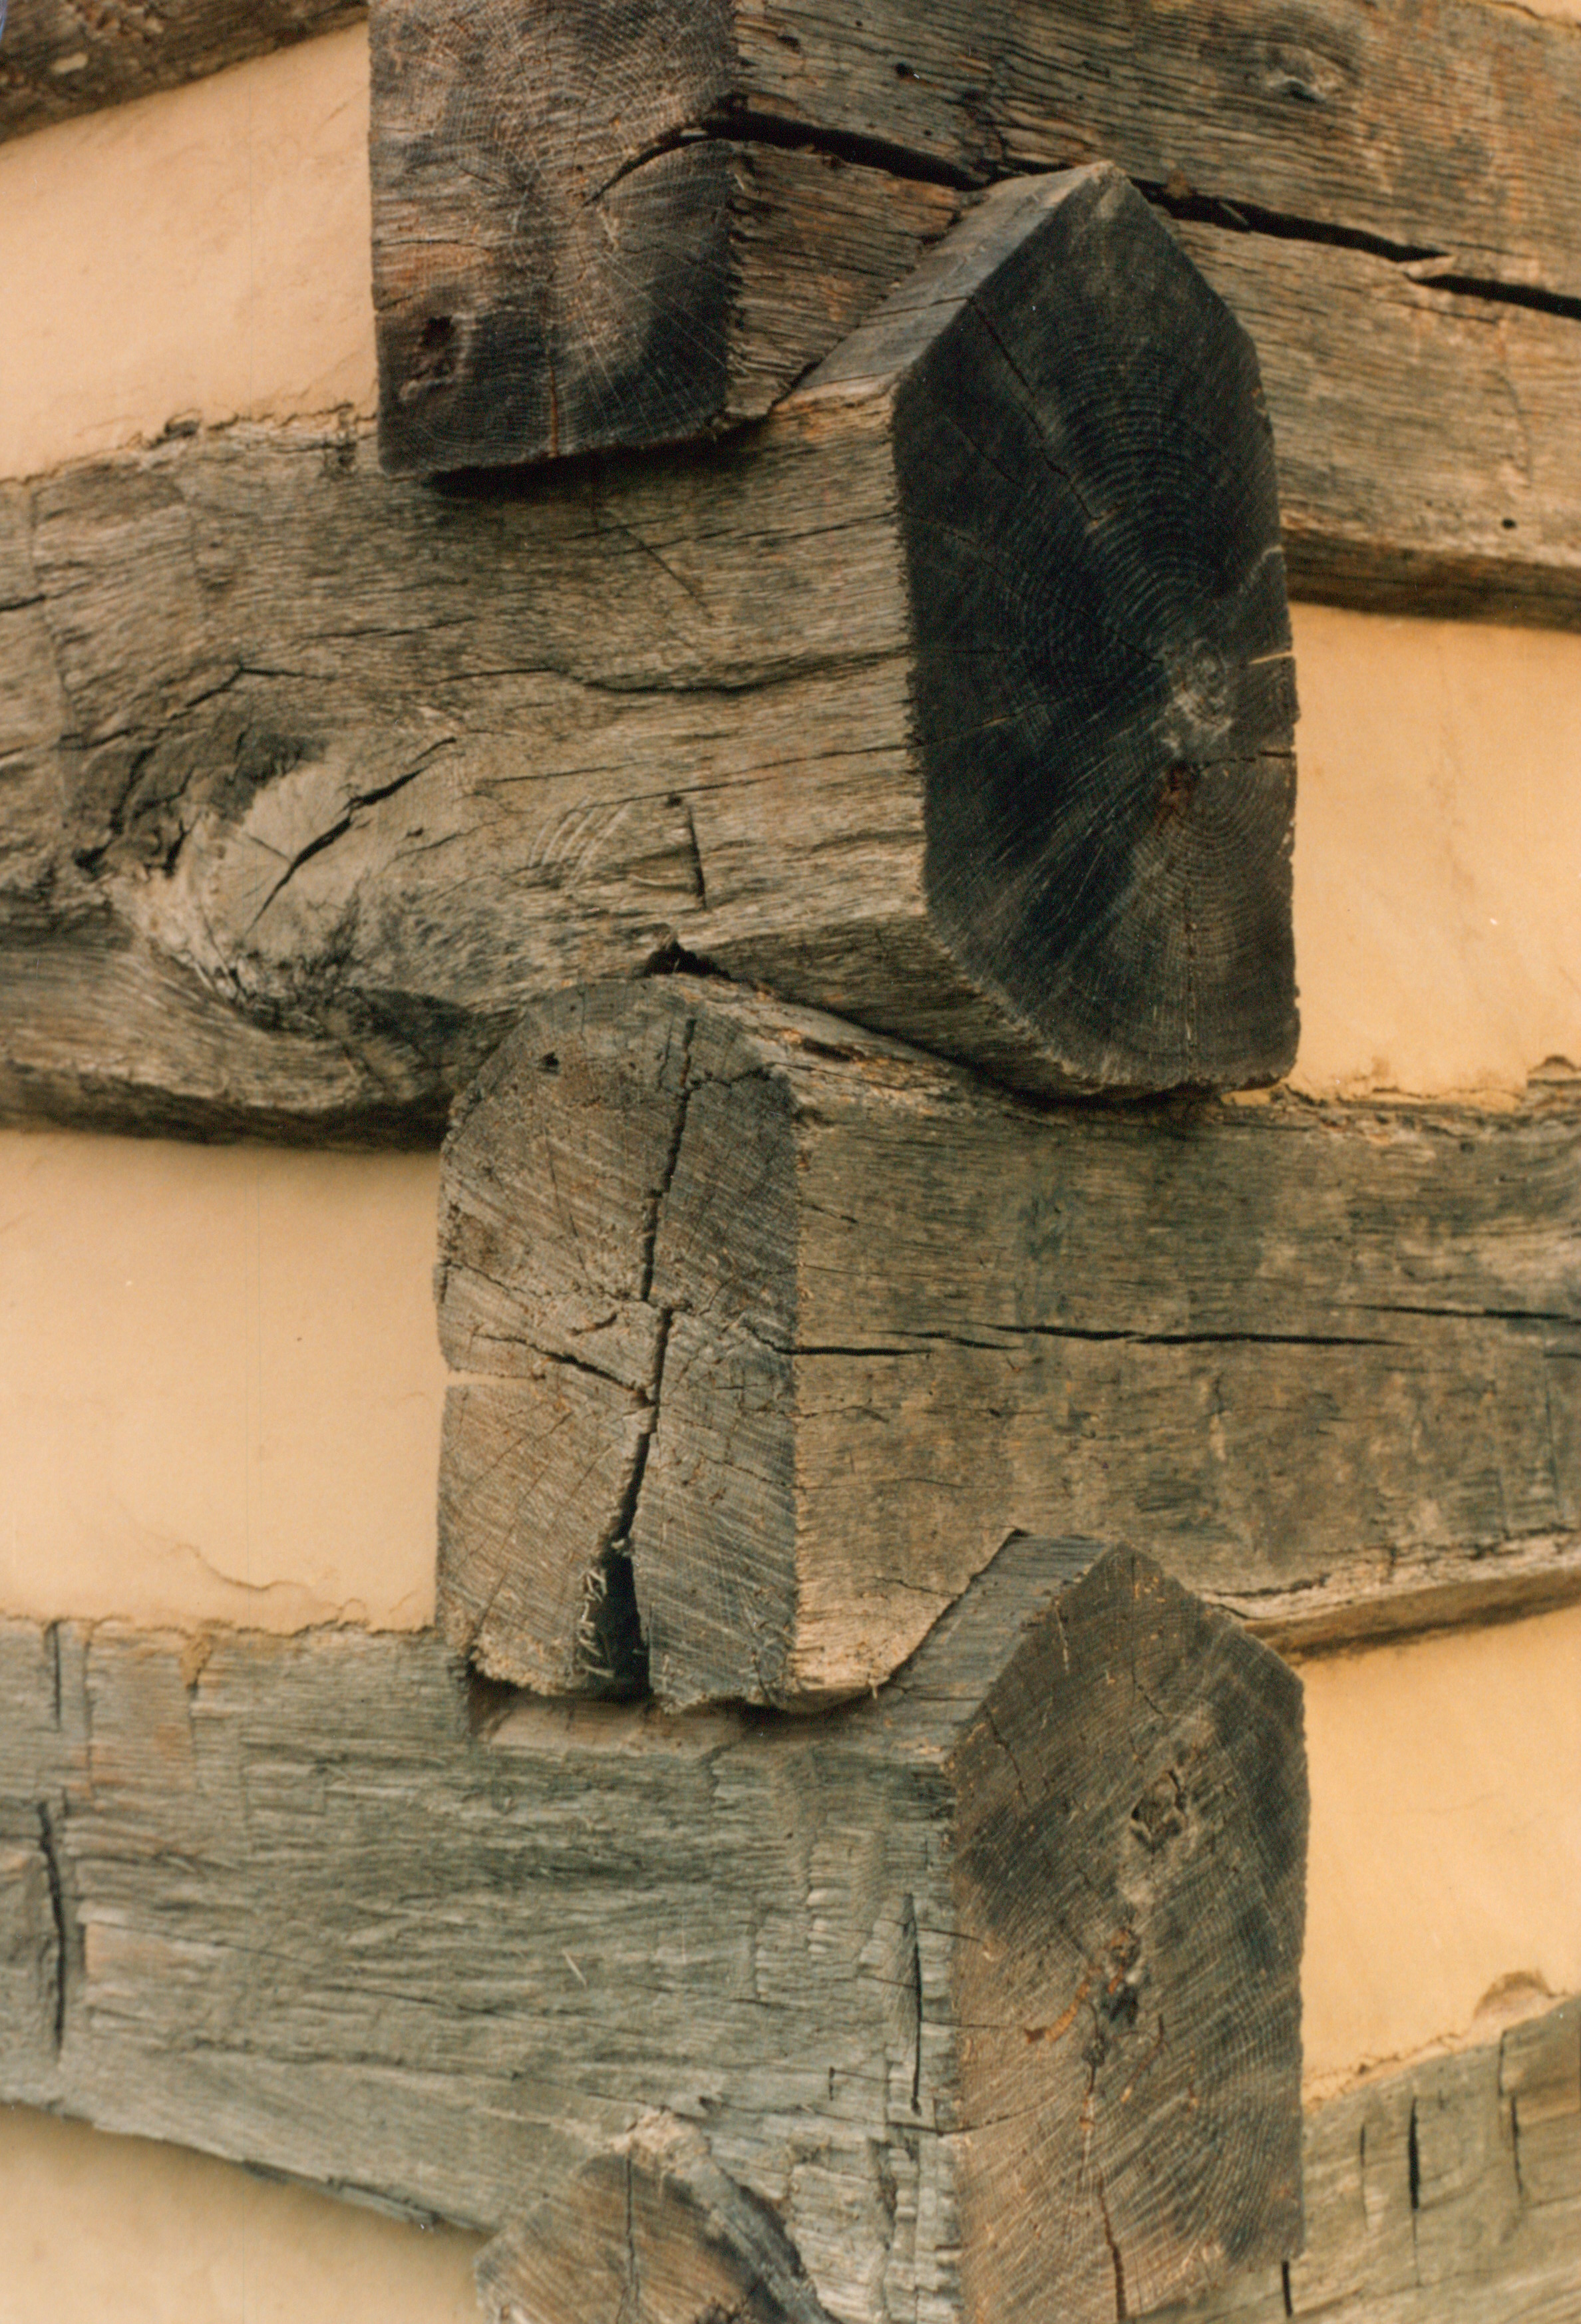
Your goal is a perfectly smooth chink joint. You want your eye to go to the logs not your chinking. A sloppy chink job is not rustic… it is poor workmanship.
And don’t use plastic chinking… please.