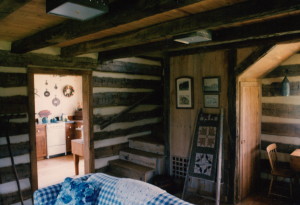
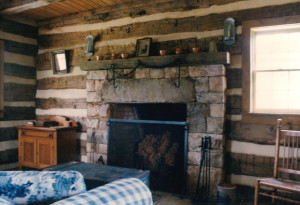
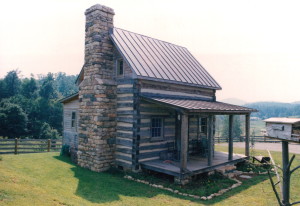
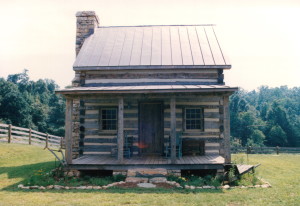
The Ruth Cabin… part 3
There doesn’t need to be a conflict between having high quality and affordable price.
Anyone can have quality if they are willing to sacrifice quantity. A person can buy a wood chair for the price of eight of those plastic chairs from Walmart. Or, they can build a small cabin, for the price of a bit larger vinyl home or log cabin kit.
This family wanted quality, top and foremost, but they were like most of us, lean in the wallet. So they tasked me with designing the smallest cabin that I could that would meet their needs, and at the same time allow me to build something as nice as I could.
I admired their wisdom and loved every minute of the challenge.
I thought about the idea of creating a course.. putting together a bunch of instructional videos, and an instructional manual, and, a set of blue prints… all to help others build a cabin like this. Do you think there would be any interest in something like that?
Originally posted 2015-05-24 15:36:07.
The Ruth Cabin… part 2
This profile of the cabin turned out so well that the cabin’s owners would on occasion find an artist and his/her easel standing in their front yard.
They were once surprised to find that “Plow and Hearth” was selling prints of a painting made of their cabin… that image made the cover of one of their magazines.
From what I understand thousands of those prints were sold.
I like the idea that something I designed and built graces the walls of people I’ve never met. Maybe I didn’t invent the internet, nor did I get wealthy, but I did create something that is pleasing to the eye.
I encourage you to do the same, whether it’s a song, or a quilt, or a painting, or a chair… leave behind a legacy.
Or maybe you want to build a cabin? or other type of home or structure? how can I help you?
Originally posted 2015-05-24 15:17:47.
The Ruth Cabin
I once met a wonderful family who lived in “the Metro world”. They had recently purchased a scenic piece of rural land which was a two hour drive from their busy lives.
They dreamed of building a small little cabin on the property… one that they could use on weekends and for vacations.
They envisioned that when the day came to retire that they would sell their city home and use those funds to add onto this little cabin.
Their plan worked.
I designed and built that little dream cabin for them and a few years later they called me back to turn that cabin into an incredible home. One of my absolute favorites.
Next up, let me share that story with you.
Originally posted 2015-05-24 14:29:15.
Lost
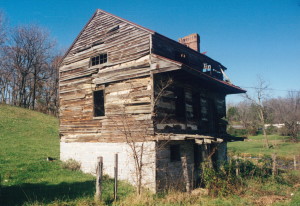
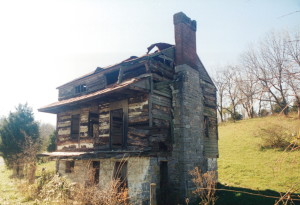
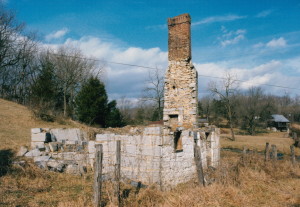
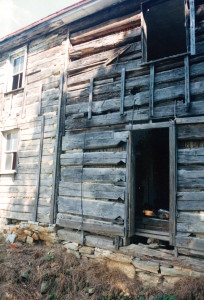
Here’s an example of a cabin that was in as bad of a condition as could be, and still be standing.
I bought this cabin off of a farmer who was concerned that the falling structure was going to injure (or worse) some of his cattle.
I saw no value, or use, for the badly decayed cabin, but I knew I could use the stone on an upcoming project.
I had a young man stop by when I was looking the cabin over, who really wanted the logs to salvage to create antique lumber out of it. He offered me money for the rights to the logs, which I declined after telling him that I didn’t see any potential for anything worthwhile in the structure for him to cut, but if he still wanted to try, the logs were his for the effort.
He came in shortly after that and carefully took down the logs, hauled them to his home-place where he had one of those portable sawmills and cut all those logs up.
He later told me that he thought he got enough salvageable wood out of that pile to pay for his gas.
In this business we learn more from our failures than we do from our successes.
Originally posted 2015-05-23 16:14:28.
Ten out of Ten
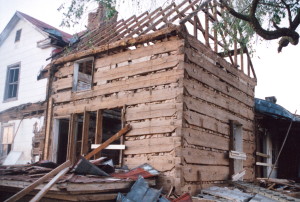
This is an example of ecstasy to a salvager. A cabin this nice doesn’t come around often enough.
I’m not certain of the story of this cabin, I just dropped in when I saw the work going on during one my drives around.
I wish it had been mine to work with. She was a honey.
Originally posted 2015-05-23 14:06:20.
Tidewater home
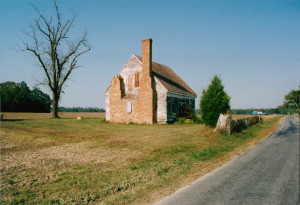
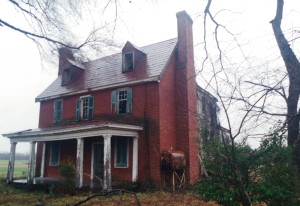
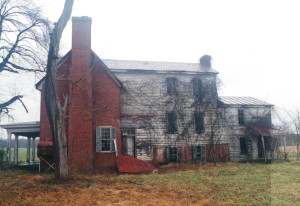
I do love the homes from the Tidewater area of Virginia and North Carolina.
This photo was a “drive-by shooting”. I never did get around to tracking down it’s owner and seeing if I could peek inside.
I’ve heard the area in between the chimneys is for the oven… can any of you Tidewaterings confirm? or set me straight?
Originally posted 2015-05-23 13:33:01.

