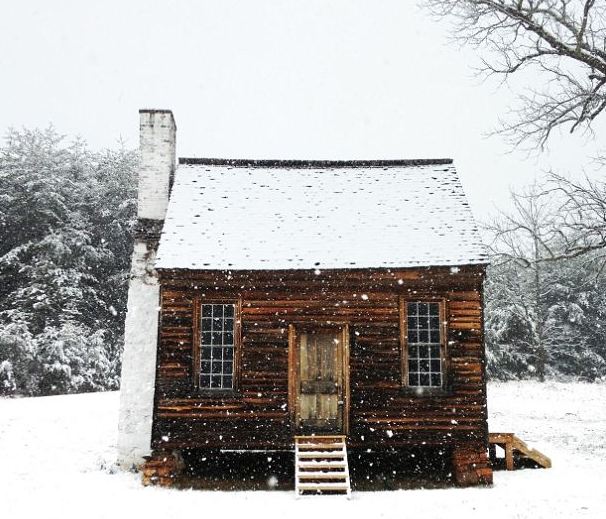
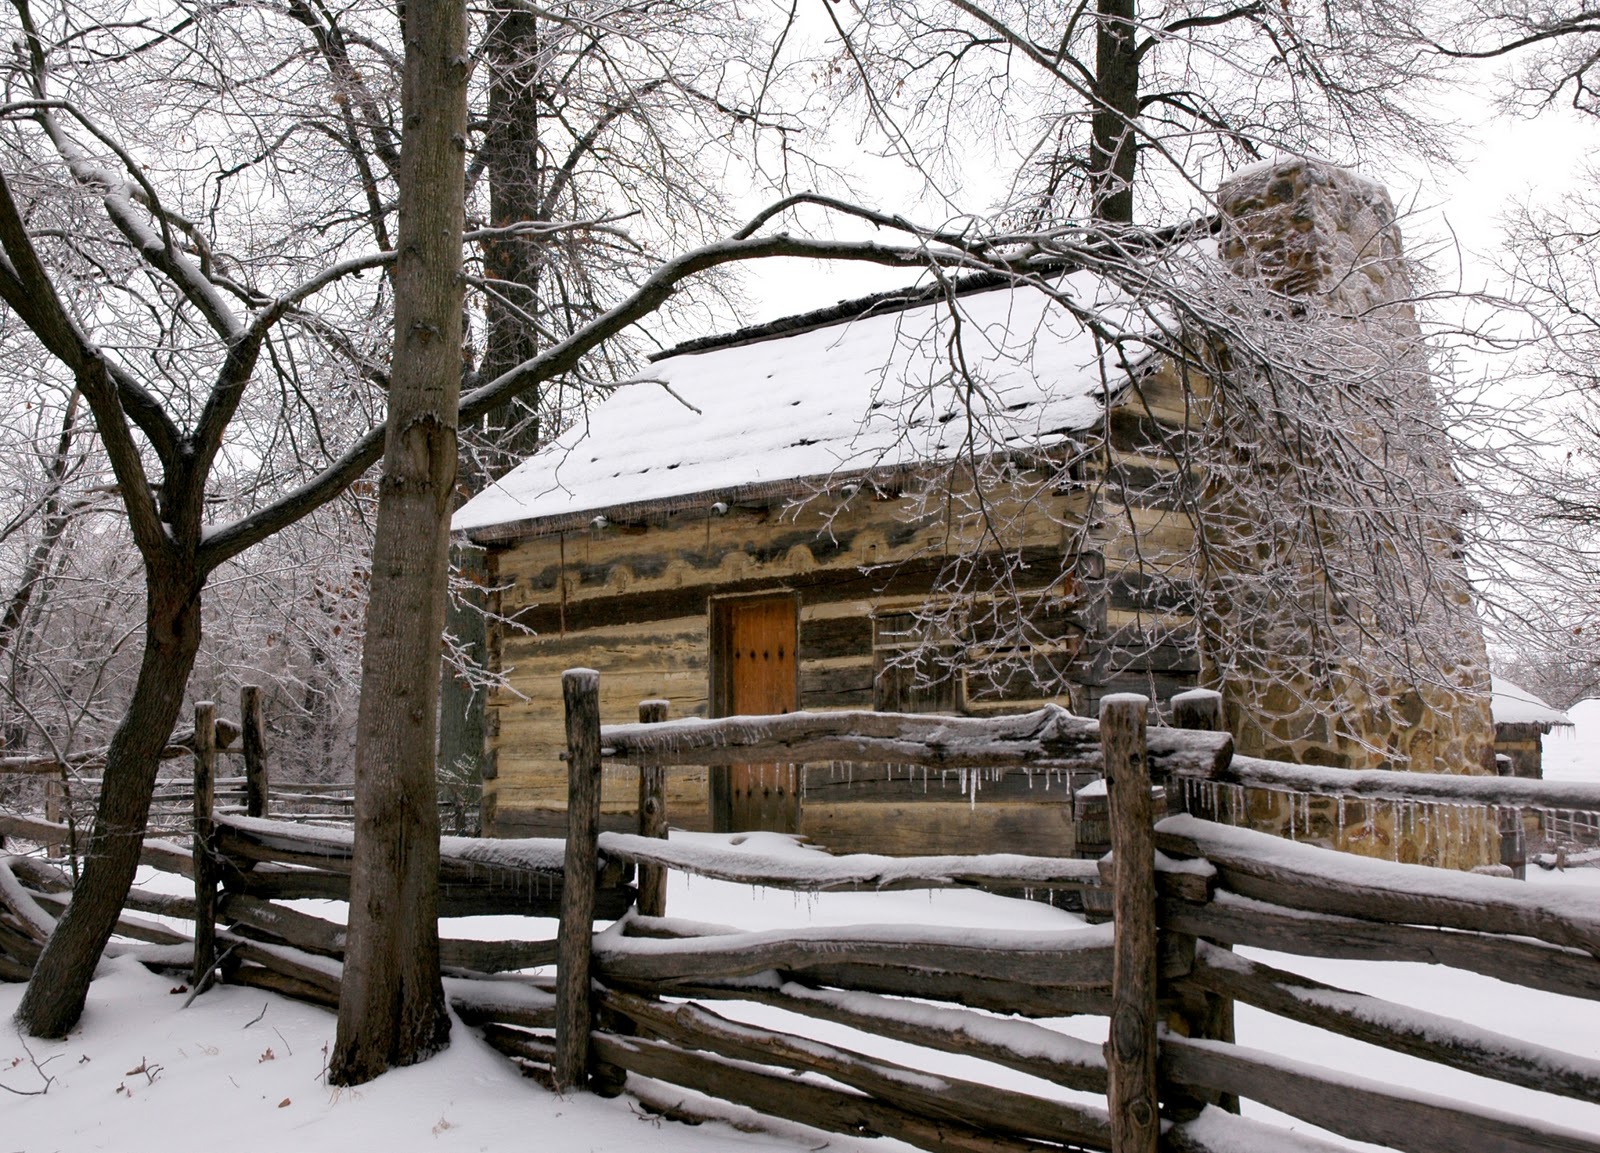
Such a charming home
Let’s look closely at this cottage and see if we can discover what makes this home so special…
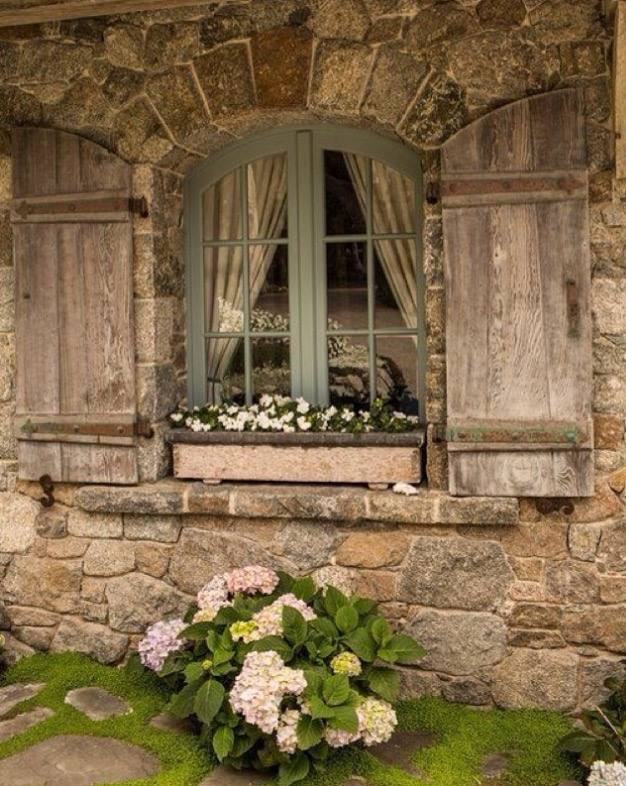
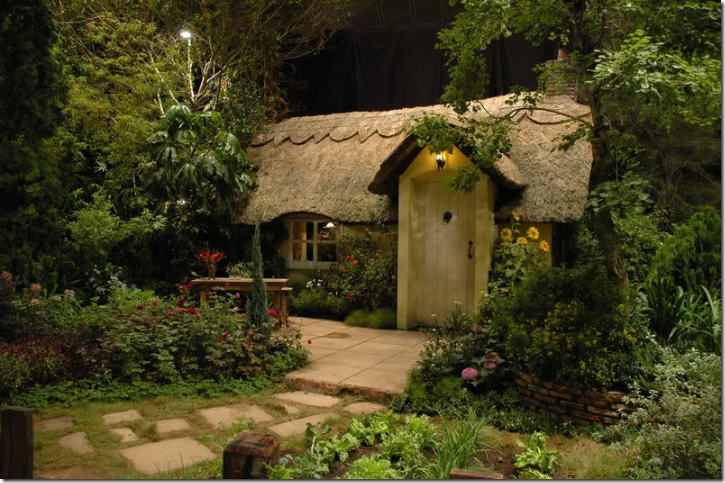
By building a small house these homeowners had the financial means to add many special details to their home such as… a masonry chimney, a handcrafted roof, a bay window, lavish landscaping, and dramatic outdoor lighting.
It’s the age old battle of quality vs quantity.
Of course most of us want both… but the reality is that’s often not an option.
These folks chose quality.
What will you choose on your next home?
Originally posted 2015-12-17 17:17:31.