Log cabin chinking… part 4
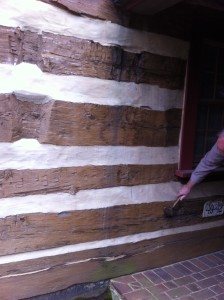
You know, the funny thing is that it often takes no more effort, and cost no more money, to do the job right the first time.
But, it sure costs a heck of a lot more to do it wrong, and then undo what was done wrong, and then repair the damage created by doing it wrong, and then in finally doing it right.
I REALLY don’t like coming in behind others and fixing their messes. Chinking is my least favorite part of building a cabin, but it’s crucial in building an attractive cabin that will last for centuries. I only undertake repairs like this for the love of the cabins… I hate to see them lost.
Originally posted 2015-07-17 14:56:25.
Log cabin chinking… part 2
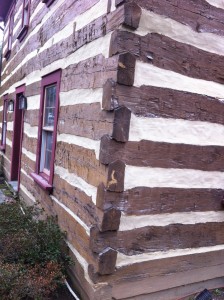
The builder who put this cabin up made two major mistakes in caring for these logs. His intention was good, but his experience was lacking.
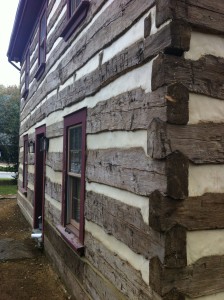
First he installed the chinking so that the top of the chink joints were flush with the log above it, instead of recessing it, and thus creating a drip edge for water to run down the house instead of finding its way behind the chinking and then rotting the logs.
The builder’s second mistake was in painting all the logs with a clear sealer, which was unnecessary, and which gave these historic logs a “plastic look” changing their patina from antique grey to god-awful orange. This plastic coating did not aid in protecting the logs but rather hid the damage that was occurring under the surface from the faulty chinking.
Originally posted 2015-07-17 14:20:15.
Log cabin chinking
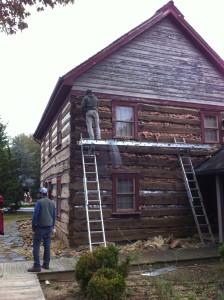
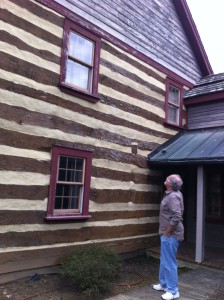
The greatest number of requests that I get for our service is for chinking. Most of these requests are to remove and replace improperly applied chinking done by others.
Here I am in this photo inspecting a beautiful oak cabin that was originally built in Pennsylvania in the mid-1800’s and moved to this site in northern Virginia about twenty years ago.
Originally posted 2015-07-17 14:05:12.
I encourage everyone to consider building their own home!
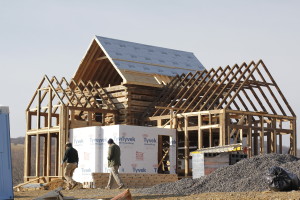
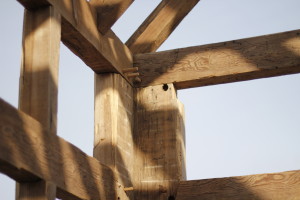
Let me close out the tale of this project with six last construction photos.
So much of the wonder of having a home is in the building process itself. These moments in one’s life of building a home should be a treasured time. I encourage you to join in on the process of designing and building your own home as much as you can.
Maybe… build the home yourself… why give all the fun to someone else? 🙂
Originally posted 2015-07-16 14:15:19.
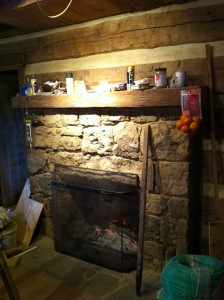
The job-site fireplace
I thought perhaps this photo of the cabin’s fireplace was most appropriate to post… this was the fireplace as we, the builders of this cabin, saw the most (as you can see by our “decorations”).
We enjoyed this fireplace throughout the construction of the house often eating our lunches while gathered around it’s warming flames.
A career in construction has it’s downsides, it’s hard work, it’s dirty, and it is certainly not the path to wealth, but give me an open fire, some good conversation with dear friends, and the feeling that comes from accomplishing something with my own hands… any day.
Originally posted 2015-07-15 14:48:45.

