The World’s most famous chink joint
Twenty-five years ago today I helped a precious family create a lasting legacy.
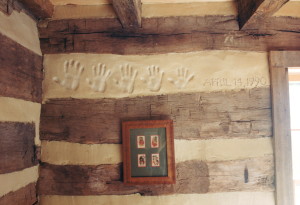
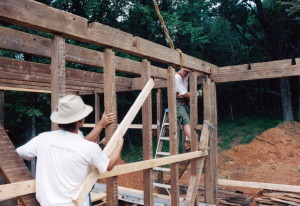
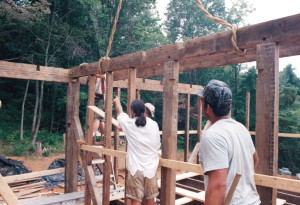
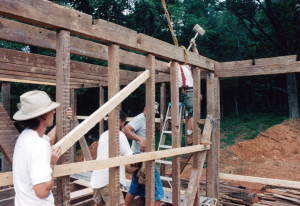
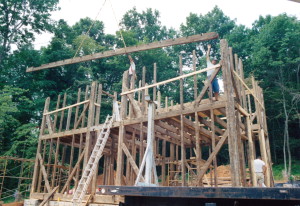
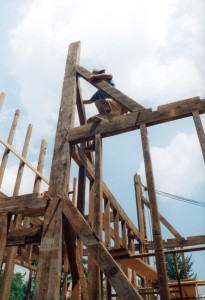
On that day, April 14,1990 each member of this family placed the palms of their hands into a fresh cement chink joint of the log cabin that I was then re-erecting for them.
Those hand-prints are still there today as perfect as they were the day they were made, and as they will likely be in the decades, and perhaps centuries, to come.
And, those hand-prints have been published in multiple magazines and books along with the rest of this beautiful log home. In fact this famous chink joint made the cover of one of those books… Hands-on Log Cabins by Cindy Thiede.
I remember that day clearly, it was a Saturday and I drove over to the cabin to accomplish this one mission. We had picked one of the widest chink joints in the home to ensure room for everyone’s hand.
Now the thing about chink joints is that the wider they are, the heavier they are, and the heavier they are, the more likely they are to fall off of the wall while still wet.
I have lost a few fresh chink joints over the years just by someone slamming a door shortly after the cement had been applied. 🙁
I carefully applied this wide chink joint while the family of five watched on. We all know how much more challenging it is to do something when each move we make is under observation don’t we? 😉
The family was clearly excited, I was inwardly stressed. After all, I didn’t know if this could be done.
The chinking went up perfectly.
I was very proud, and relieved.
I’m not certain which hand it was that brought that cement chinking crashing to the floor.
As I had feared, the act of pressing a hand into vertical cement was not perhaps the best thing to do, and the act of pulling the hand back out proved to be destructive.
I don’t remember how many times I applied that one chink joint that day… three or four times is my best guess. Maybe, it was more.
But it was SO worth it.
That moment was frozen in time not only that family but for me. Who else can claim that they remember what they were doing twenty-five years ago today?
And that chink joint… well… it still lives on today, and it still touches everyone’s heart that sees it.
Originally posted 2015-04-14 13:53:29.

