A log and stone cabin… part 10
Noah Bradley2019-06-29T10:53:00+00:00
Assembly required.
Yes, it looks like a mess… but there is just so much potential. 🙂
Originally posted 2015-03-21 16:52:04.
Assembly required.
Yes, it looks like a mess… but there is just so much potential. 🙂
Originally posted 2015-03-21 16:52:04.
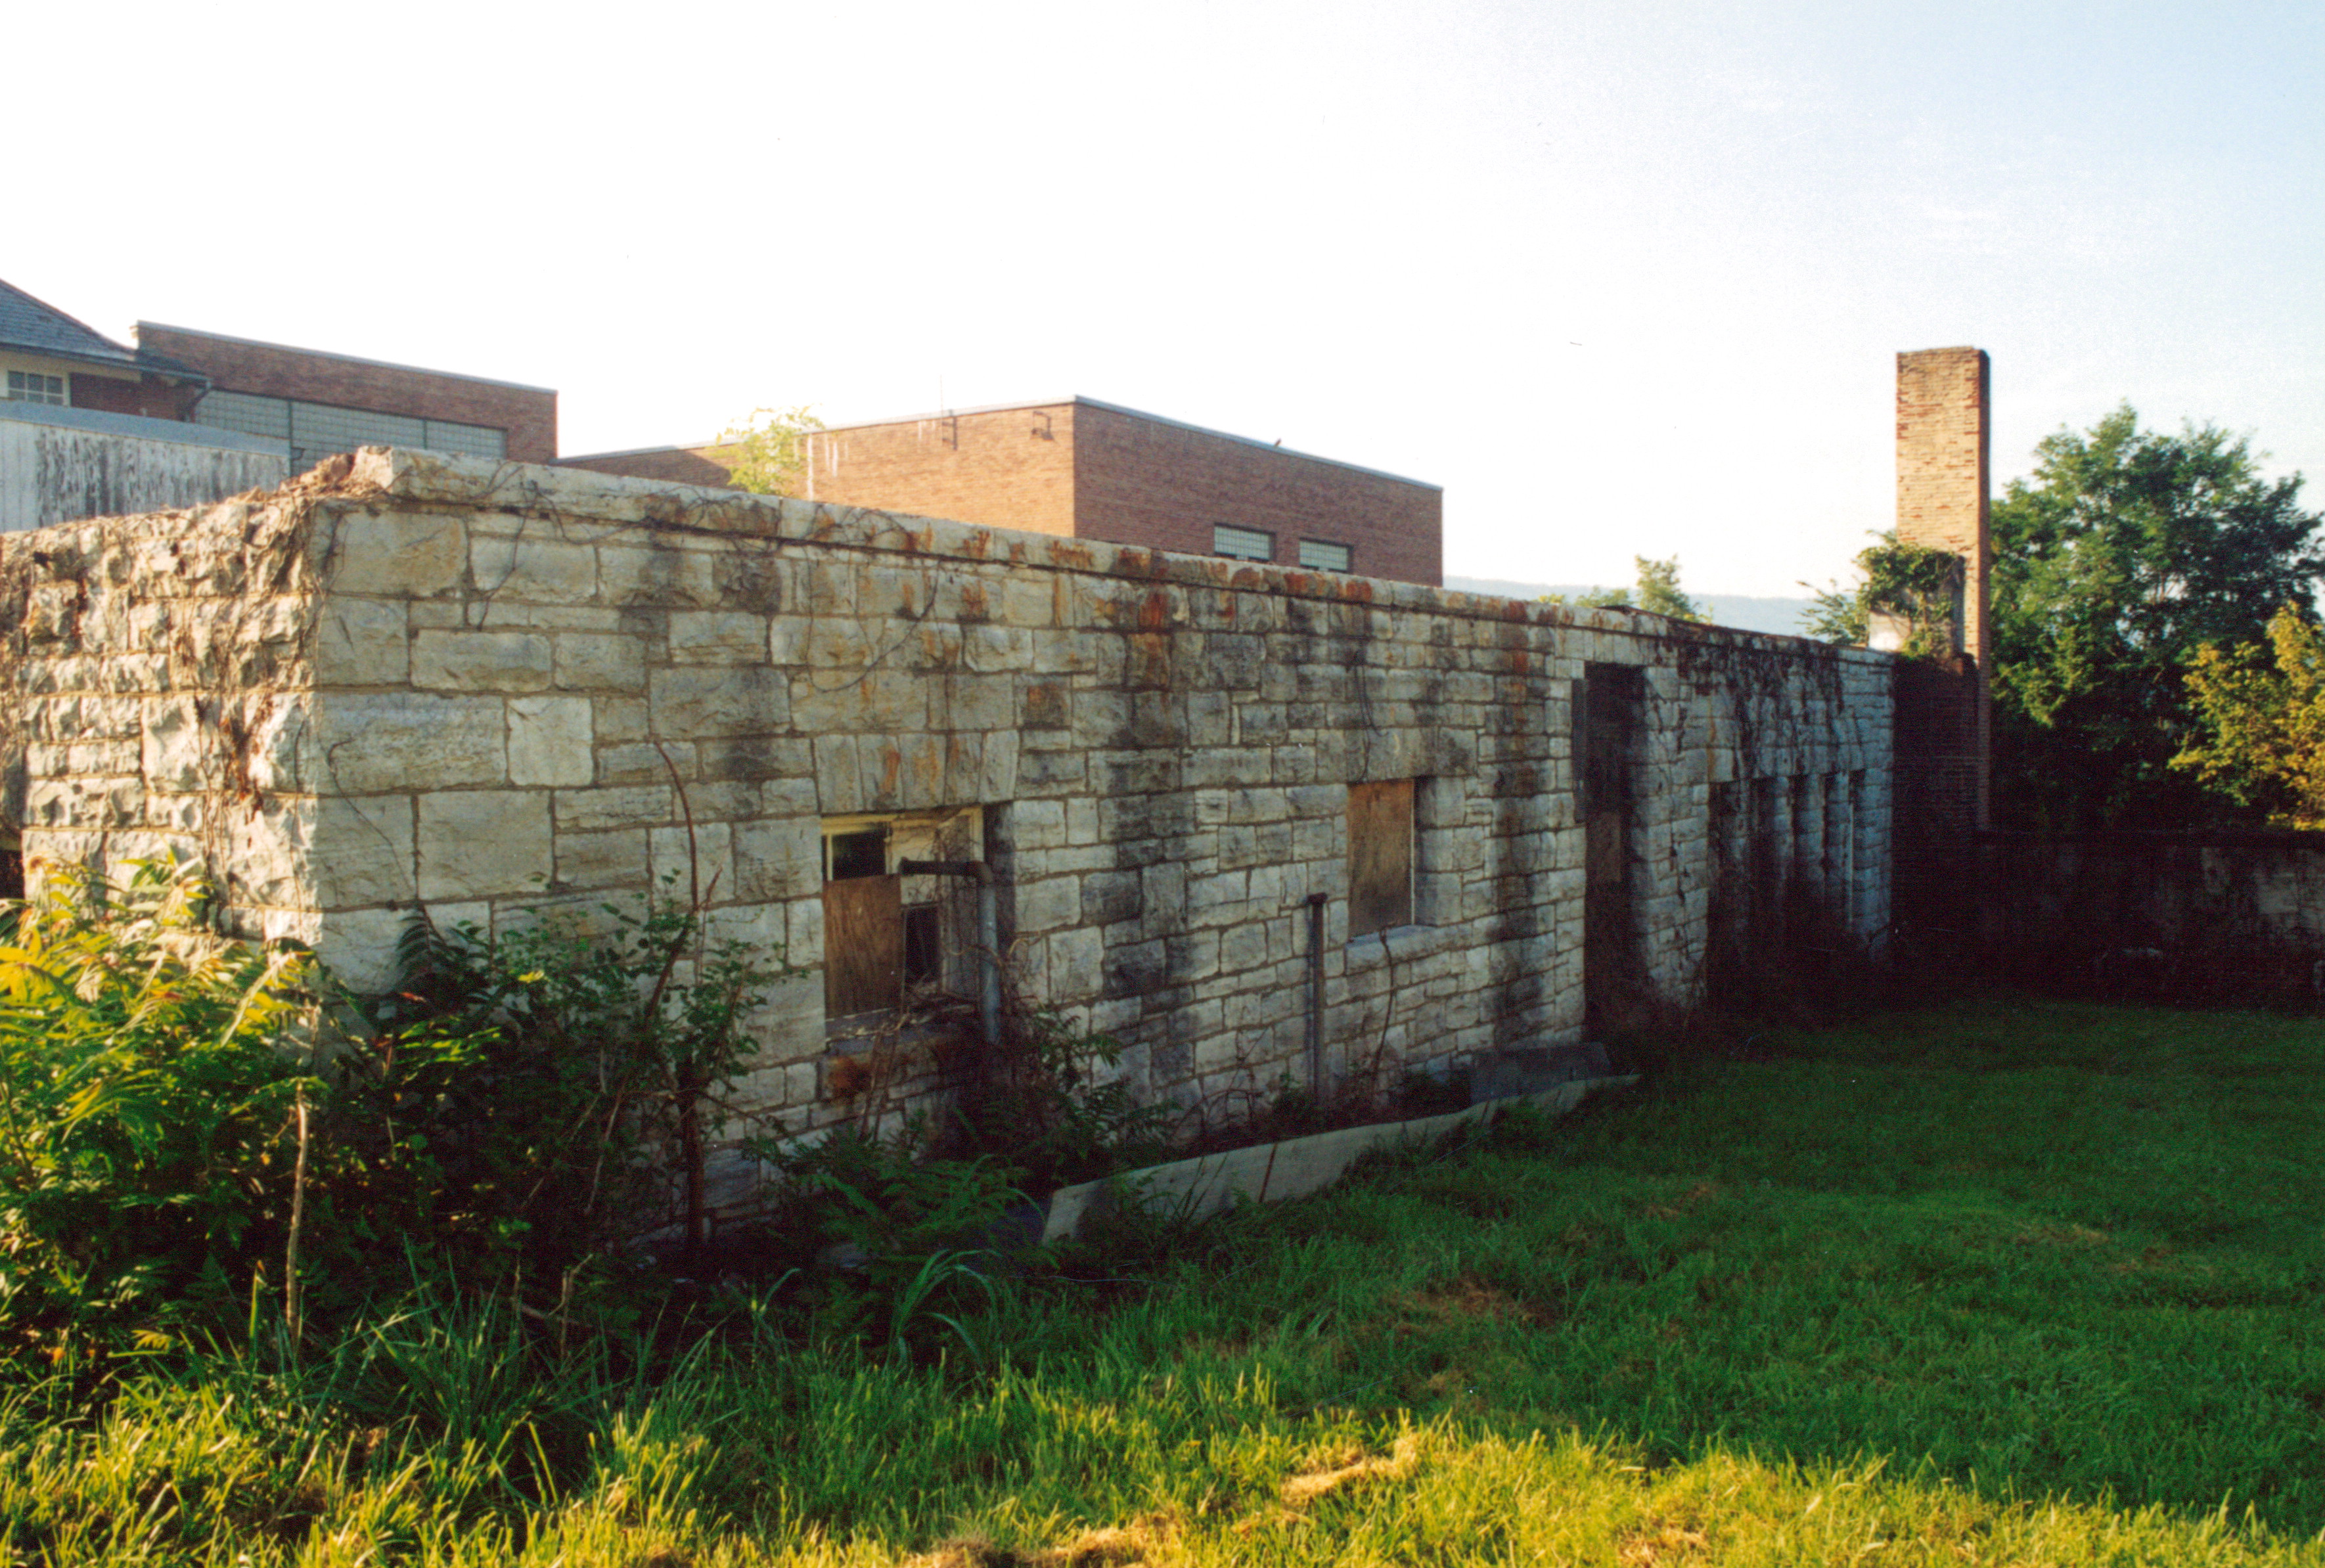
Next up on my “to do list” was to find enough high quality stone to build the foundation of the log cabin, the stone section of the house, and the massive two-fireplace chimney.
That’s a lot of rock.
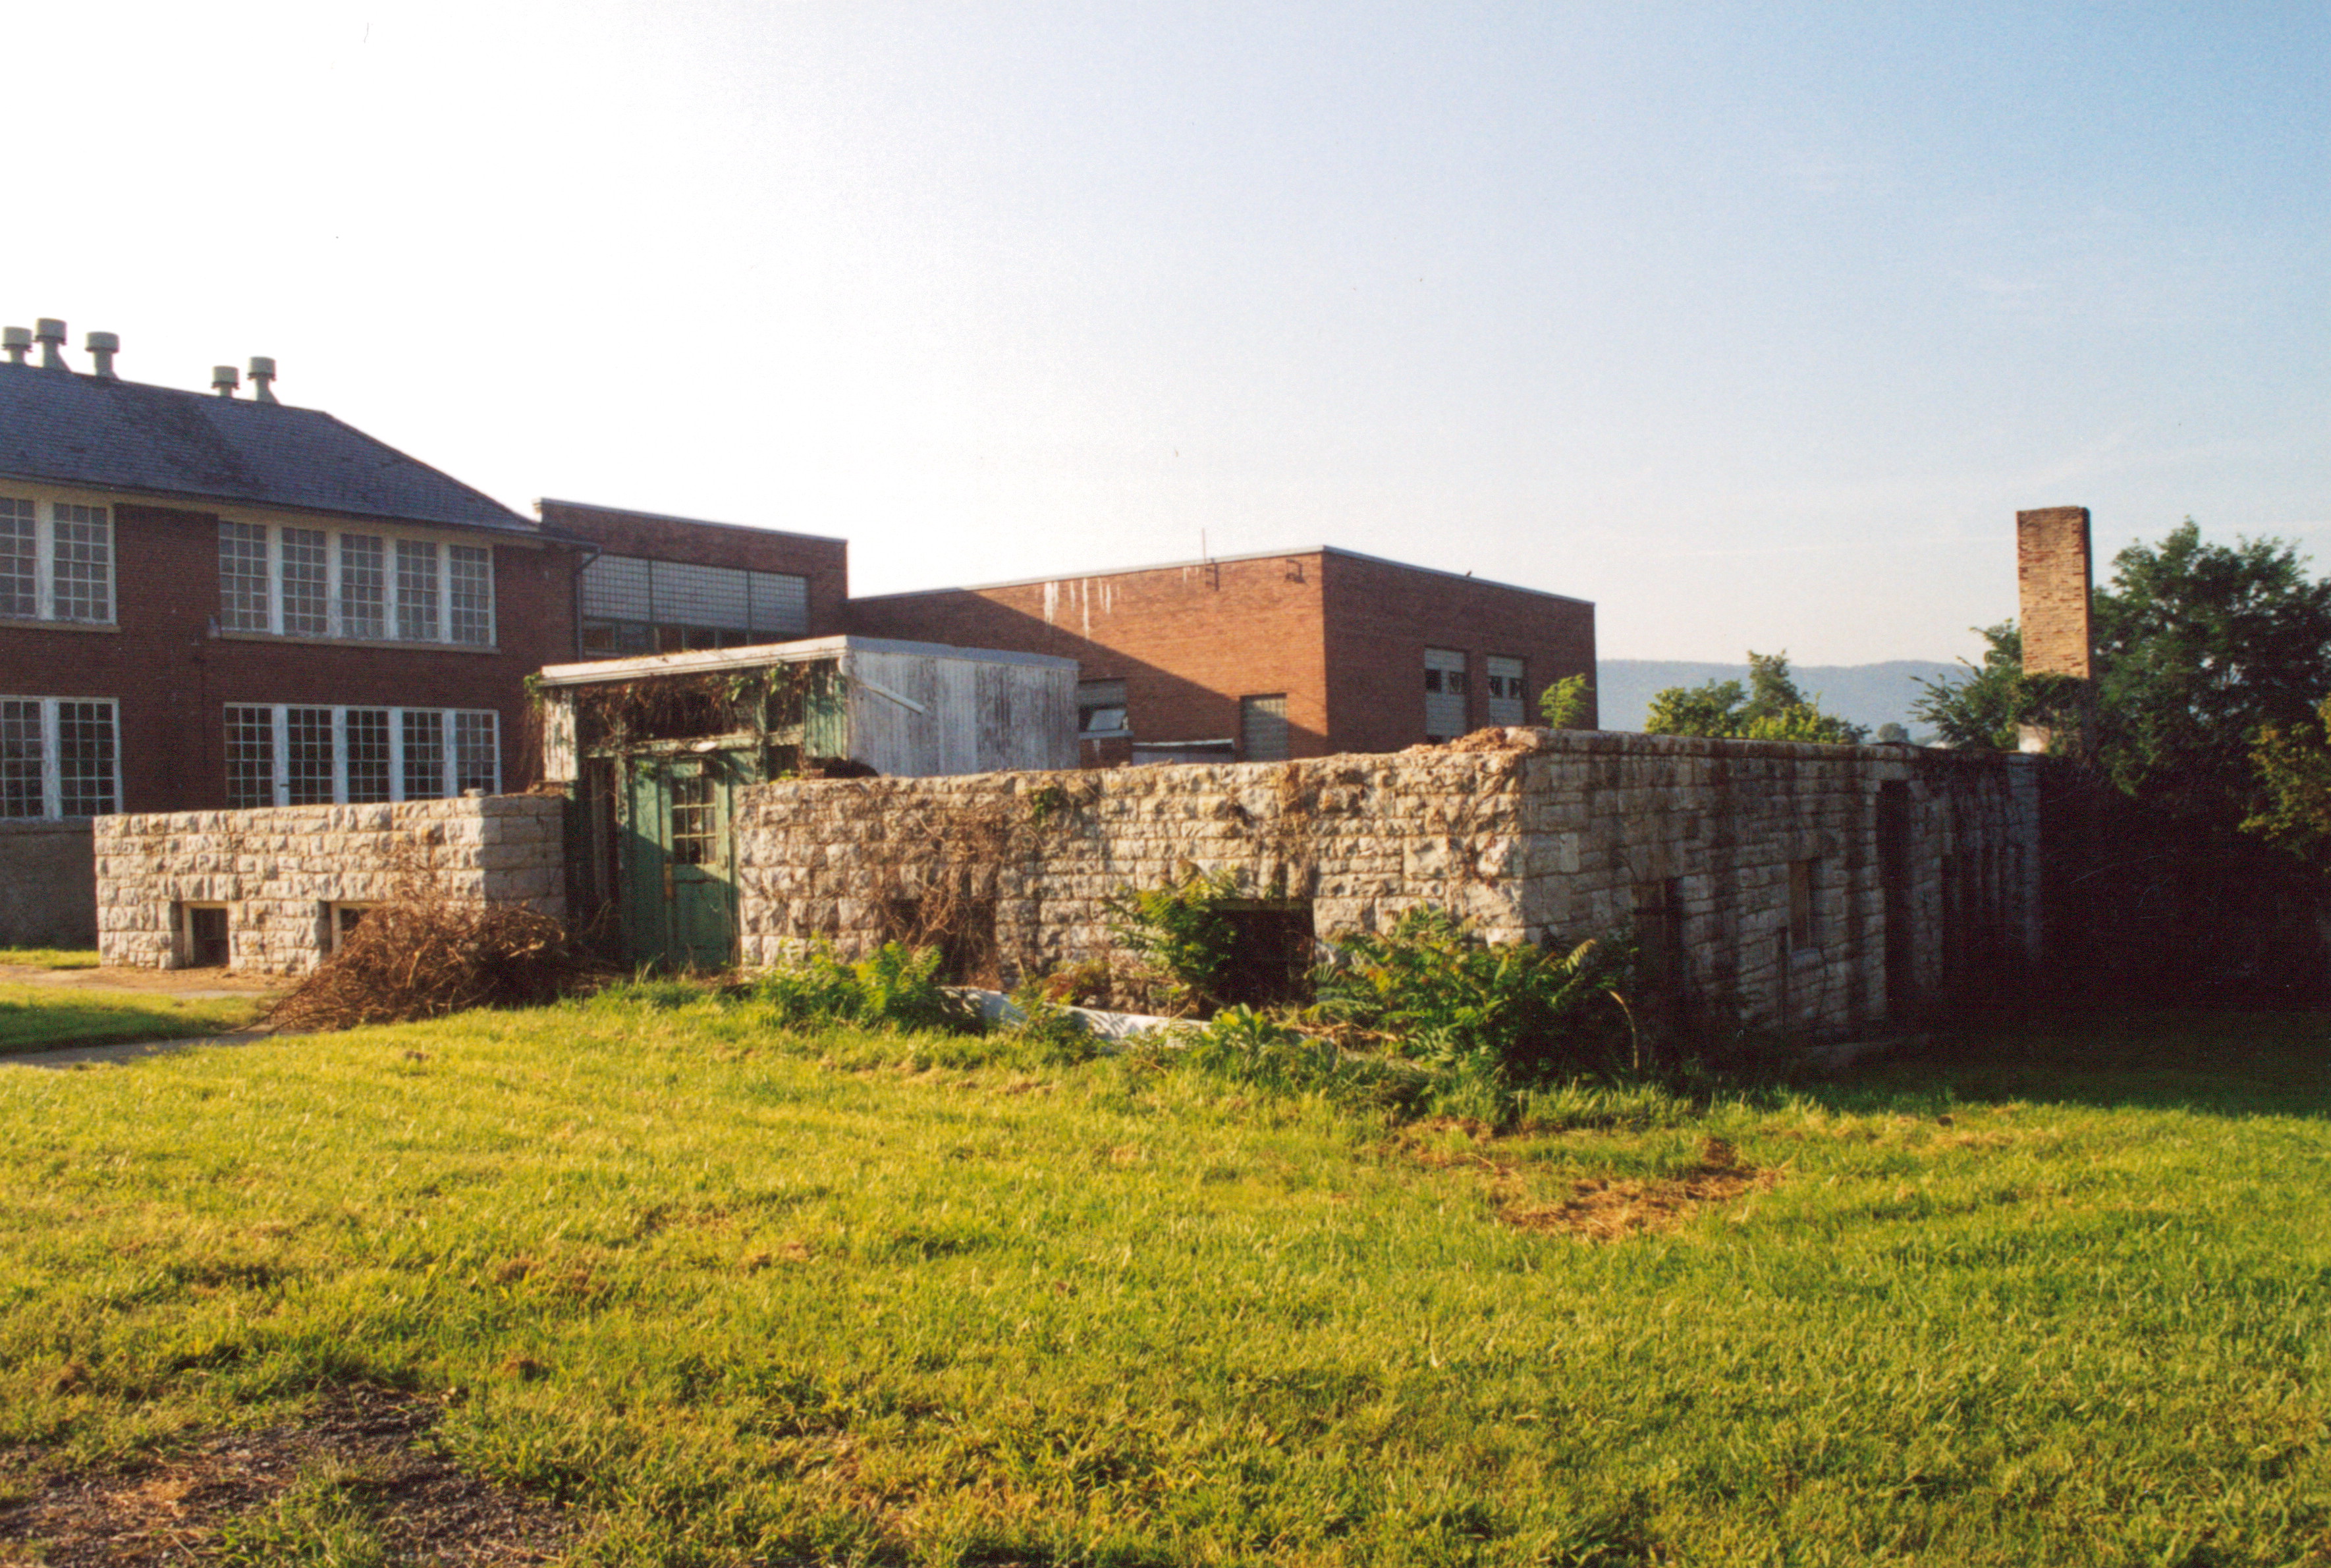
About that time I received a call from the public school system in one of the counties over in the Valley. Years ago they had torn down one of their school buildings, but the foundation was still in place and they wanted it removed for safety reasons.

The stone was perfect for this project.
Originally posted 2015-03-21 16:45:34.
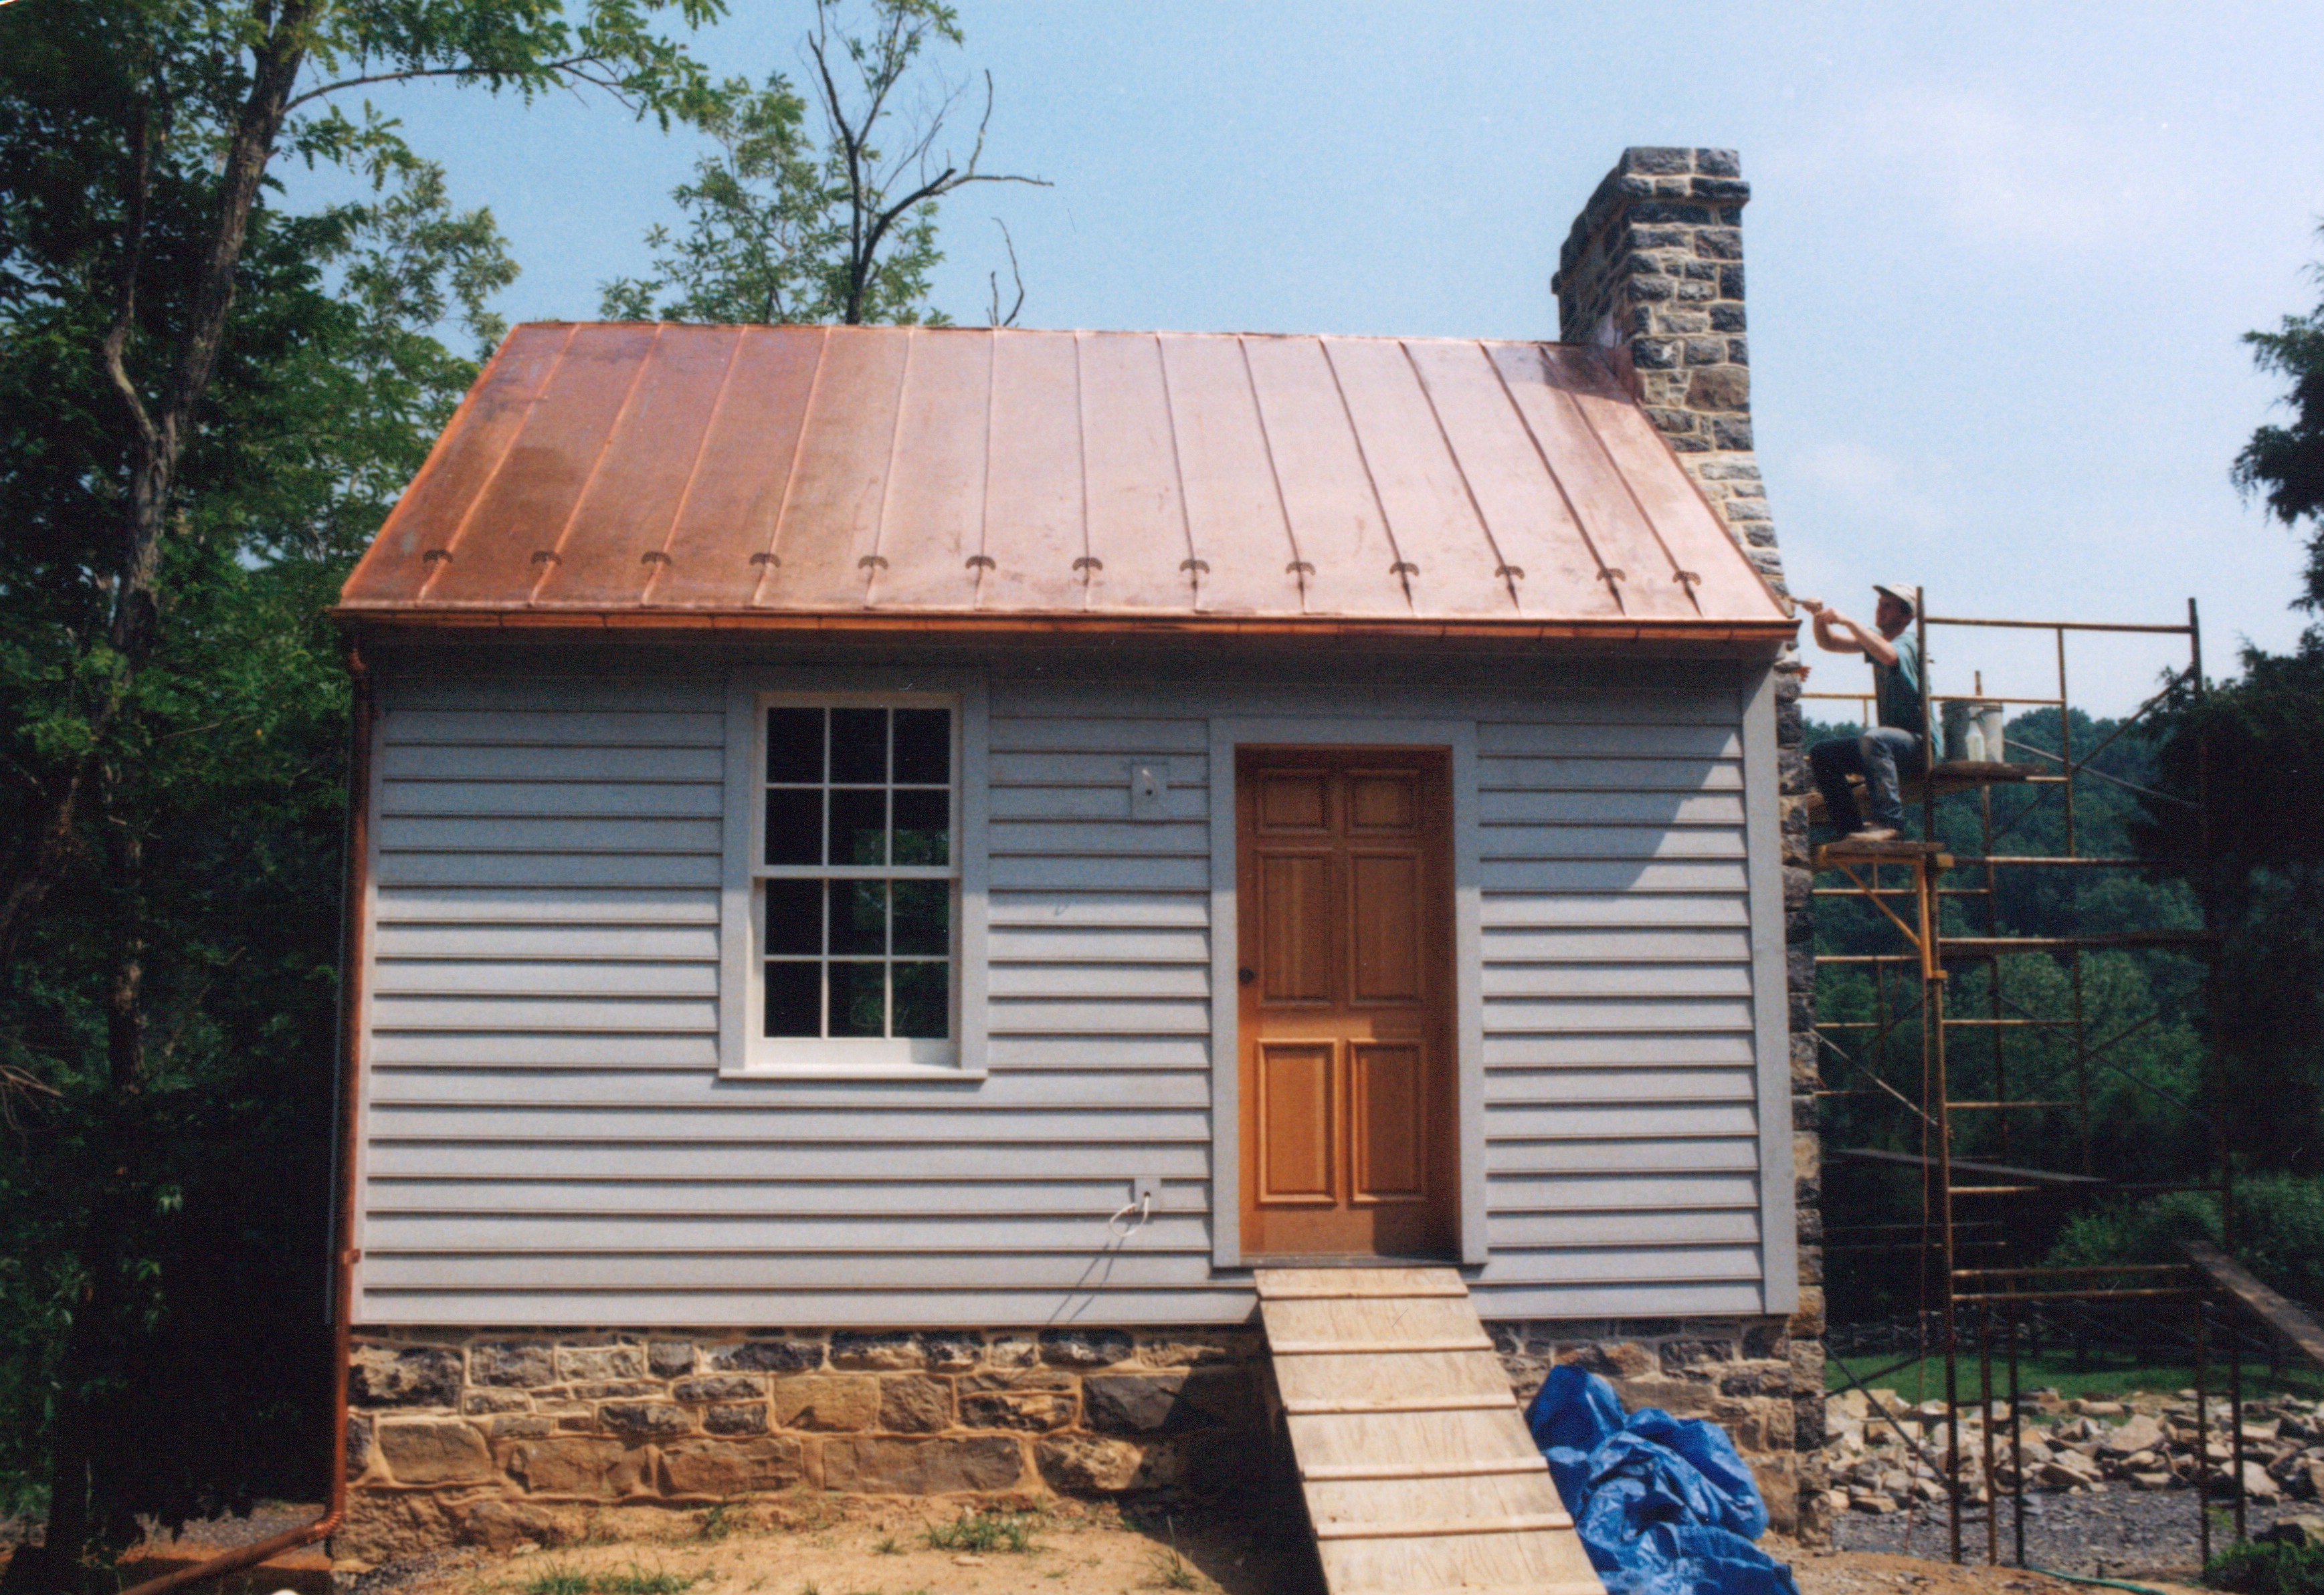
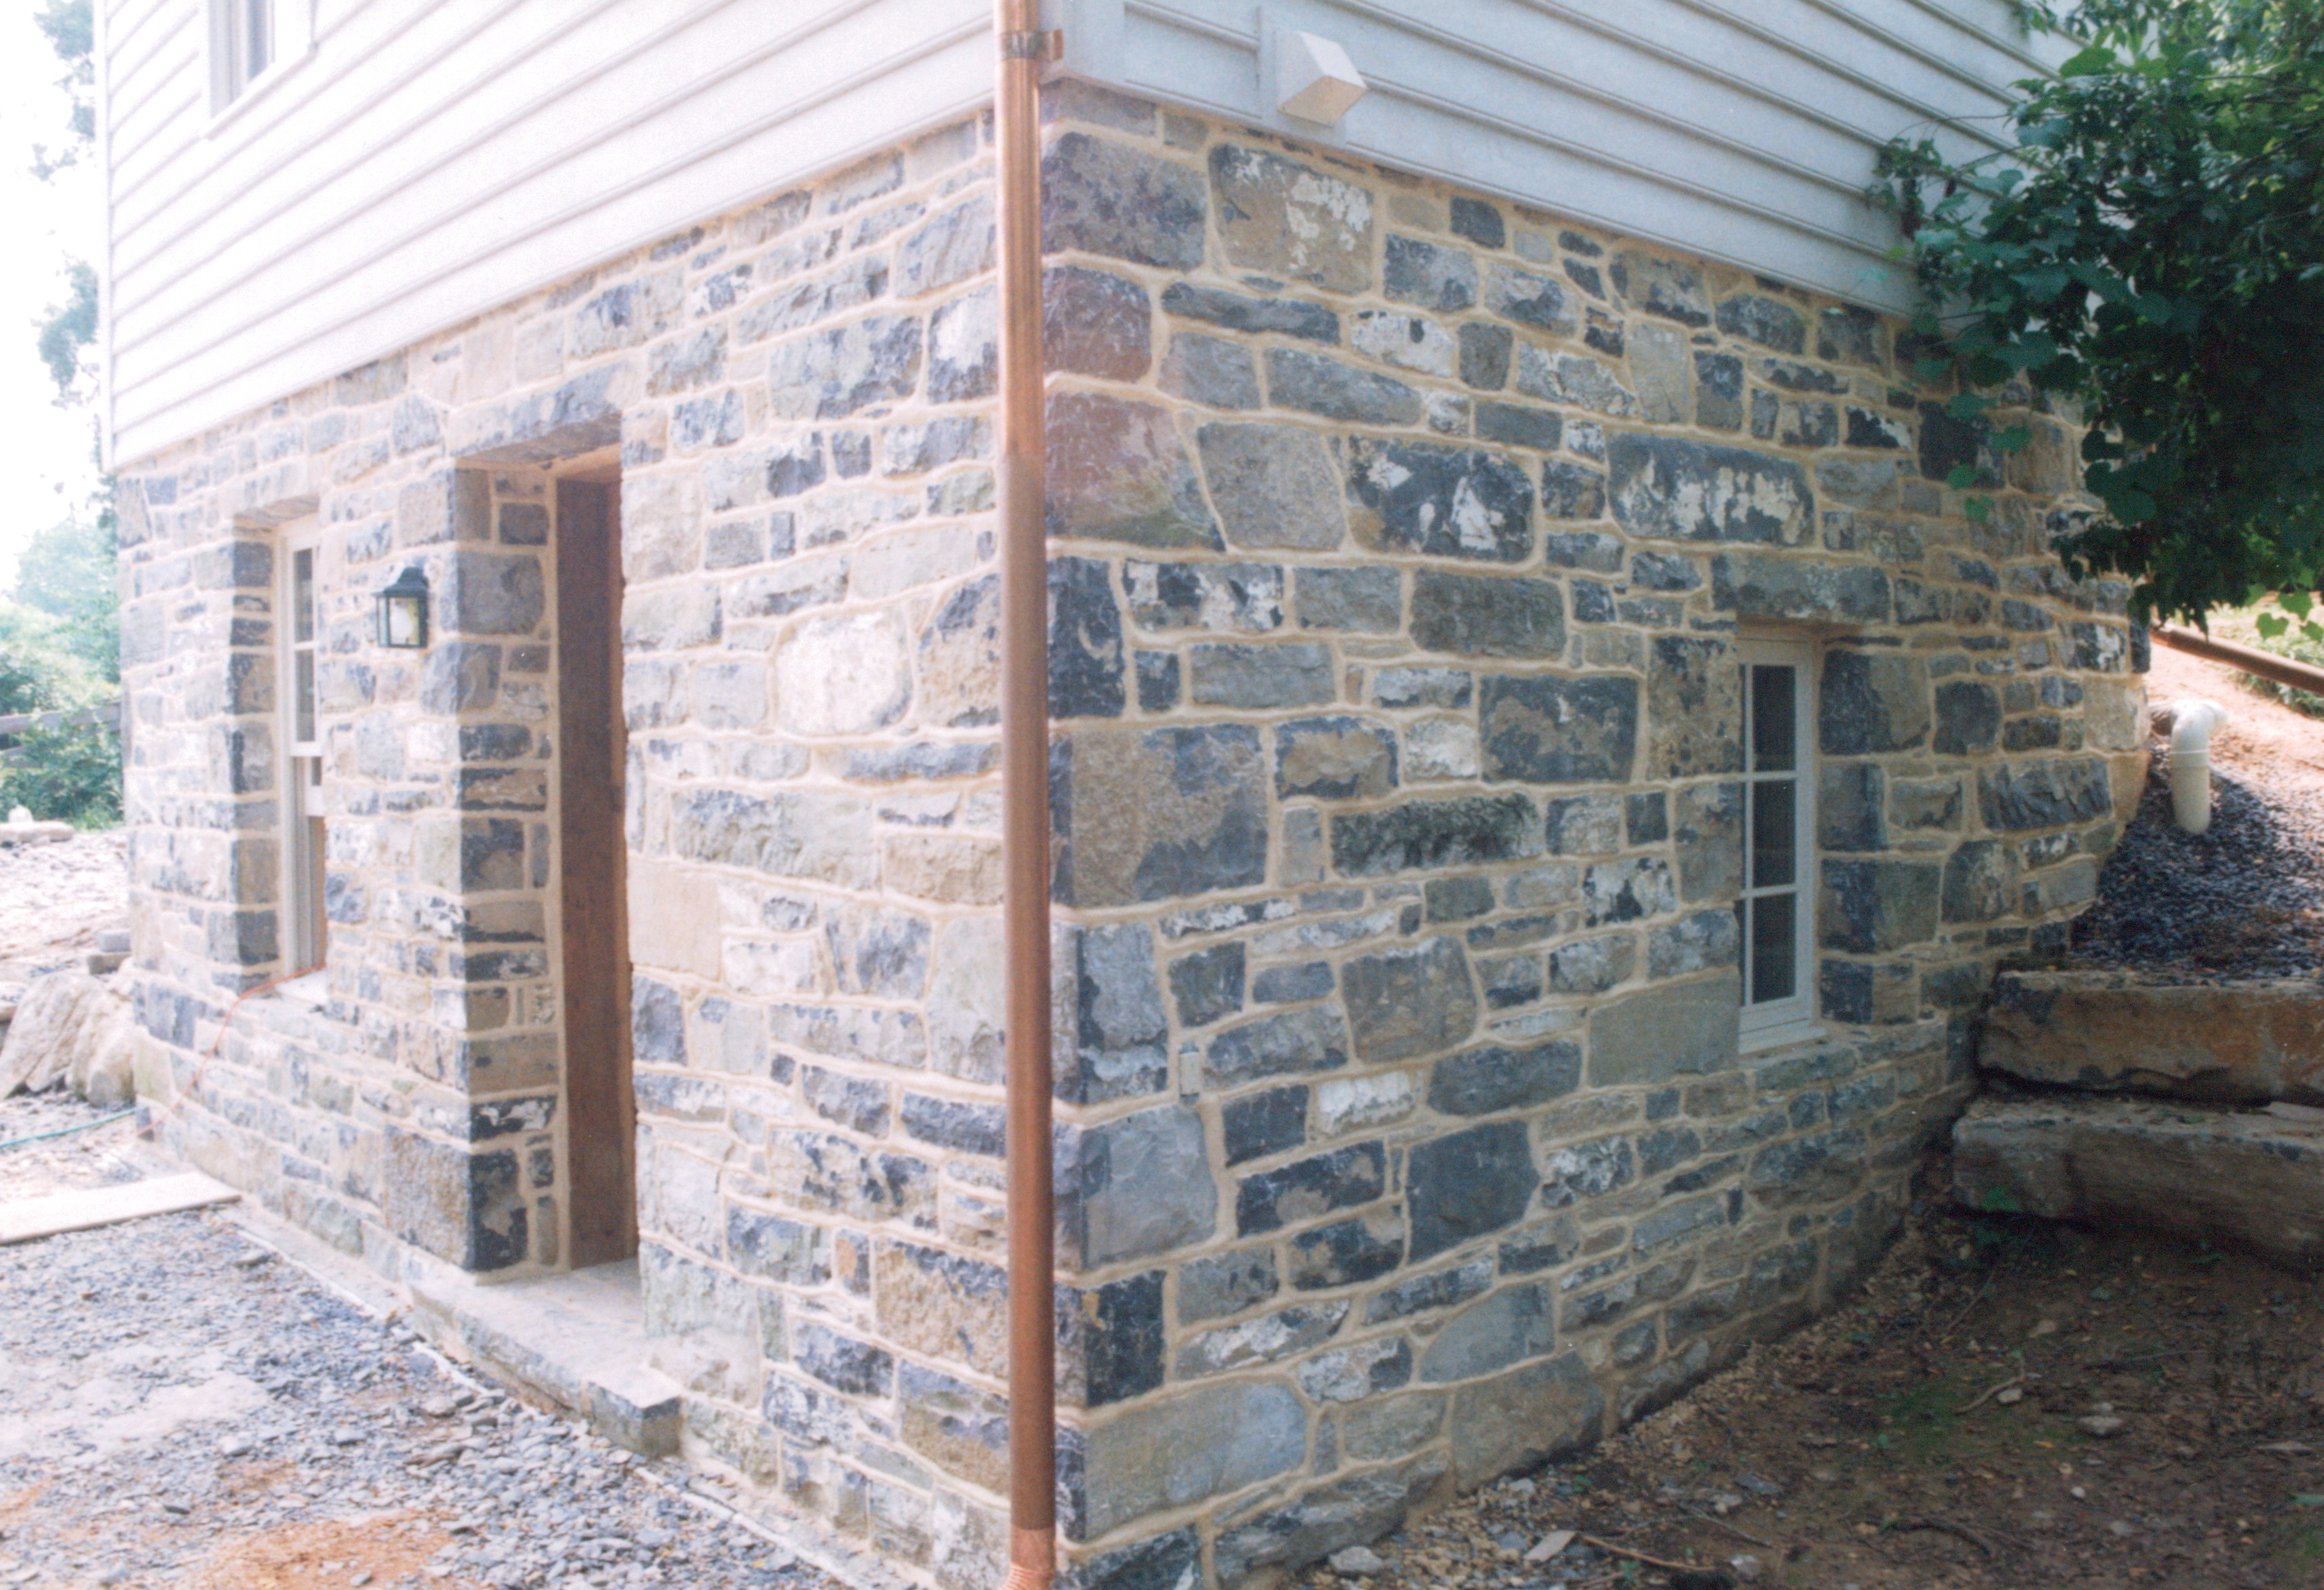
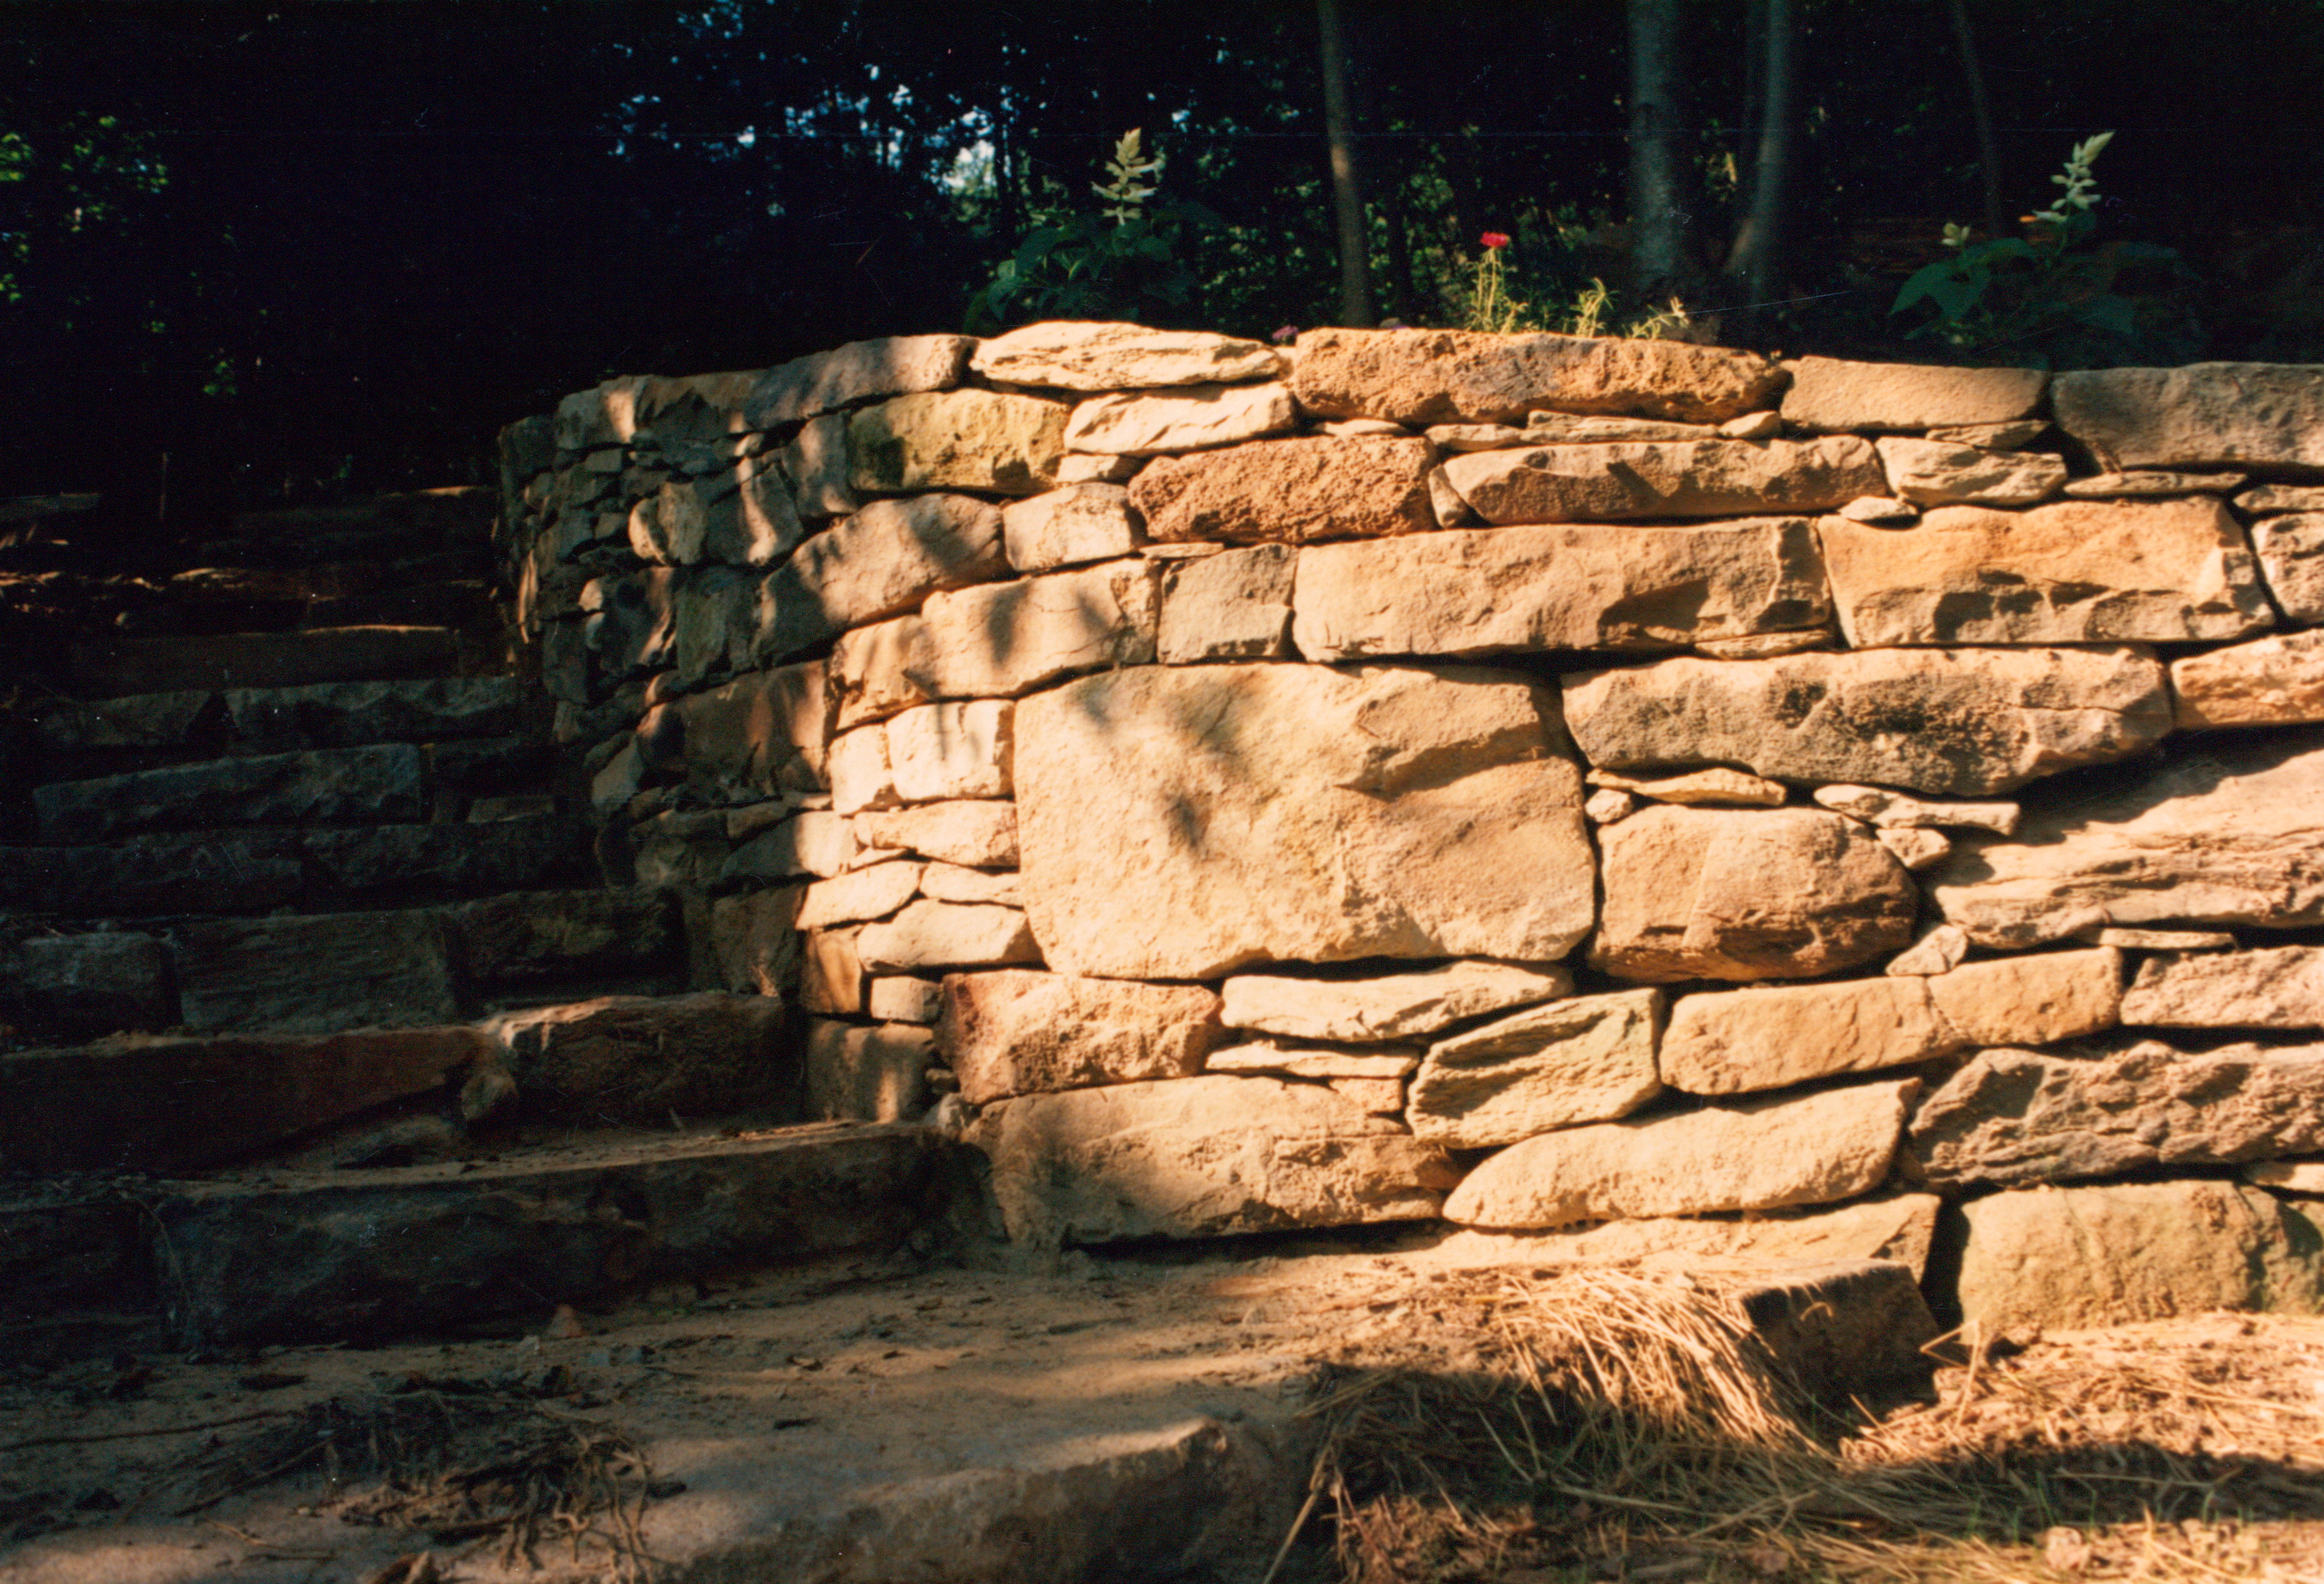
This little cottage required a lot of stone to build… a lot of stone… as you can see in the photo with the blue tarp.
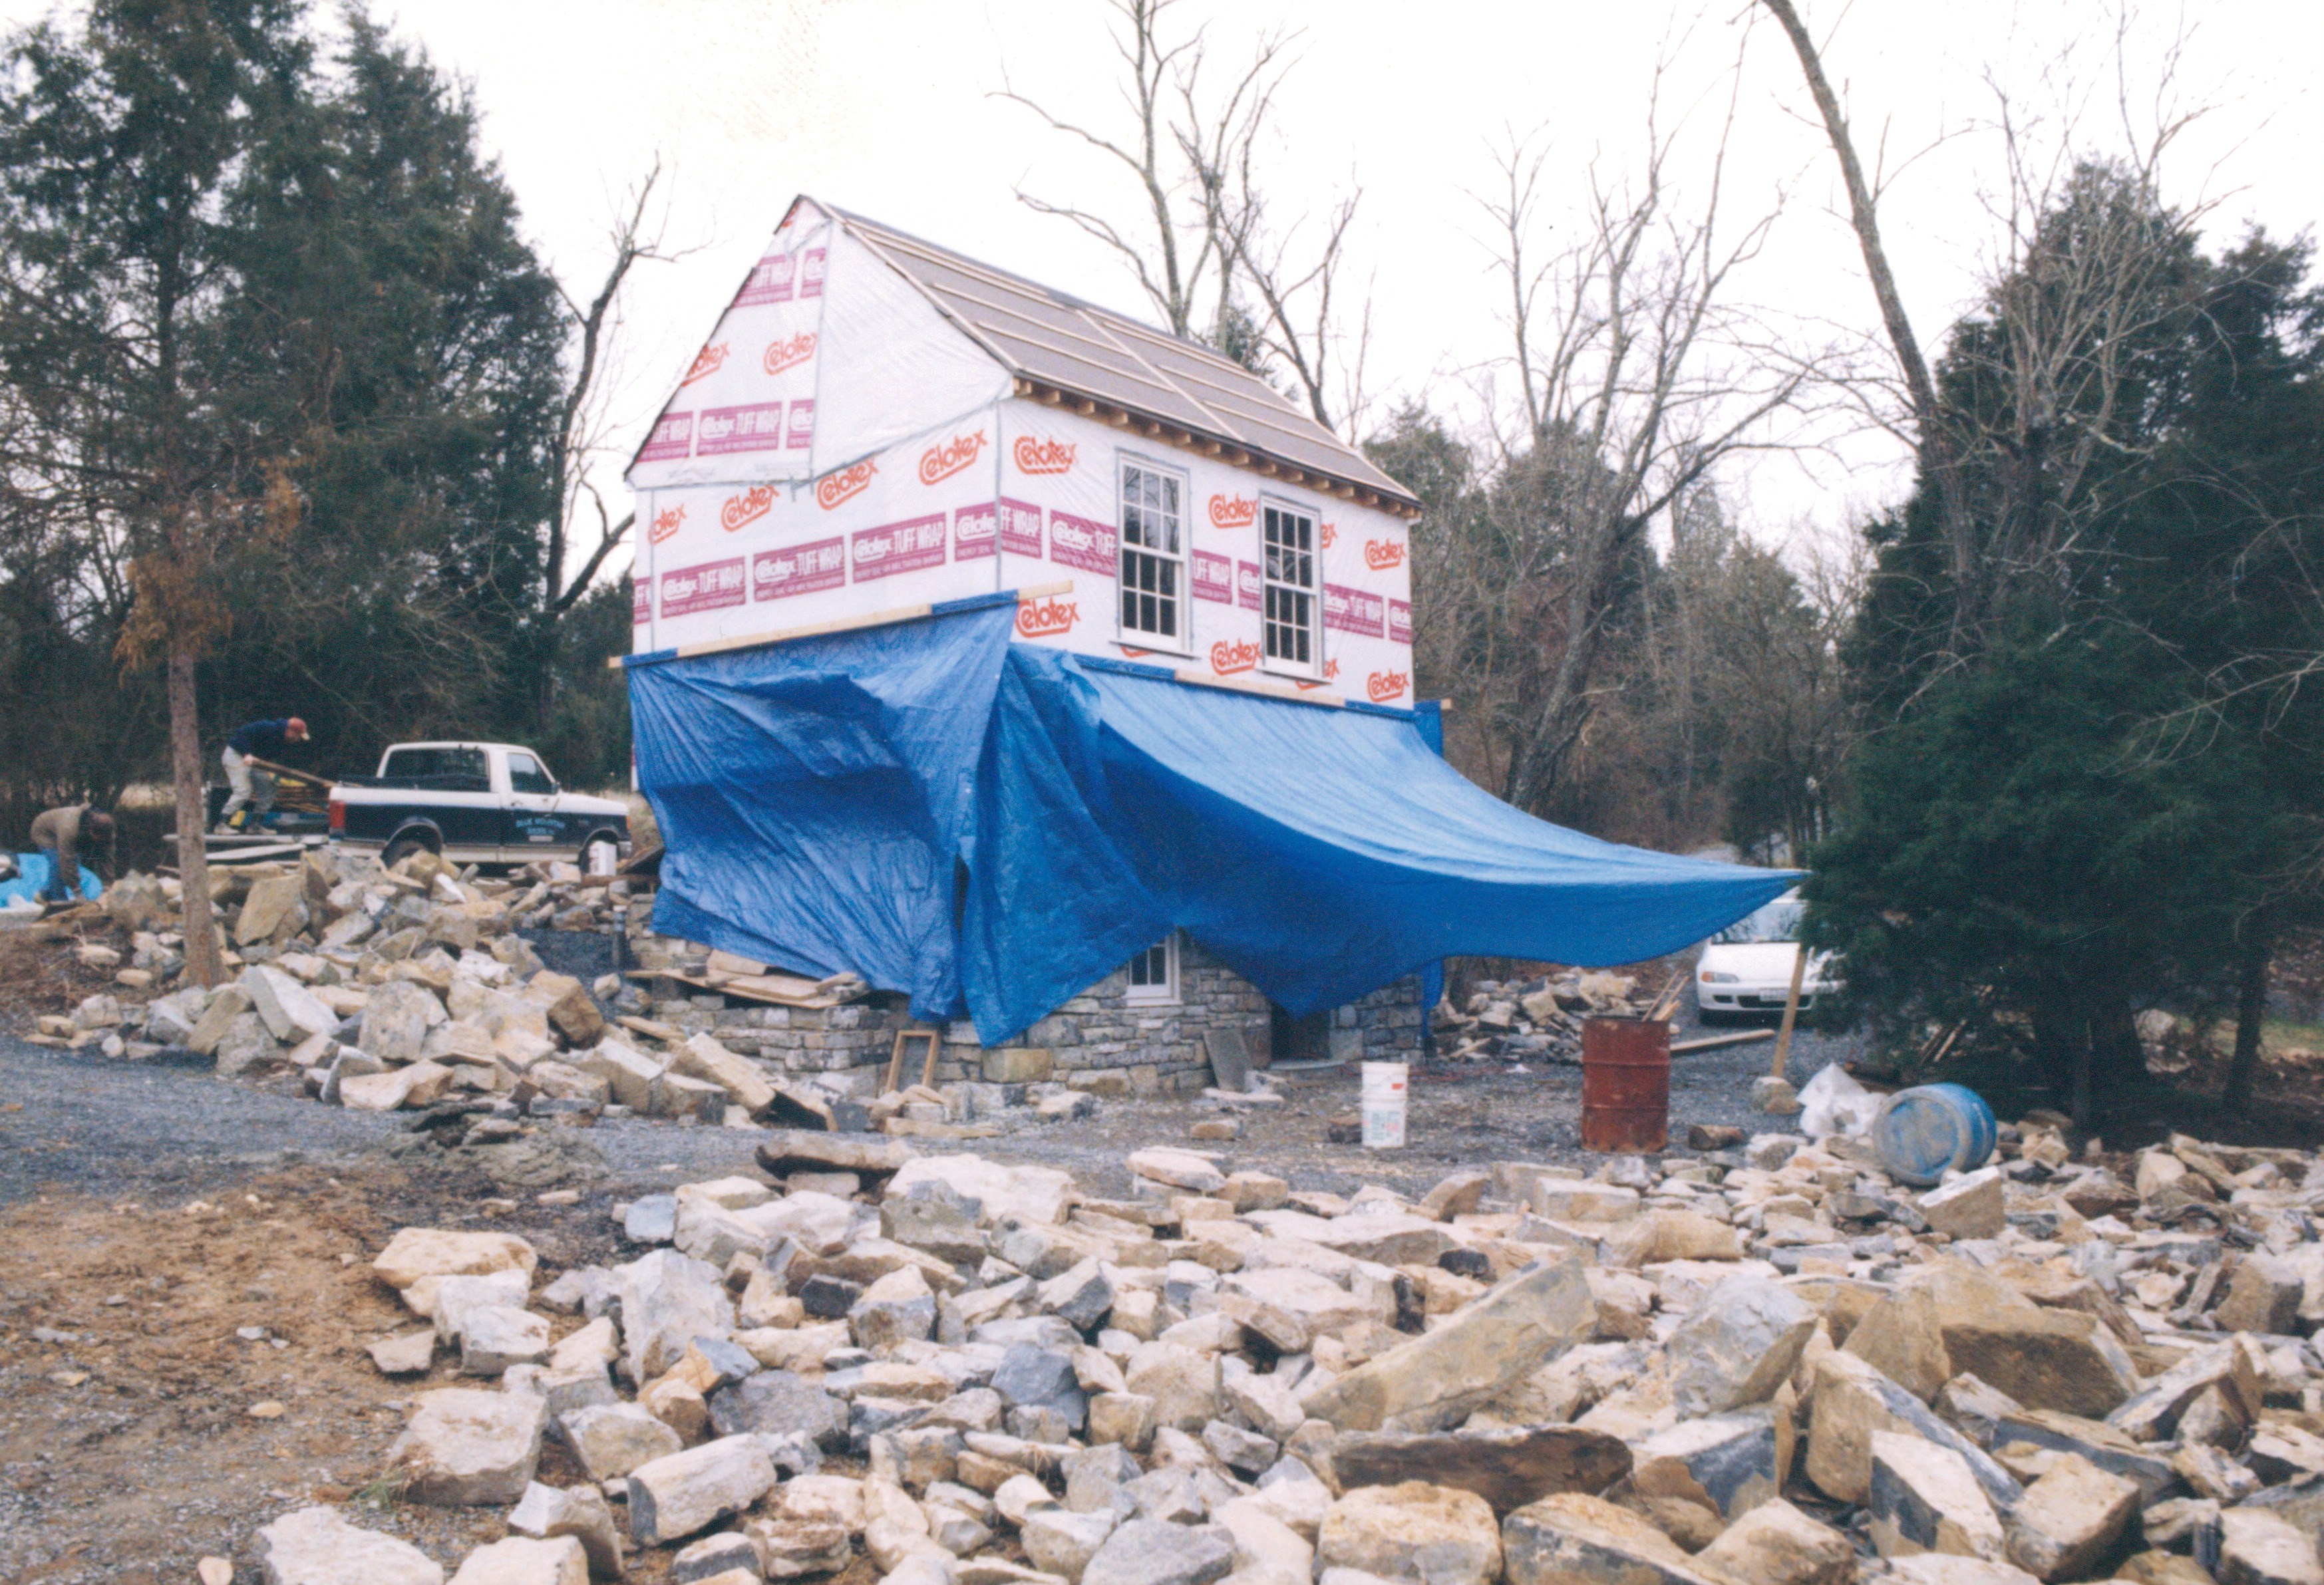
I’ve also included a couple of photos showing the same area of the house as we were building it… the first shows the stonework in a phase that we call “dry laid”… the stone has been shaped and put in place using cement (most clients prefer this look and so this is where we stop.

The historic stone house that is on this property, that we restored, is a typical Valley home in that has decorative pointing that is applied between the stones once finished. And that, is what we did to this little cottage… as you can see in the final photo.
Originally posted 2015-03-09 14:42:20.
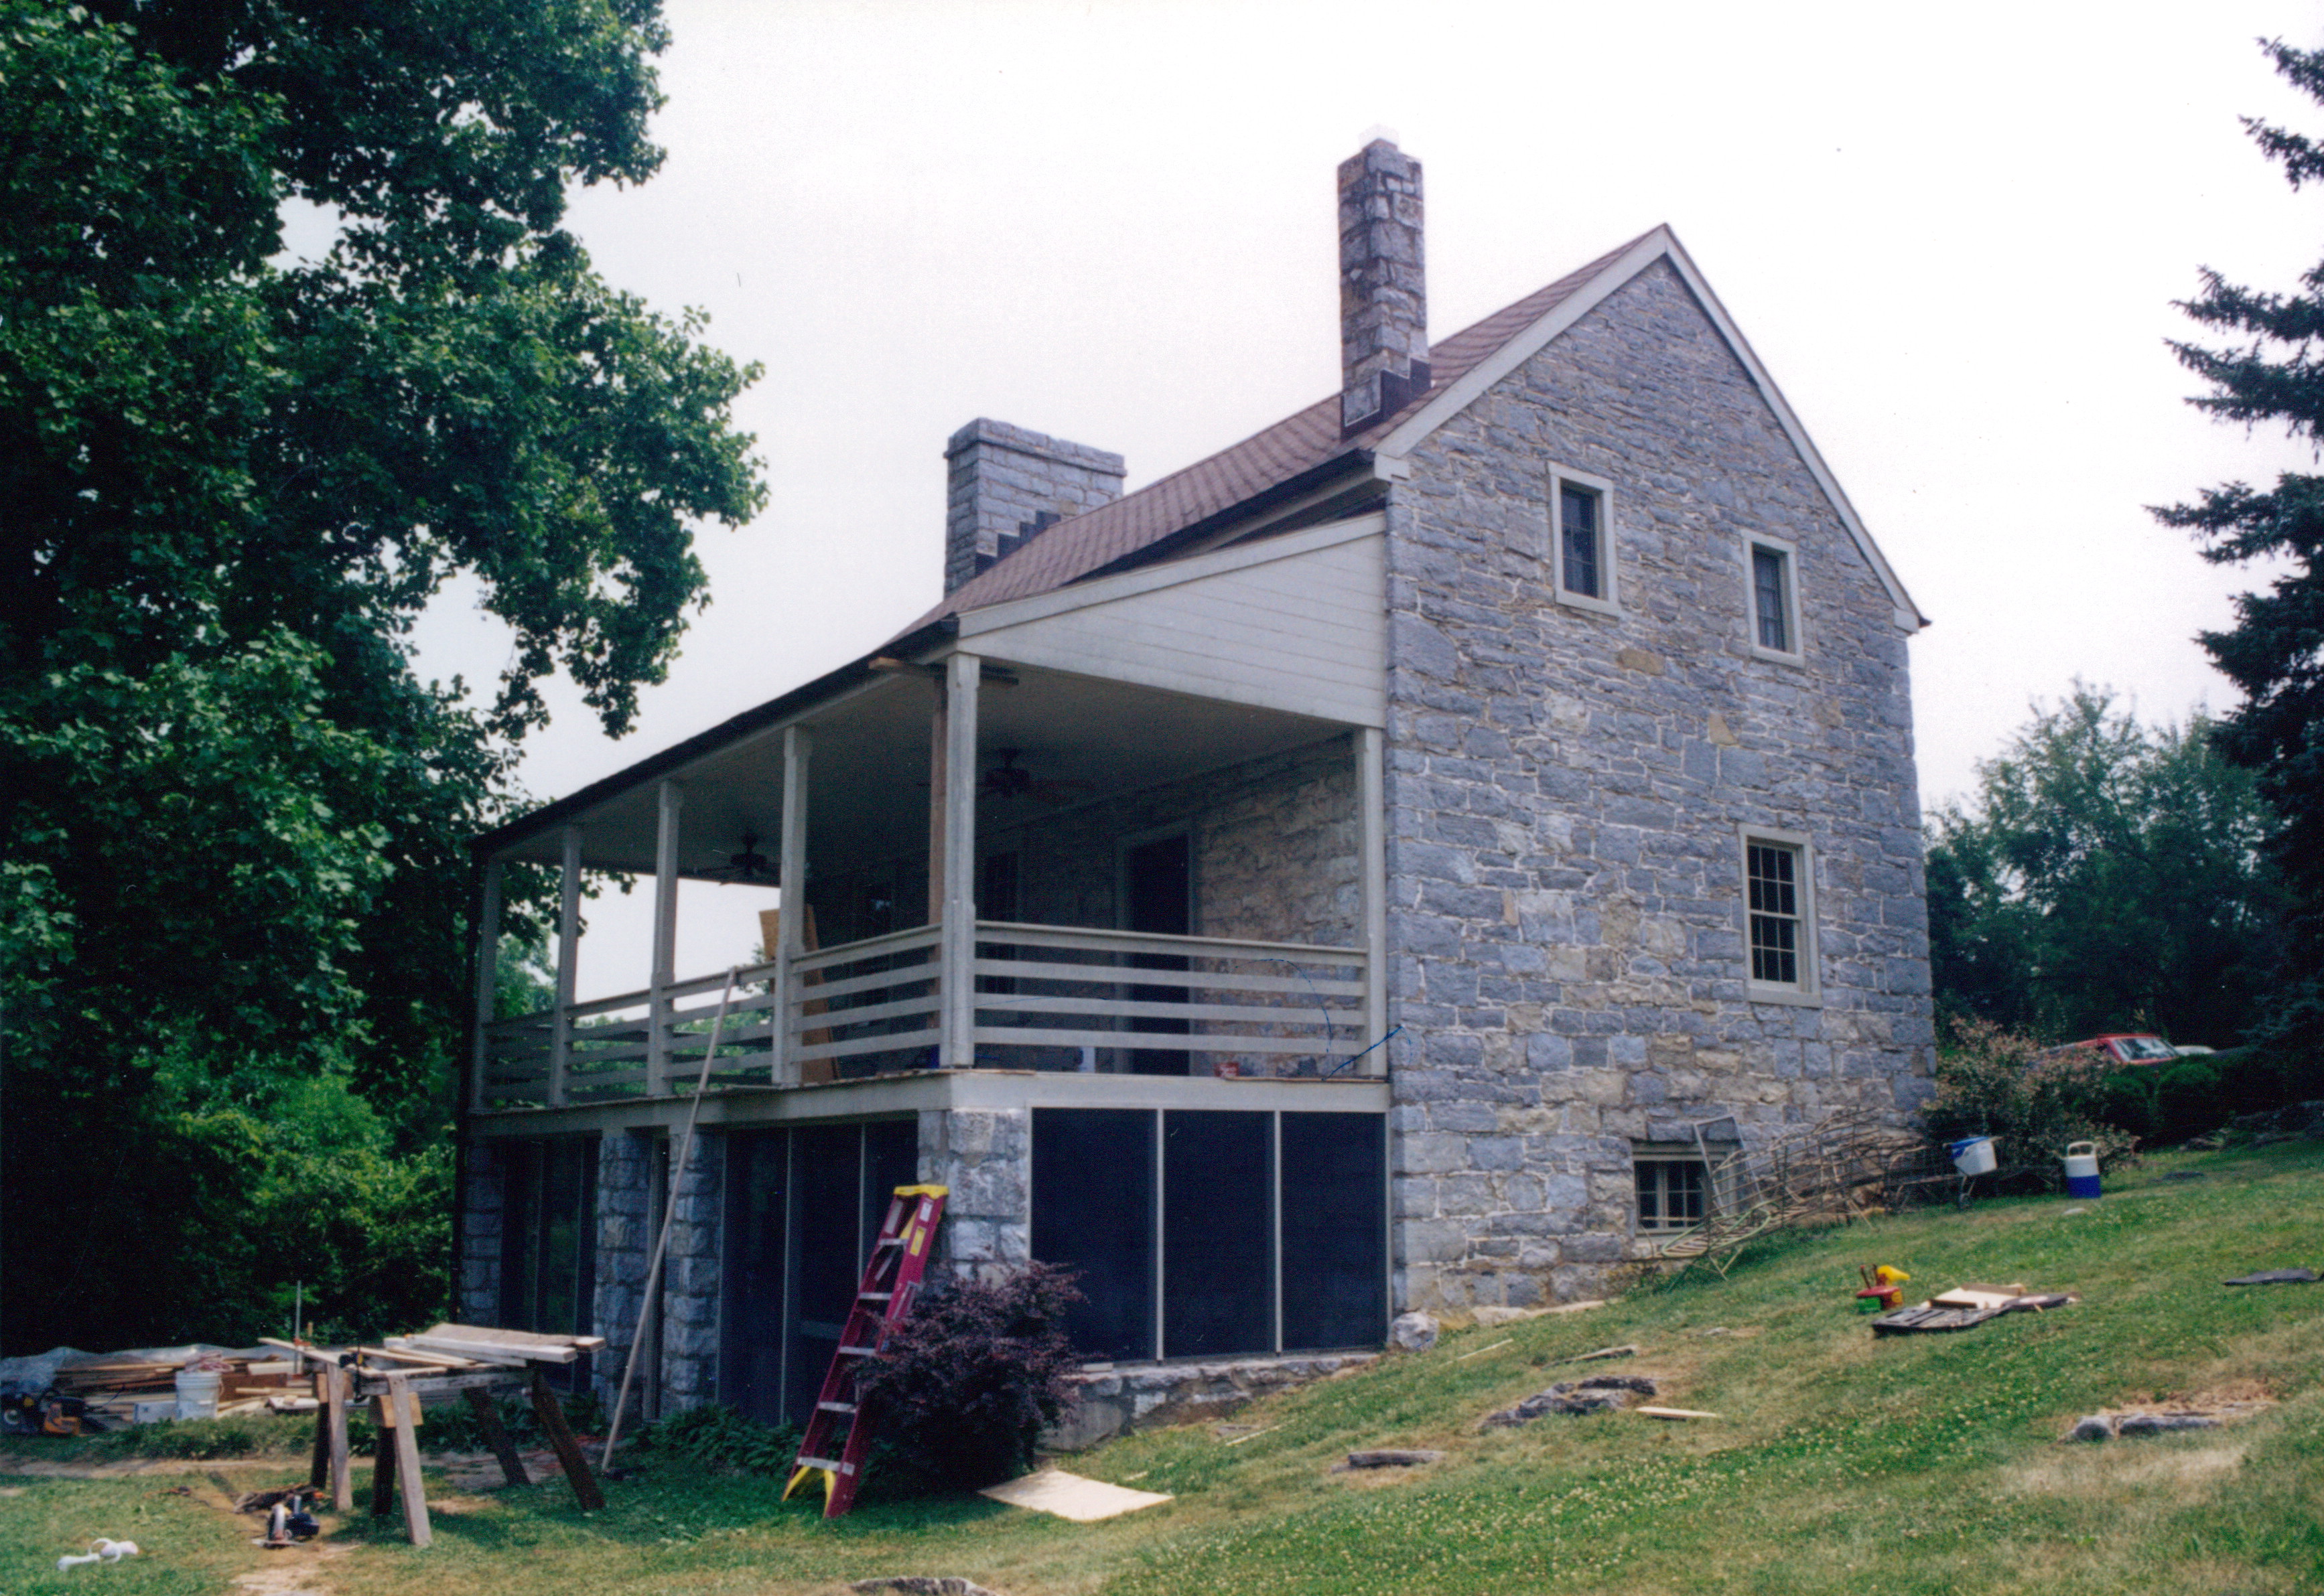
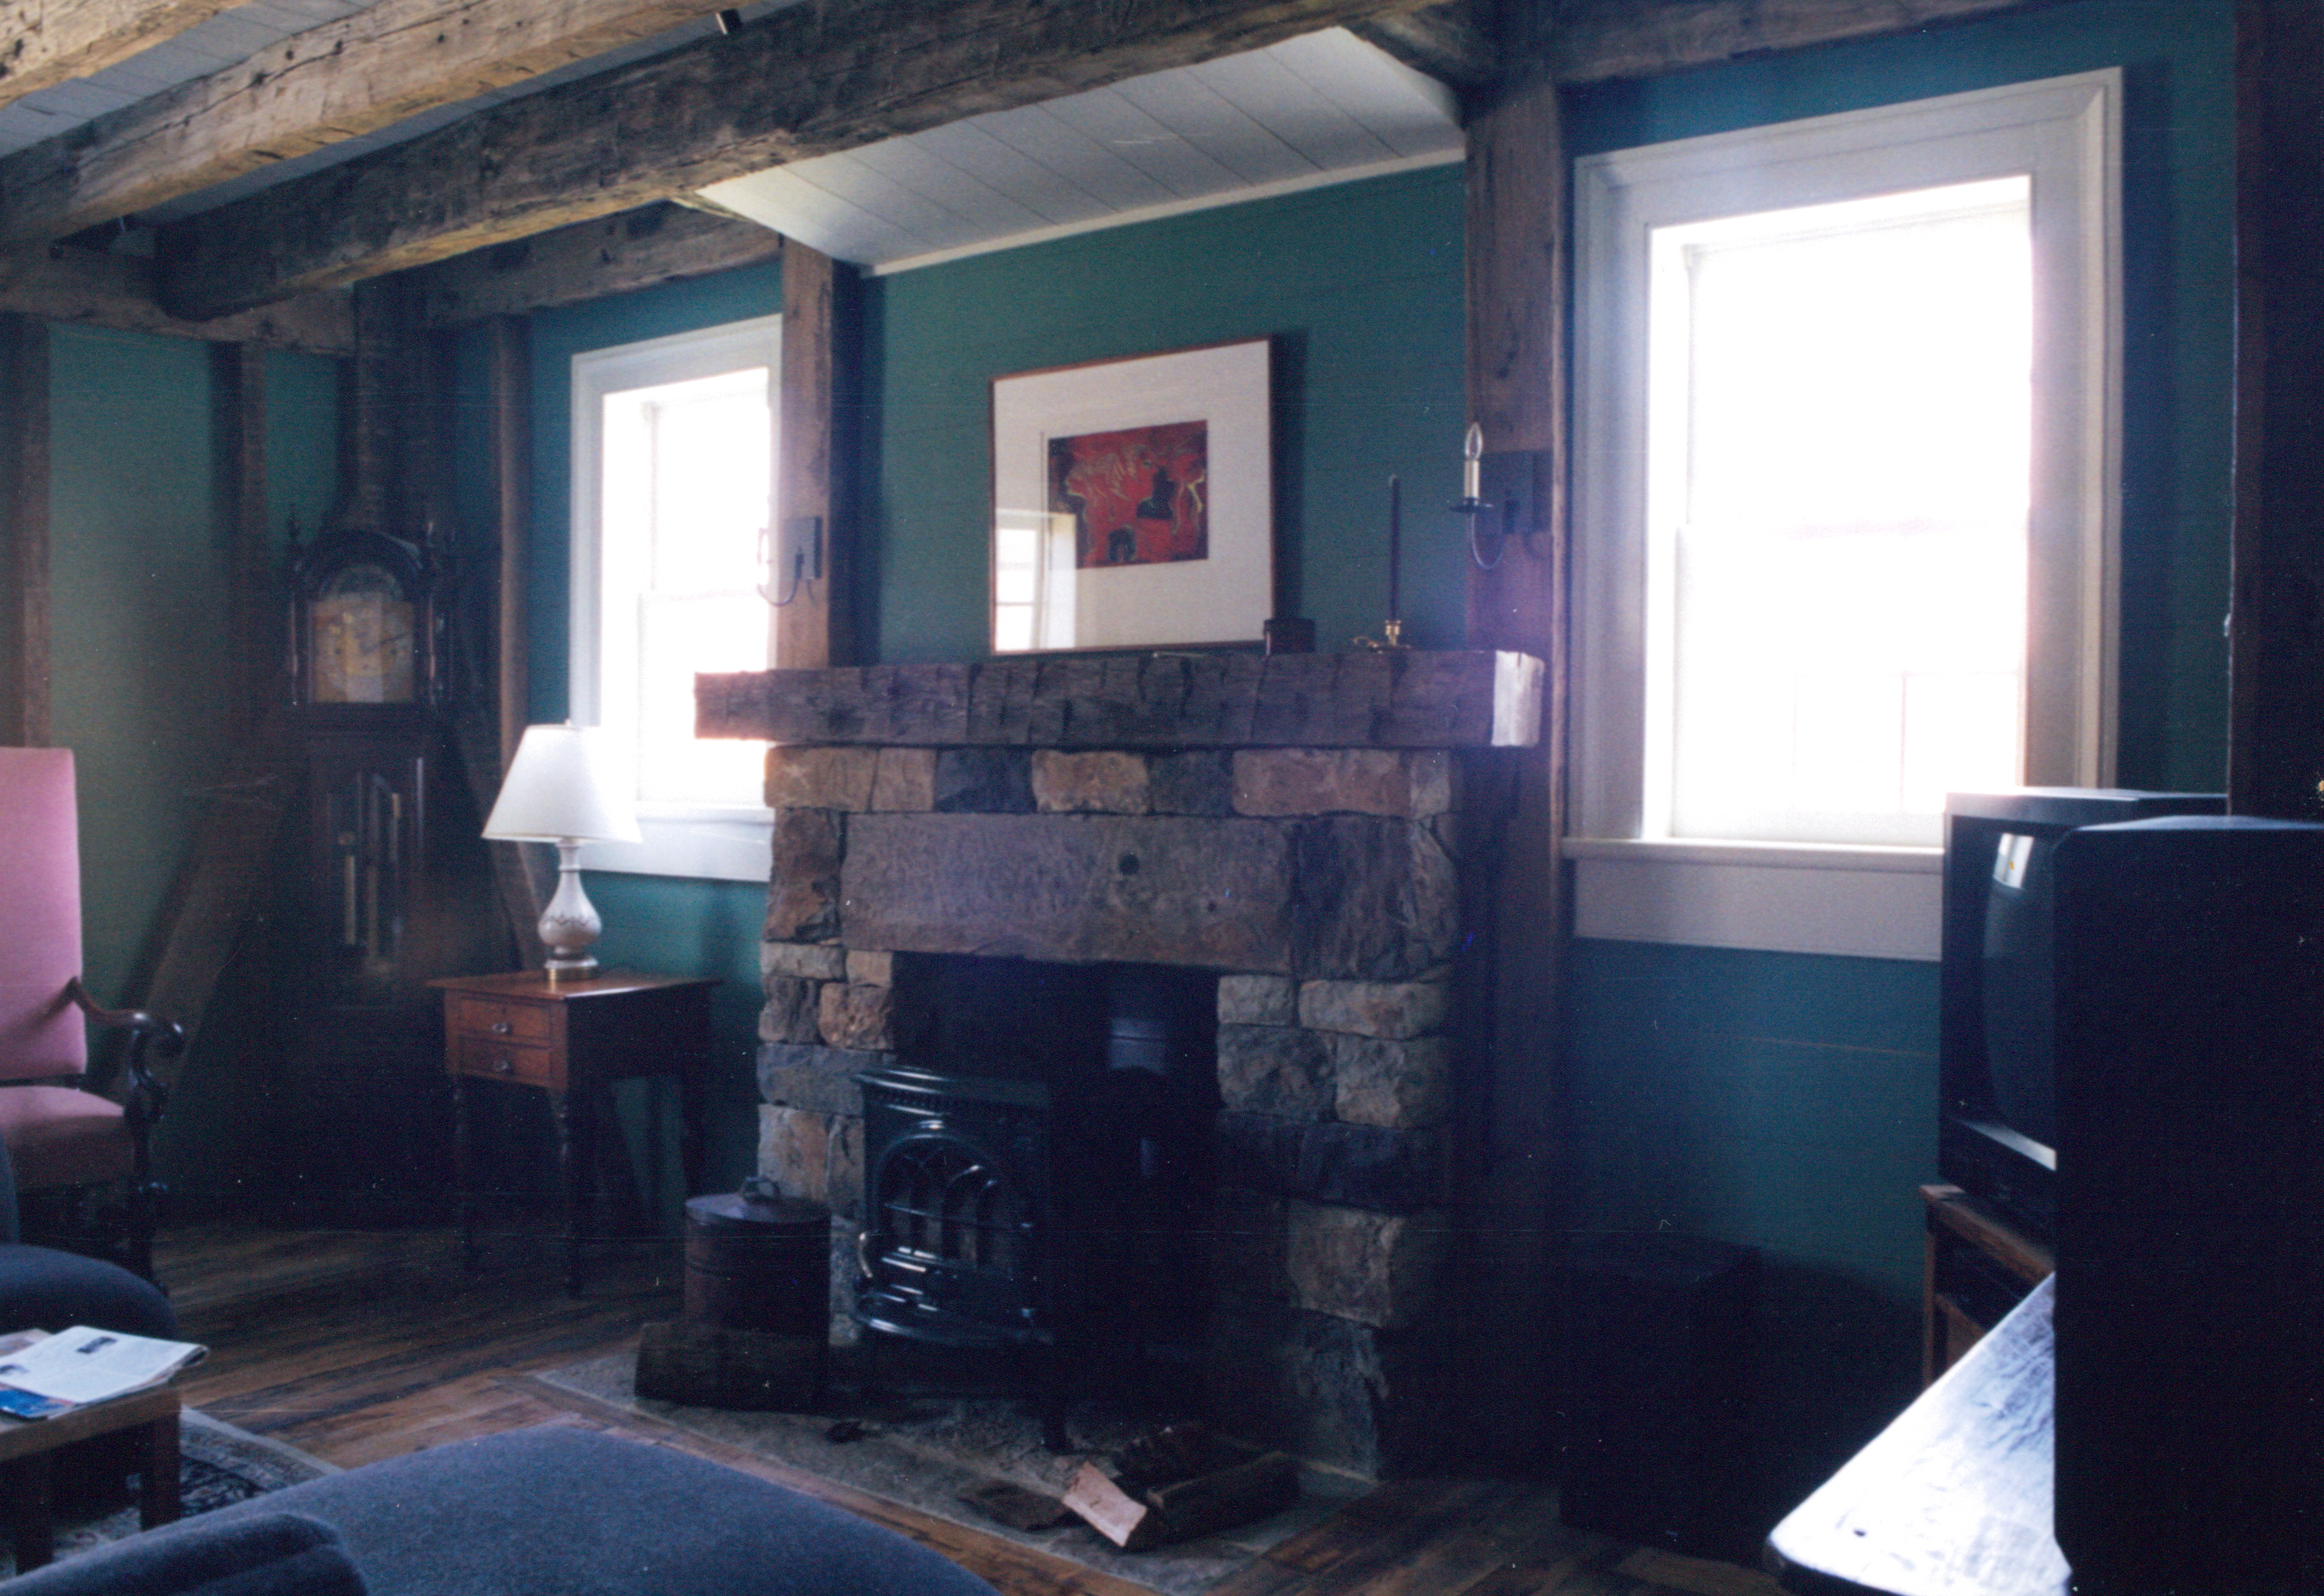
This Valley stone house appears large, but she is basically just a three room home.
The top floor is a single bedroom with bath.
The main floor is a large family room.
And on the basement level… you will find the kitchen/dining area.
Originally posted 2015-03-07 18:51:43.

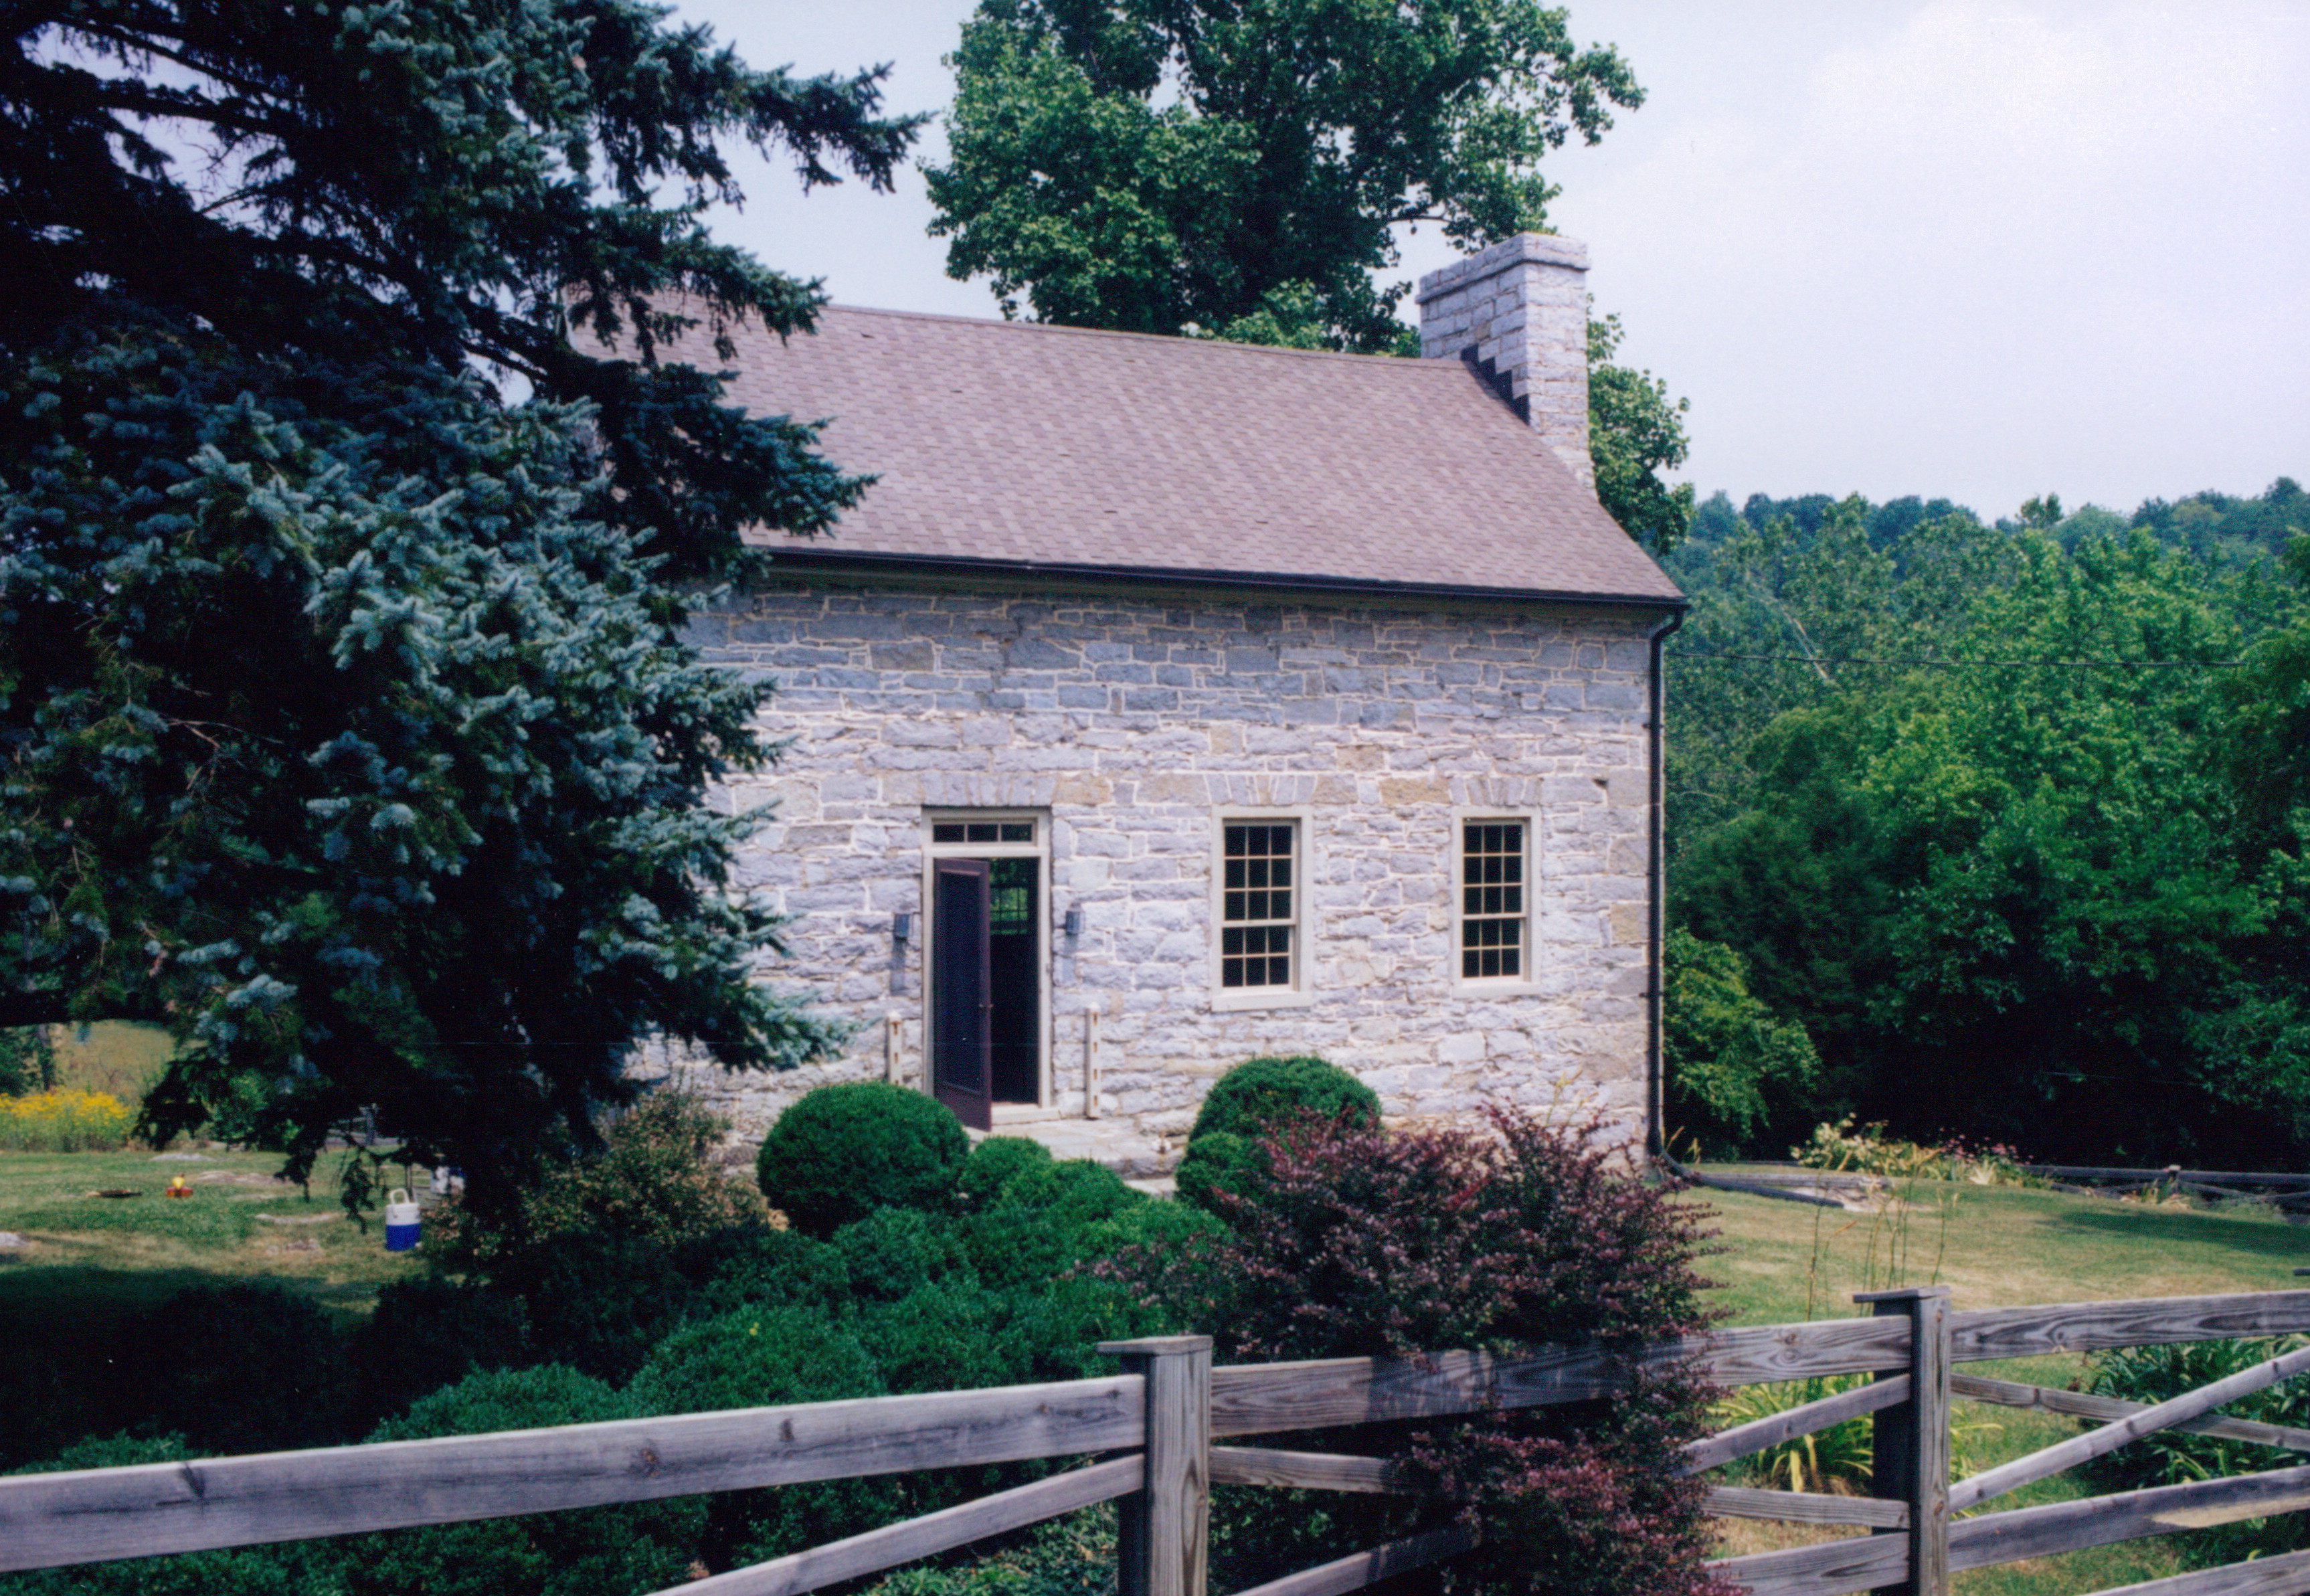
This home was as black as coal when it was first built.
I would have loved to have seen that.
It doesn’t take long for limestone to develop a grey patina on it’s surface once it is exposed to air.
Whenever I visit the Valley and see all the stone structures that were built there so long ago I try to imagine what they must have looked like when they were new. I’m not aware of any other stone that changes it’s color over time.
The Shenandoah Valley of Virginia is full of stone houses, bridges, barns, and walls… all made out of huge blocks of limestone. If you have ever desired to live in stone home, this is the place where dreams come true.
I am told that the Valley was once a huge inland sea and that over many years a deep layer of limestone sediment was created. Visit the Valley and dig anywhere you want through it’s rich soil and within a few feet you will find a floor of limestone.
One thing incredible thing about limestone… it “shapes” wonderfully. With enough focused effort large sugar cubes will come to anyone willing to swing a hammer and hold a chisel.
This
naturally occurring,
virtually unlimited,
easily malleable,
infinitely durable,
environmentally friendly,
low maintenance,
cost effective,
product, became the building material of choice.
Our ancestors chose to build not only for themselves but for the generations to come. In the Valley they chose to use limestone.
And we are thankful for that.
Originally posted 2015-03-07 17:58:18.
There are few homes more alluring than a stone home. They draw us in with their overwhelming beauty. As I first caught a glimpse of this Strasburg home I was smitten.
This house is obviously perfect!
There can’t possibly be anything wrong with it!
Why would these new homeowners call this humble builder for help?
Oh, how beauty blinds us all.
Originally posted 2015-03-07 16:45:11.
Only those who visit the outhouse ever get around to seeing this perspective of the mountainside cabin.
And, that’s a shame.
Those visitors who fail to partake in the “Rural Ritual” just don’t know what they are missing.
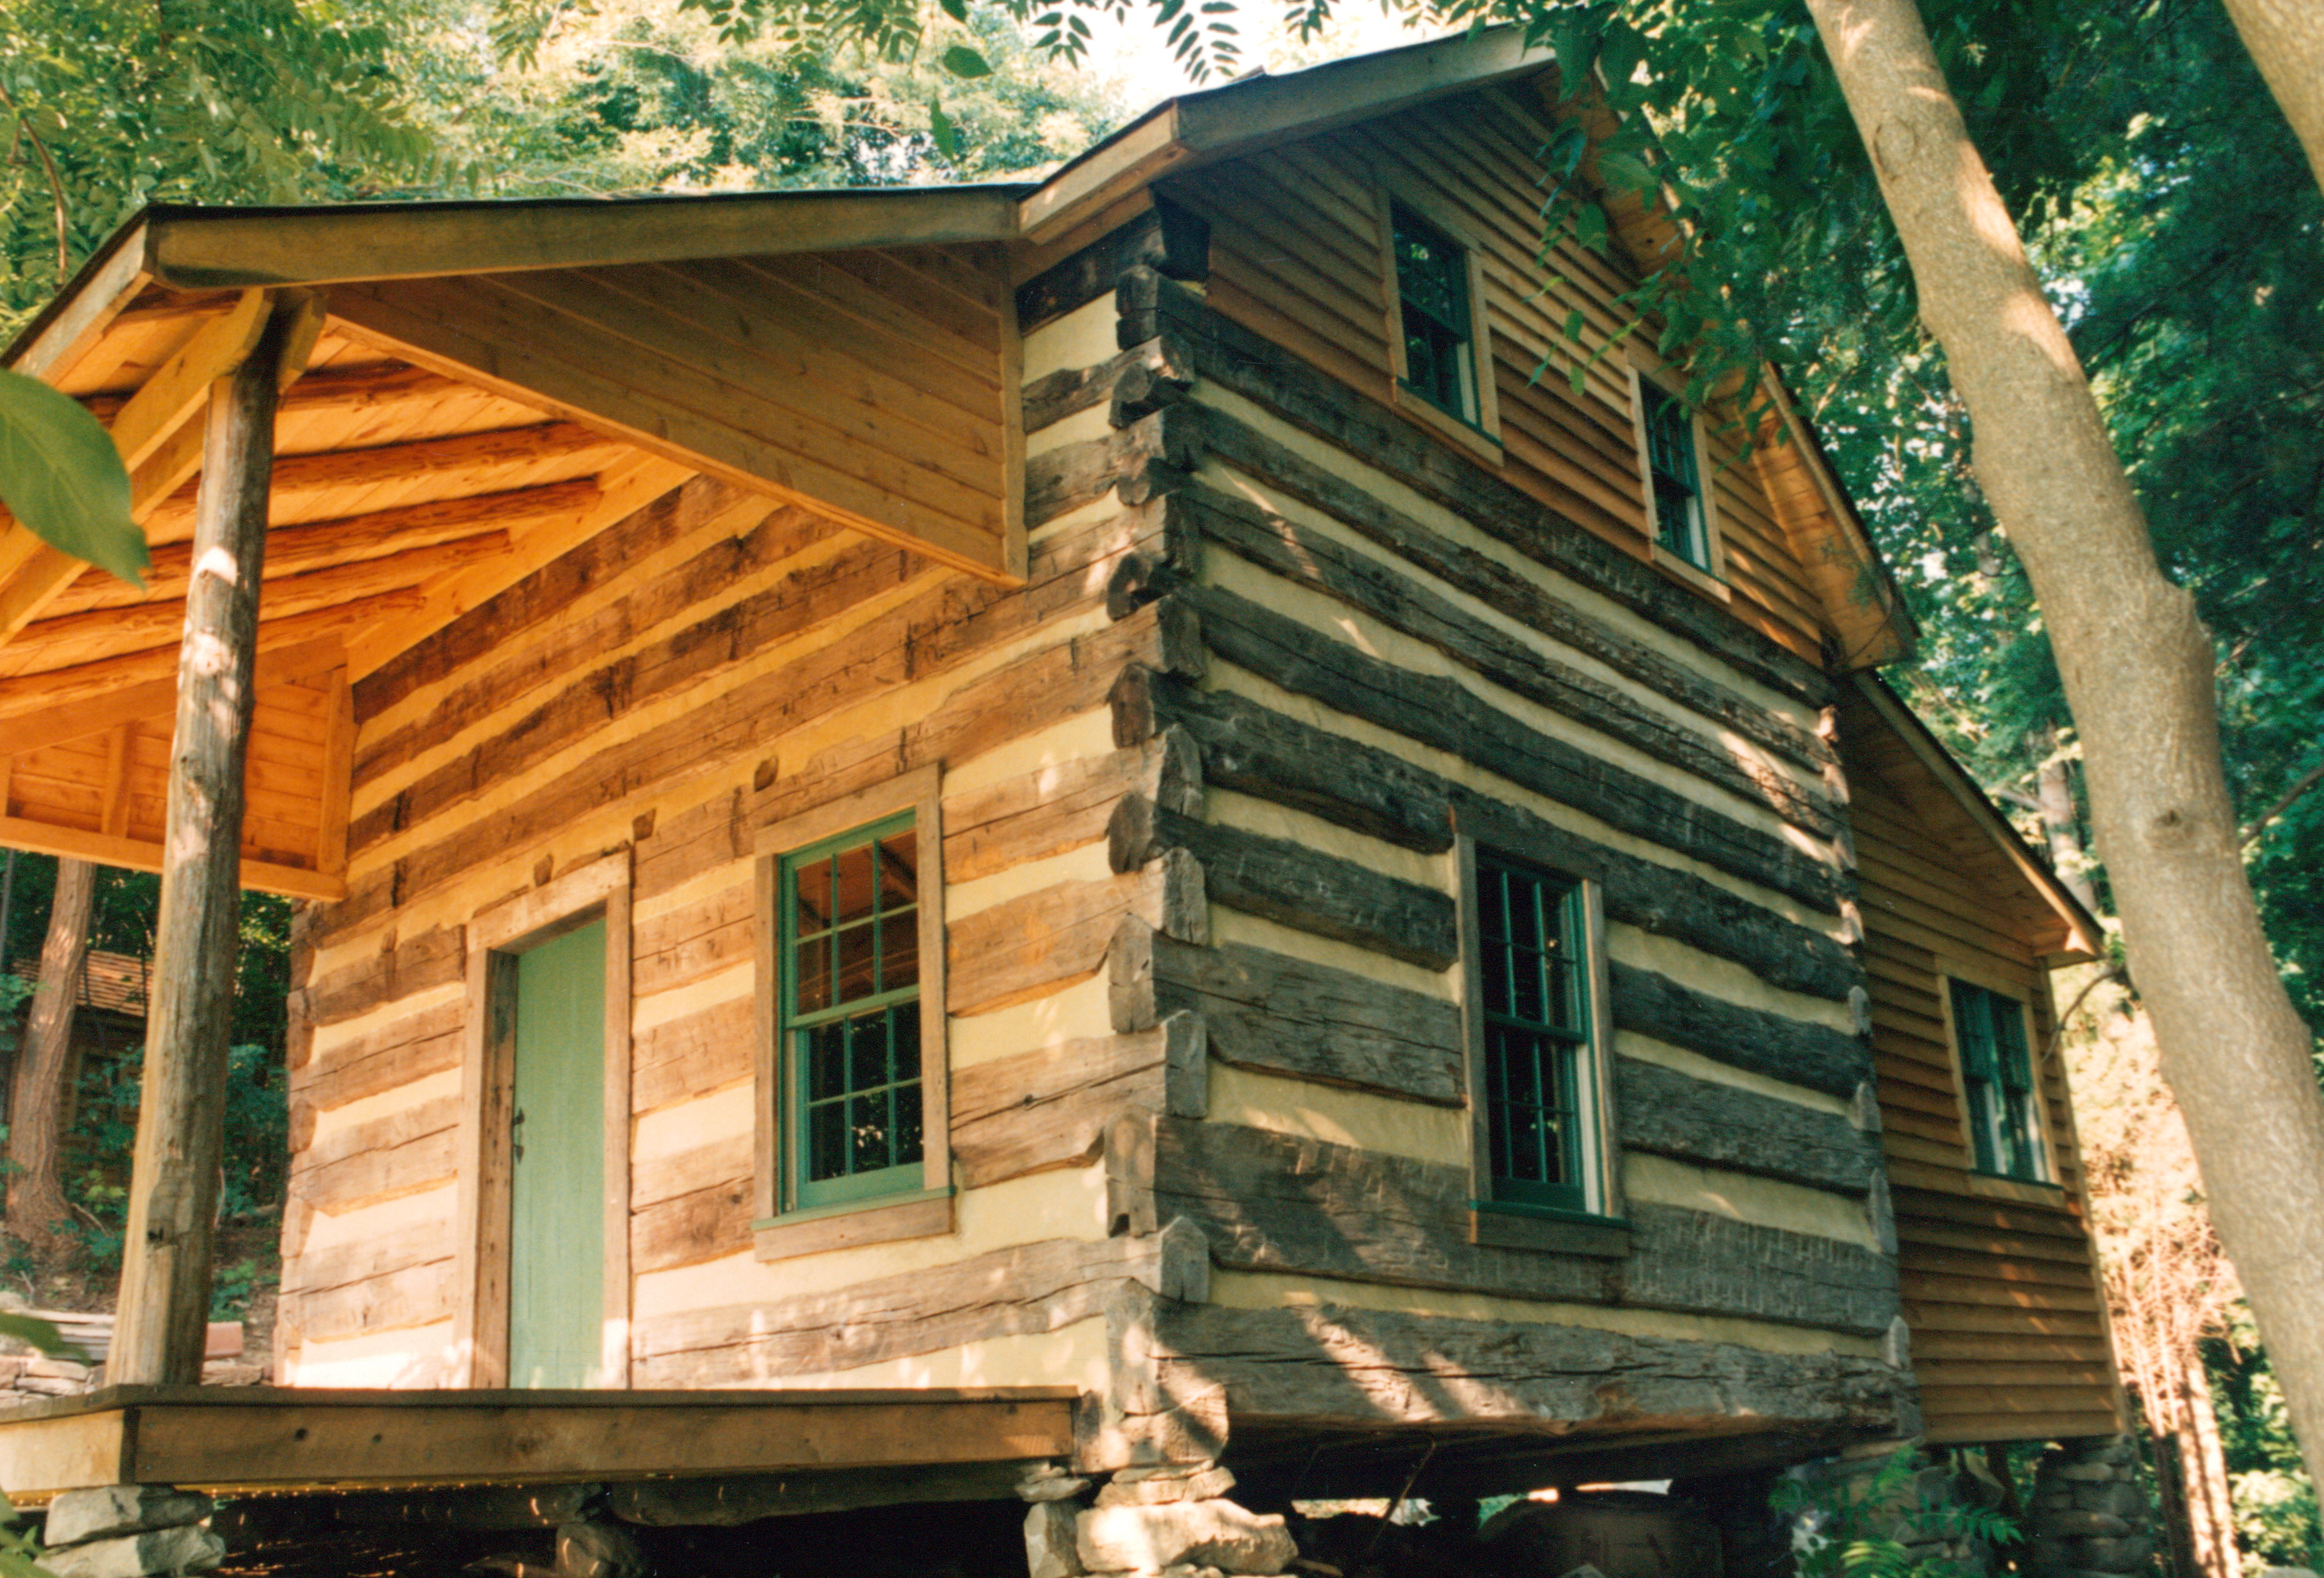
Originally, the only window visible from this side of the cabin would have been the one centered in the end log wall, all the others were added during the restoration process.
Without the light that came from the cabin’s single fireplace this would have been one very dark home. It was a different world back in those days. A home was a shelter from the outside world when needed. Life then, was lived outdoors.
I like this profile of the cabin, maybe not as much as the other side, but still.. it’s nice. She appears much taller and more imposing when viewed from” the downside”. The height of a structure really alters our opinion of it, doesn’t it? Short is cute, tall is imposing. Which description do you want for your cabin?
Talk about being tall… the first course of logs on this side is a good four to five feet off of the ground versus that very same course of logs nearly touching mother earth on the opposite end.
As you can see this log cabin is perched on rock piers… irregular columns of stone placed in each corner. Each was crudely built, likely by the home-owner, using no mortar and many rough, jagged, pieces of granite which are commonly found laying on the ground here east of the Appalachian Mountains.
Every indication is that there was no footer installed under any of the piers. Likely, the first step in building this cabin was that a large stone was dropped on the ground and from there the cabin was built.
I like that visualization… Dad announces… “Here’s a good spot… I like it… Let’s build a house!”.
But… But… What about getting government permission, permits and such? What about hiring an architect? Is this land zoned for a cabin? lol None of that… pure freedom.
Most builders simply gasp when they view this primitive foundation. No way would it ever pass code today, maybe even for an barn, not to mention a house. I’ve heard of people abandoning their homes because of a crack in their foundation… heck, this support system is nothing but a crack, and yet it has stood for more than a century. Man up, people!
I built a house for myself many years ago using a stone pier system on it. It was an easy method of quickly moving forward in the building of the home. But in the long run, it was a mistake, and not just because of the fact that mice never give up on trying to get into a home built using this technique. It was the fact that no matter what I did afterwards I could never get the floors warm in the winter.
It’s a fact… if your floors are cold, you are cold. And, if you are cold, that means your wife is cold. And that my friends, is too much misery for any man to bear.
So… the lesson of the day… when the time comes to build your own cabin, make sure and put a solid stone foundation under her. You can use stone piers for your porch floor… they look good there and it gives the dog a cool place to go during the hotter months.
With the solid foundation everyone lives happily ever after, in the cabin with warm floors, and the happy wife.
The End.
Thank you, each and every one of you, for following along.
Noah
Originally posted 2015-03-06 17:08:24.
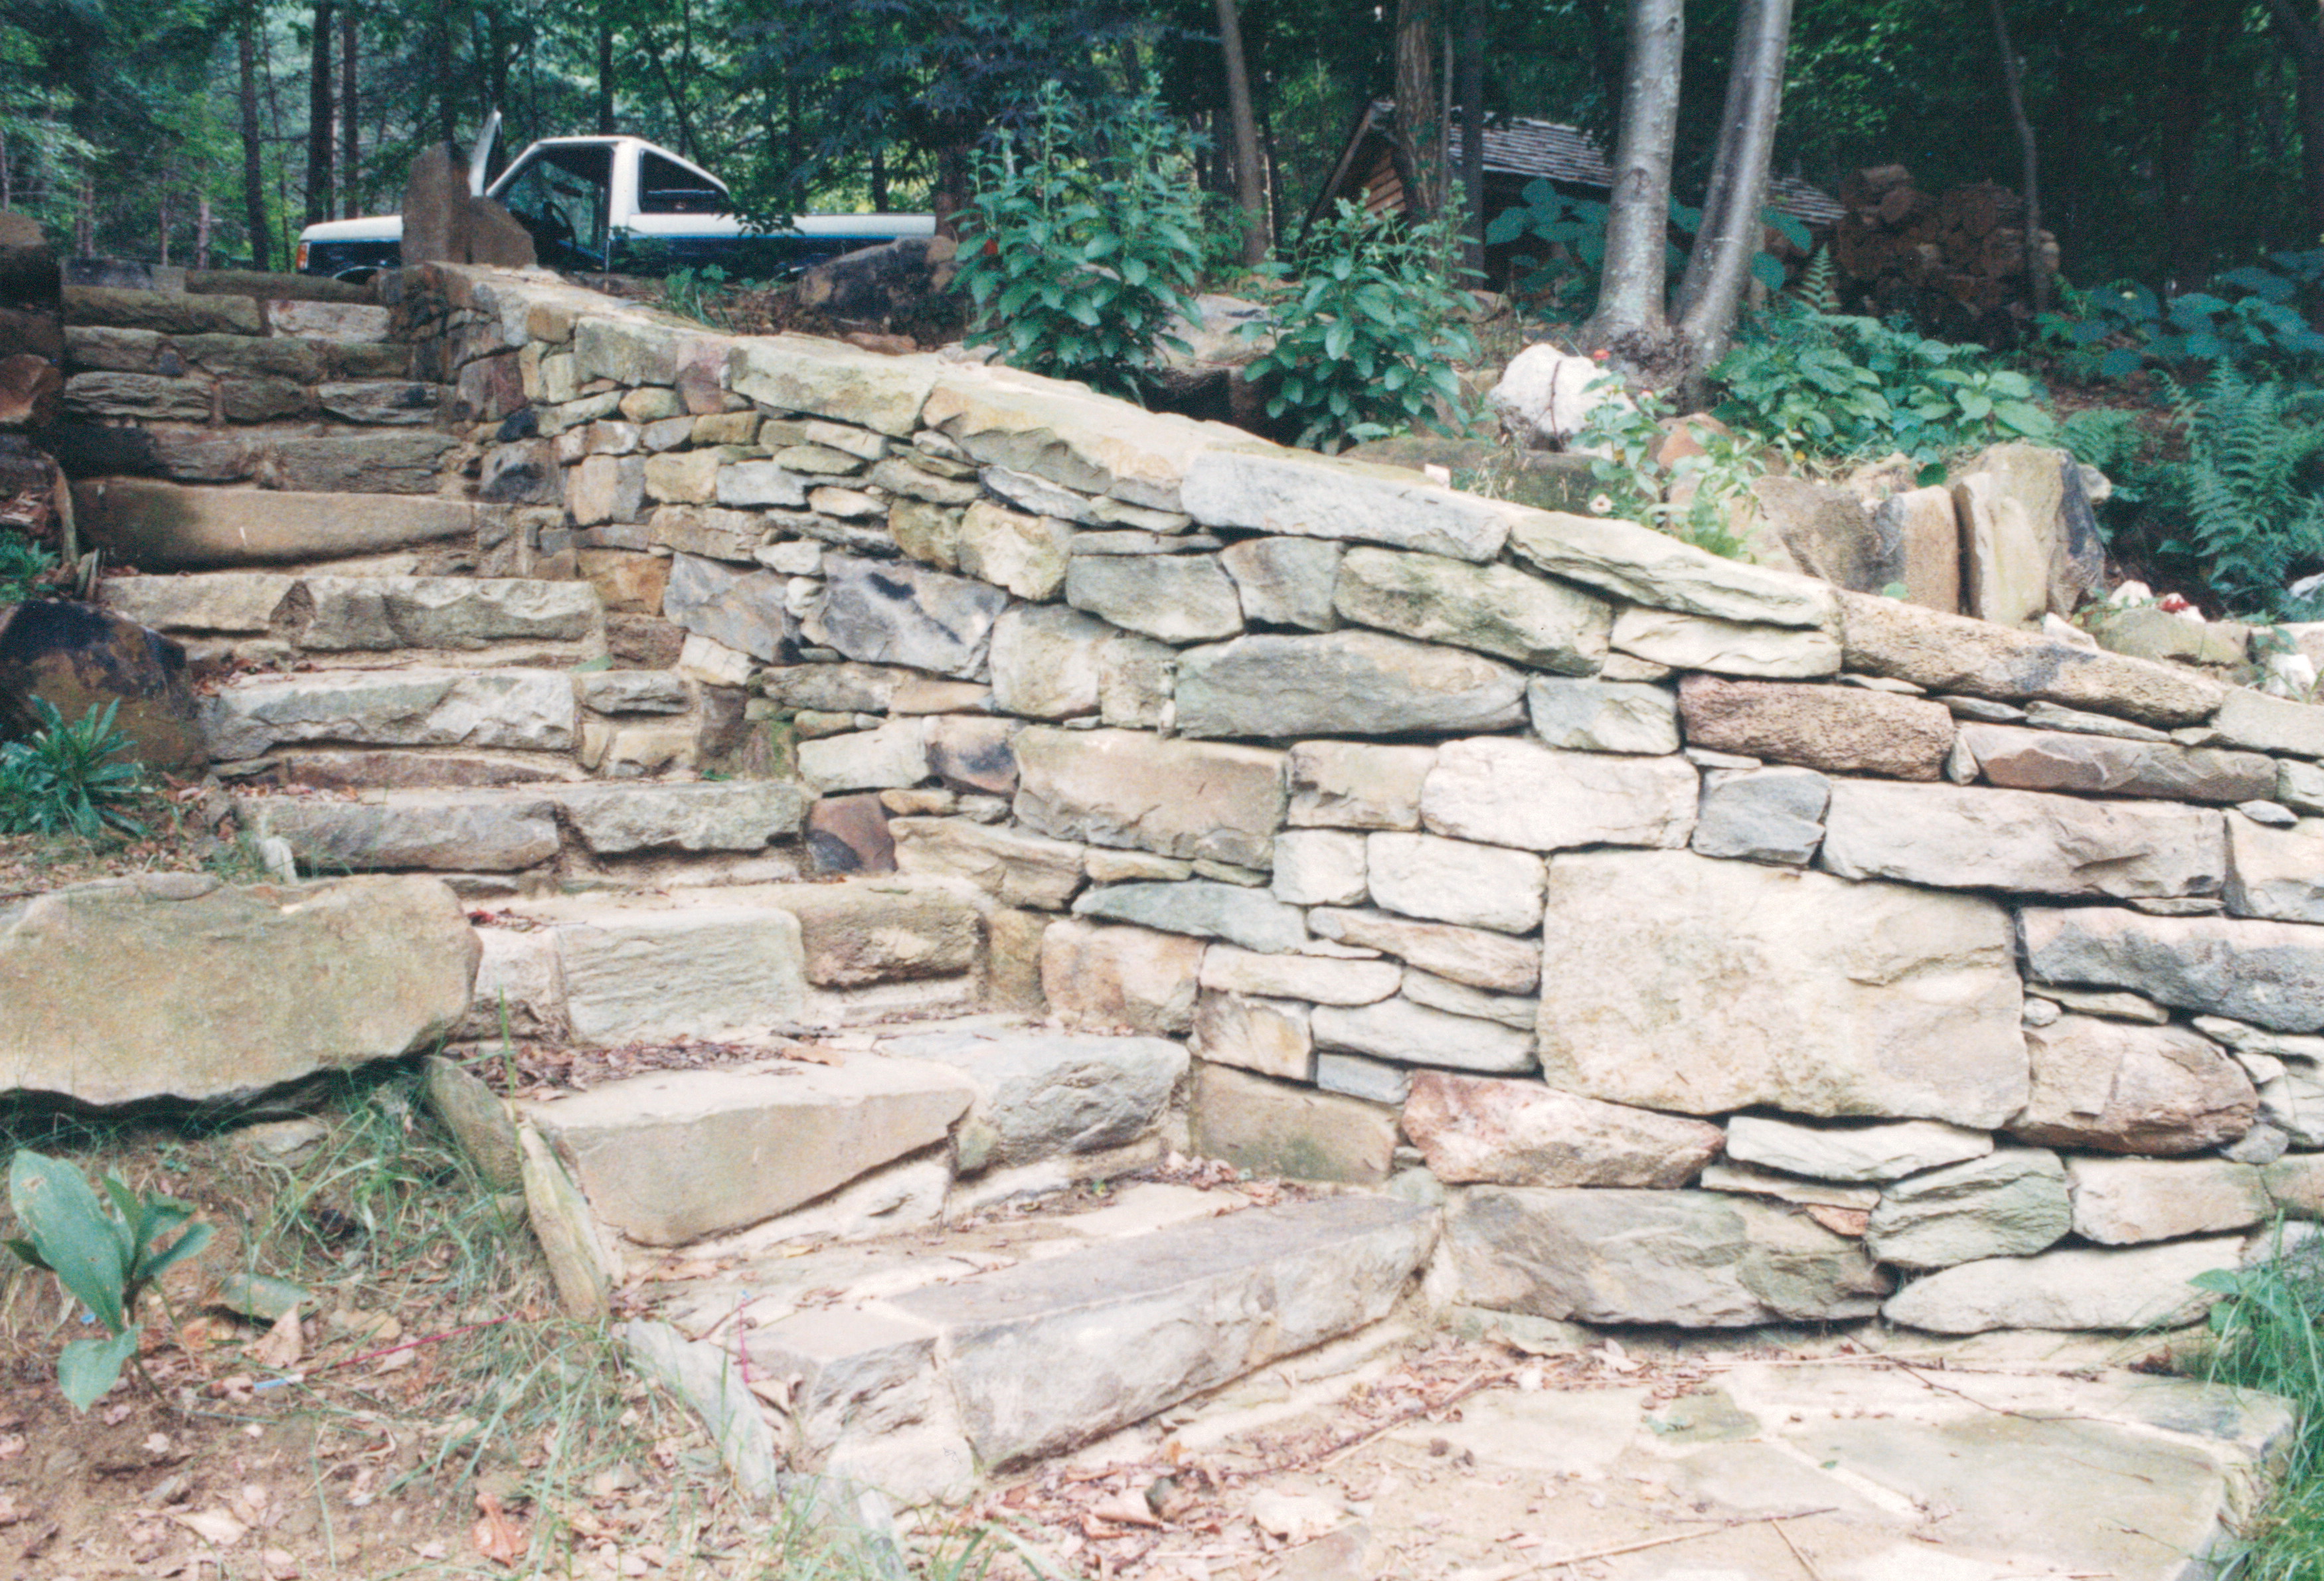
We added a stone stairway and retaining wall to improve foot access from the parking area to the cabin safer and more pleasant.
For over a hundred years the original inhabitants of this cabin made the climb between these two levels via a well-worn dirt path. A path that we found slick to traverse when wet or covered with snow.
We used local stone to build with and the masons did an amazingly good job on it… it added so much to the function and aesthetics of the cabin site.
My heart always goes out to craftsmen who build stairs, I’ve been in that position myself many times, whether they are masons or carpenters, they build something that is more complicated and challenging that it appears, while working on something that has more ongoing traffic than many country roads.
Constantly they are being asked to move aside as someone “needs” to come through. Apologies are always offered, and accepted, but every craftsmen is always greatly relieved when they are finished.
Originally posted 2015-03-05 17:07:20.

Have you ever wondered what it would be like to be a stone mason? maybe even, during his “glory moment”? To be up at the top of a chimney after many weeks of hard work and struggle… about to complete something that will stand for centuries?
Of course you have. 🙂
These five photos (all taken at the same time) pretty well showcase life at the top of a chimney.
First notice that there is the ladder, a big part of being a stone mason is the climbing, up and down. Over and over. Always while carrying something heavy… tools, stones, or mortar.

Once you are up there at the top the views of the surrounding countryside, and all the jobsite activity, are amazing. You are on top of the world.
It’s time to get to work though… there is the constant checking of each stone to make sure that everything is plumb and level. Each stone is laid with as much care up here as it is down below. No one else would ever know if something was a bit off… but the masons would know… and so, it is done right.
There is plenty of activity going on up here as the final shaping of each stone takes place to get it to fit just right. While here you stand on a narrow walkboard rock chips fly past you, sometimes striking you, adrenaline is flowing.

The conversation is often jovial, each man boasting of how good they are at what they do.
One of the greatest benefits of working with stones all days is that you get to wear whatever kind of hat you want… no one would dare insult a mason on his choice of hat. A mason is after all a walking muscle. A man that can hit you with a rock at anytime from high above. A man that swings a heavy hammer for a living.

All three of these men became dear friends of mine over the years of working together. Dan, seen here with his captain hat, passed away from cancer a few years ago… I can still hear him singing one of his old Irish tunes. Will, the man with the level, surprised us all and is now a member of the clergy in the Episcopalian church. And Stewart… he works in the local zoning office… he says its’ much easier on his back. Of that, I have no doubt.
For many years I was the only area builder who kept a full-time crew of stone masons. I loved to see their work on a daily basis. I loved the sounds that were always present in the background… of chisels being struck with hammers, but most of all I just liked having friends around me who enjoyed working with their hands.
Originally posted 2015-02-27 15:33:33.
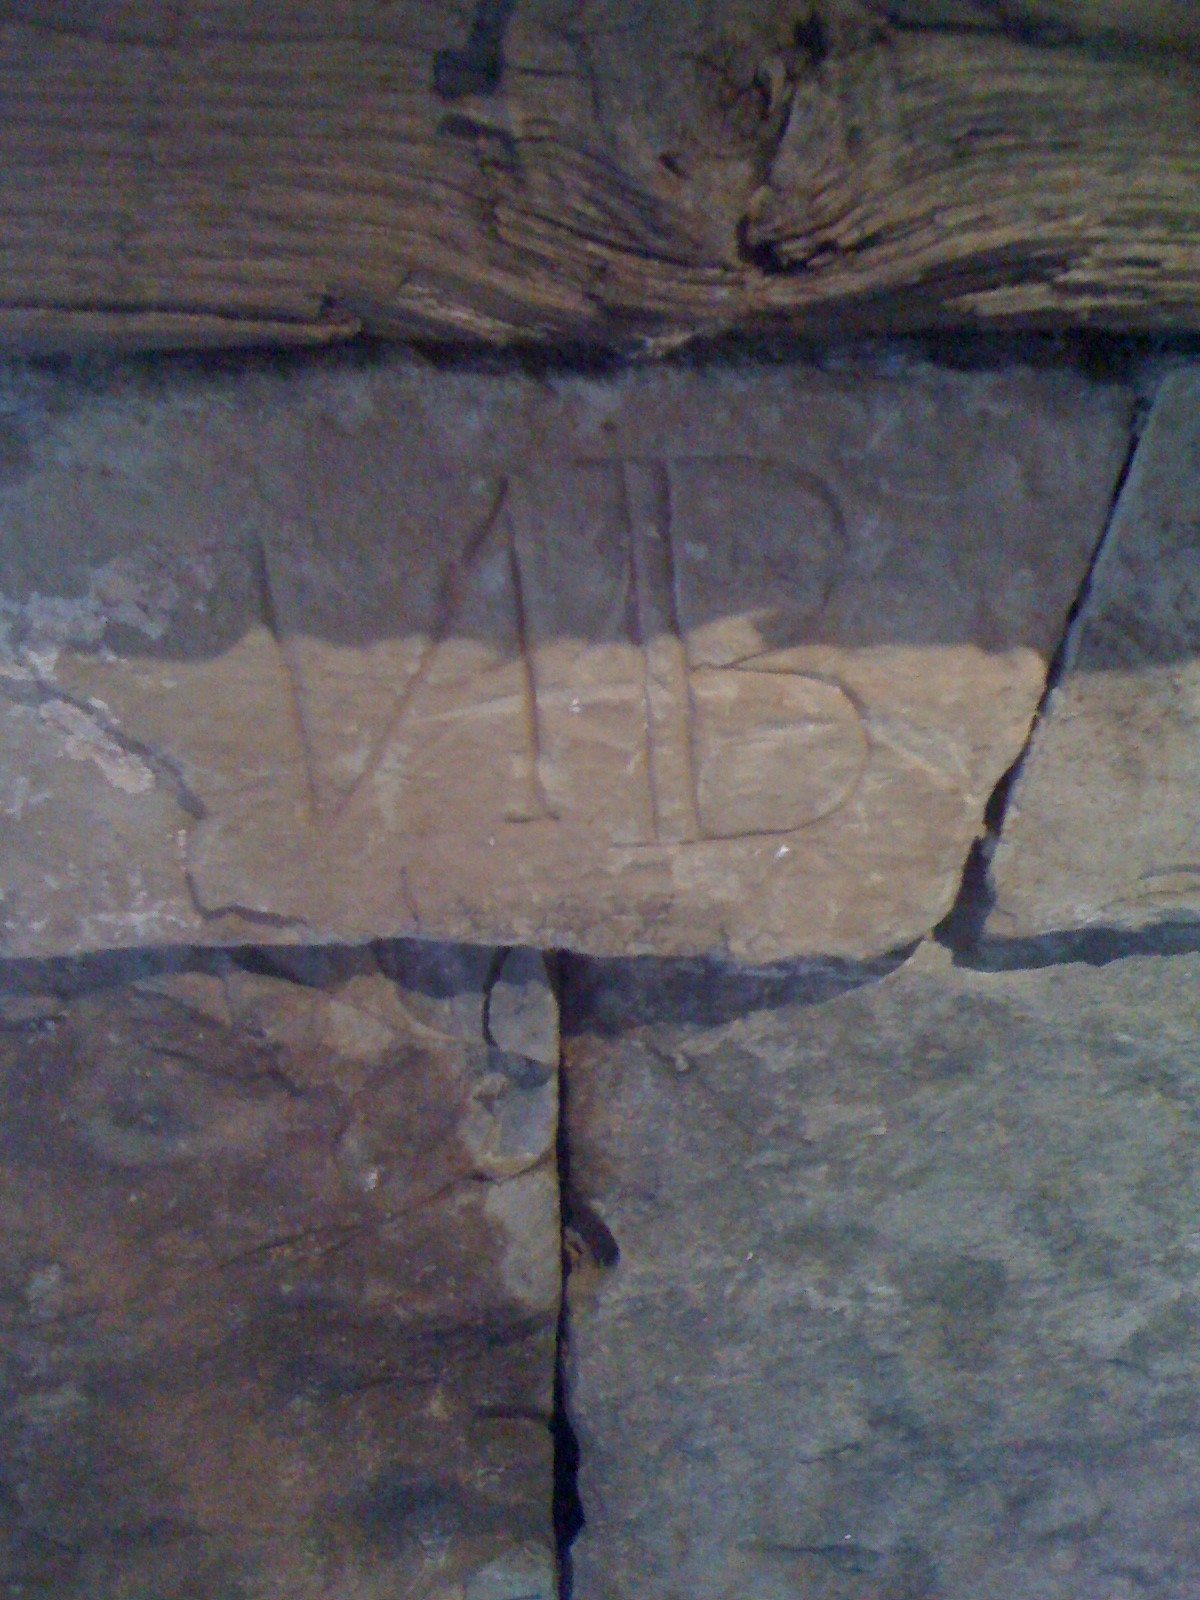

Everyone loves a good mystery. At least I do.
And, everyone that works on old houses is always looking for that hidden treasure that no one has ever found before.
I had the thrill of finding both, in one item, while taking down the old house known as “Western View”. That memento was hard for me to give away, but I did. And, it took me fifteen years to solve the mystery behind it, but I believe the answer was finally revealed.
Up near the top of one of the chimneys I found a stone with my initials carved into it… NB. The “N” was inverted (that part of the mystery I still haven’t solved).
It’s not uncommon for masons to carve the date on a stone in the chimney, and perhaps their initials, but when they do so it’s always at the base of the chimney where all can see it.
This stone was near the top and on the side of the chimney that faced the roof. A mason rarely gets up on a roof, he works from a scaffold and the roof side is the back of the chimney to him, he just reaches over to that side. Every indication was that this stone was carved by someone sitting on the roof after the chimney was built… how odd was that?
Now, I clearly owned this stone, it was mine. I bought the salvage rights to the house. I found the stone. It had my initials in it… how many times will this happen in my life? It was a keeper for sure.
But when it came time to build my client’s fireplace I felt that the stone belonged there in plain site, to honor that mysterious engraver from so long ago. I just wished I knew why someone would sit on a peak of a roof to carve their initials in a rock.
Fifteen years later I received a call from a potential client who owned the farm across the road from where Western View once stood. He had on his property an old stone kitchen that had once belonged to Dolly Madison’s grandmother. He wanted me to restore it and add on to it a vintage log cabin (which I did, but that’s a story for another day).
When I went to look at this stone kitchen I was pleased to see that it was built out of the same kind of stone that Western View’s chimney’s was built out of. This new client pointed out all the names and initials that were carved into the stones, put there by Civil War soldiers while based there on the property, some of the names had inverted letters. Ah Ha!
I did a little research and found out that it was common practice to assign someone during that war to take a lookout position on rooftops. I then had this vision of some young man stuck up on a Western View’s roof, sitting next to a chimney, with nothing to do but carve his initials in one of the stones.
Likely the only thing that young man ever did that still survives to this day is that one carving. Now that is something to think about.
Originally posted 2015-02-23 15:23:32.