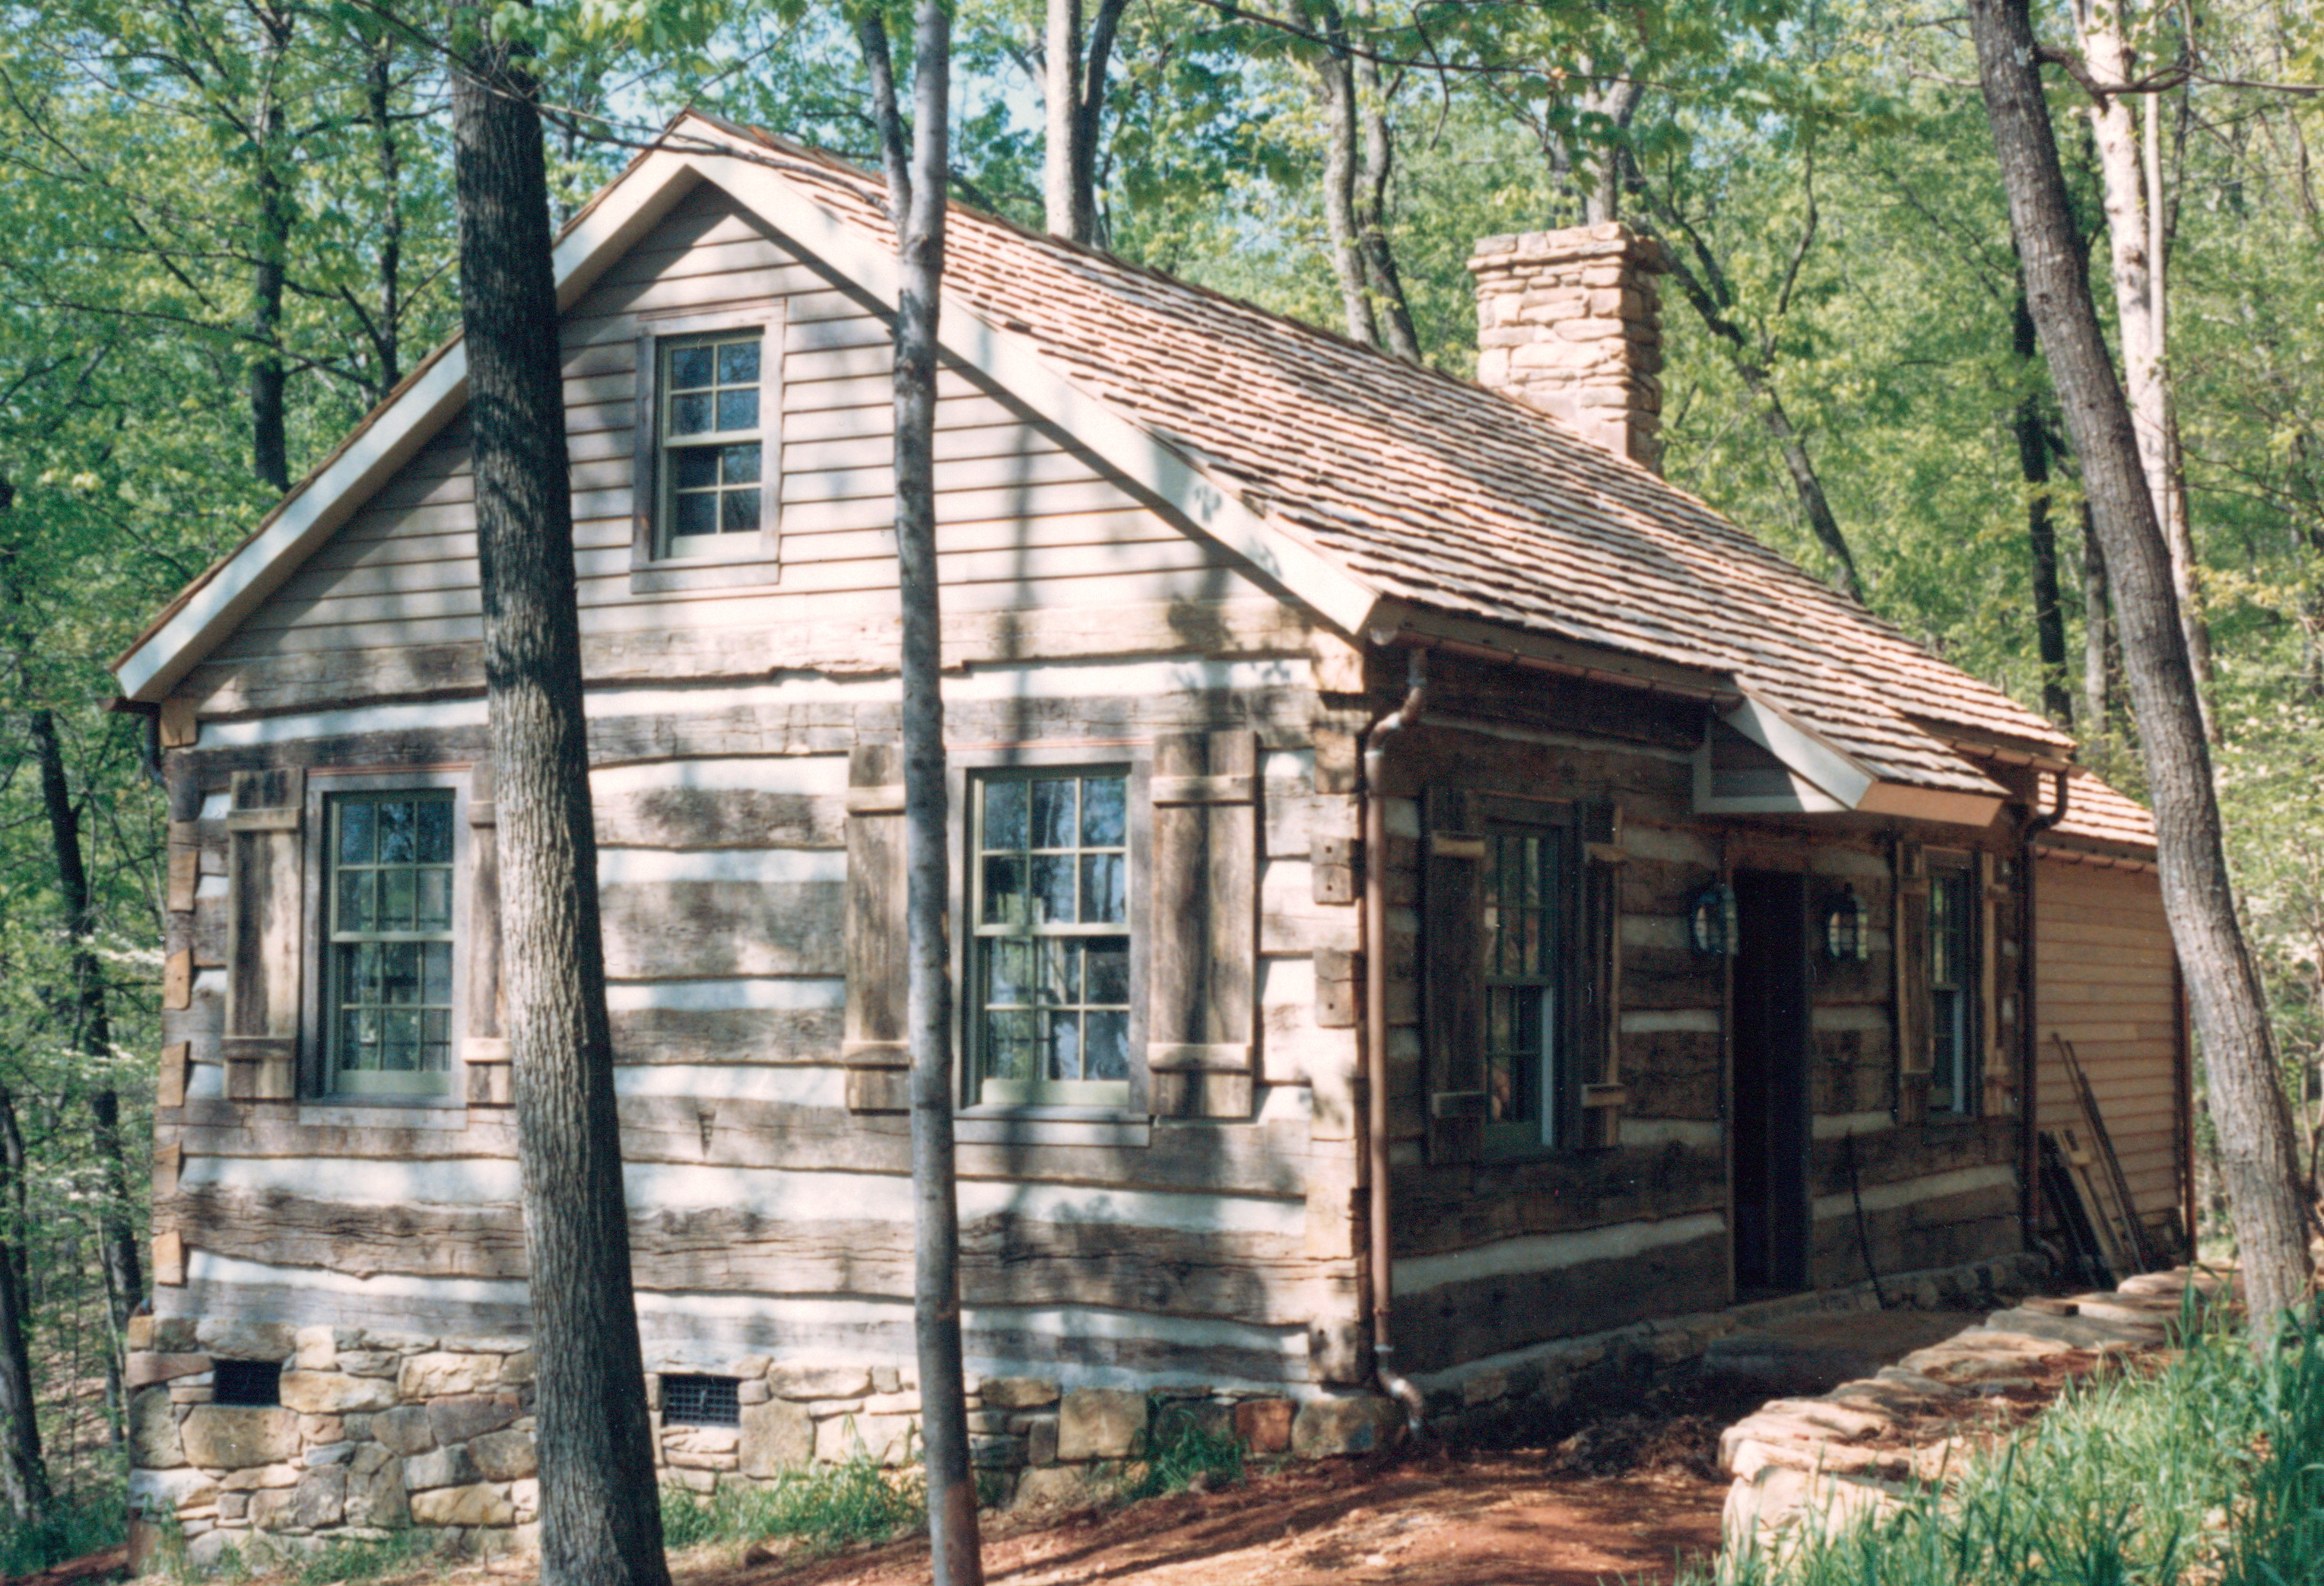
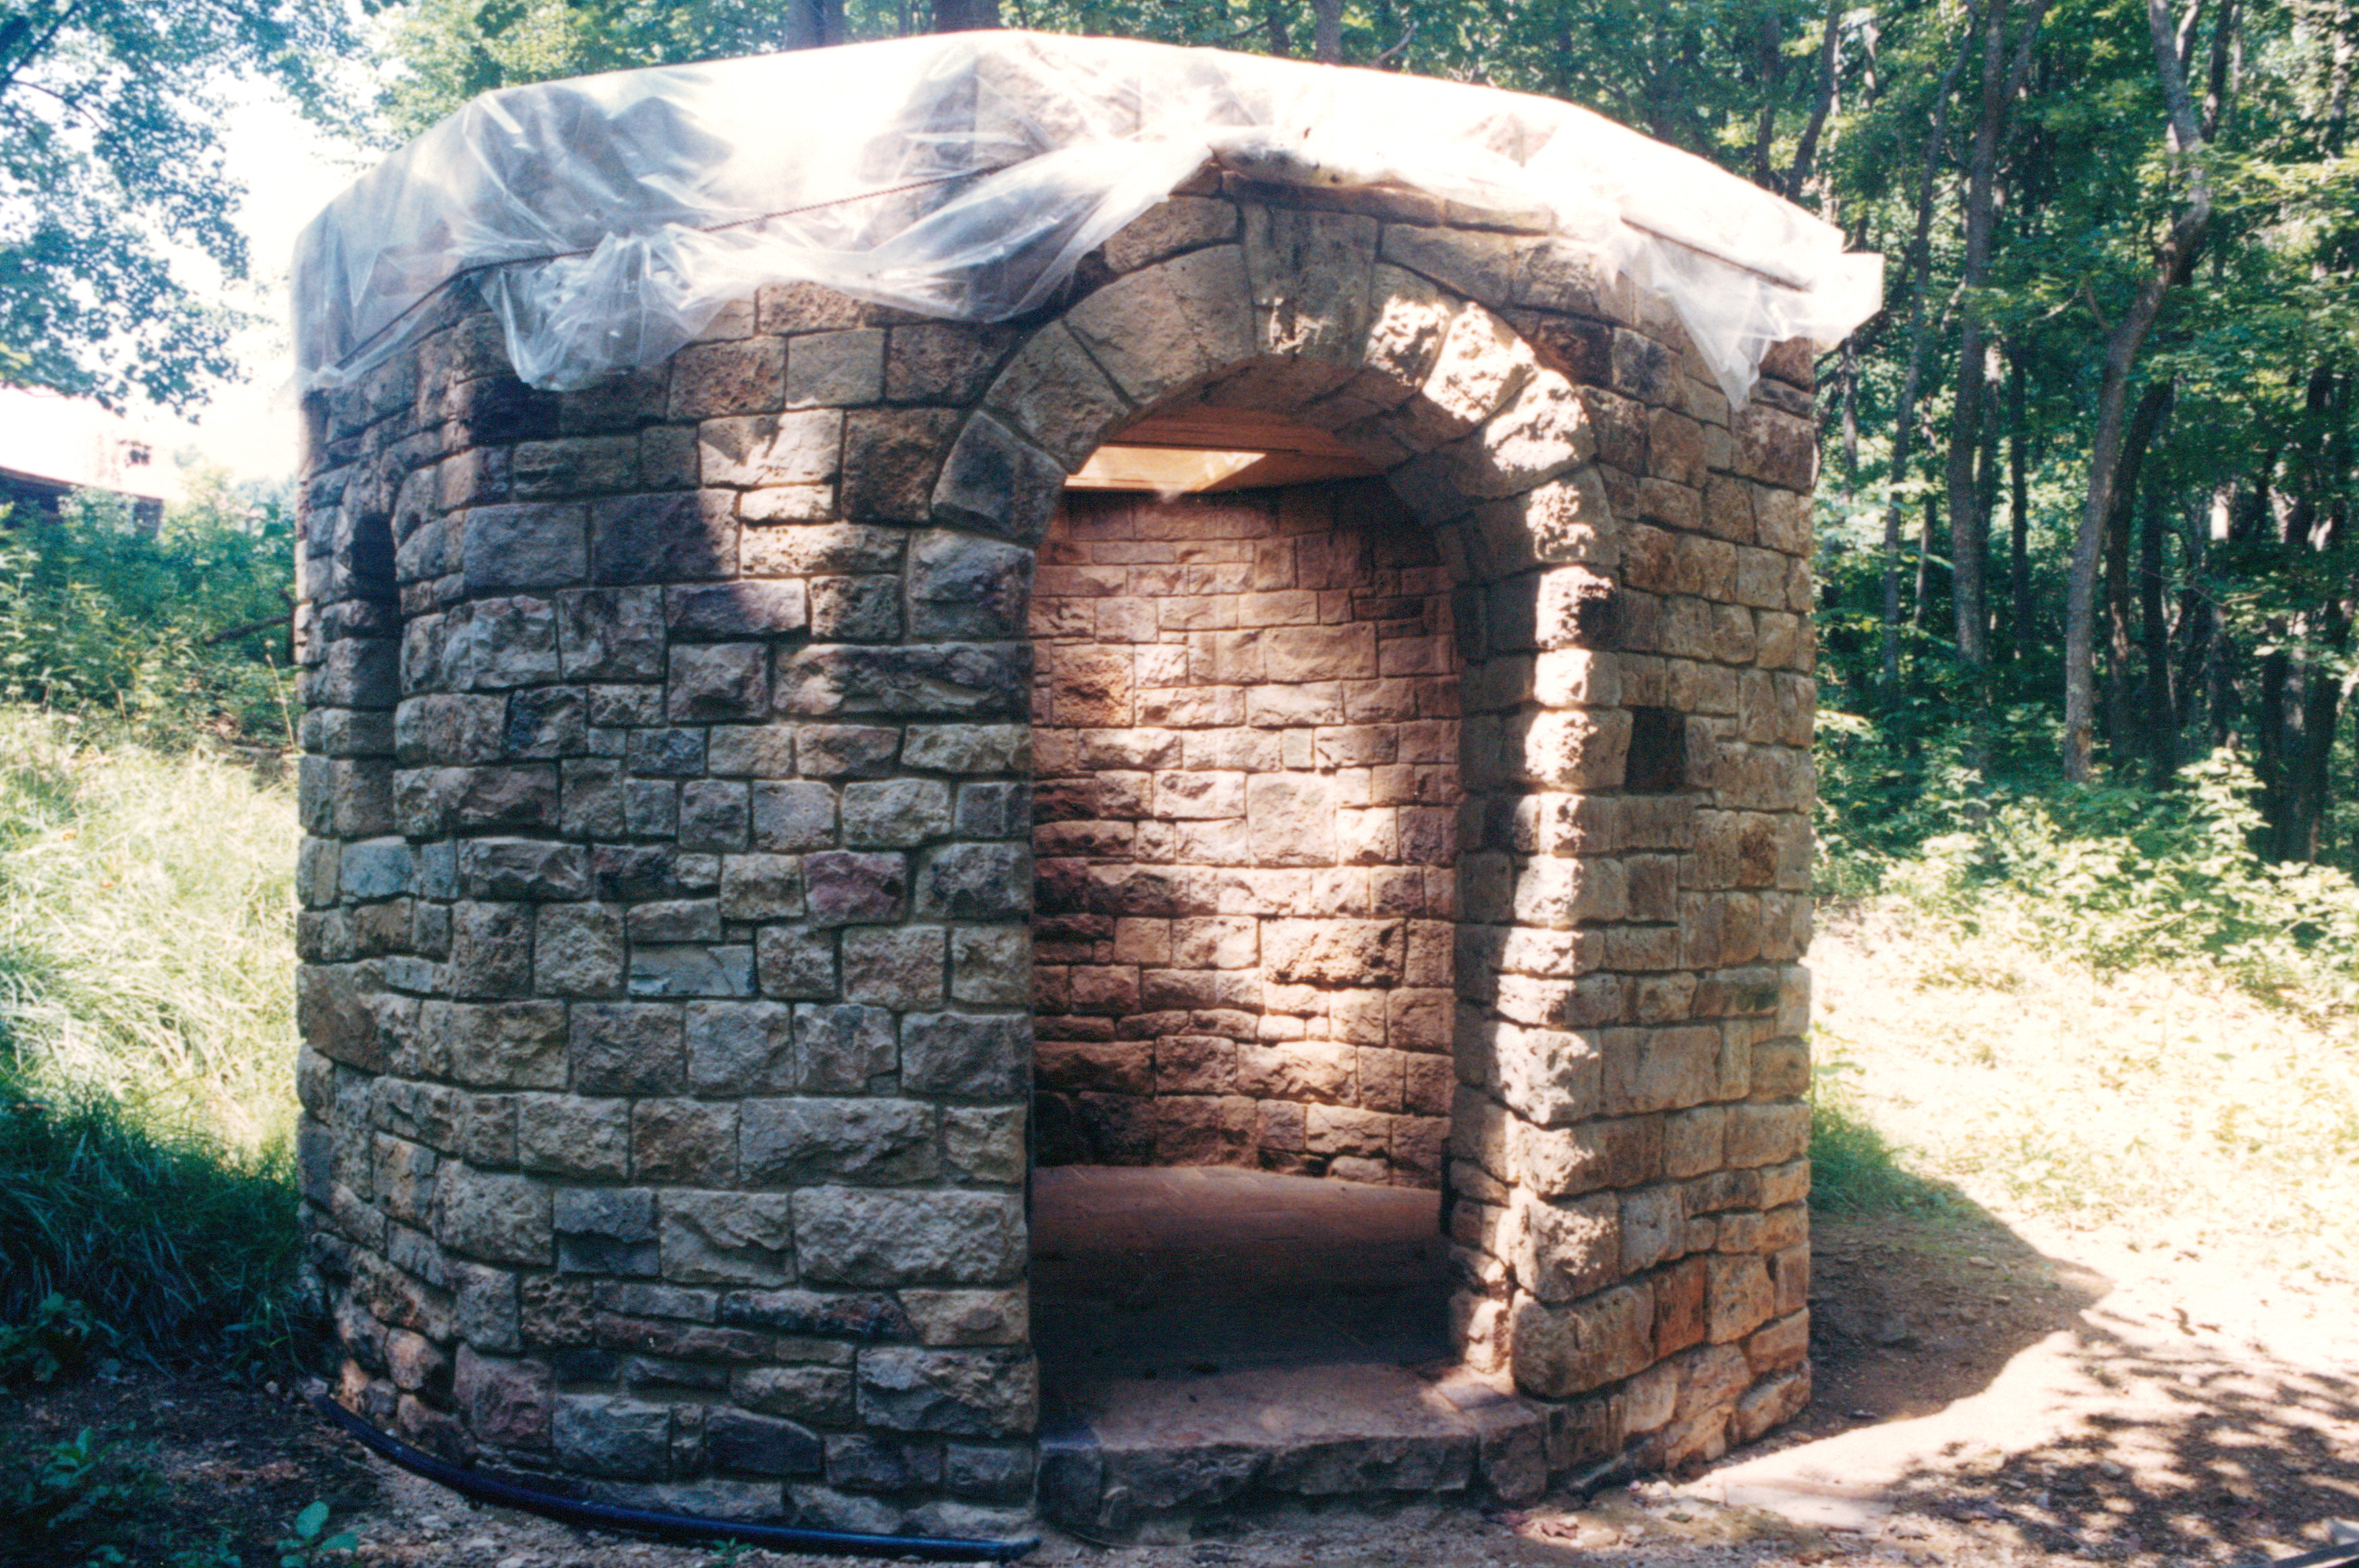
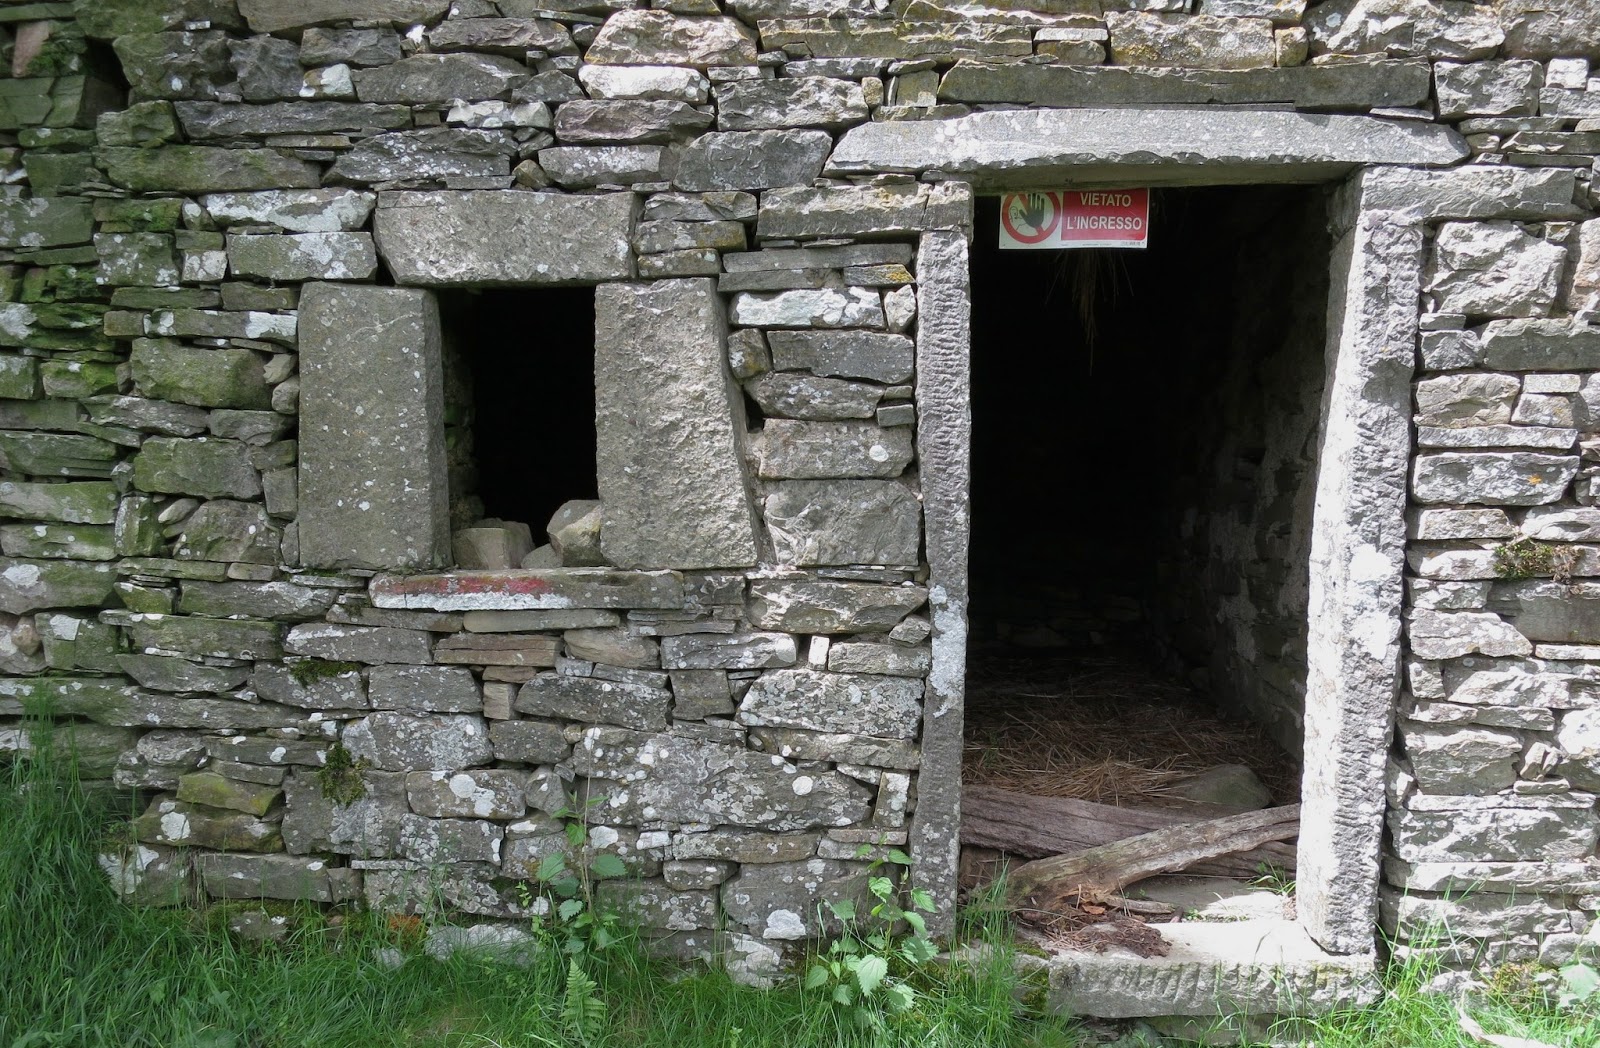
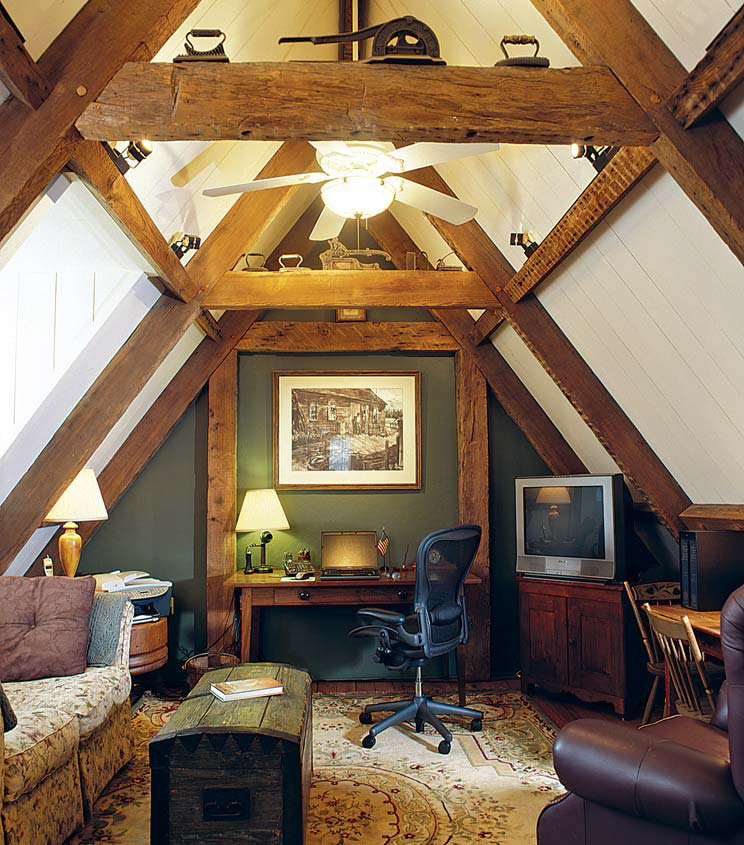
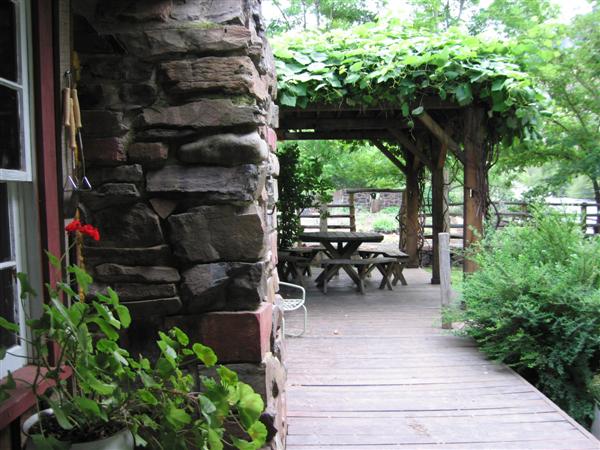
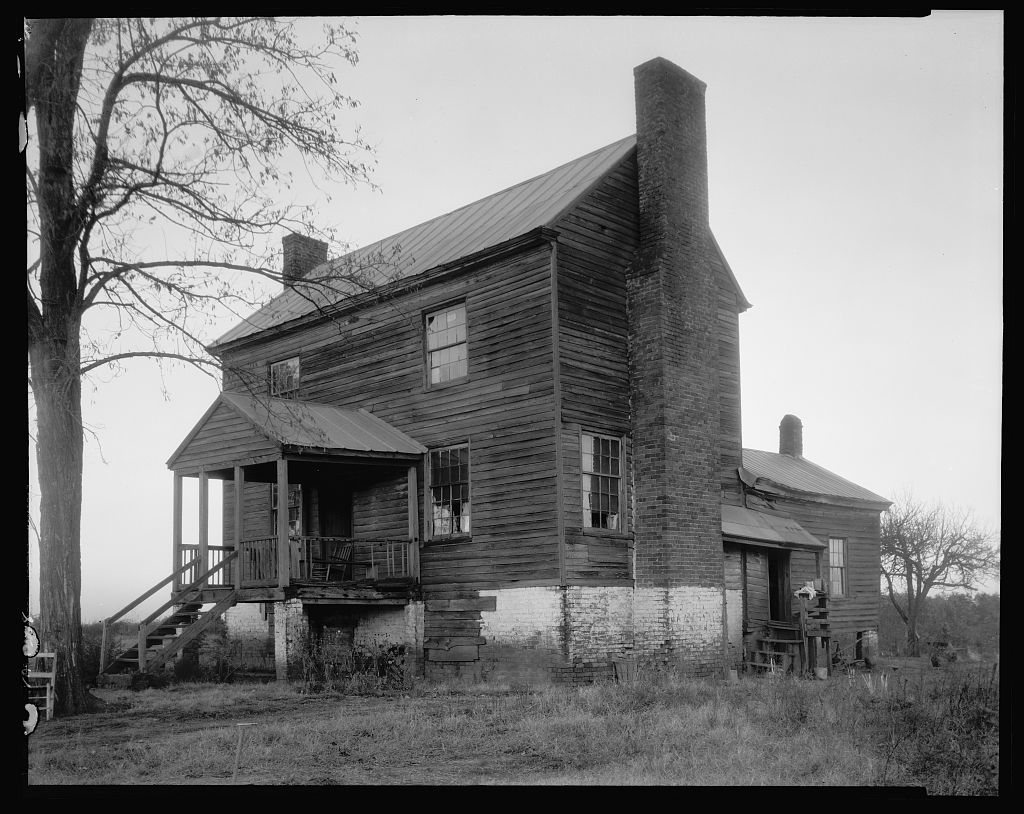
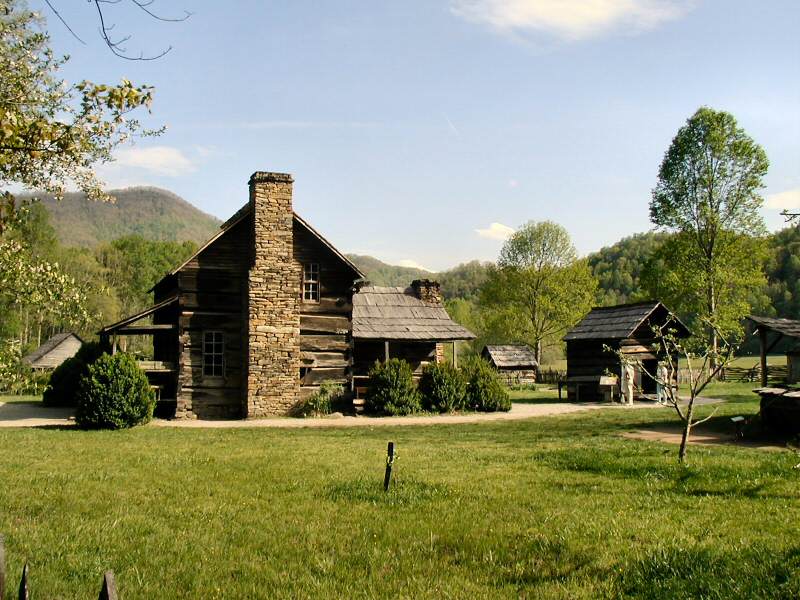
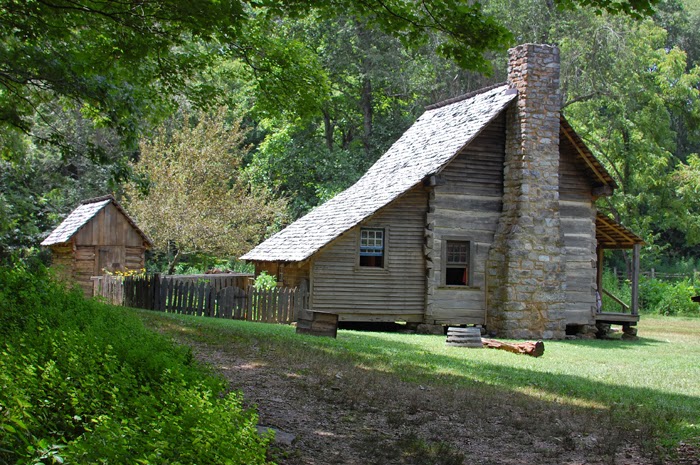
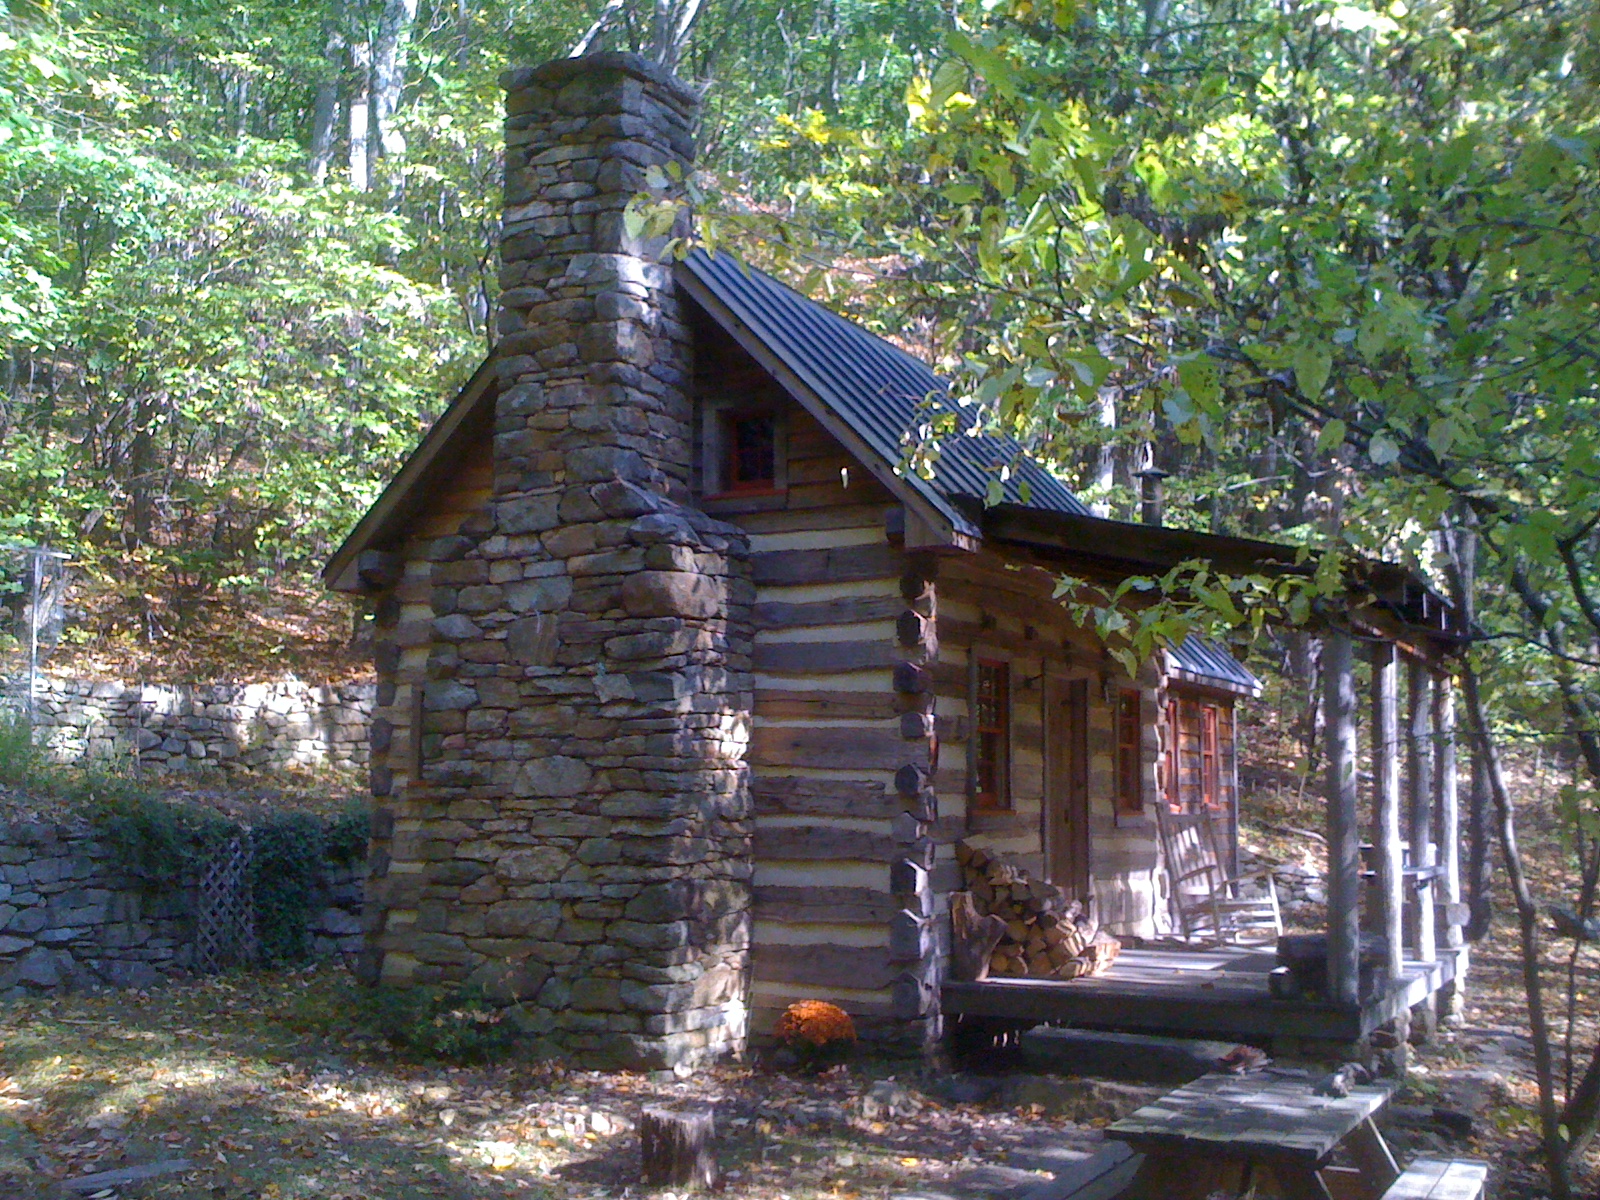
Three “warm weather cabins”
It sure appears as if Spring has arrived early this year. (Here in central Virginia the weather has been in the 70’s the past few days and it is forecasted to continue).
I’ve seen cherry trees in bloom and I even had a thrill yesterday when a pair of bold eagles stopped by for a while on their journey north.
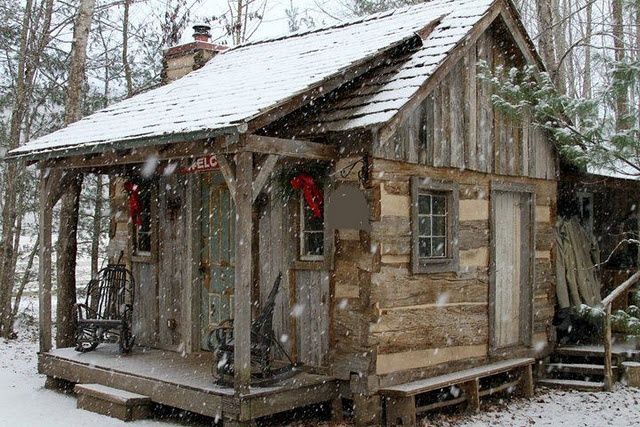
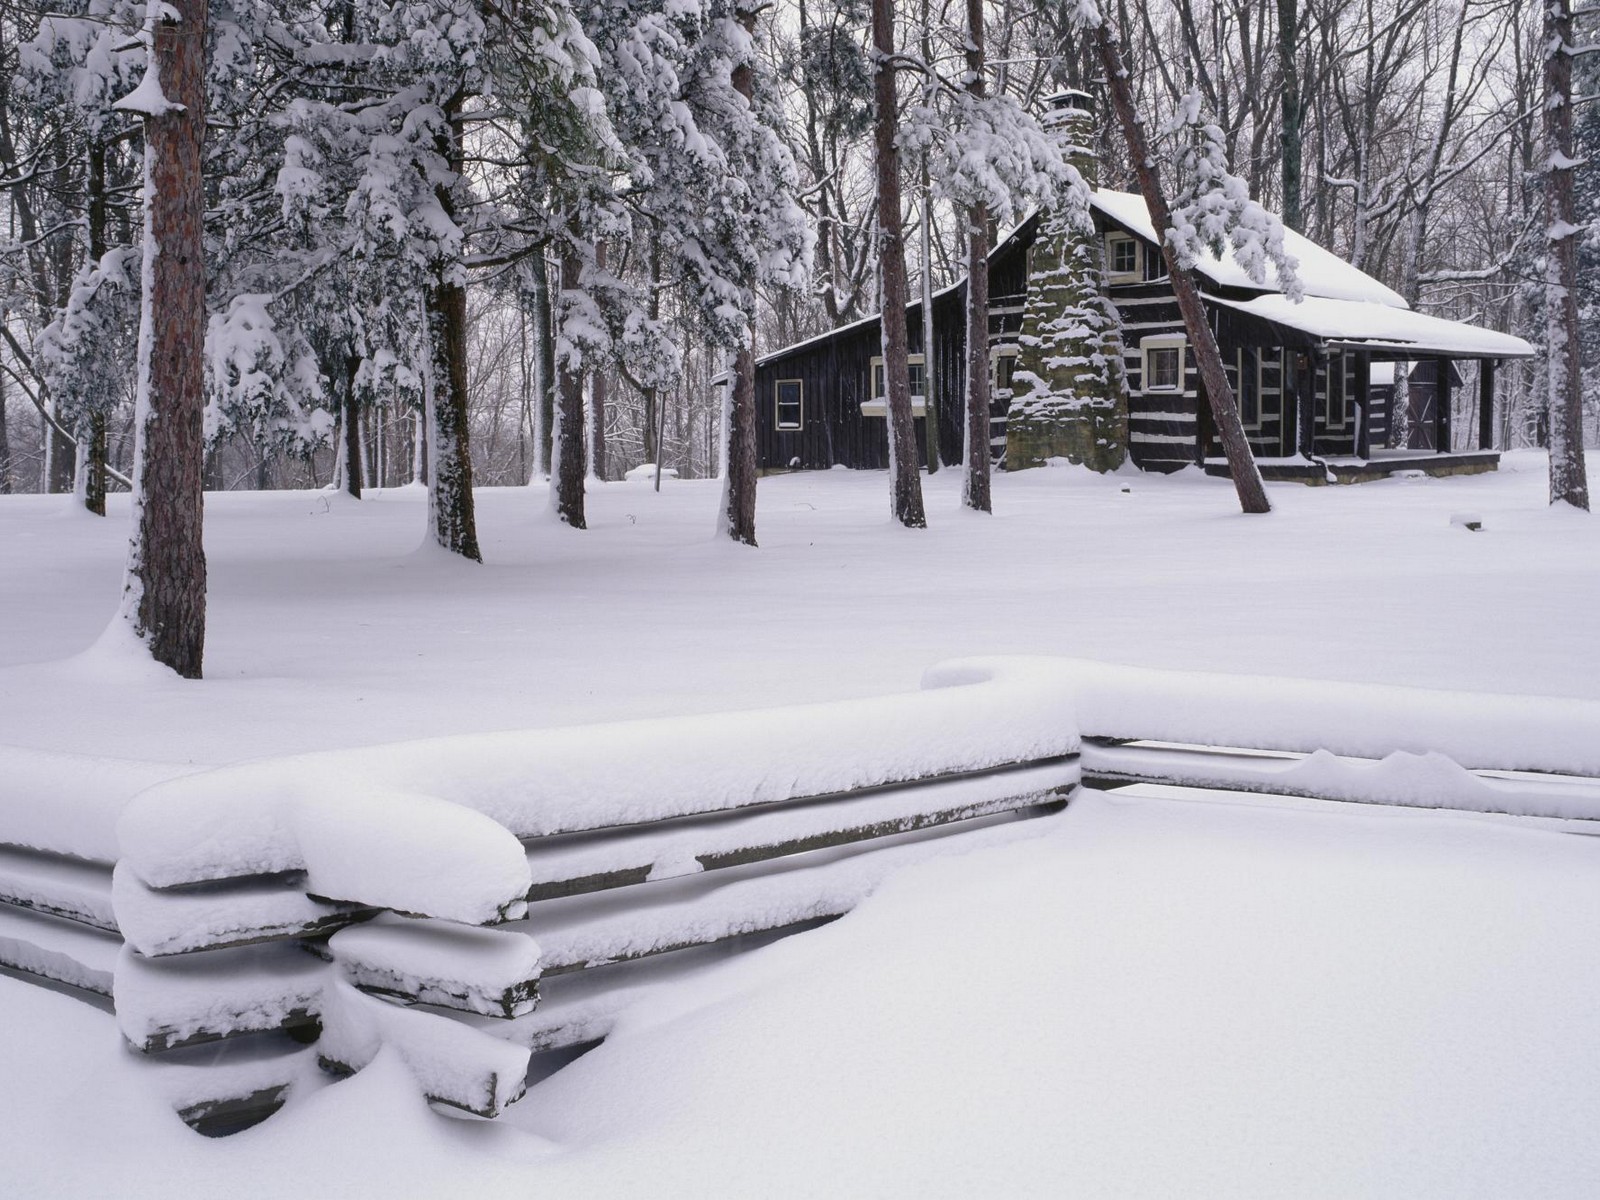
So… I guess it’s time for me to change the “snowy cabin scene” from the top of this site to a more seasonally appropriate one. I’ll go ahead and post the top three contenders today… do you have a favorite?
Originally posted 2016-03-12 14:01:39.