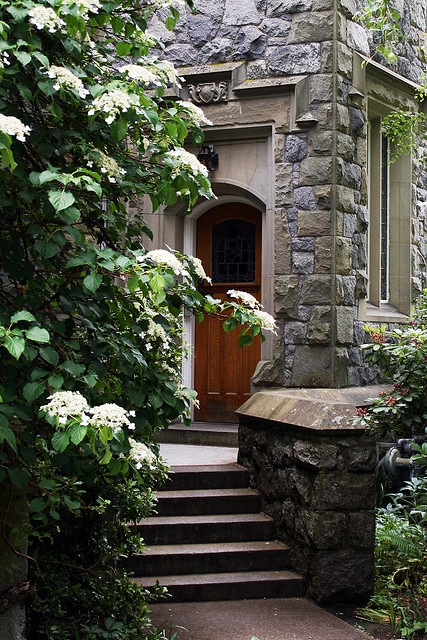
A fine stone farmhouse
Noah Bradley2019-06-29T11:07:58+00:00
Originally posted 2016-02-12 17:22:34.

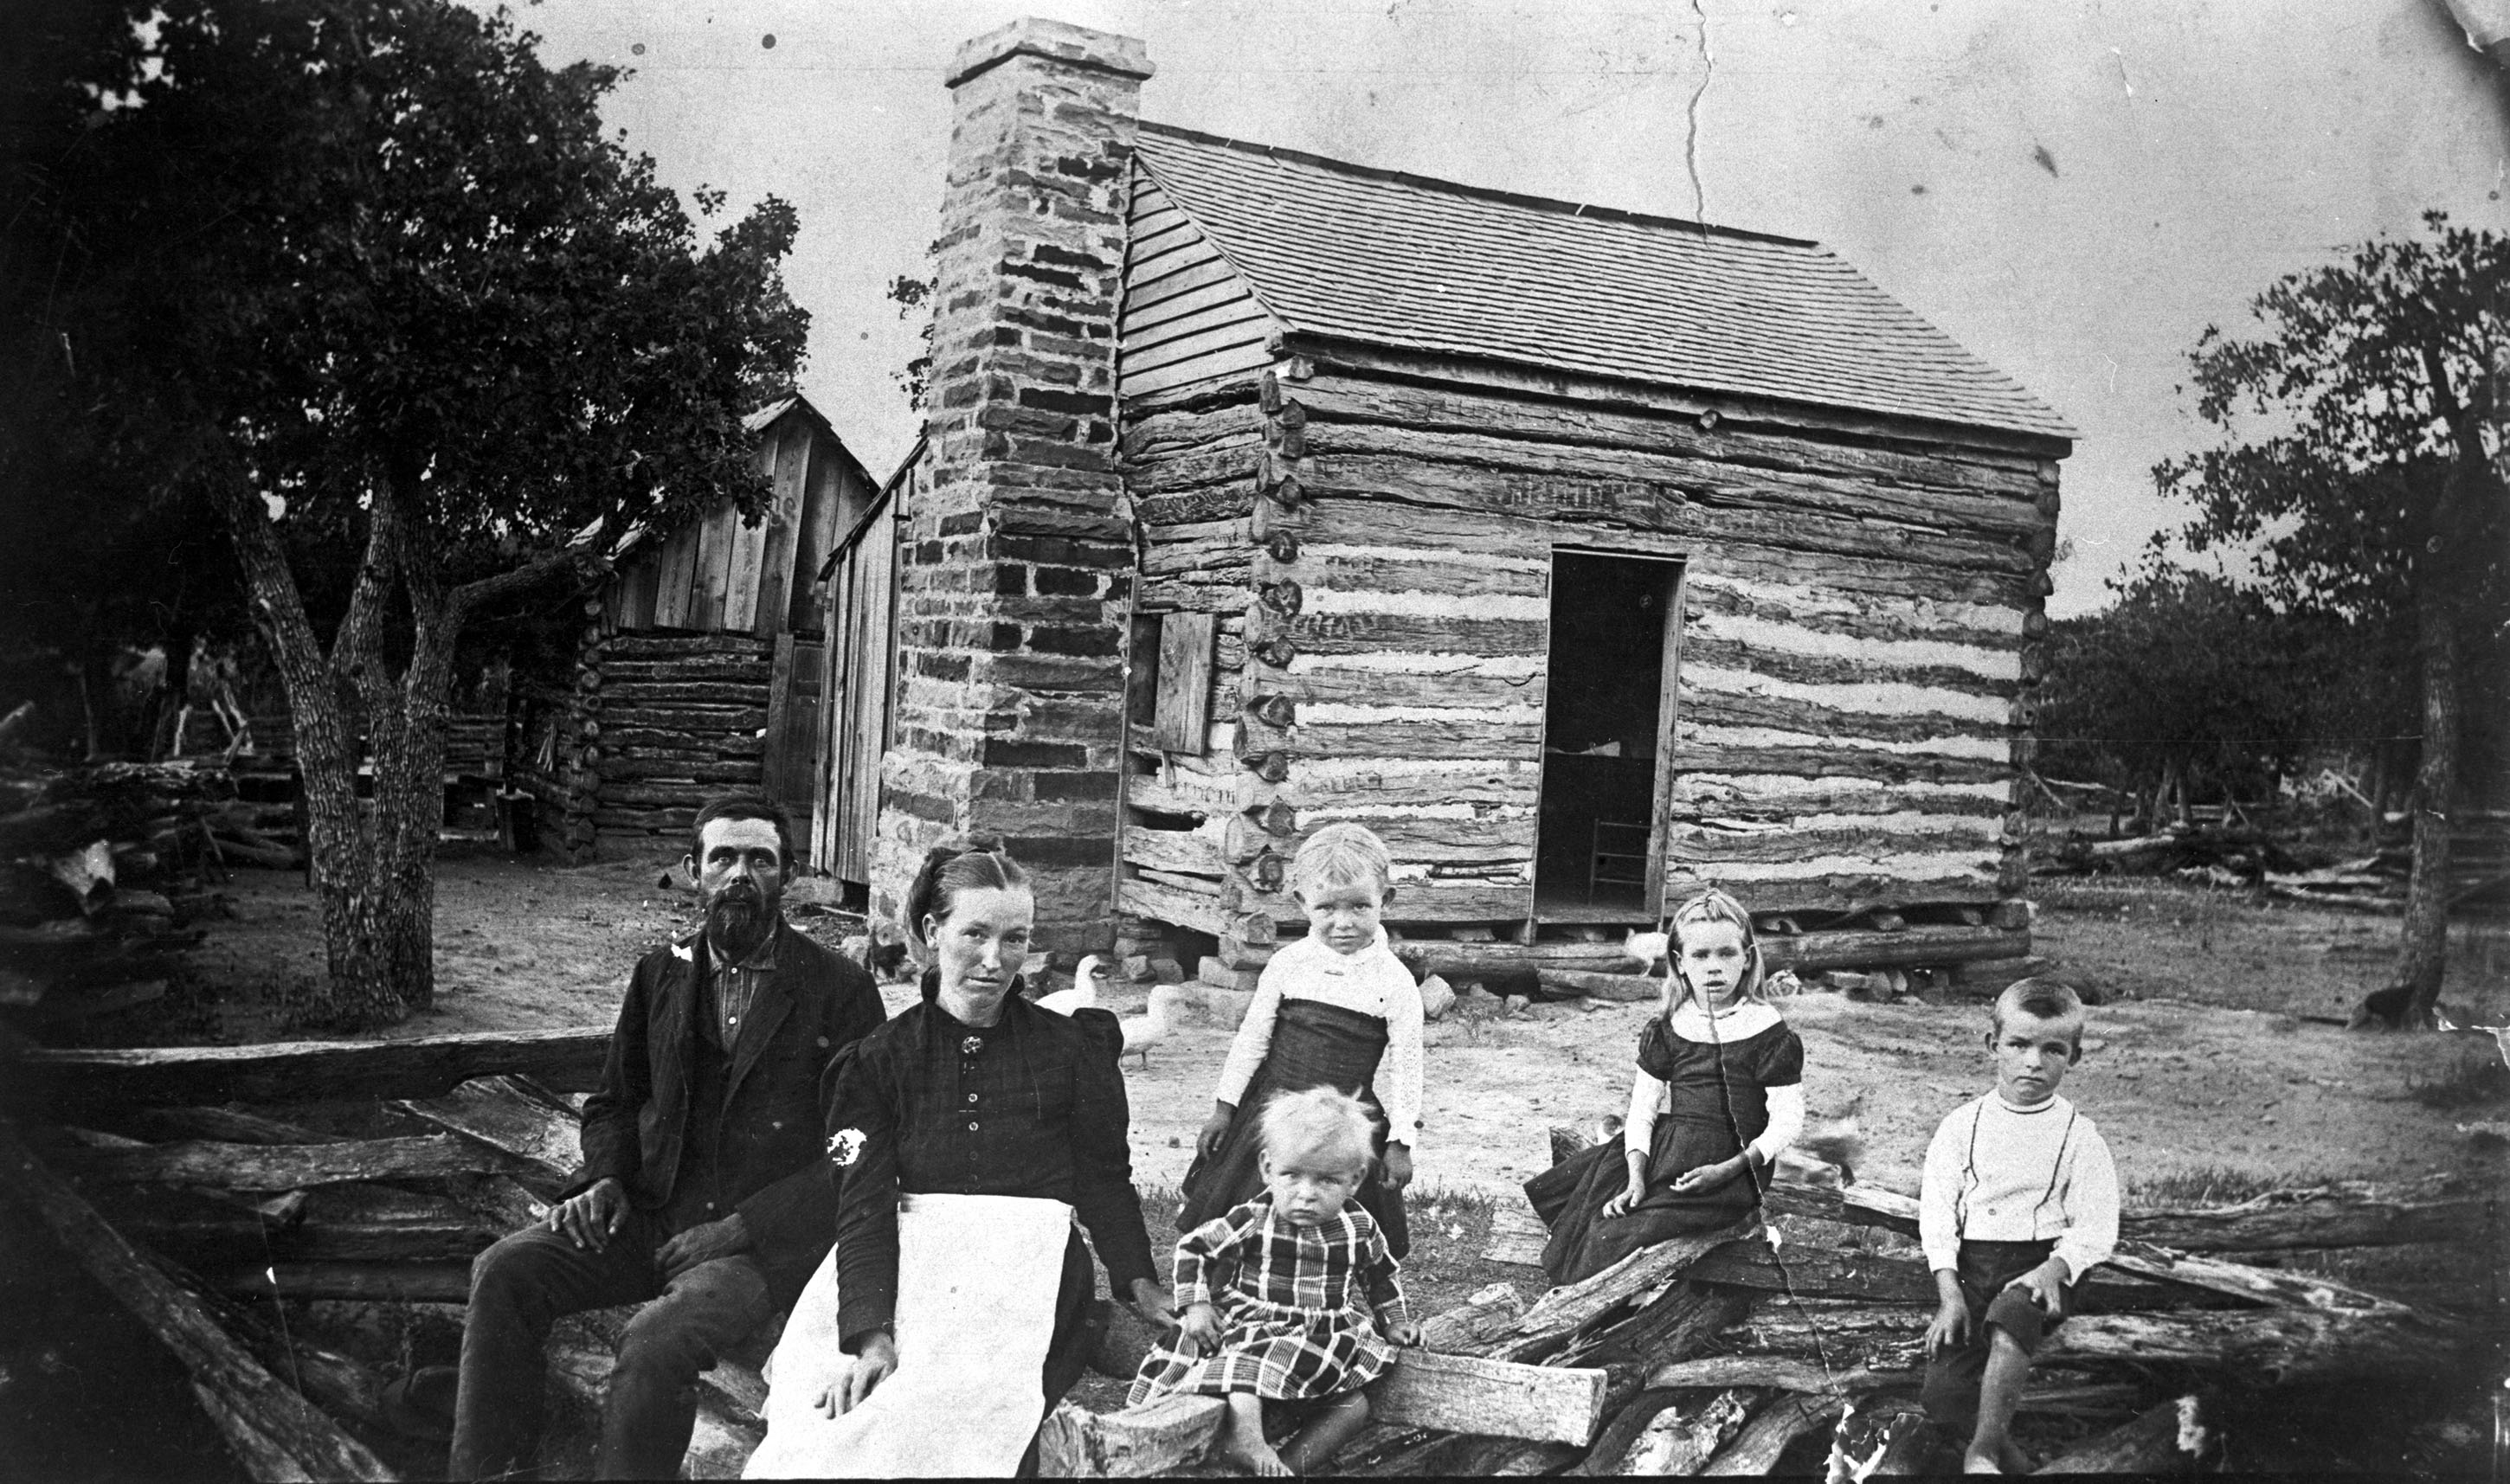
It’s a simple basic cabin. Low to the ground and with a big porch on the front. But for many this cabin is all about that huge stone chimney. The chimney is massive, yet the stones that make her up are small in scale. Each I’m sure gathered locally and laid flat, one upon the other, one at at time. Most impressive, don’t you think?
Originally posted 2016-02-09 13:47:02.
Originally posted 2016-01-27 14:11:05.

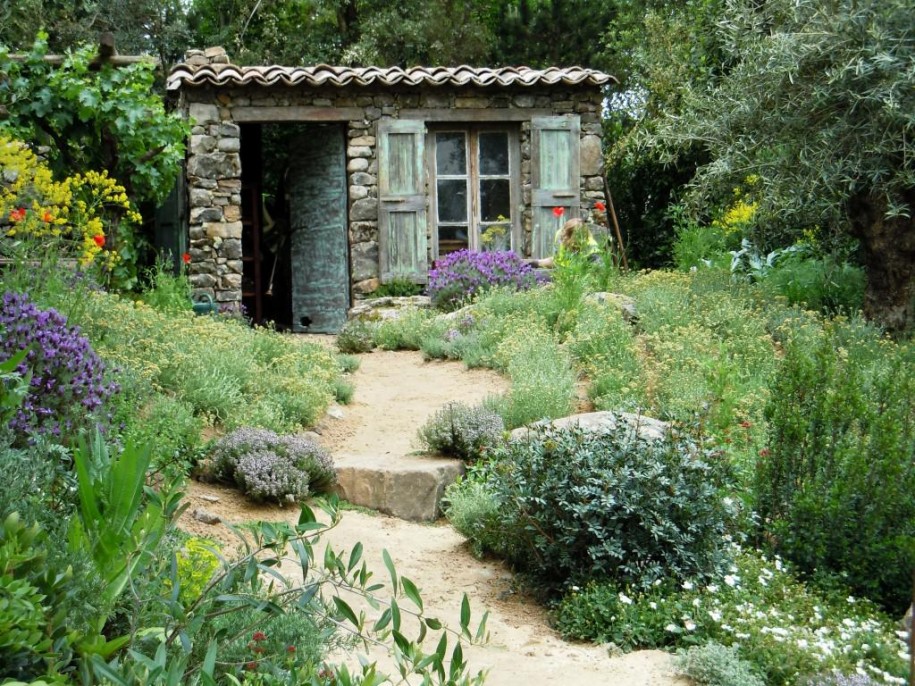
Often when we build we force nature to conform to our wants and needs… sometimes it’s best to let nature have it’s way and we choose to work with it, and not against it.
Originally posted 2016-01-25 13:32:51.
Originally posted 2016-01-20 15:52:35.
Originally posted 2016-01-05 14:25:14.

An attractive home…
with no maintenance…
forever.
Originally posted 2016-01-01 15:28:28.
Originally posted 2015-12-31 10:54:54.
For those looking to try their hand at building something out of stone… a stone outbuilding like this one would add a great deal to any property.
Originally posted 2015-12-30 13:51:33.
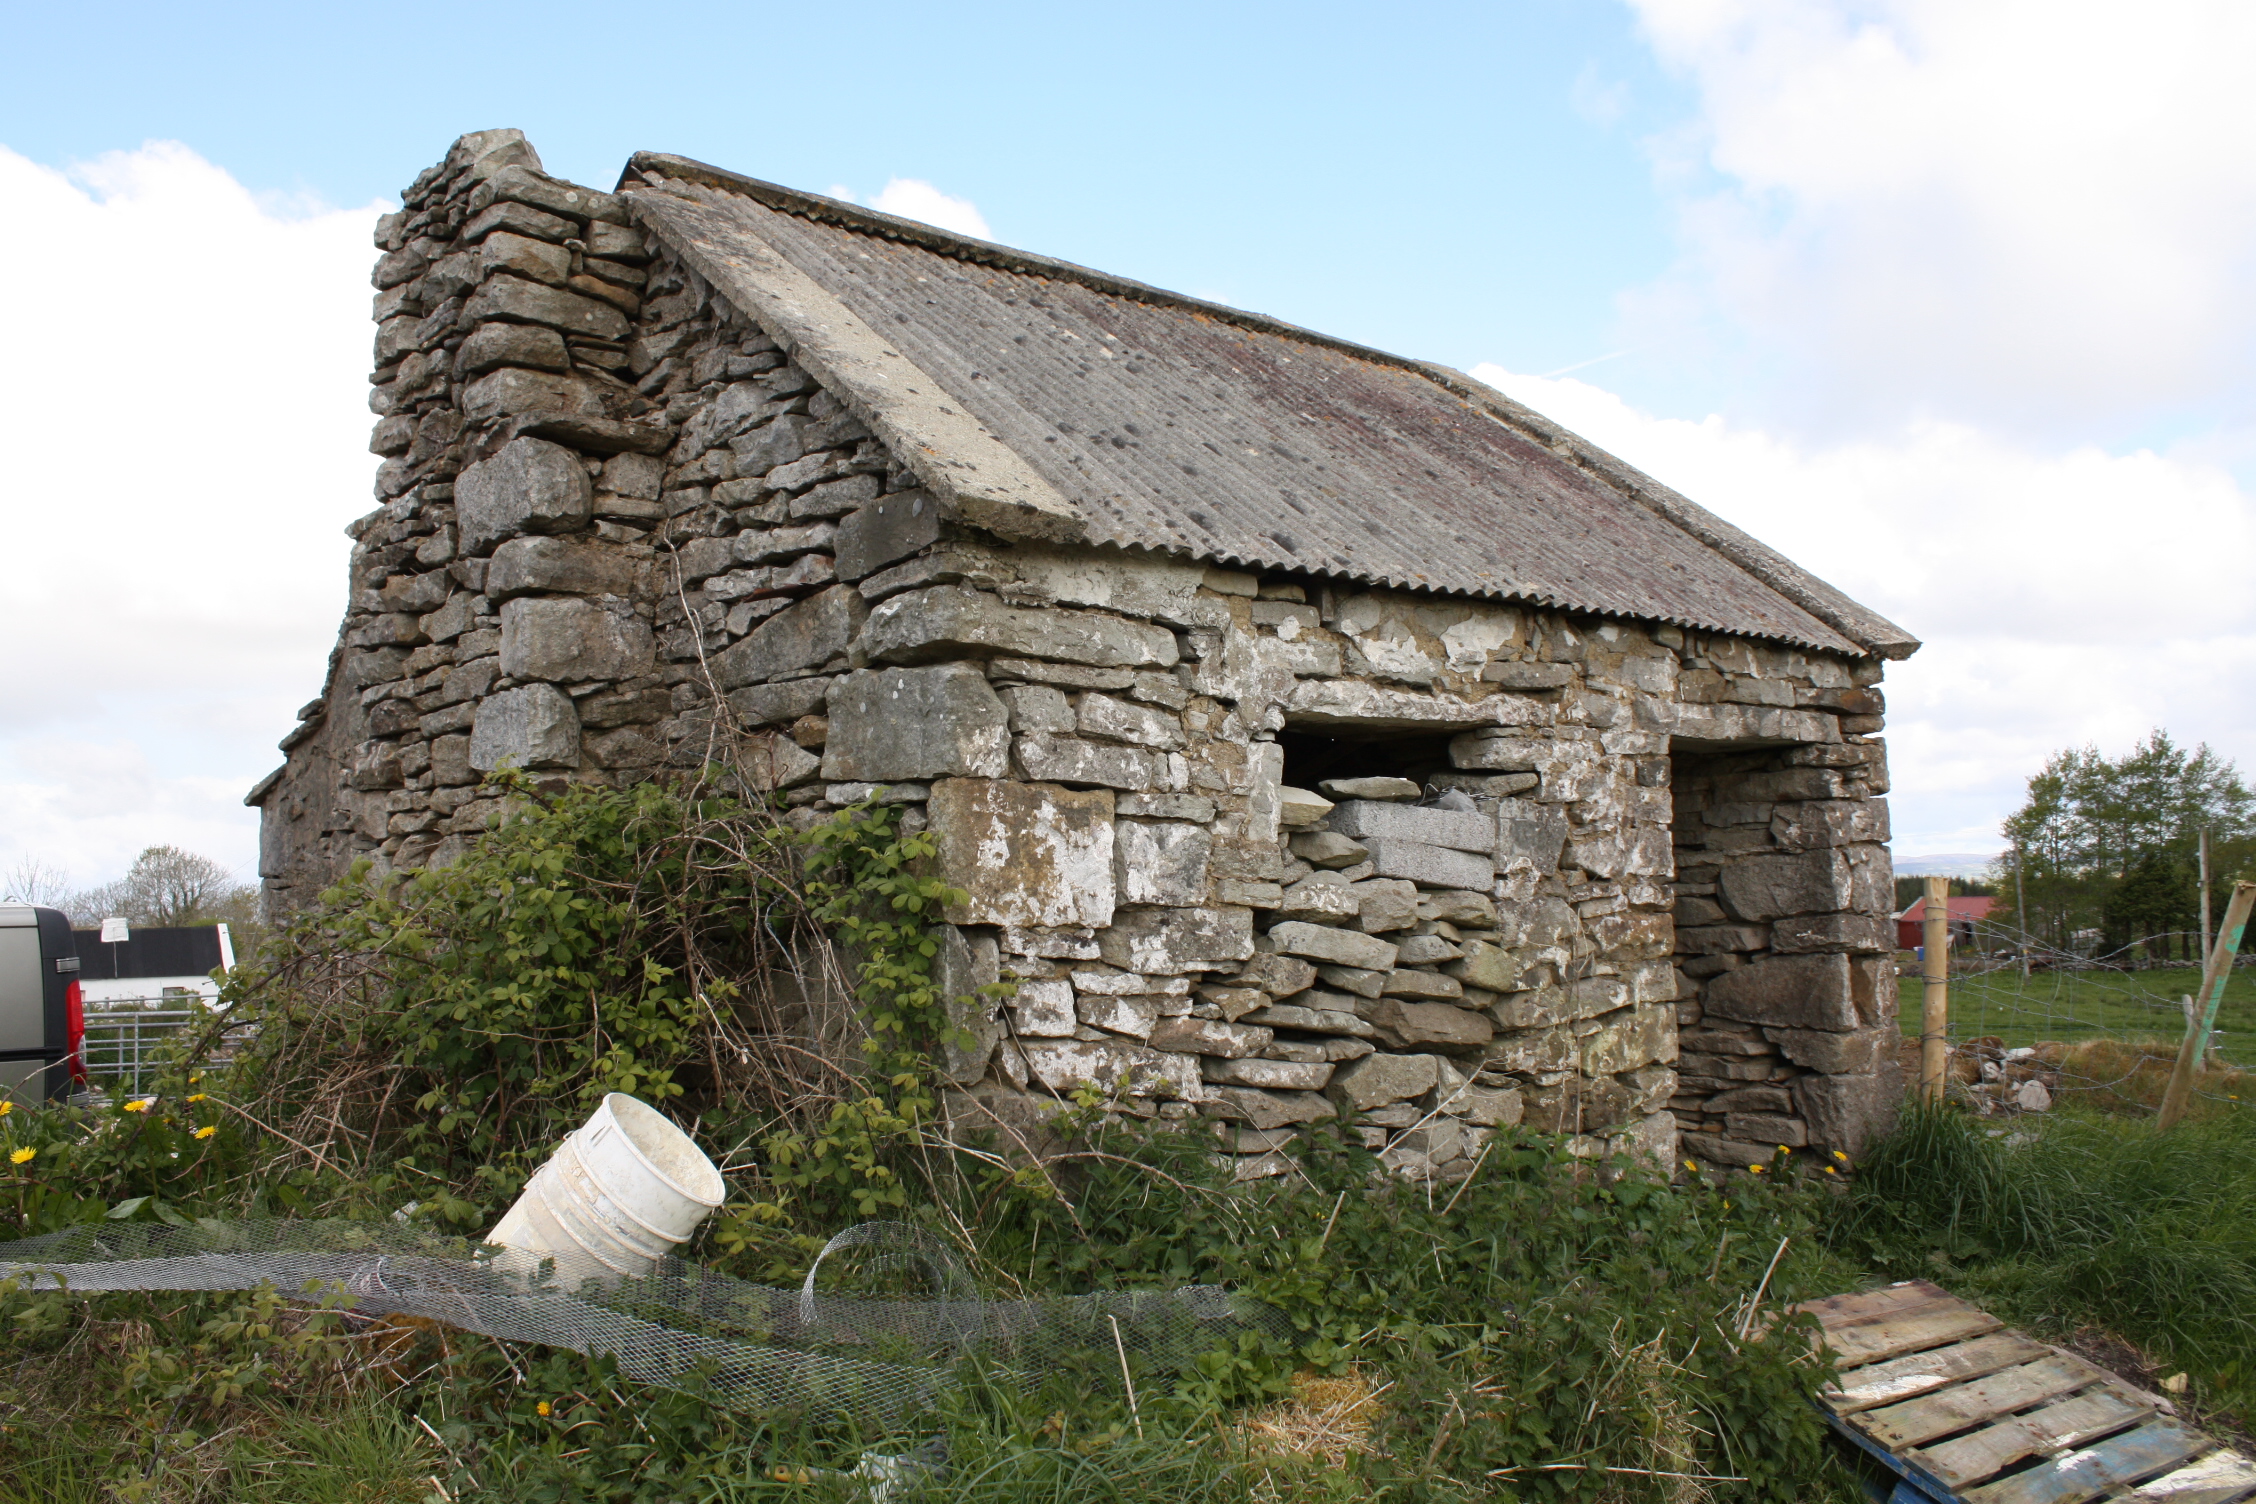
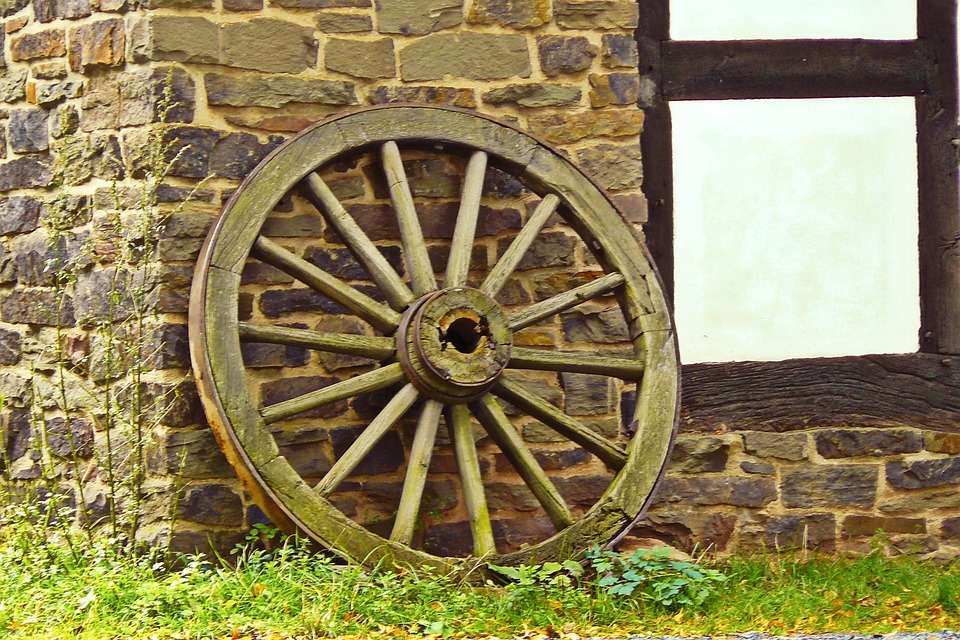
Stone… you just can’t go wrong with it.
Originally posted 2015-12-27 15:47:43.