29 06, 2019

Perfection is rare

2019-06-29T09:44:42+00:00

IMG_1704

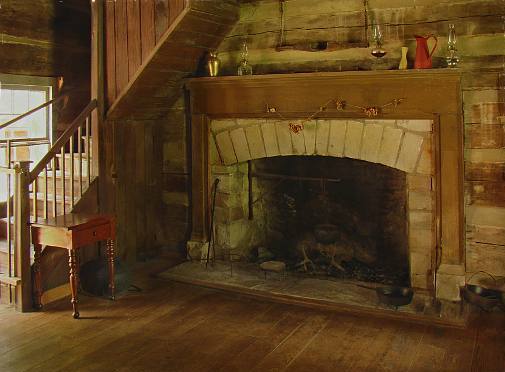
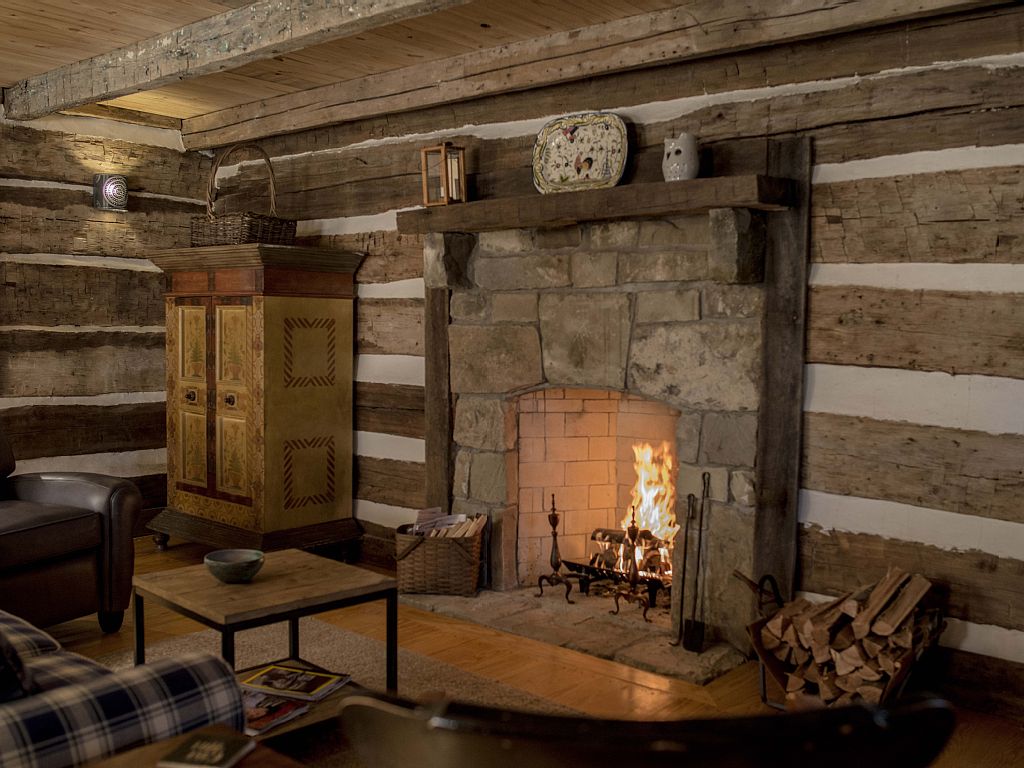
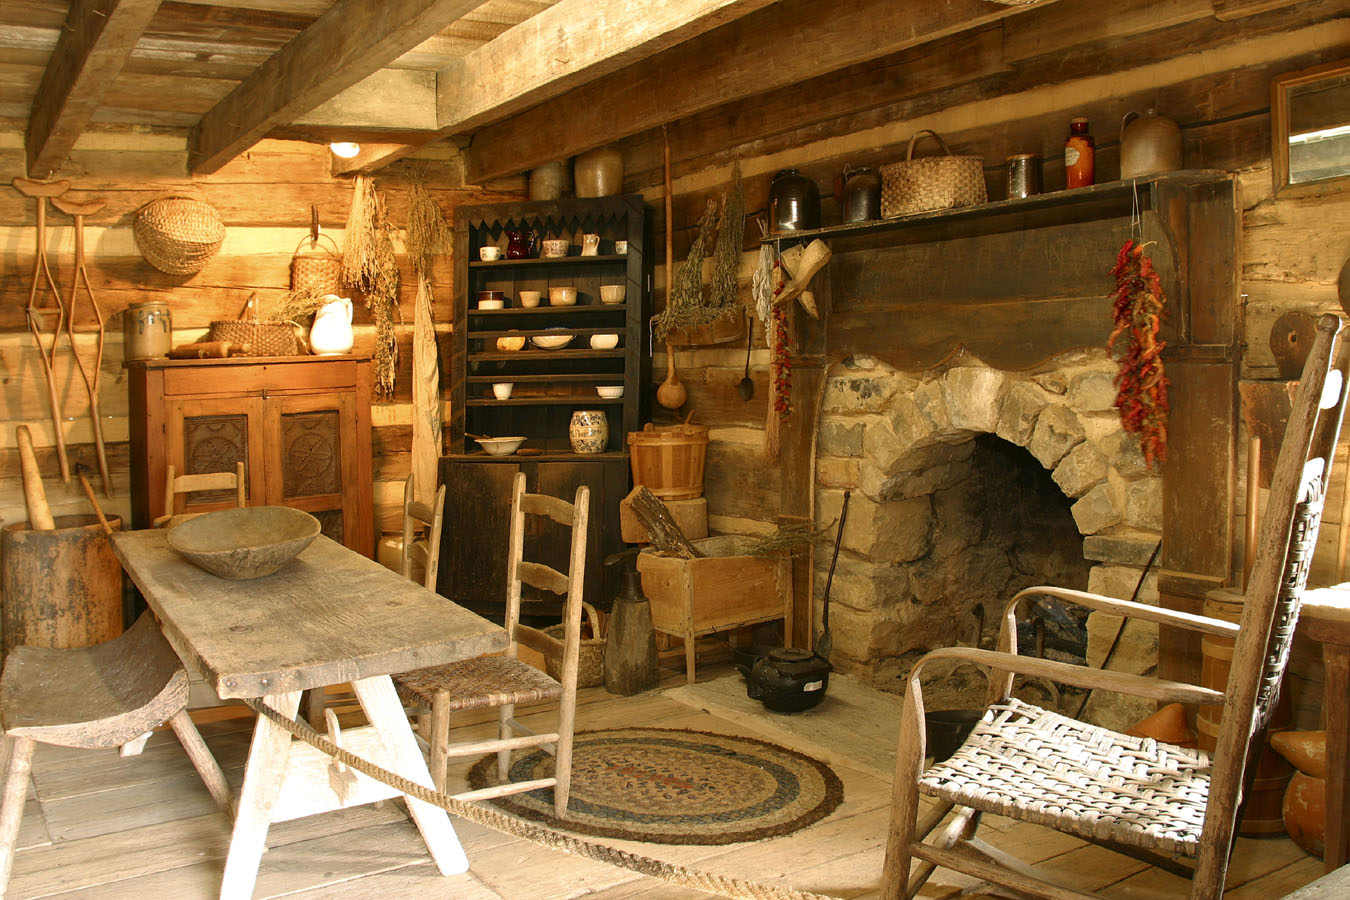
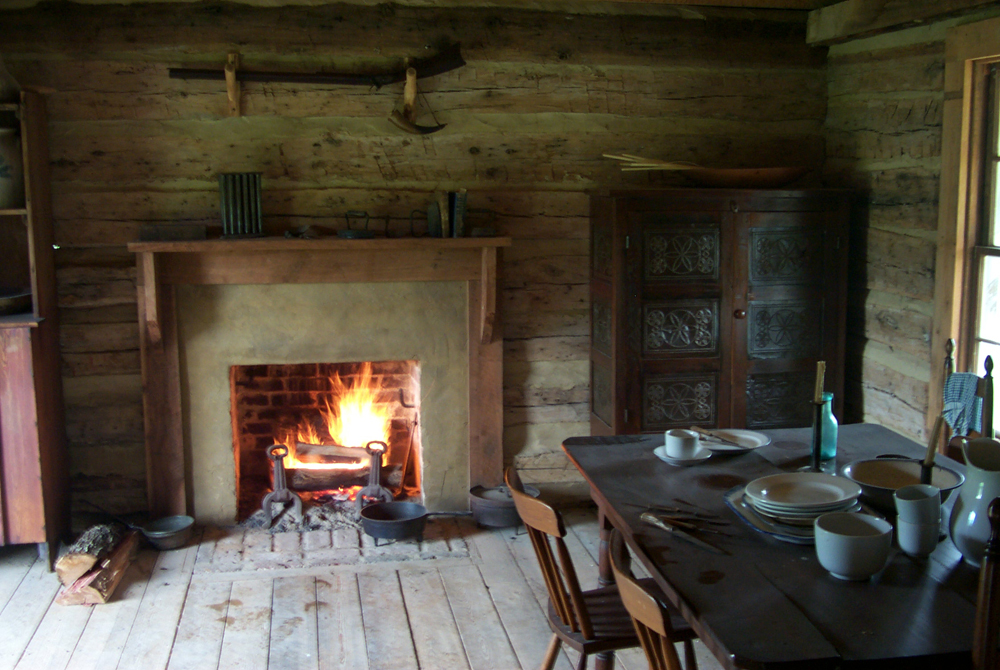
What do we have here?
… Antique flooring. Nice.
… An arched stone fireplace with a wonderful surrounding mantelpiece… and… a working iron crane for cooking.
… An attractive winding staircase with a precious small closet door that accesses the closet below… and… a large window which lights the stairs.
… And, to top it off, all of this is found in a vintage log cabin.
… Oh my.
I don’t know how it could get any better.

Originally posted 2015-12-05 13:57:46.

Perfection is rare2019-06-29T09:44:42+00:00
29 06, 2019

A log cabin interior critique

2019-06-29T09:43:22+00:00

72862586-ada3-4dc4-91a0-59efb8df4624.1.10

Here we have a nice photo of a log cabin interior that was submitted to me by one of the members here.

First impression is that it’s a nice cabin, and in a very real since it is… but there are “issues”, some minor that I simply would have done differently, and others that are huge mistakes.  I’d like to point them out… not to be critical of whoever built or owns this cabin… and not to demonstrate to the world how much I know… but simply to share with you, my dear friend, what I see so that you might be prepared to do better when the day comes to build your dream cabin.

I can tell that this cabin is a new cabin, built using antique logs. There are many clues that let me know that… the main one being is that some of the interior faces that I see on the logs were originally exterior faces… logs that have been exposed to weather and are now on the inside of the home. Also, some of the logs on one side of the fireplace are different than those on the other side, a clear indication of the random use of a pile of salvaged logs. All of these quirks are no big deal… just an observation that I’d like to point out.

The flooring in this room is new yellow pine, not my choice of material, but a money saver for sure. They could have done worse, and they certainly could have done better by using salvaged flooring from an older home or cabin.

The ceiling between the beams is also new yellow pine. If you were here in this room you would find this new lumber distracting from the antique ceiling beams. A better option would have been to paint those ceiling boards. That would also brighten the room a bit more. Another option would have been to use salvaged lumber.

With regard to the logs notice the size of the chink joints on the fireplace wall and then compare with those on the adjoining wall… quite a difference in size isn’t it? This is the mark of an inexperienced notching job on the corners.

The chinking in this cabin is a brighter color than I normally go with, but not too bad after all.  It is unfortunately poorly applied…  it was installed flush to surface of the log faces. If you look close at the log that the lighting fixture is attached to (and the log below that log) you can see dark color staining across the tops of those logs indicting water leakage coming in from the exterior after a rain. Not good at all… a future source of rot.

Now let’s take a look at the fireplace. A fireplace is the focal point of a log cabin room. It is where you eyes naturally go when looking at the photo, and it’s where they will always go every single day that you live in a log cabin. You want the fireplace to be as perfect as you can build. This one unfortunately has a few problems.

Notice how the hearth is a bit raised from the floor? Maybe by two inches? It’s easier for the mason to build them this way rather than flush with the floor, but a flush hearth is MUCH better than one slightly raised and is more historically accurate. The homeowner will never be able to sweep ashes and wood chips into the fireplace that fall onto the floor, and there will constantly be minor tripping and stubbing of toes on this raised protrusion.

The color of the stones is fine. The pattern is a bit odd but not horrible. But it screams “glued on”… thin slices of stone cemented to the chimney. How do I know that? What gives it away? Look at the point where the stone and the firebrick come together… it looks like the stone is about four inches thick… six inches would have been ok… eight, would be much better.

And then there is the firebrick…. stone would have been better…. but, firebrick is fine, I’ve used my share of it, but I would never, never, lay firebrick up on it’s edge when laying it. That is a modern technique. It looks like the mason changed his mind near the top of the fireplace interior and then started laying the flat, one upon the other. Go figure.

Then there are the two stones holding up the mantle piece that are way, way too large. They are massive enough to hold up a bridge, and are clearly over-sized visually to carry a single piece of wood.

Finally, it’s clear that there was no coordination between the log crew and the stone mason who built the chimney. The end result was that there was likely a horrible poorly finished area where the stone fireplace met up with the logs and so a huge eight inch piece of old lumber was nailed in place to “frame the fireplace”.  I’m sure the builder was pleased with this piece of creative trim work, but to me it screams “we made a huge mistake here so we put this band-aid over it to cover it up, but… we used old wood to do it, so everything is good”. lol

Originally posted 2015-11-07 19:01:35.

A log cabin interior critique2019-06-29T09:43:22+00:00
29 06, 2019

A wide chimney = a cooking fireplace

2019-06-29T09:42:14+00:00

loghouse2

Of course we know why this wonderful stone chimney is SO wide (she must be ten feet wide at the base, rather than the standard six feet)… I imagine that there is one impressive cooking fireplace on the inside of this cabin!

Originally posted 2015-10-17 12:56:38.

A wide chimney = a cooking fireplace2019-06-29T09:42:14+00:00
29 06, 2019

Log cabin fireplace

2019-06-29T09:41:47+00:00

Log_Cabin_Interior

I do love the old brick that was used to build this firebox.
(the place could sure use a good dusting)

Originally posted 2015-10-09 17:29:36.

Log cabin fireplace2019-06-29T09:41:47+00:00
Go to Top