A nice house site
Noah Bradley2019-06-29T11:07:16+00:00
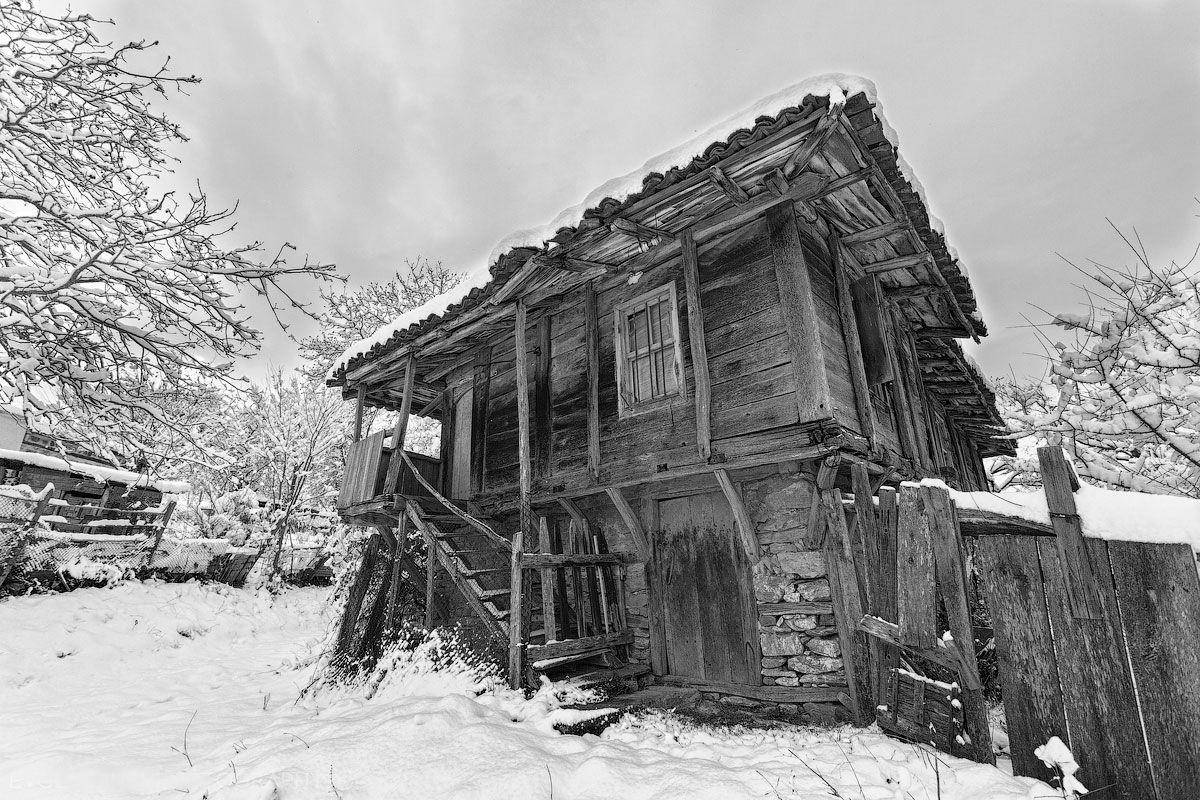
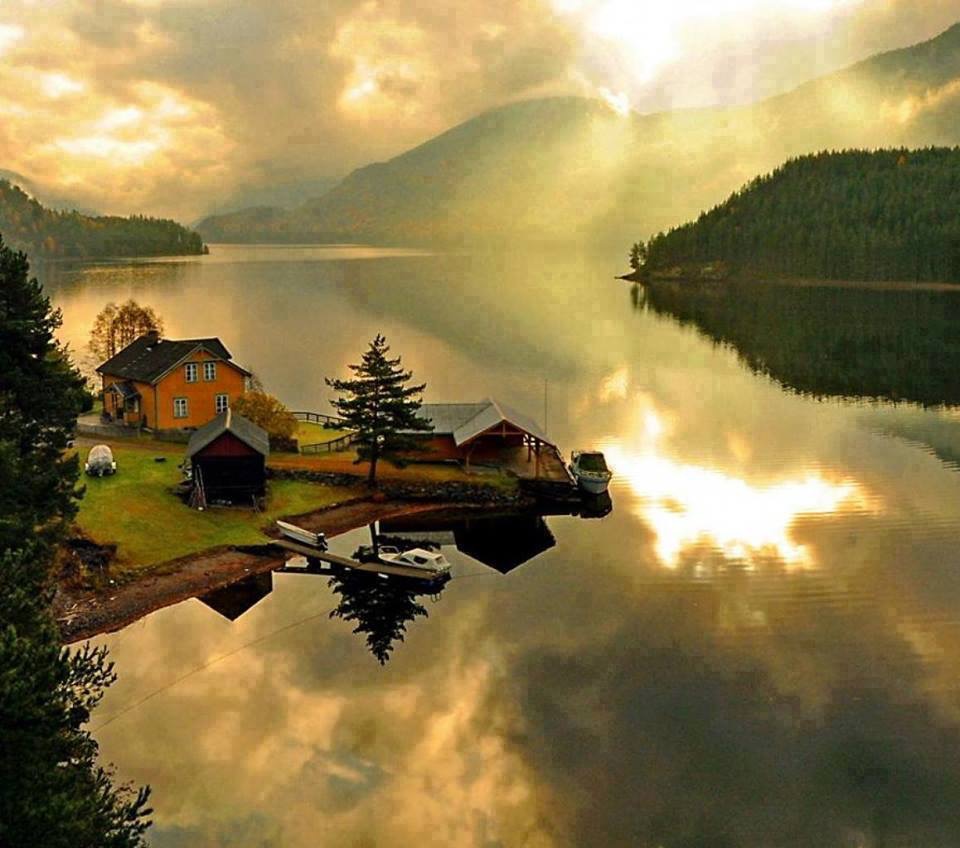
The house looks new… but the house site looks like it was created many years ago. An old road bed perhaps?
Originally posted 2016-01-08 13:00:04.
The house looks new… but the house site looks like it was created many years ago. An old road bed perhaps?
Originally posted 2016-01-08 13:00:04.

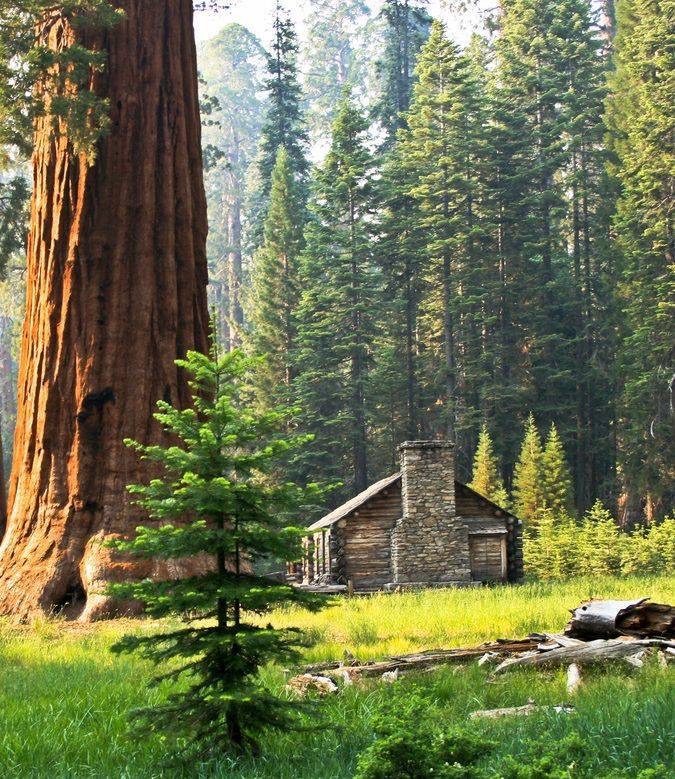
I do love a pine forest. Some people don’t care for them. Pine trees are shallow rooted and brittle, so they don’t fair well during strong winds like those created by a hurricane.. But, there is nothing else like the feel you get when walking through a grove of them.
On a windy day, they are known to whisper.
Originally posted 2016-01-03 21:42:45.
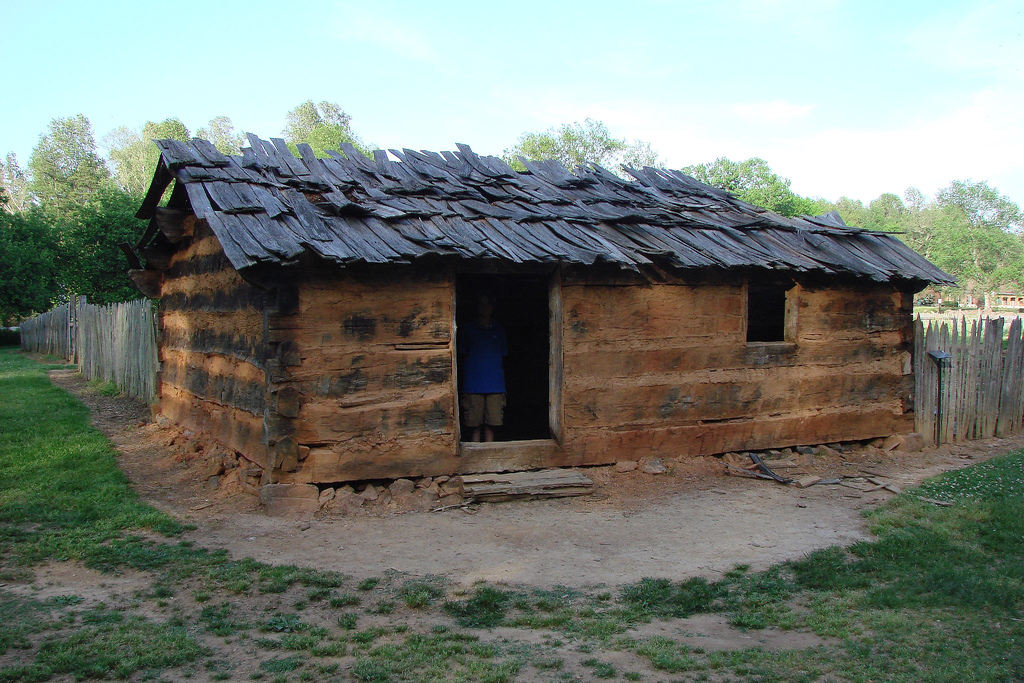
I suppose any ceiling height over six feet and a few inches is a luxury… a luxury I fully appreciate!
Yes indeed people were shorter back in the day… but lower heights were also easier to build and quicker to get done when so many other chores needed to be done.
Originally posted 2016-01-02 19:50:27.
Originally posted 2015-12-31 10:37:56.
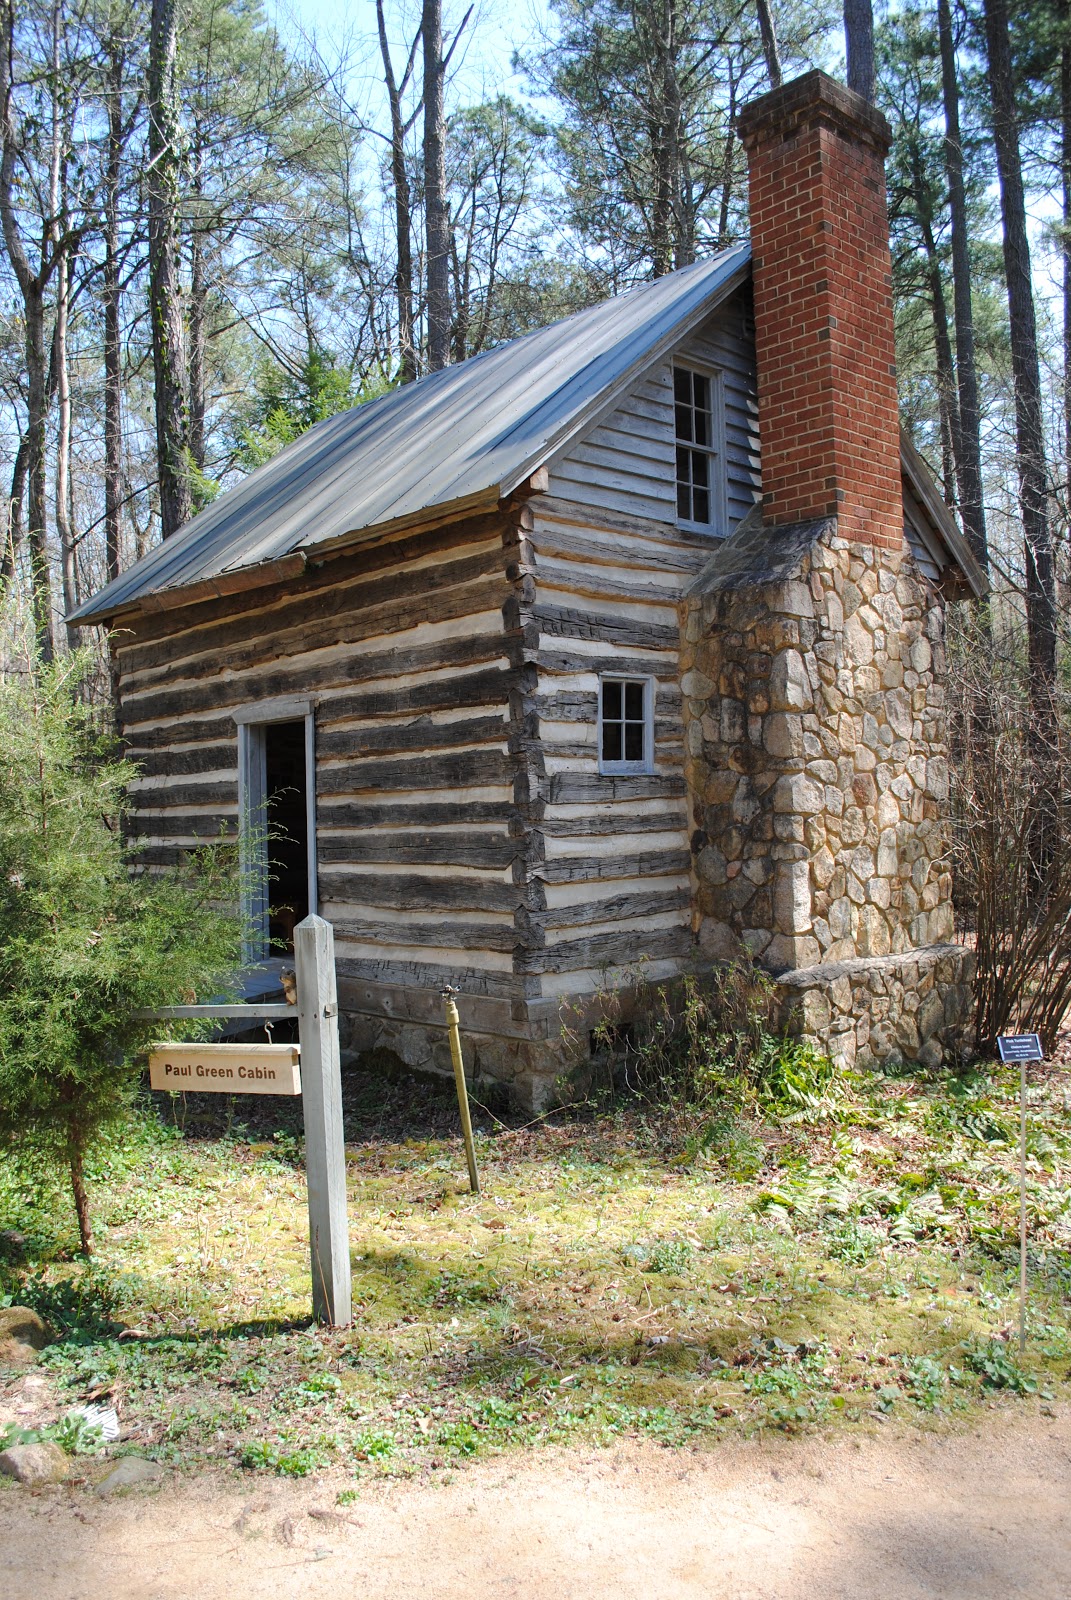
She is a cute cabin… rustic and simple.
The men who restored her did a good job… they replaced the bottom log (the sill), the chinking was applied correctly (recessed), and the tin roof is a nice touch in keeping her modest in appearance… a working family home of the mid-1800’s and beyond.
My only disappointment is the chimney… the masonry “veneer over cinder-block” is given away by the random pattern of the stonework and the running bond pattern of the brick. I don’t mean to be critical, but imagine a time in the future when cabins will be restored and the chimneys will be re-built out of plastic that “looks like” stone and brick… I’m sure many will love it… but those with a keen eye will likely comment “what the heck is that?”…”couldn’t they have found someone who could have built it the way it was built?” lol
Originally posted 2015-12-30 13:37:46.
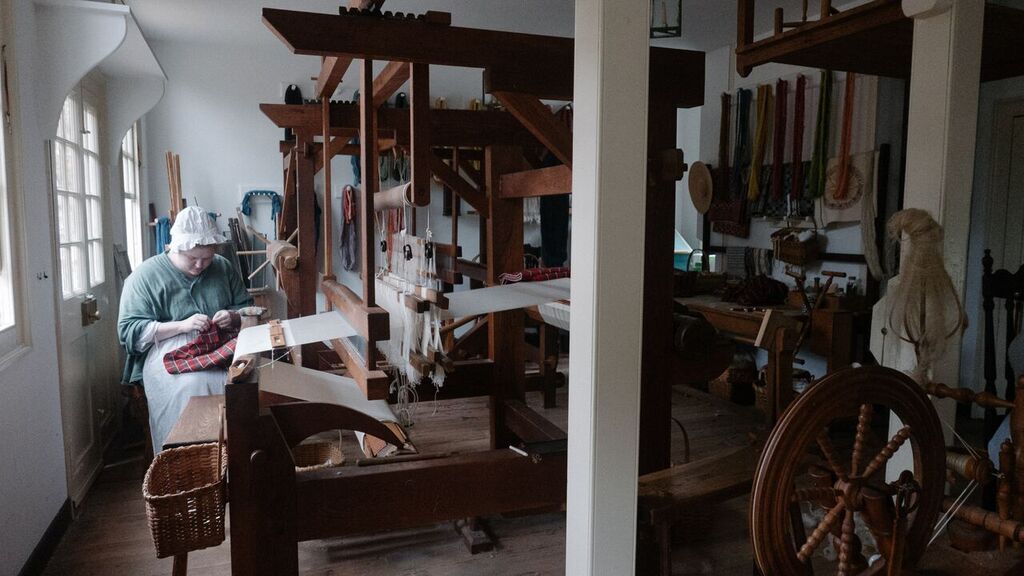
It seems there are no advocates for the benefits of light that comes through northern faced windows… and that’s a shame.
The world today focuses it’s admiration on southern facing windows touting the merits of heat gain and the intense amount of light that can be gained from exposure on this side of a house. To even slightly hint negatively against southern windows is considered politically incorrect. But the fact is that the southern heat gain is not desirable during the warmer months of the year and that this direct light is harmful to a home’s fabrics and furnishes.
Yes, the north side of a home is colder… but the light that comes in from this side of the house is the most pleasant to work under, and to be in.
Originally posted 2015-12-26 14:29:55.

For those who wanted the look and feel of ancient timbers, but want more light, and height, a timber frame can’t be beat.
Originally posted 2015-12-26 13:13:32.
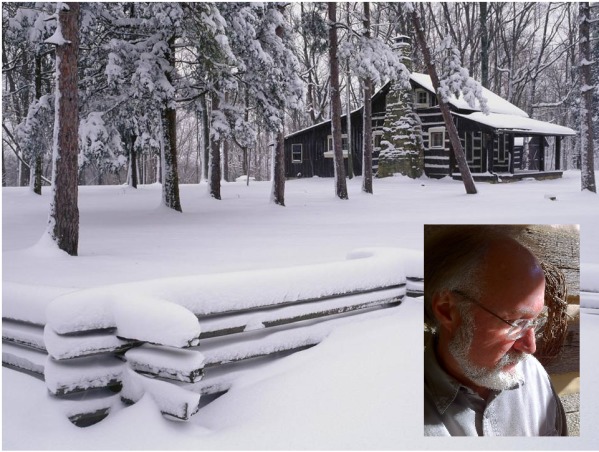
In a world where you can find almost any service online, there’s one service not so easily found.
The days of the hand made home craftsman are not over, but they are particularly hard to find.
Old style homes and cabins continue to pop up here and there, but many of these craftsmen are Amish, or do not make full use of internet technologies. They are country folk and mountain men and women. They seem to have dropped into the background of society since the world has come to rely on Google to find services, and they are not so easily found there.
One man fights to see that one old world tradition isn’t forgotten, as he himself an old-world hand craftsman, Noah Bradley moves to inspire while sharing pictures of old to his facebook page, (Handmade Houses With Noah Bradley) as well as those he has constructed over time.
His building knowledge lends itself to a particular brand of commentary that understands the construction at hand, how it was built, what’s falling apart first, and what needs to be done to preserve it. The following photos from his facebook page and web site share bits of commentary from the eyes of wisdom that come from many years of experience.
Originally posted 2015-12-26 12:55:33.
Originally posted 2015-12-20 17:51:20.
Originally posted 2015-12-20 17:31:15.