Rock and Wood
Noah Bradley2019-06-29T11:12:13+00:00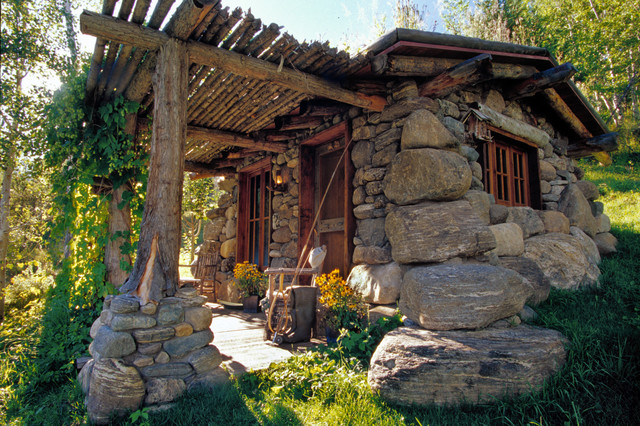
http://thelogbuilders.org/listing/rock-and-wood/
http://thelogbuilders.org/listing/rock-and-wood/
I started my company, Blue Mountain Builders, in the Fall of 1988.
By that time I had more than ten years of experience building and restoring homes for other people and other firms. (If you want to hear my whole story visit my blog and click the link “Who is Noah Bradley?”)
But running your own company is a whole different animal.
I slapped a sign on the side of my truck, bought some business cards, and made a lot of phone calls. I had no work, no savings, and three children under the age of five (one was a newborn). And, old man winter was coming soon.
Even though I had no paying job, I worked hard the first couple of weeks, setting up a workshop in an old building out back of our rental home. And, I made three sets of sawhorses for the “work that was to come”. I still have one of those sets, well worn, but usable.
It really helps when you have a wife who has unshakable faith in you, it will get you through those periods of doubt.
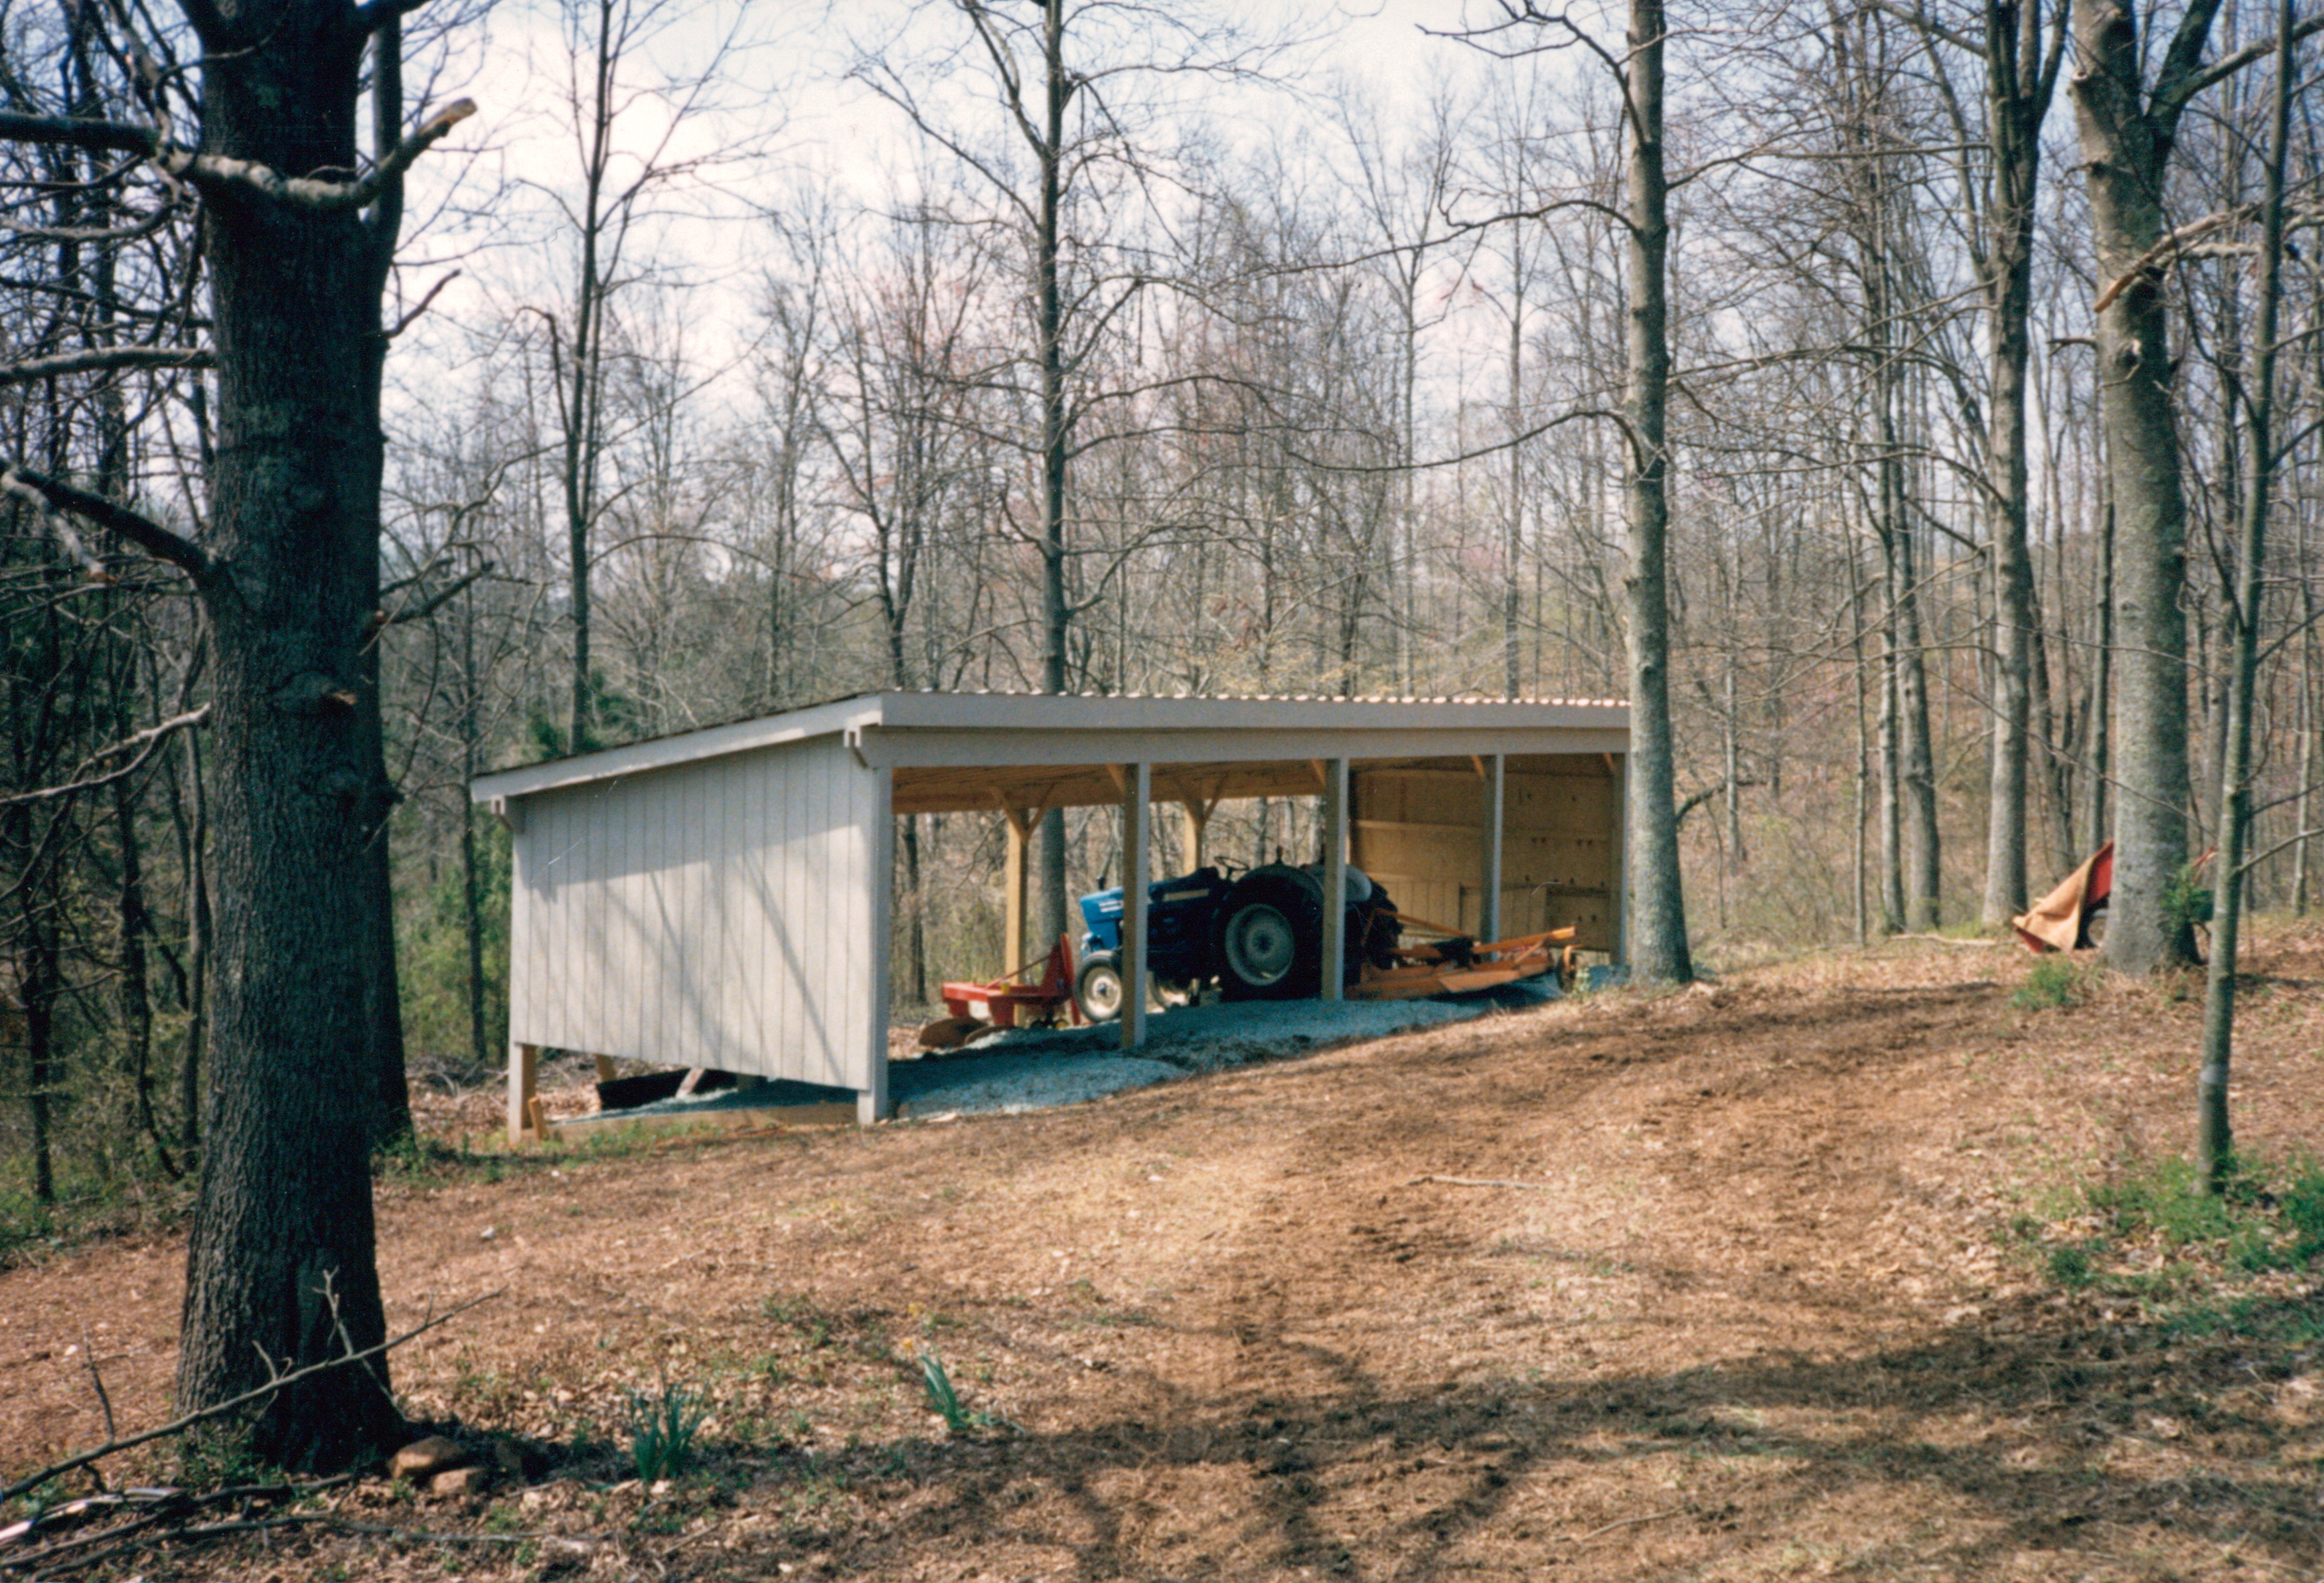
Two weeks later I received a call from someone asking if I would build them a drive-through tractor shed. Not quite a fulfilling of my dream job but I believe I smiled every moment while I was putting that little building up. This company was going to succeed.
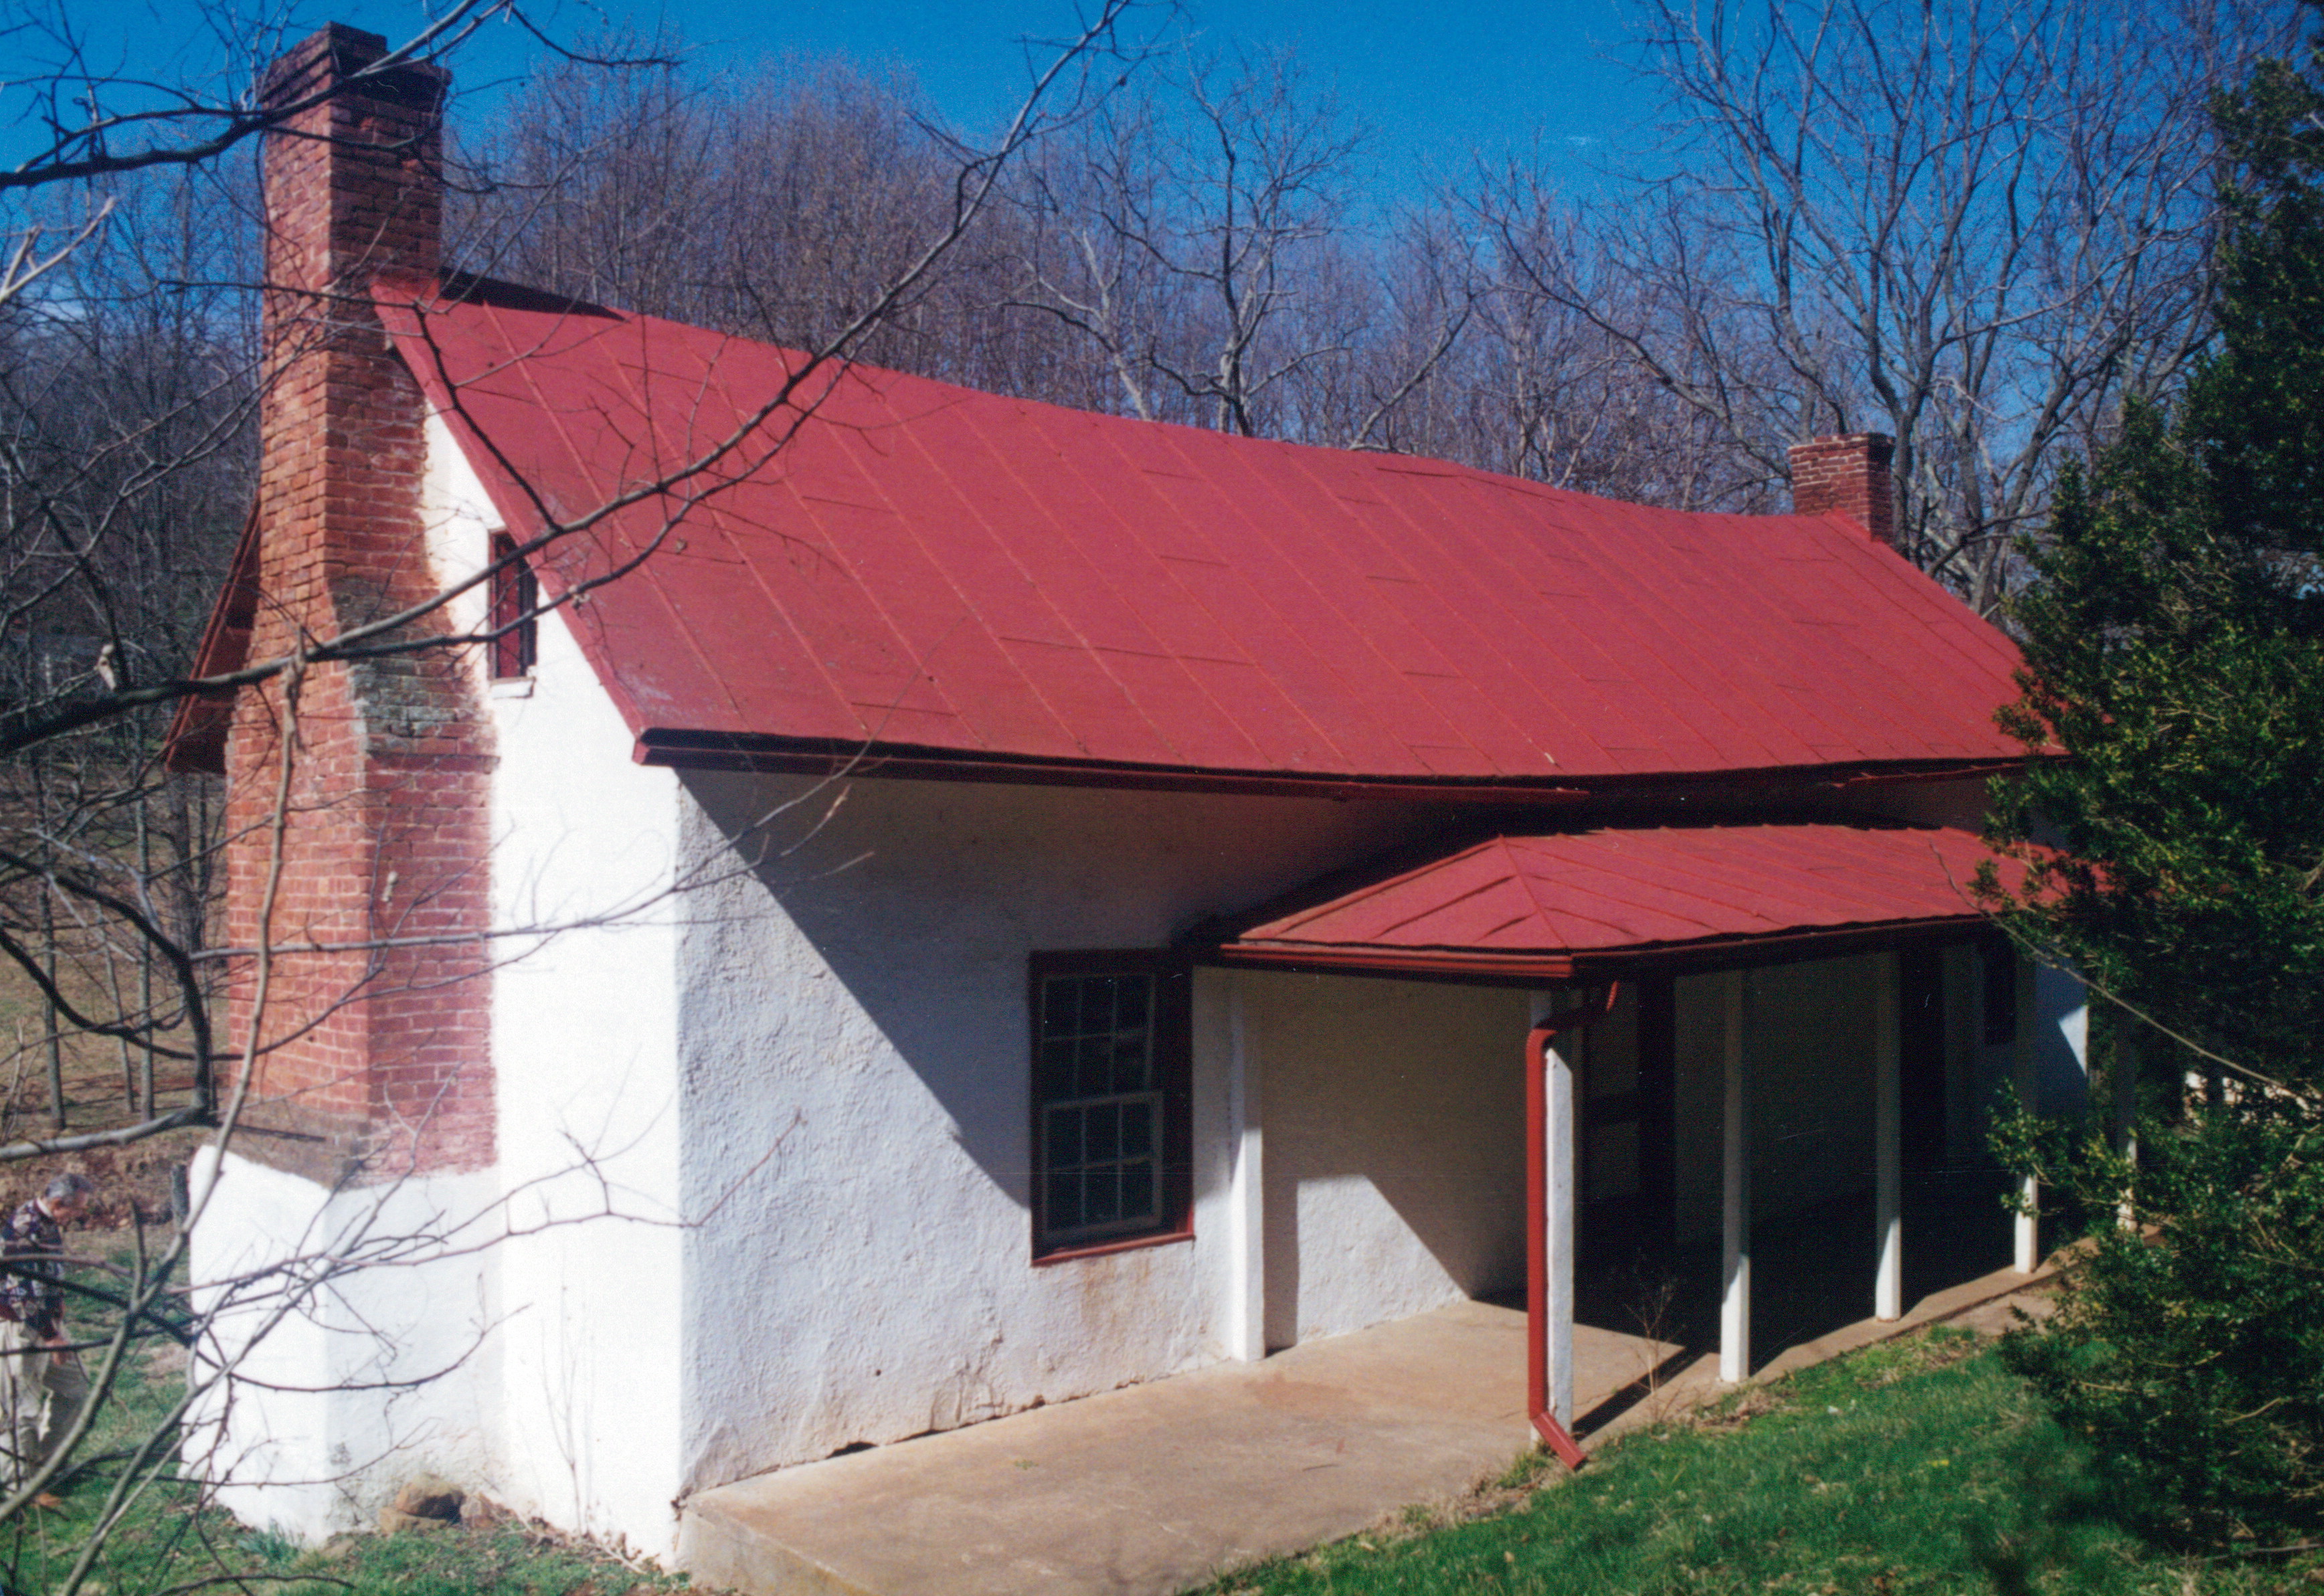
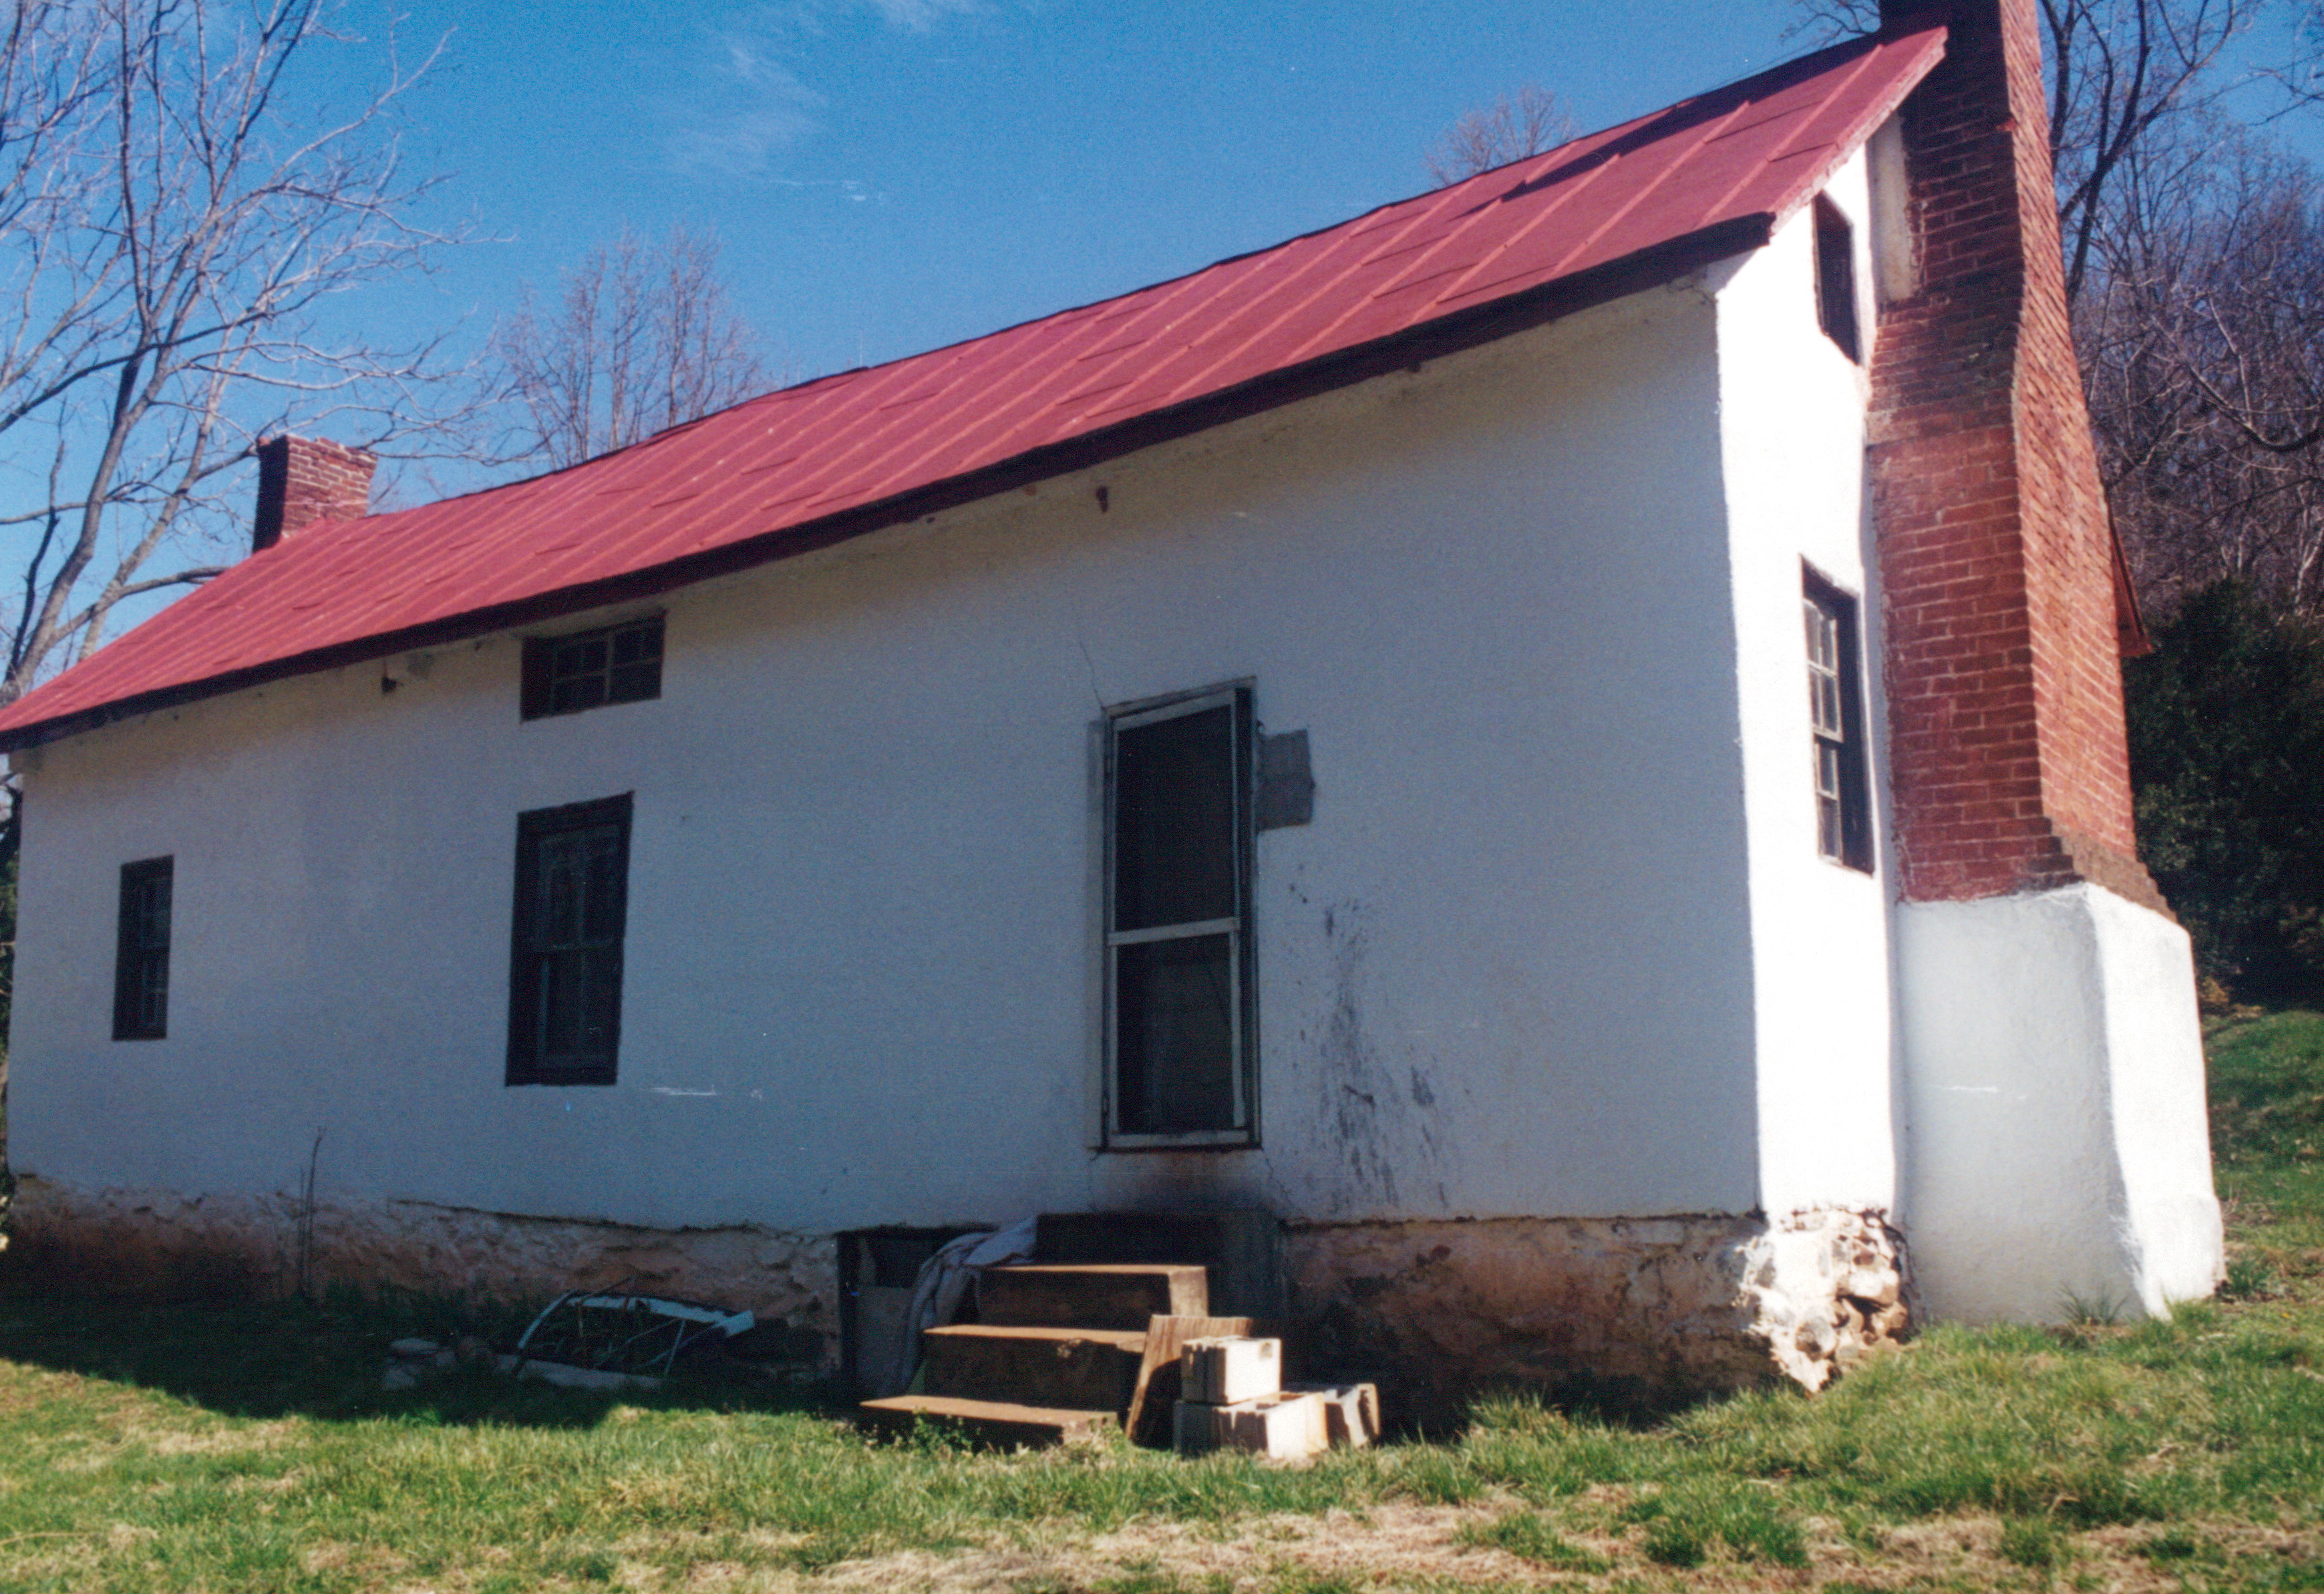
Two years later I would build a log cabin that would be placed on the cover of Country Living magazine… and, at the same time… I would restore another cabin… a sweet little thing… hidden in the woods.
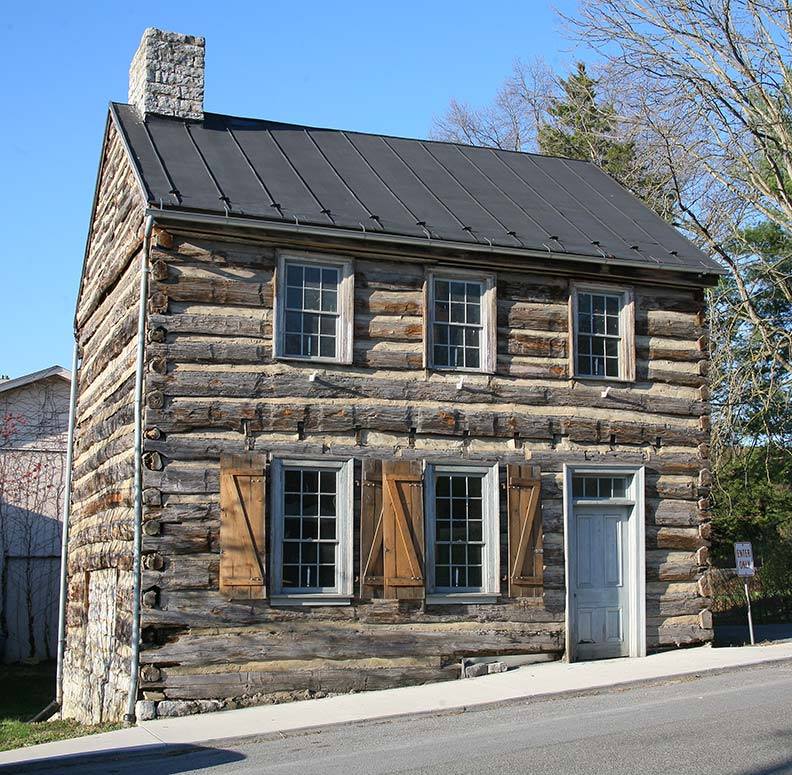
No, I did not restore this log home.
Yes, it is so gorgeous that I wish I could claim that I had restored it.
Hat tip to the folks in Strasburg that have cared for this cabin!
Once a Civil War battleground, Strasburg, Virginia, has a fine collection of old houses spanning three centuries. See more of them here: http://bit.ly/XTBlRk
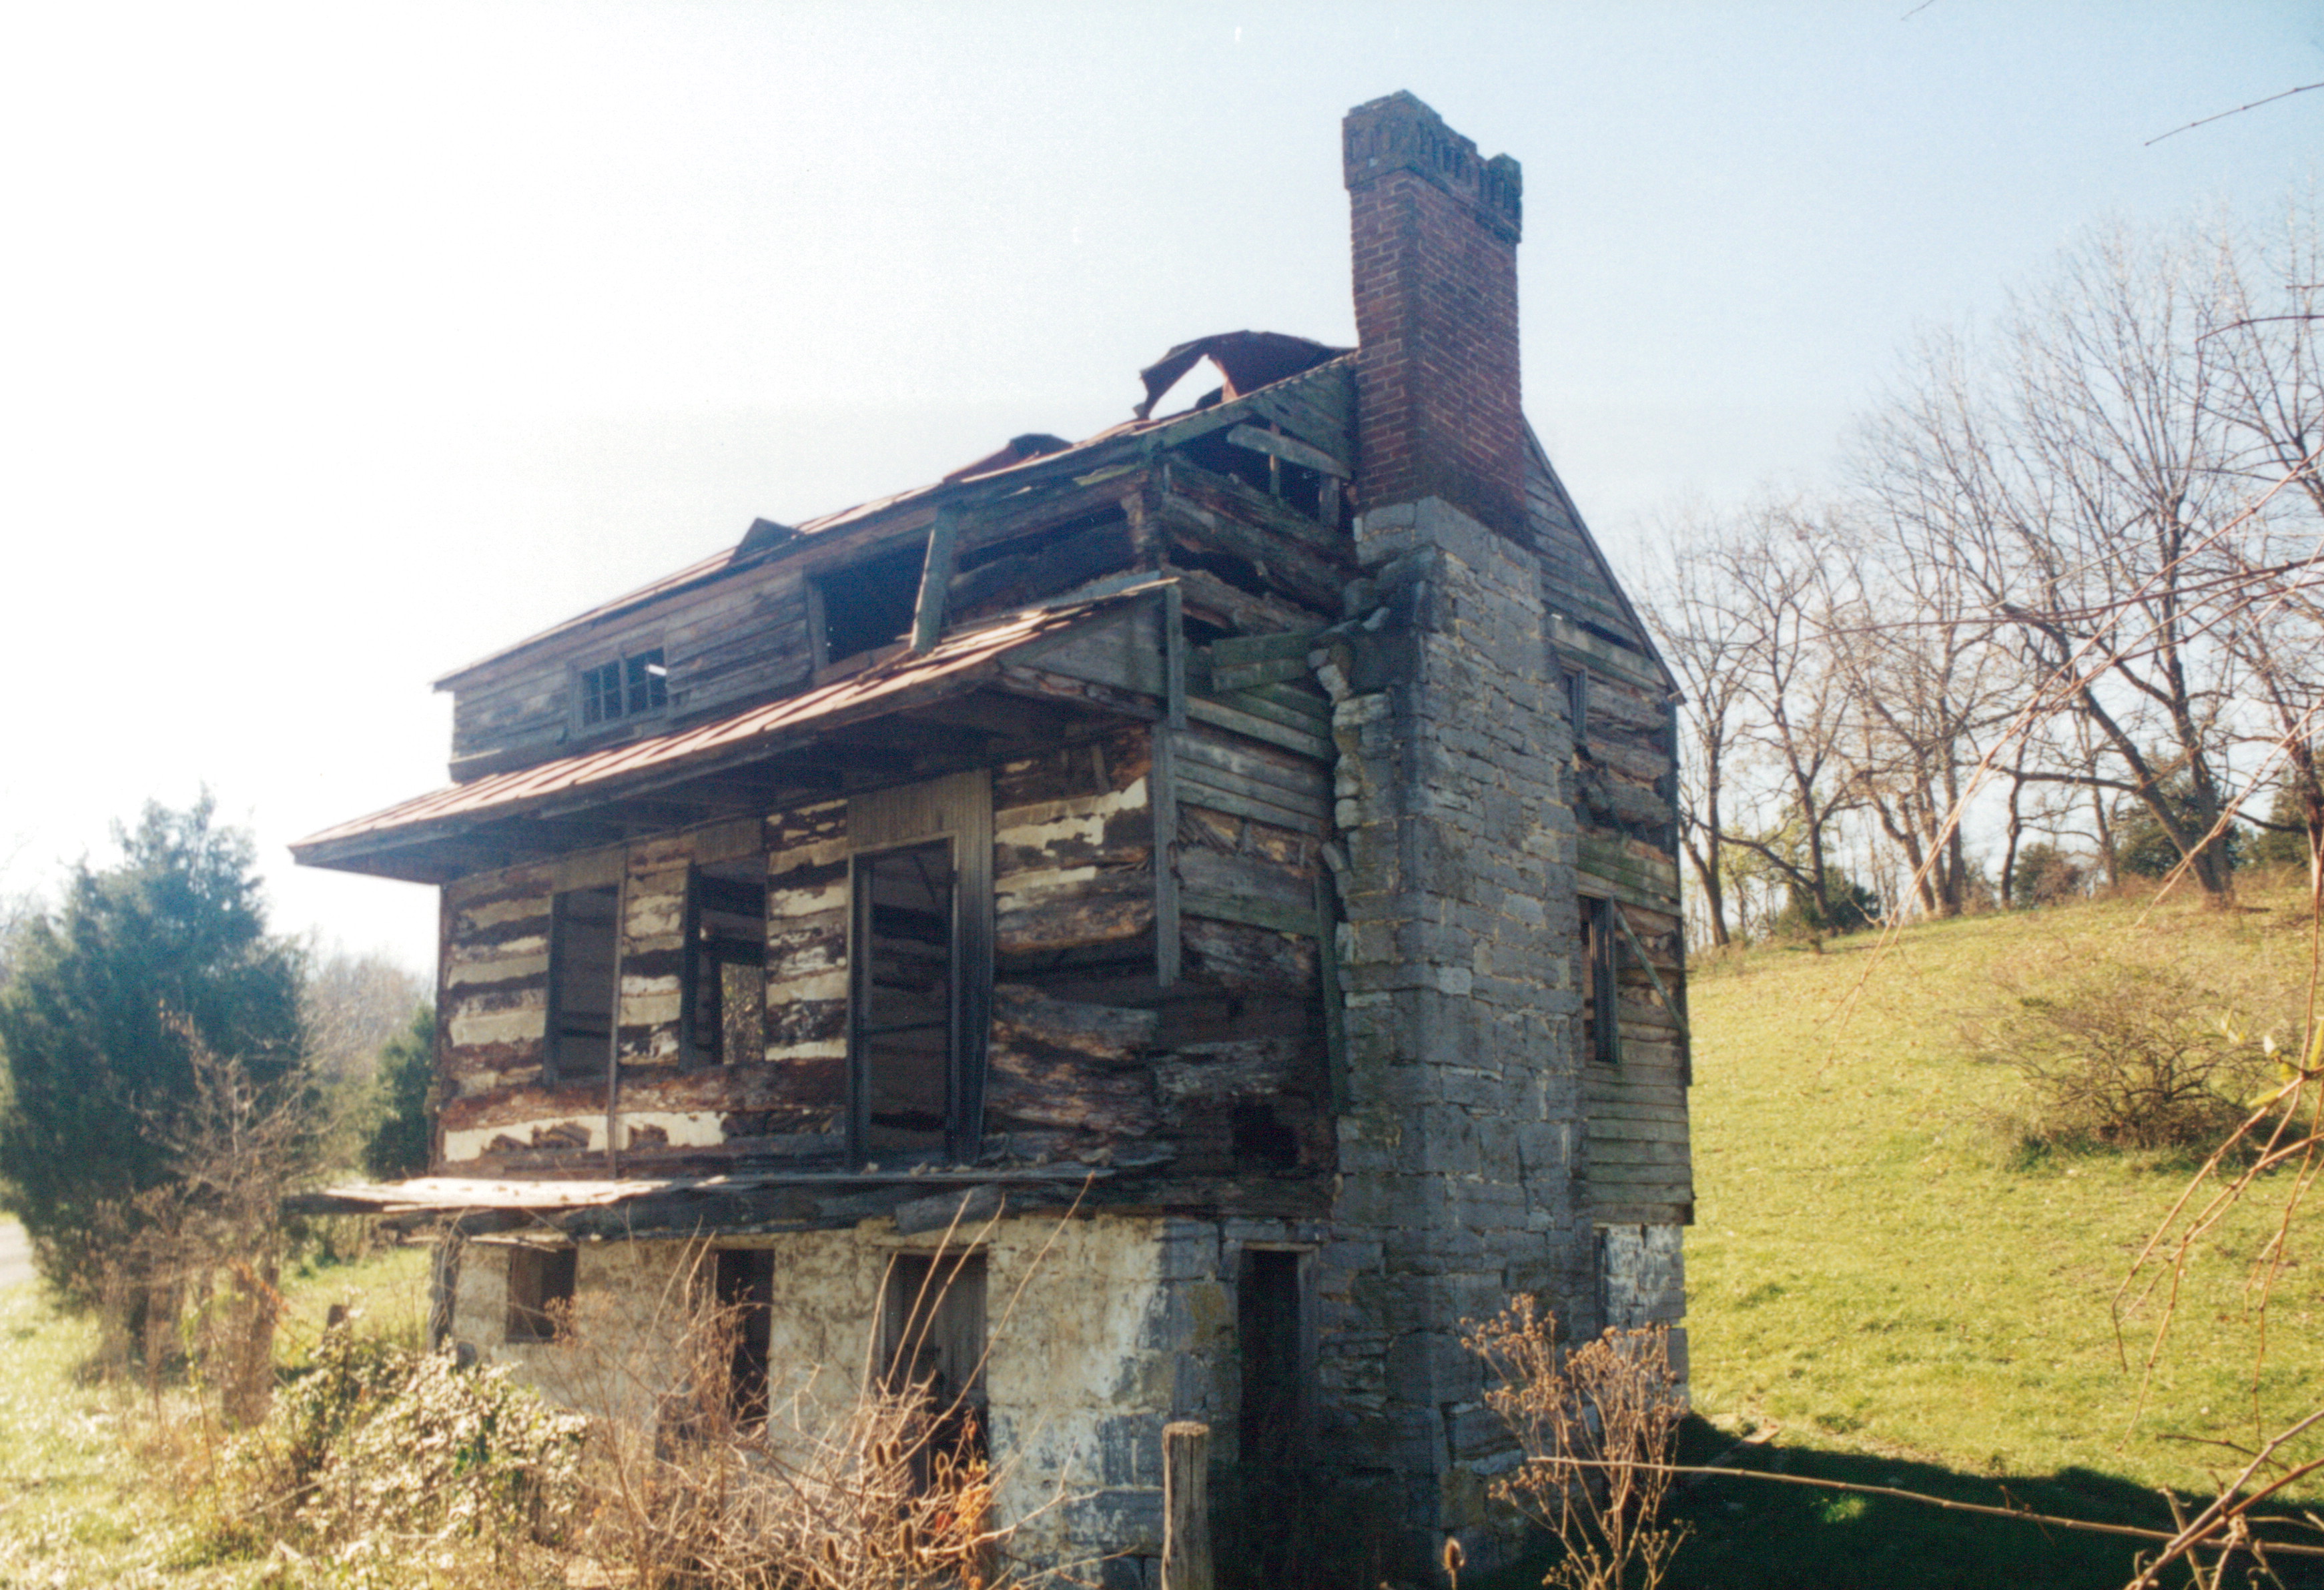
If I may, I’d like to explain my position on the salvage of old homes and barns.
I feel that if there is a chance that an old home will be restored and cared for that it should be left alone and respected. I have turned down the salvage opportunity on many such properties over the years. Some of those buildings still stand today in disrepair, some were salvaged by others, some were lost, but a few have been restored.
If however a vintage structure will soon be lost forever, or there is a danger of it injuring visitors, then I feel salvaging is a worthy and honorable thing to do. Salvaging is nothing new, there are whole villages in England that were built centuries before America was founded that were built out of salvaged materials from even earlier buildings. I have worked on log cabins built in the 1800’s that had logs in them from previous cabins built in the 1700’s.
My goal has always been to try and rebuild the home back somewhere else as close to the original as it can be. Most of the time this is not an option. The majority of structures that I have salvaged are either in a great state of disrepair, or other people have been in the home before I have arrived, and have already removed materials such as: the doors, the mantles, and even the flooring.
If putting a home back up as it was was is not an option. I will use each piece as it was intended… I install antique flooring back down as flooring… I don’t run it through a planer and make furniture out of it. I put beams back up as beams; I don’t saw them up to make flooring. I also do my best to document and photograph each home and pass this information on to the homeowners to keep the story of their new home intact.
Years ago I ended up with several homes that needed to be salvaged that coming summer. I came up with what I thought was a great idea. I would offer four paid summer positions to historic architectural students. They could join in on my team in salvaging these homes; and in the process gain some hands-on experience with the type of structures they were learning about in school, and also help me better document these pieces of history.
So, I called up the head of the local university’s historic architectural department (I live near Charlottesville Va), explained who I was, what I did, and what I’d like to do. She informed me that she felt that I was as low of a life form as could exist, and that she would do everything that she could “to protect her students” from me, and that she would rather see an old house burned down than come into the hands of someone like me.
I obviously abandoned my idea after that call… it was a shame, I really think there would have been plenty of benefits to all.
I later spoke with someone in her department who listened to all I had to say and at the end she said that I was rather convincing but that she felt that she had just had an encounter with the devil himself and wondered if she needed to take a shower.
Is there any wonder that builders have struggles with architects?
Here is an old Virginia Tavern located in Albemarle County, Virginia.
It hurts me to think about her.
She was built sometime in the 1700’s and was rumored to have been visited by many of our nation’s founding fathers.
The local fire department burnt it to the ground… for practice.
The owner of the Tavern called me up to see if I wanted to buy it for salvage. I went over to see it and made him an offer. I told him that I would put it back up somewhere else in all her original splendor.
He called me up that night and said that he had originally offered it to the fire department for practice and that they had called him up after I came and had accepted his offer… and since he had offered it to them first, it was only fair that they get to burn it down.
I doubled my offer. I begged. I pleaded. I tried to reason. After being turned down repeatedly I asked if I could at least come in and remove the wainscoting and the doors? “No, the fire department needs it all to get the proper learning experience”.
Over the years I have been tearfully hugged and thanked for saving old structures destined to be lost. But on one occasion I was once verbally assaulted by the head of the local university historical architectural department telling me that she “would rather see a home burned than moved”… I never called her about this Tavern, but with regard to this historic treasure, she got her wish.
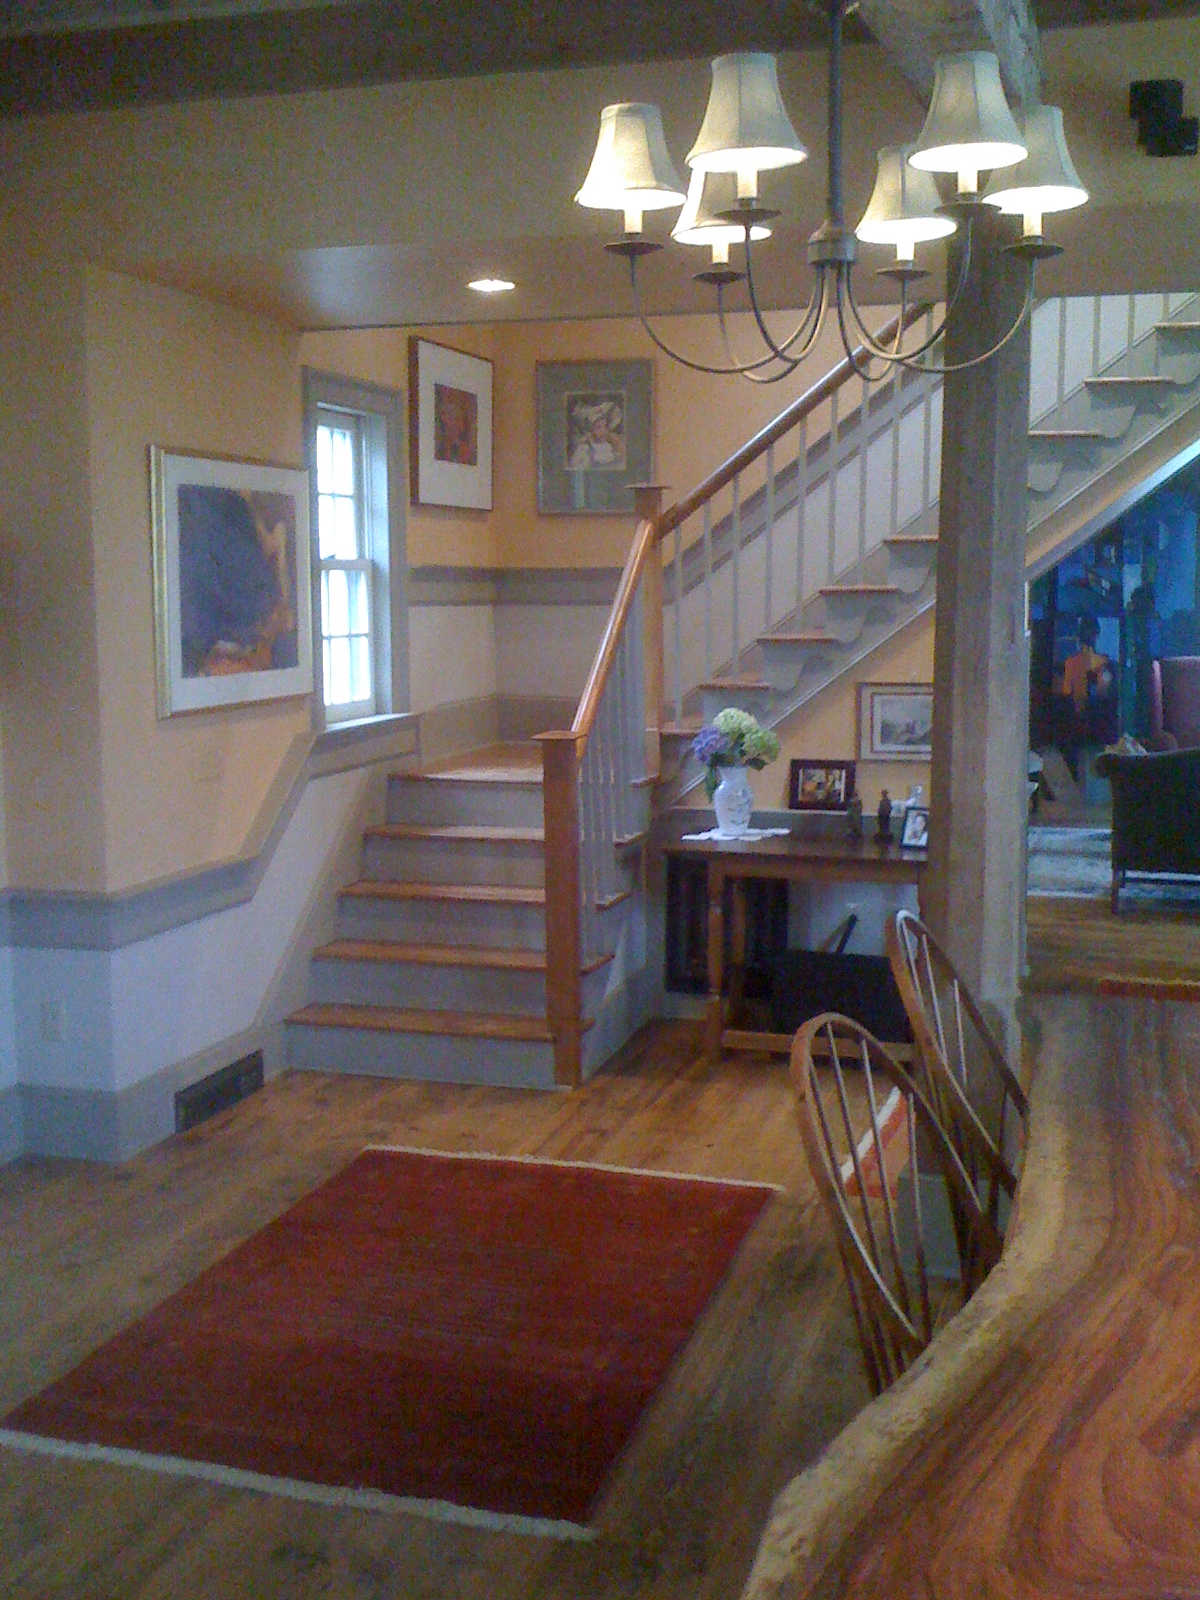
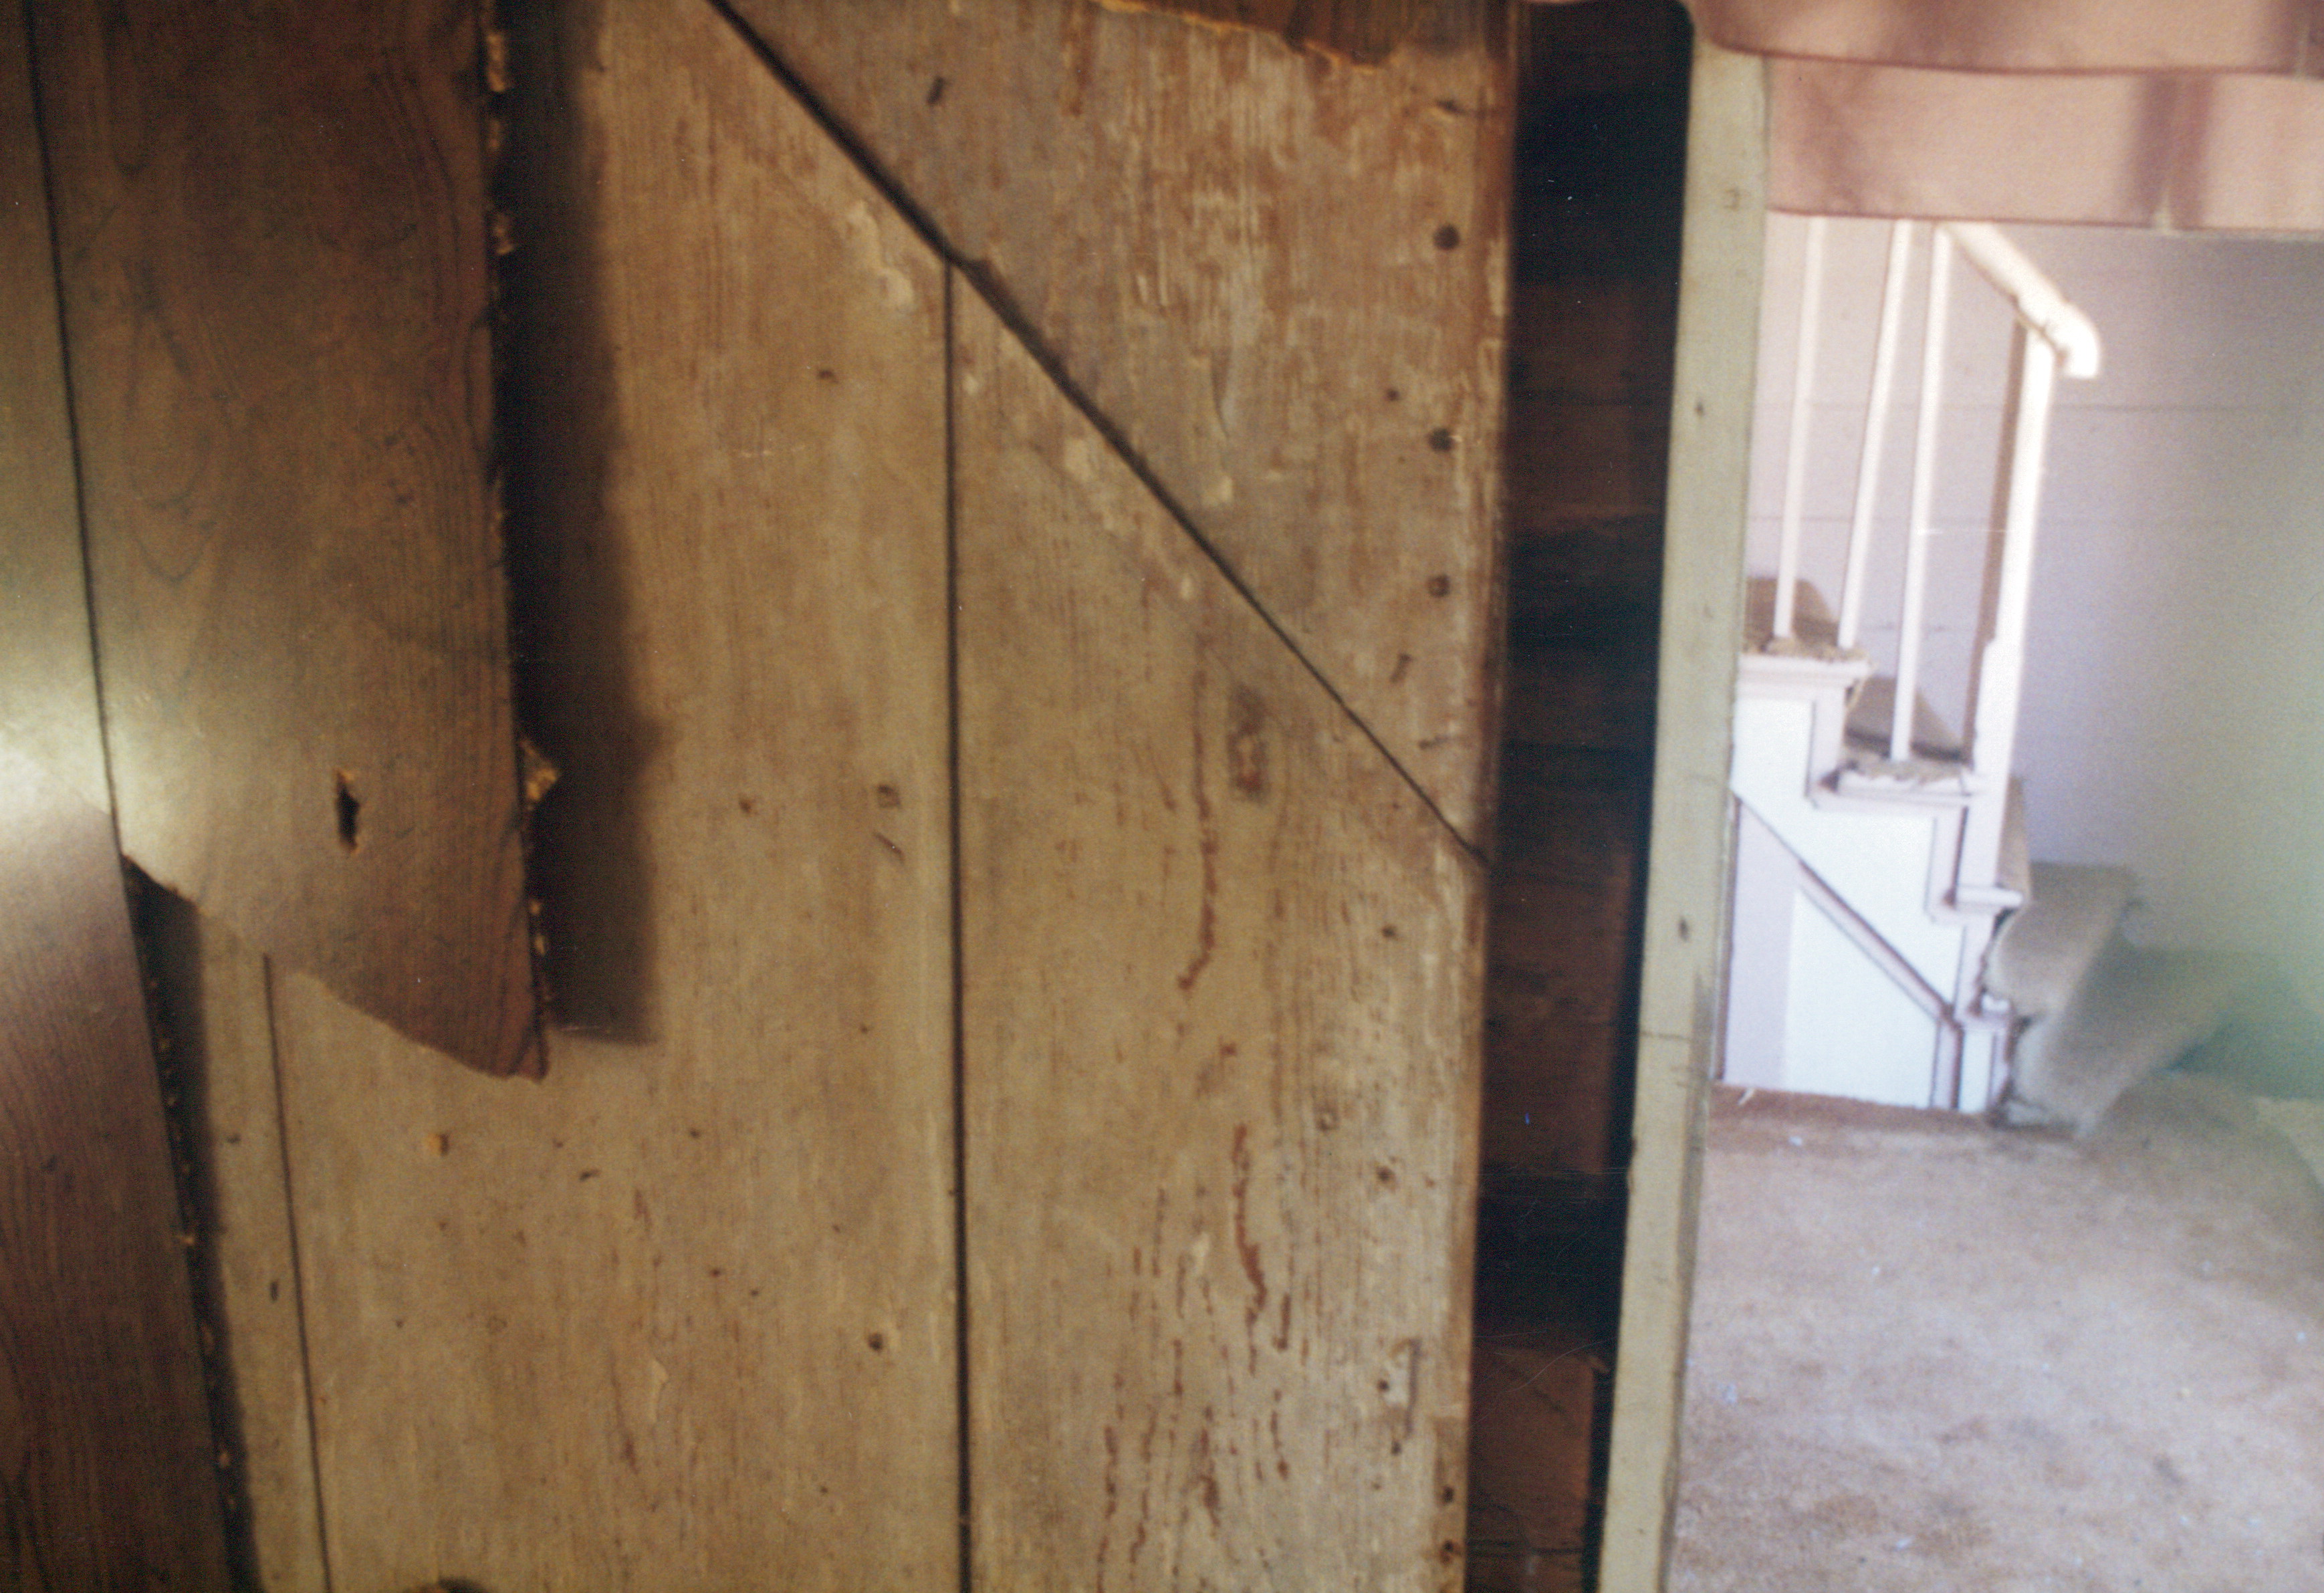
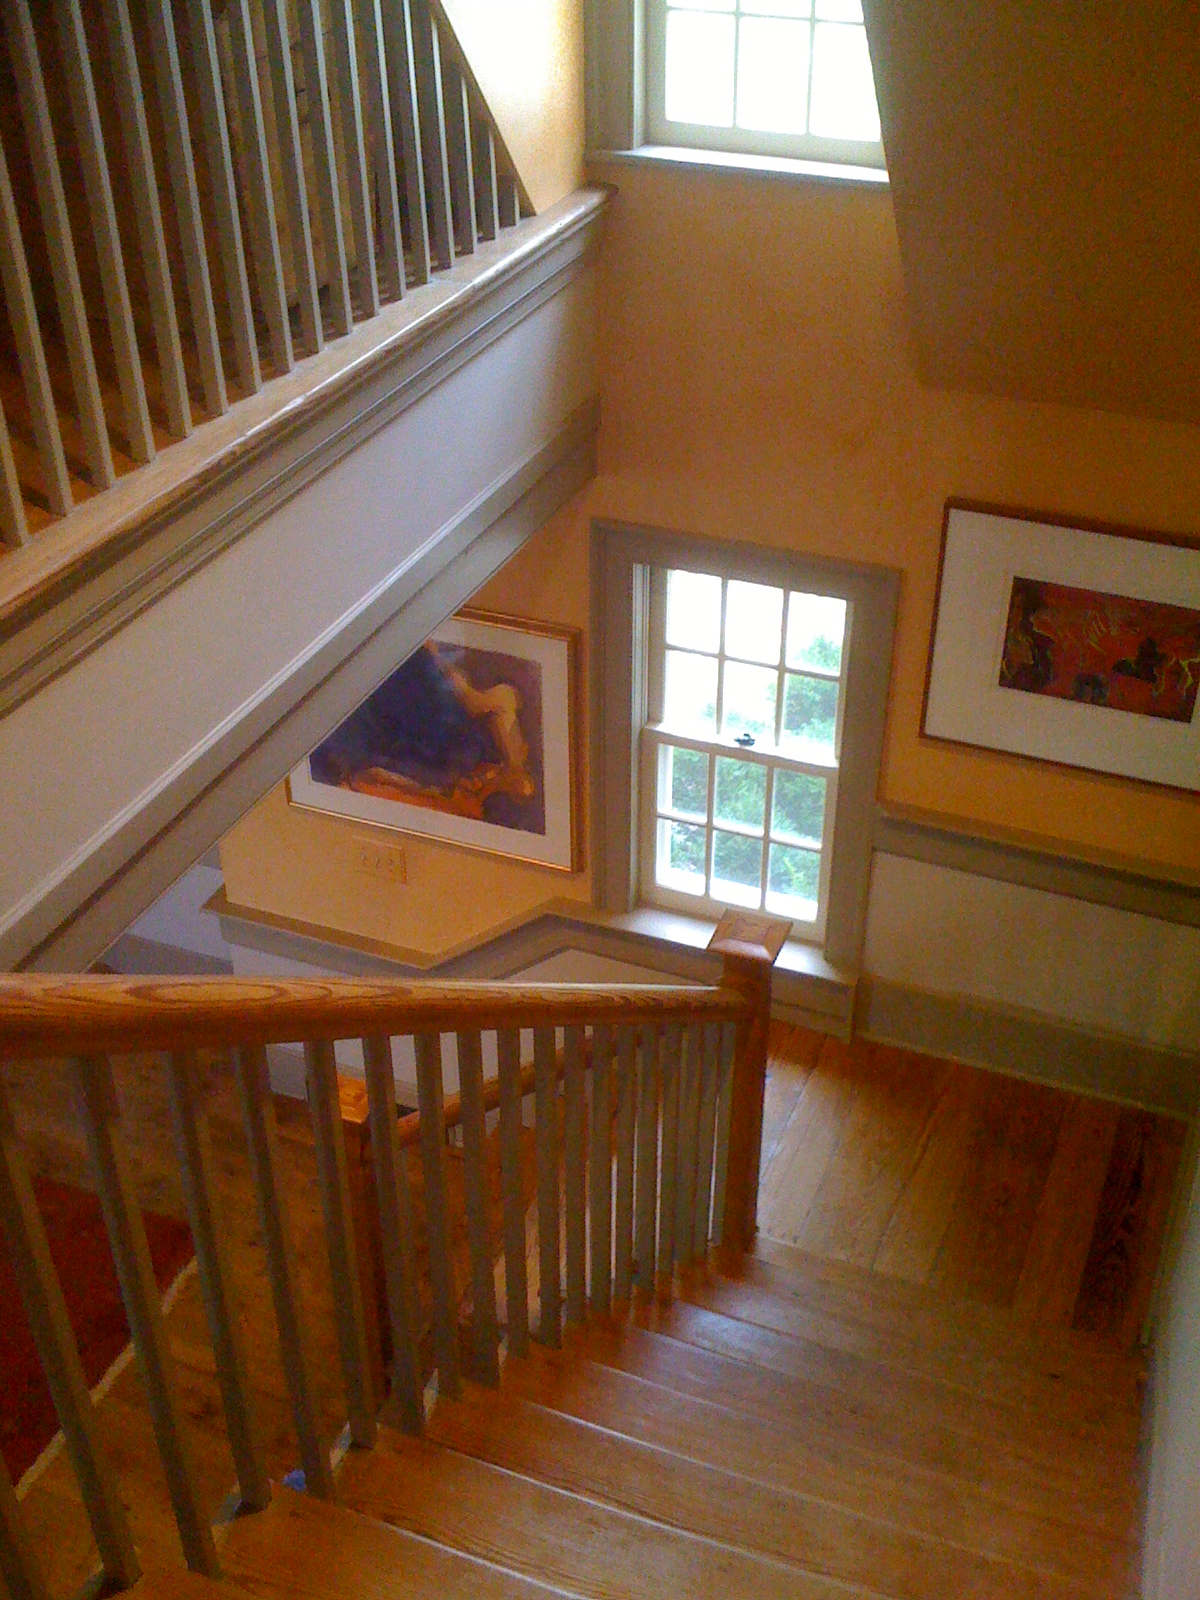
I cannot say that this is the best staircase that I have ever built… I have been fortunate to have built so many fine ones over the years… from the rustic to the refined.
But, I can say that I have never built a better one than this one. I wish my photos could do her justice. She nearly brings a tear to my eye.
She is not a grand staircase… Scarlett O’Hara never walked down these to greet Wret Butler. There is no elaborate ornamentation in her railings and spindles. There is no elaborate curves or flares. Simple, but elegant, is how I describe her.
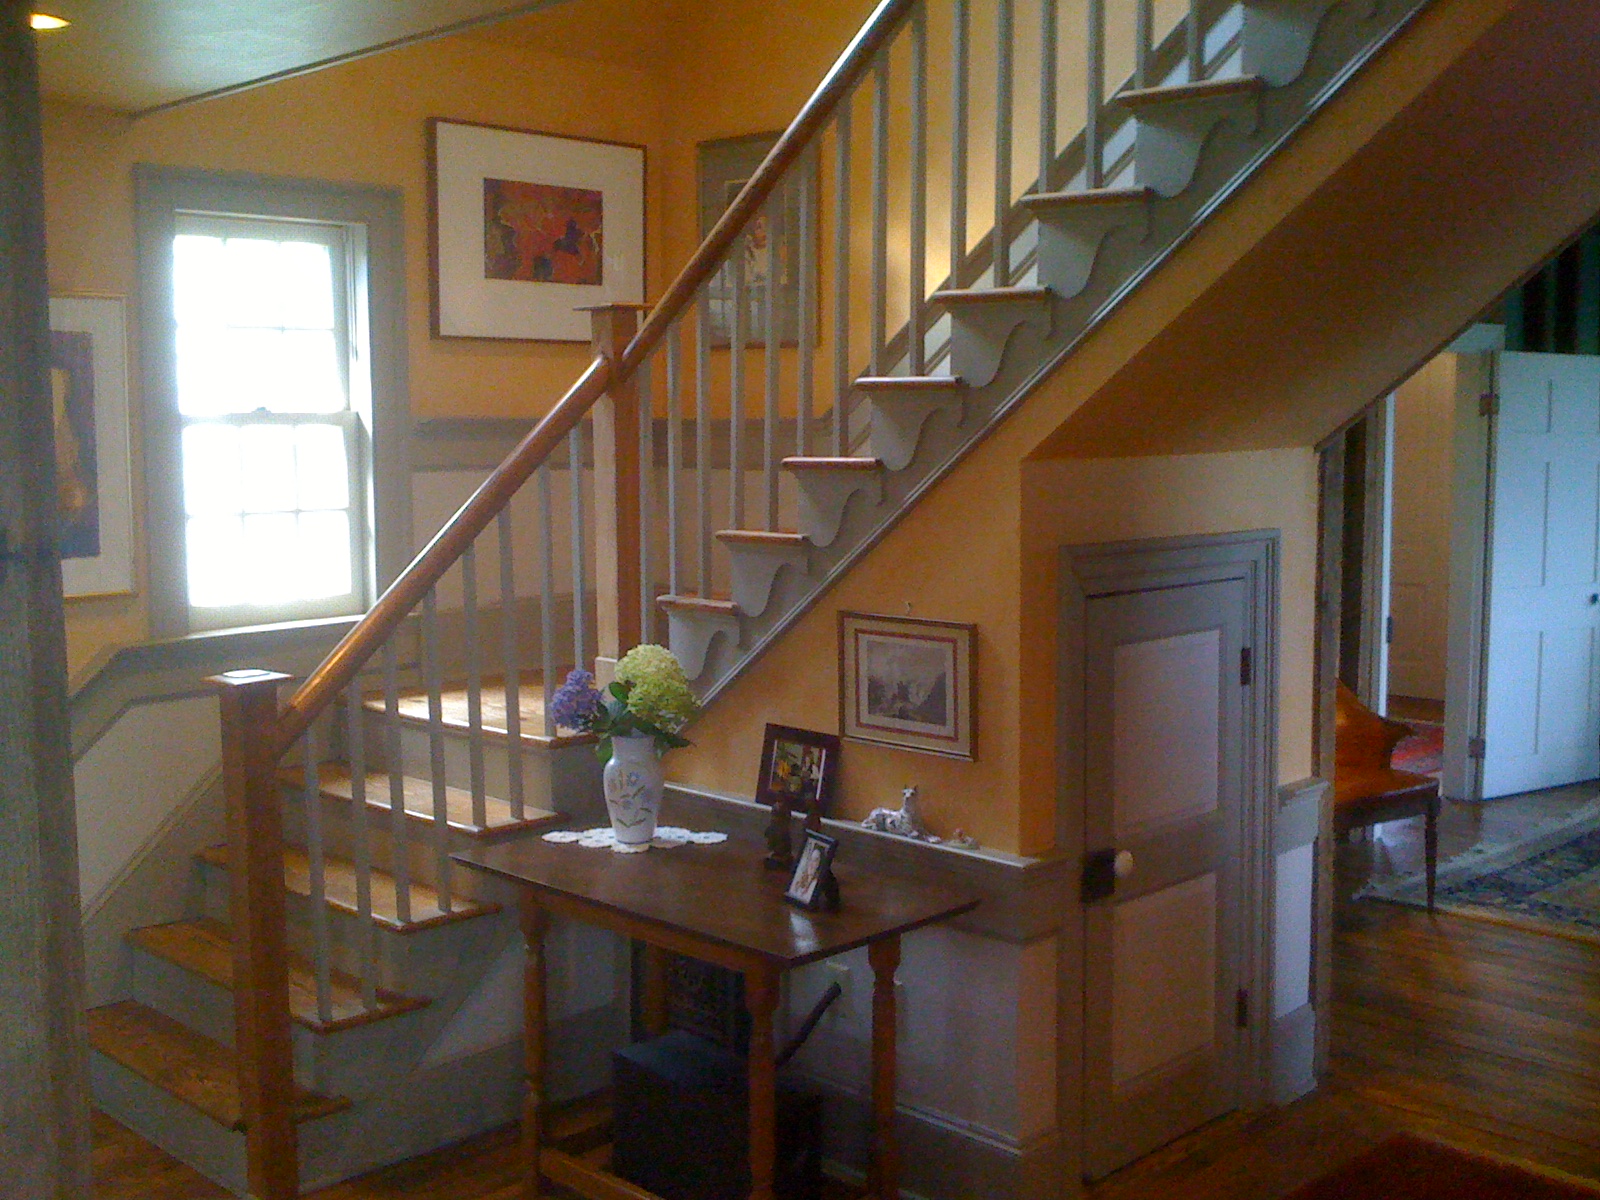
This staircase was lovingly salvaged from the house in Franklin, Va and was reworked by us to configure to Western View’s layout. The workmanship from the craftsman who originally built her remains, along with the patina and wear created by all the families who gently lived in the home over the course of a century and a half.
The railing is extremely smooth to the touch and the wainscoting adds just so much her appeal. The little door under the stairs is the finishing touch… cute as can be… a natural draw to every child.
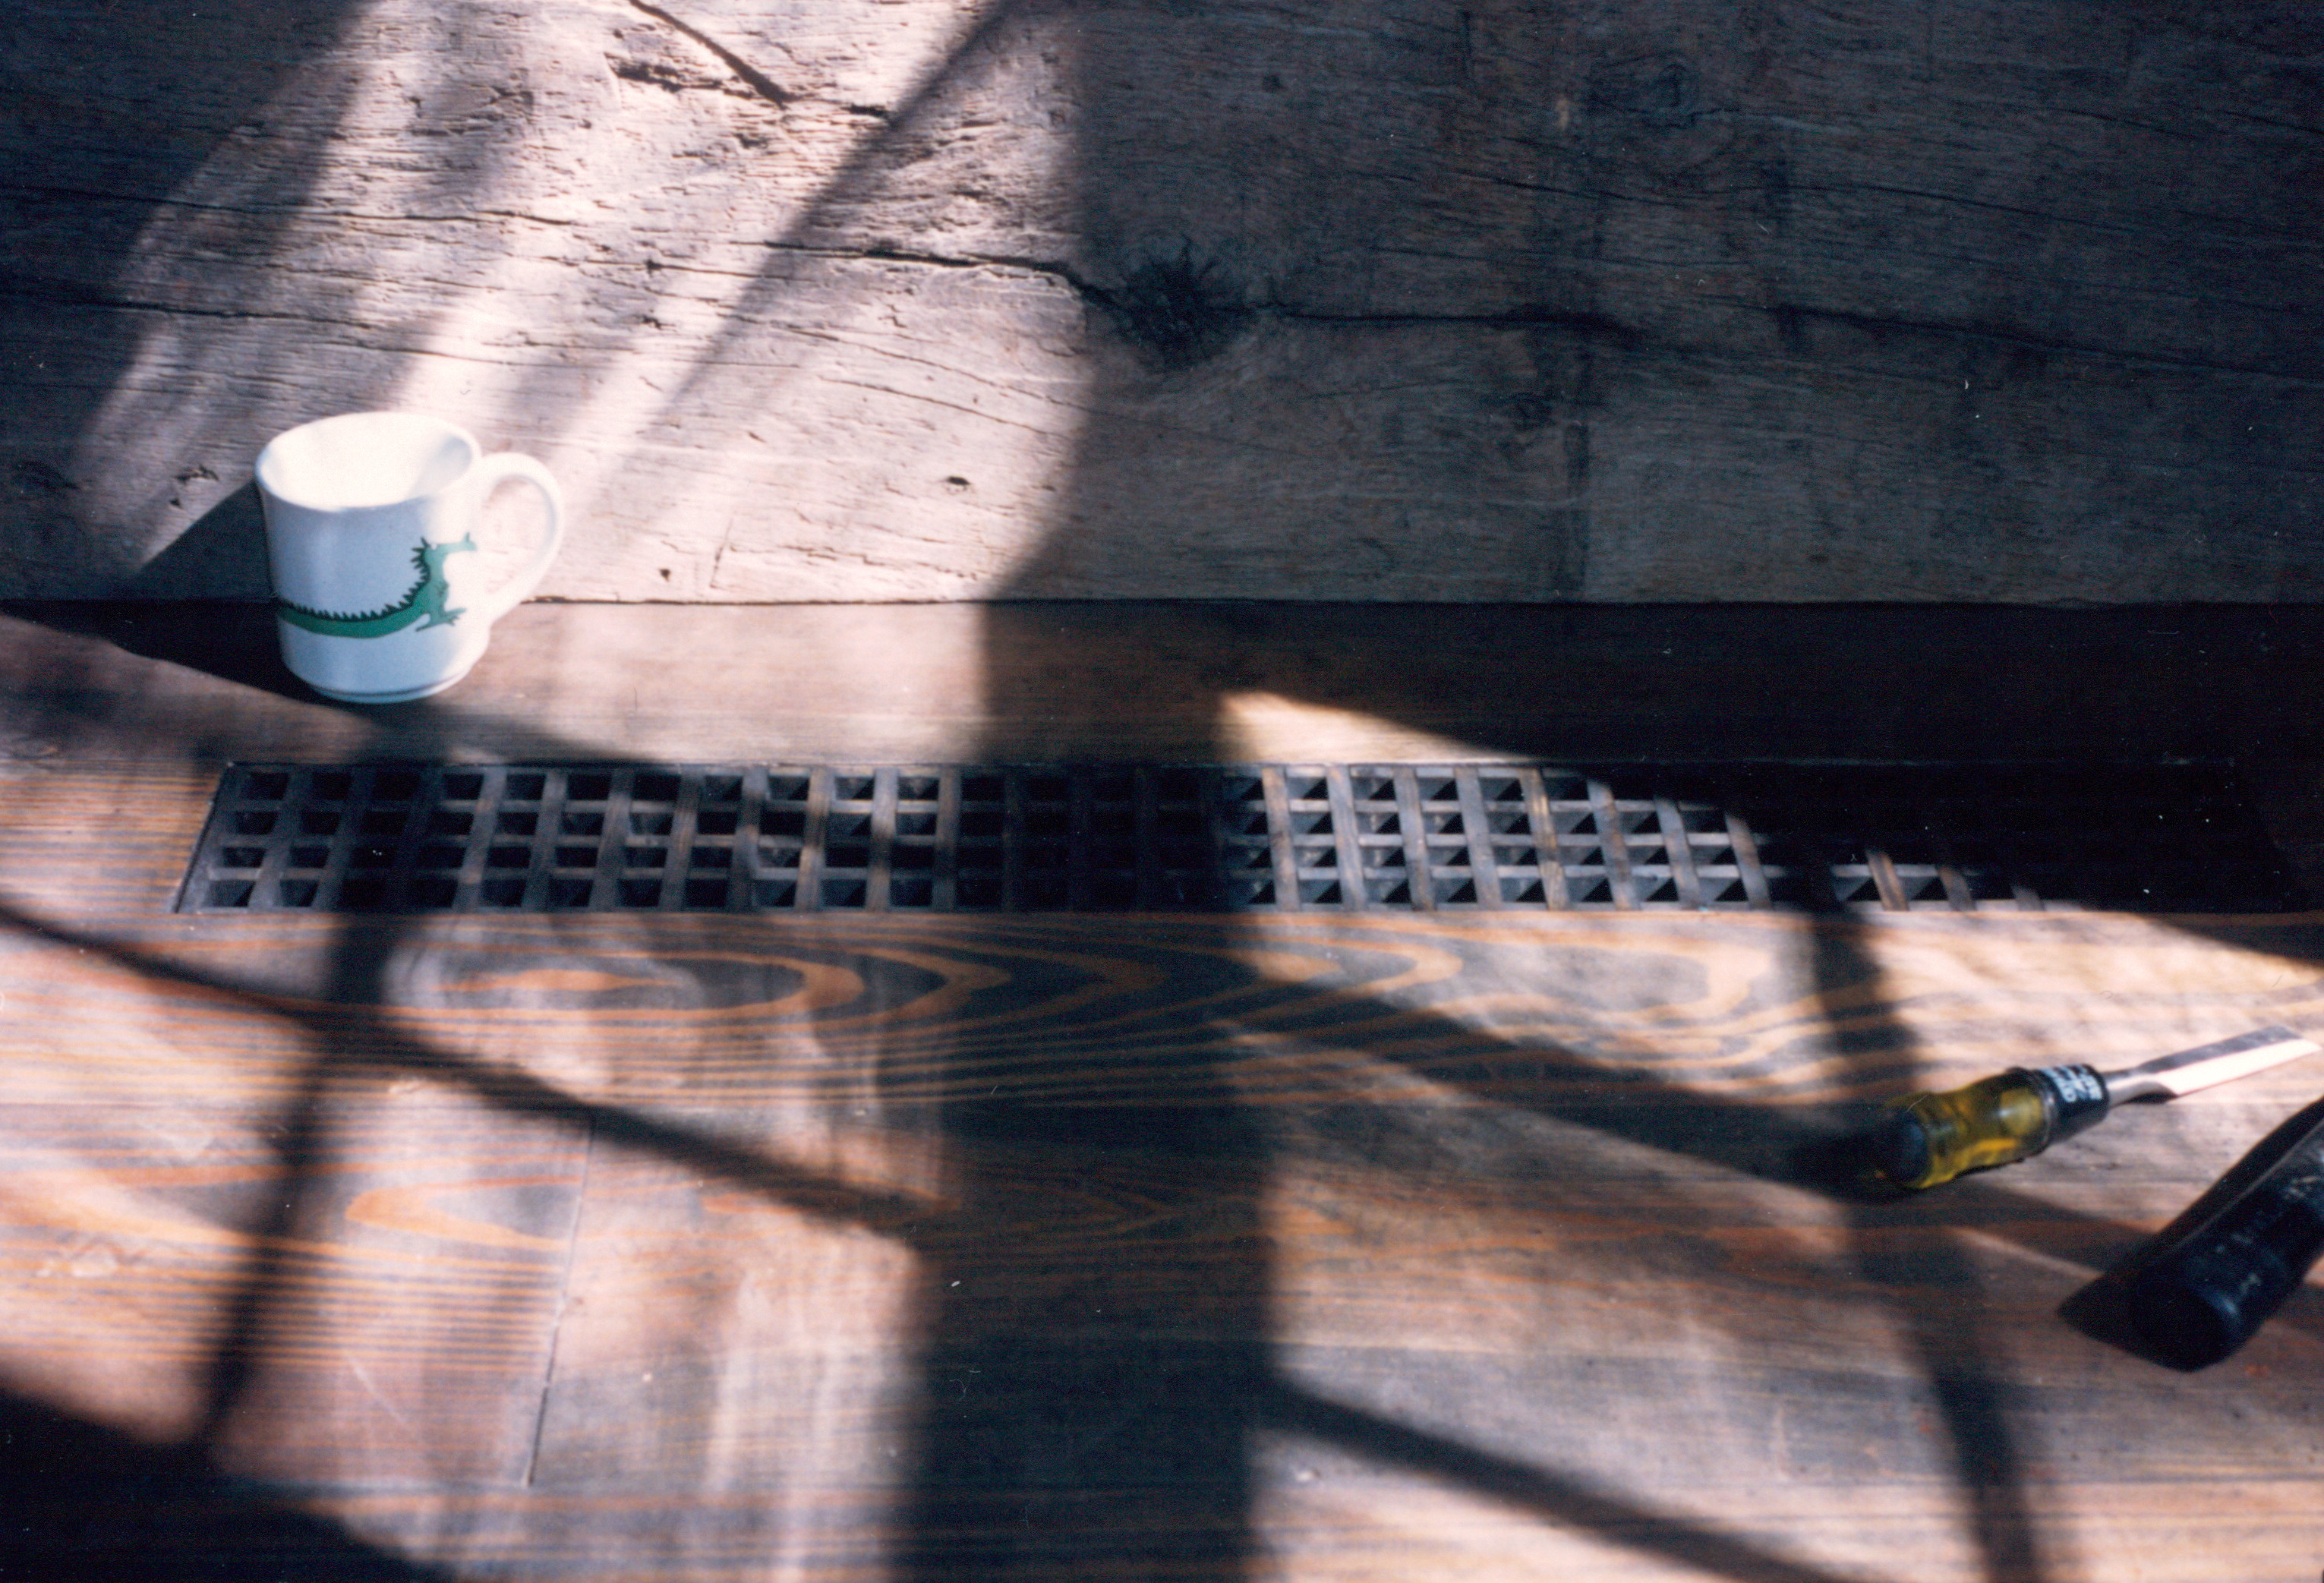
The lowly floor vent.
So, often overlooked in even the finest homes and restorations.
At the end of a construction project most homeowners just want to be done with the construction process, no more decision making, and “looking for other options”, thank you very much.
The budget has been blown and the house is weeks, or months, behind schedule. The heating/air conditioning subcontractor only knows of the standard grills that he puts in every home and looks confused when you comment that his cheap louvers look terrible slapped onto vintage flooring.
The urge is nearly overwhelming to just “get her done”. But I have found that when I return to homes that I have built that it is finishing touches like this that my eye is attracted to, and that my soul gets the greatest satisfaction from, that I finished the race well.
So, I make sure and give this finishing touch thought well ahead of time.
There are manufacturers of finer grills out there… but they still look a bit too “manufactured” for my taste. Although, I have gone this route when all else failed.
I like to either custom make them myself out of scrap lumber from the flooring. Or seek out alternatives at salvage yards. These metal grates all came from an old decorative oil stove that I bought and disassembled.
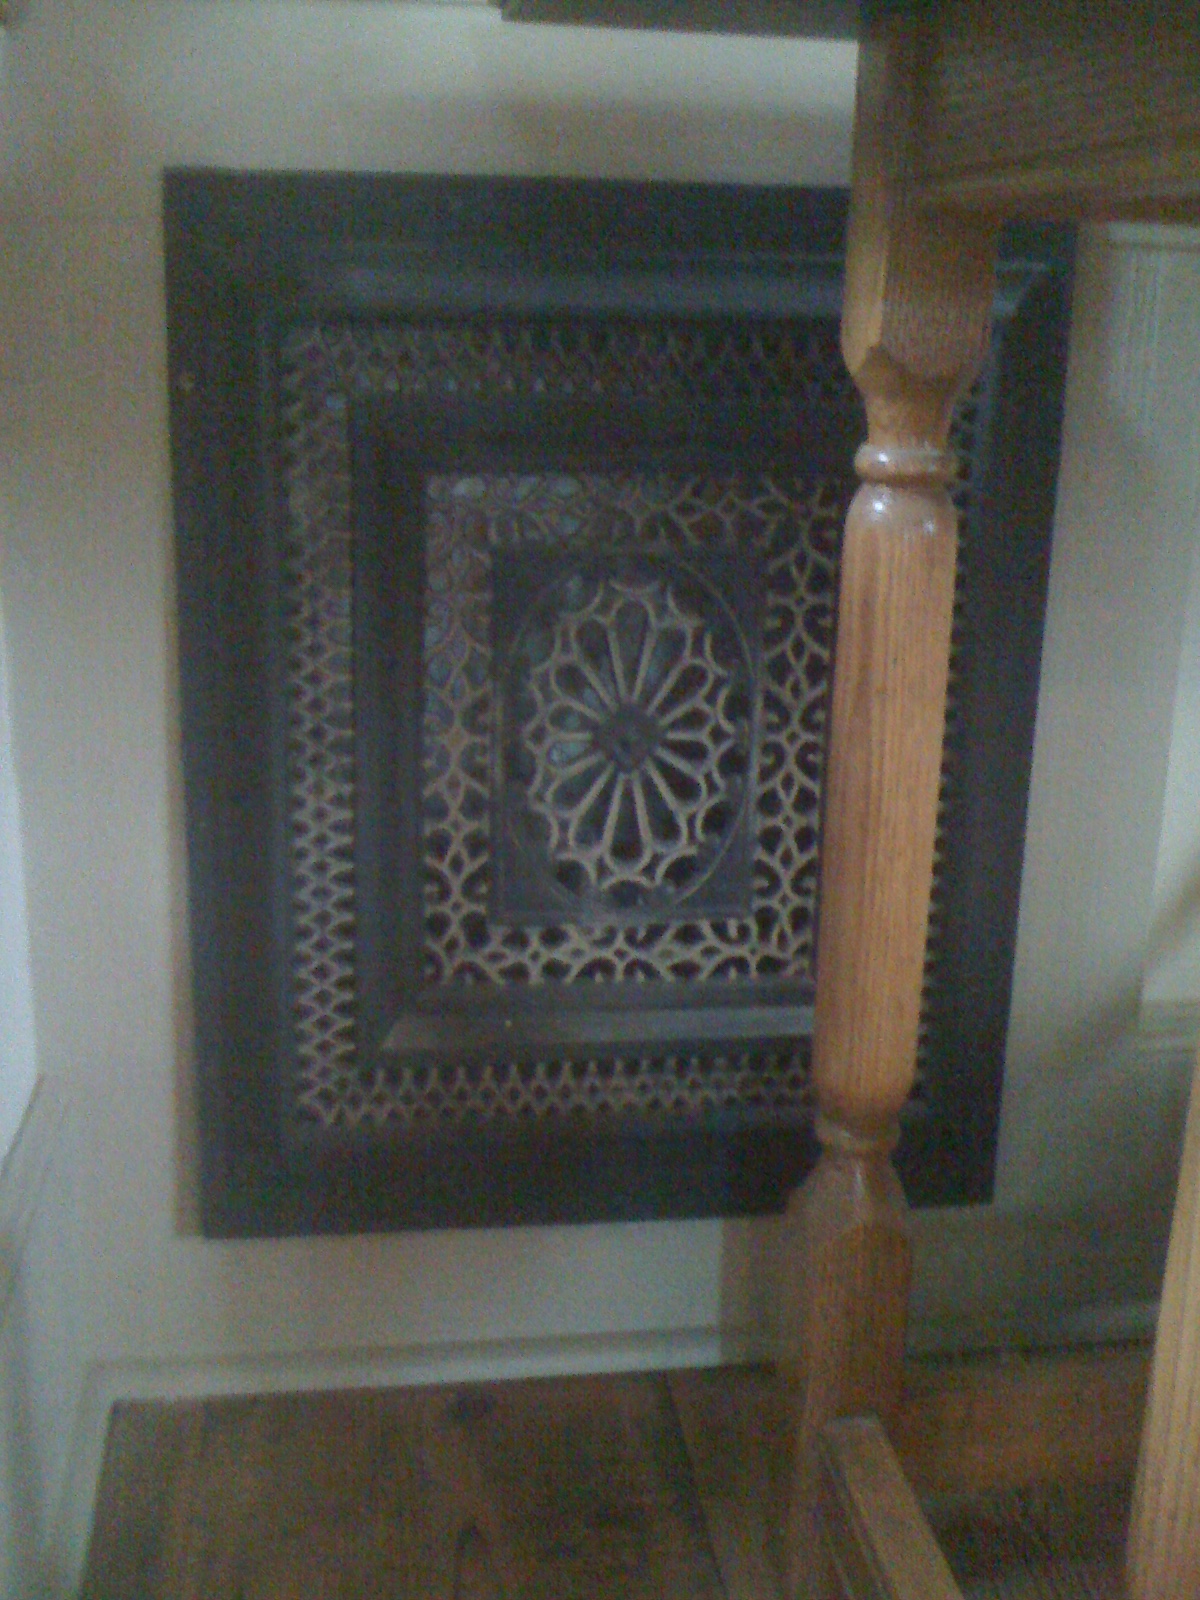
I was pleased… but maybe I just obsess about details too much. What do you think?


Here is a “Western View” photo taken in the kitchen and looking into the dining room. Notice the beam in the ceiling that runs the length of both rooms supporting the hewn second-floor joists above it. This oak “summer beam” is 38 feet long and was salvaged from an old barn.
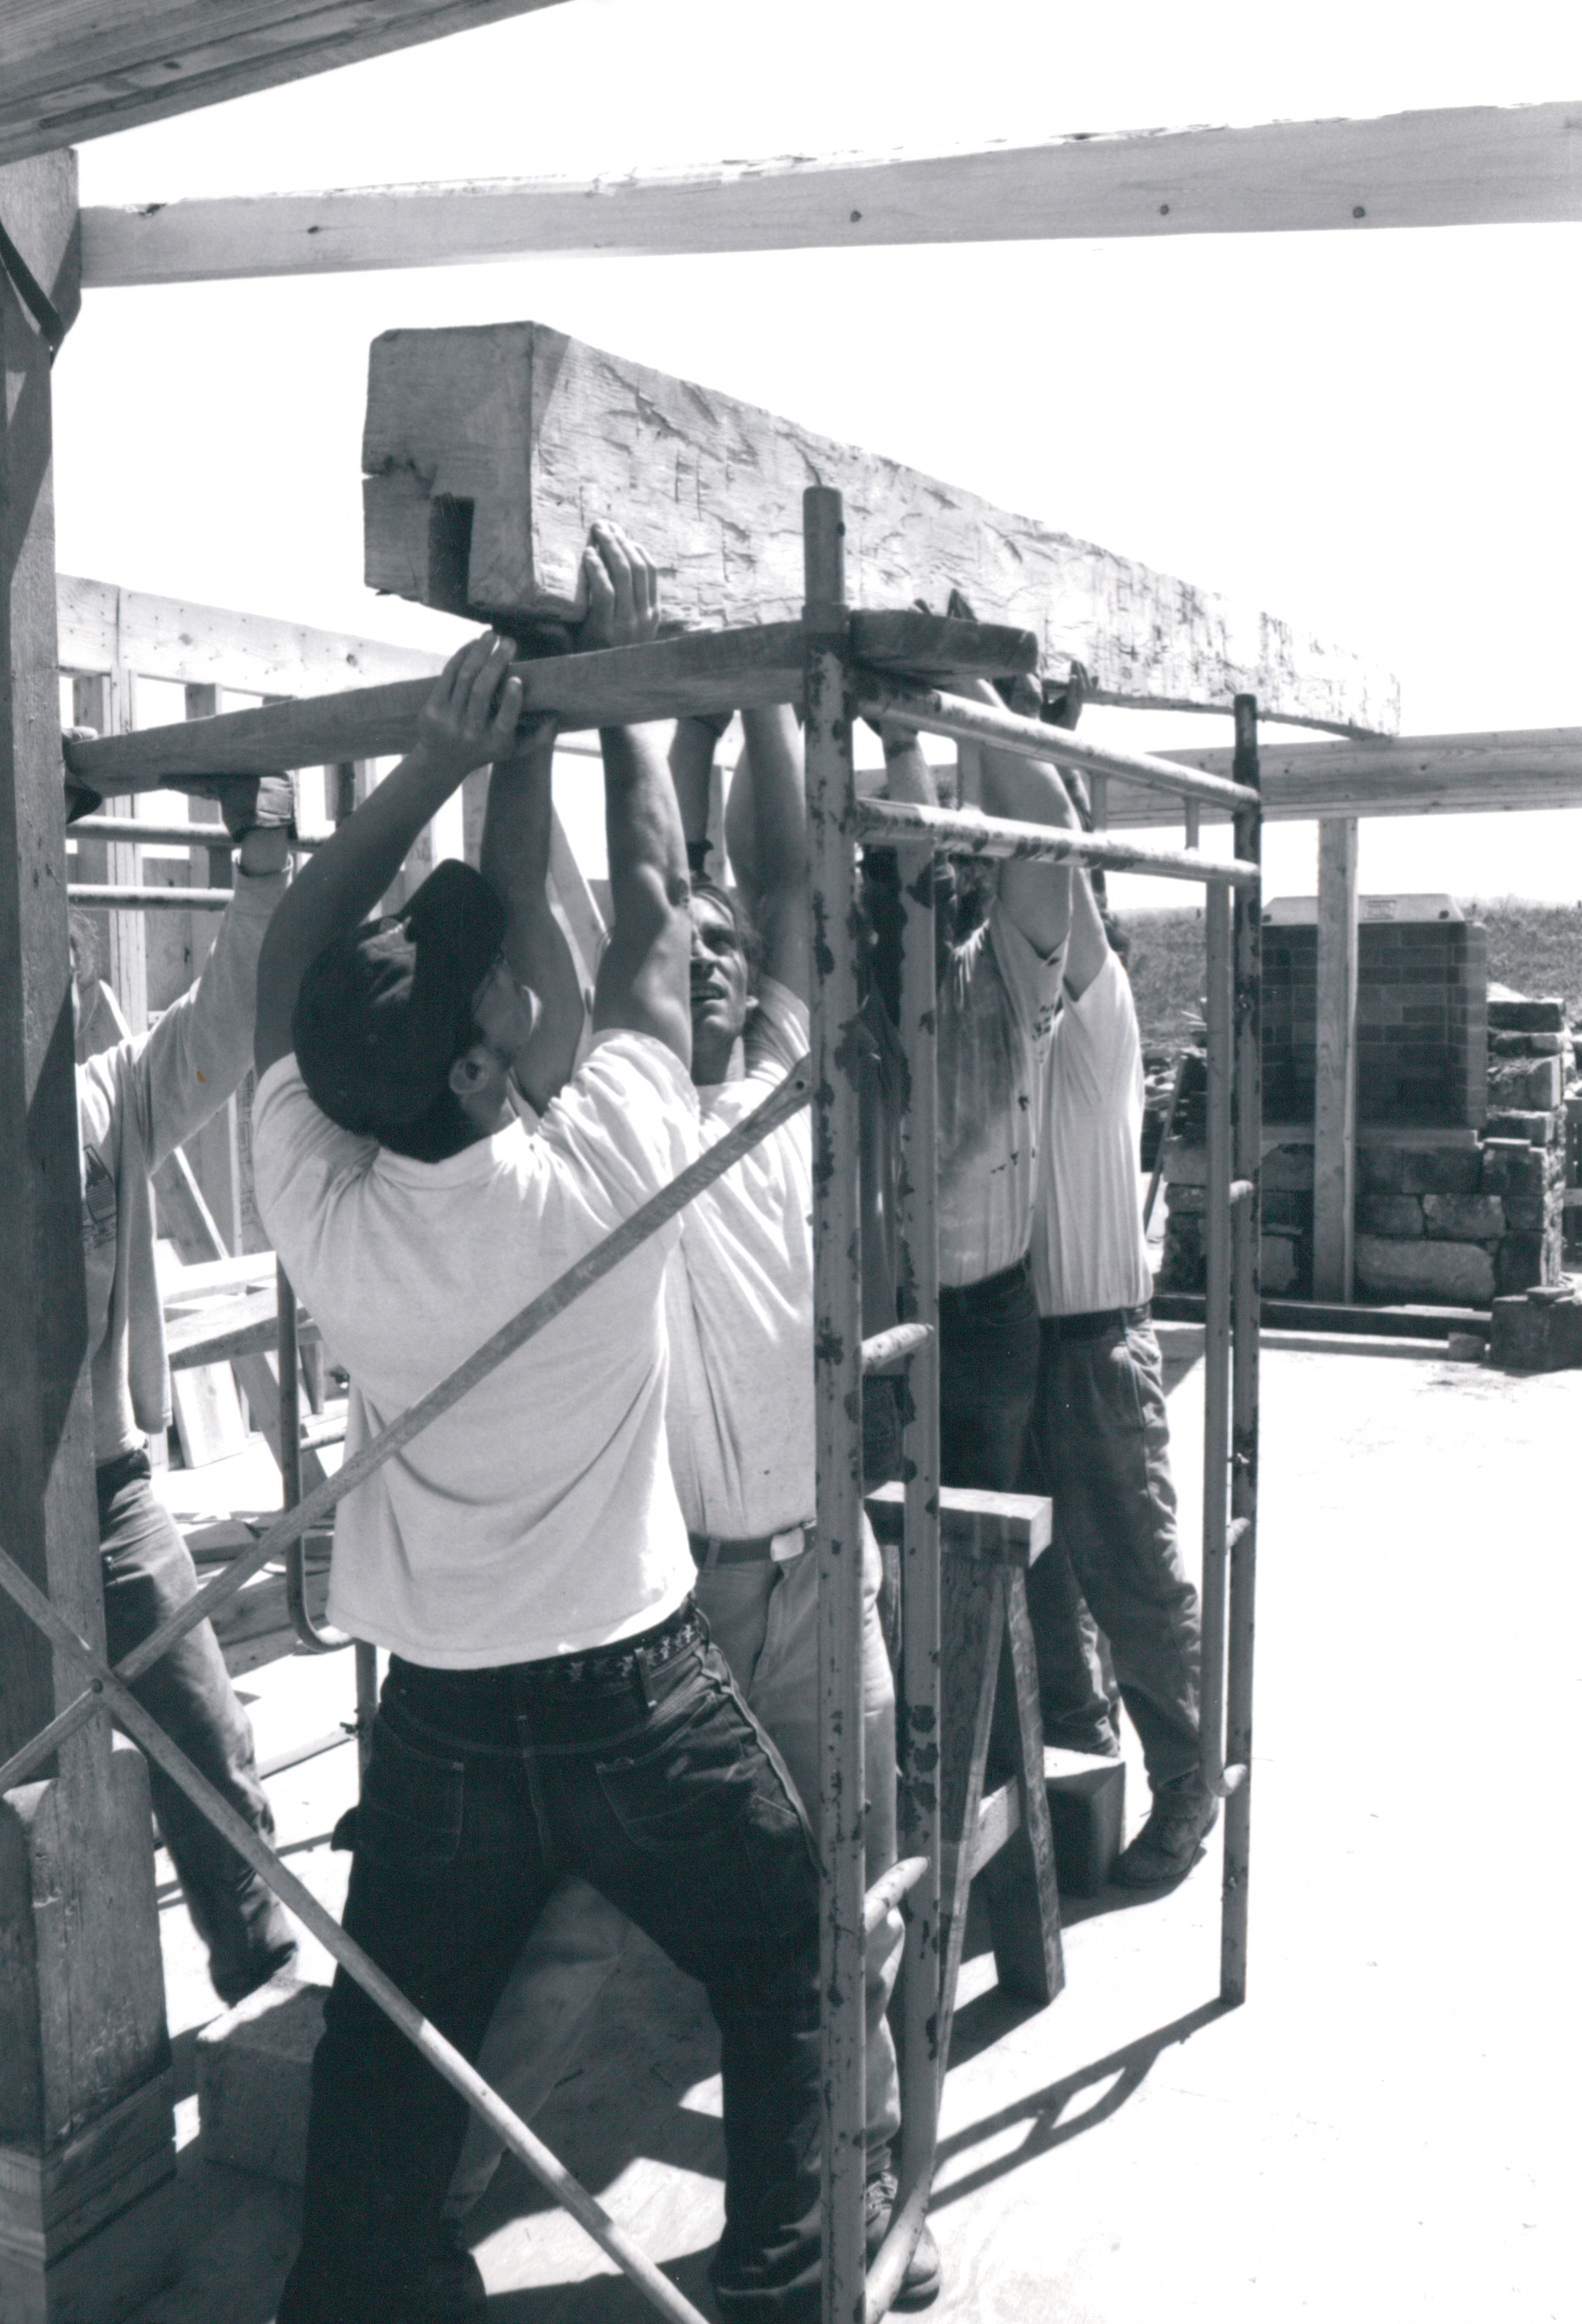
I could have gotten a crane to set it in place. And at the time, the men would have been more than thankful if I had done just that.
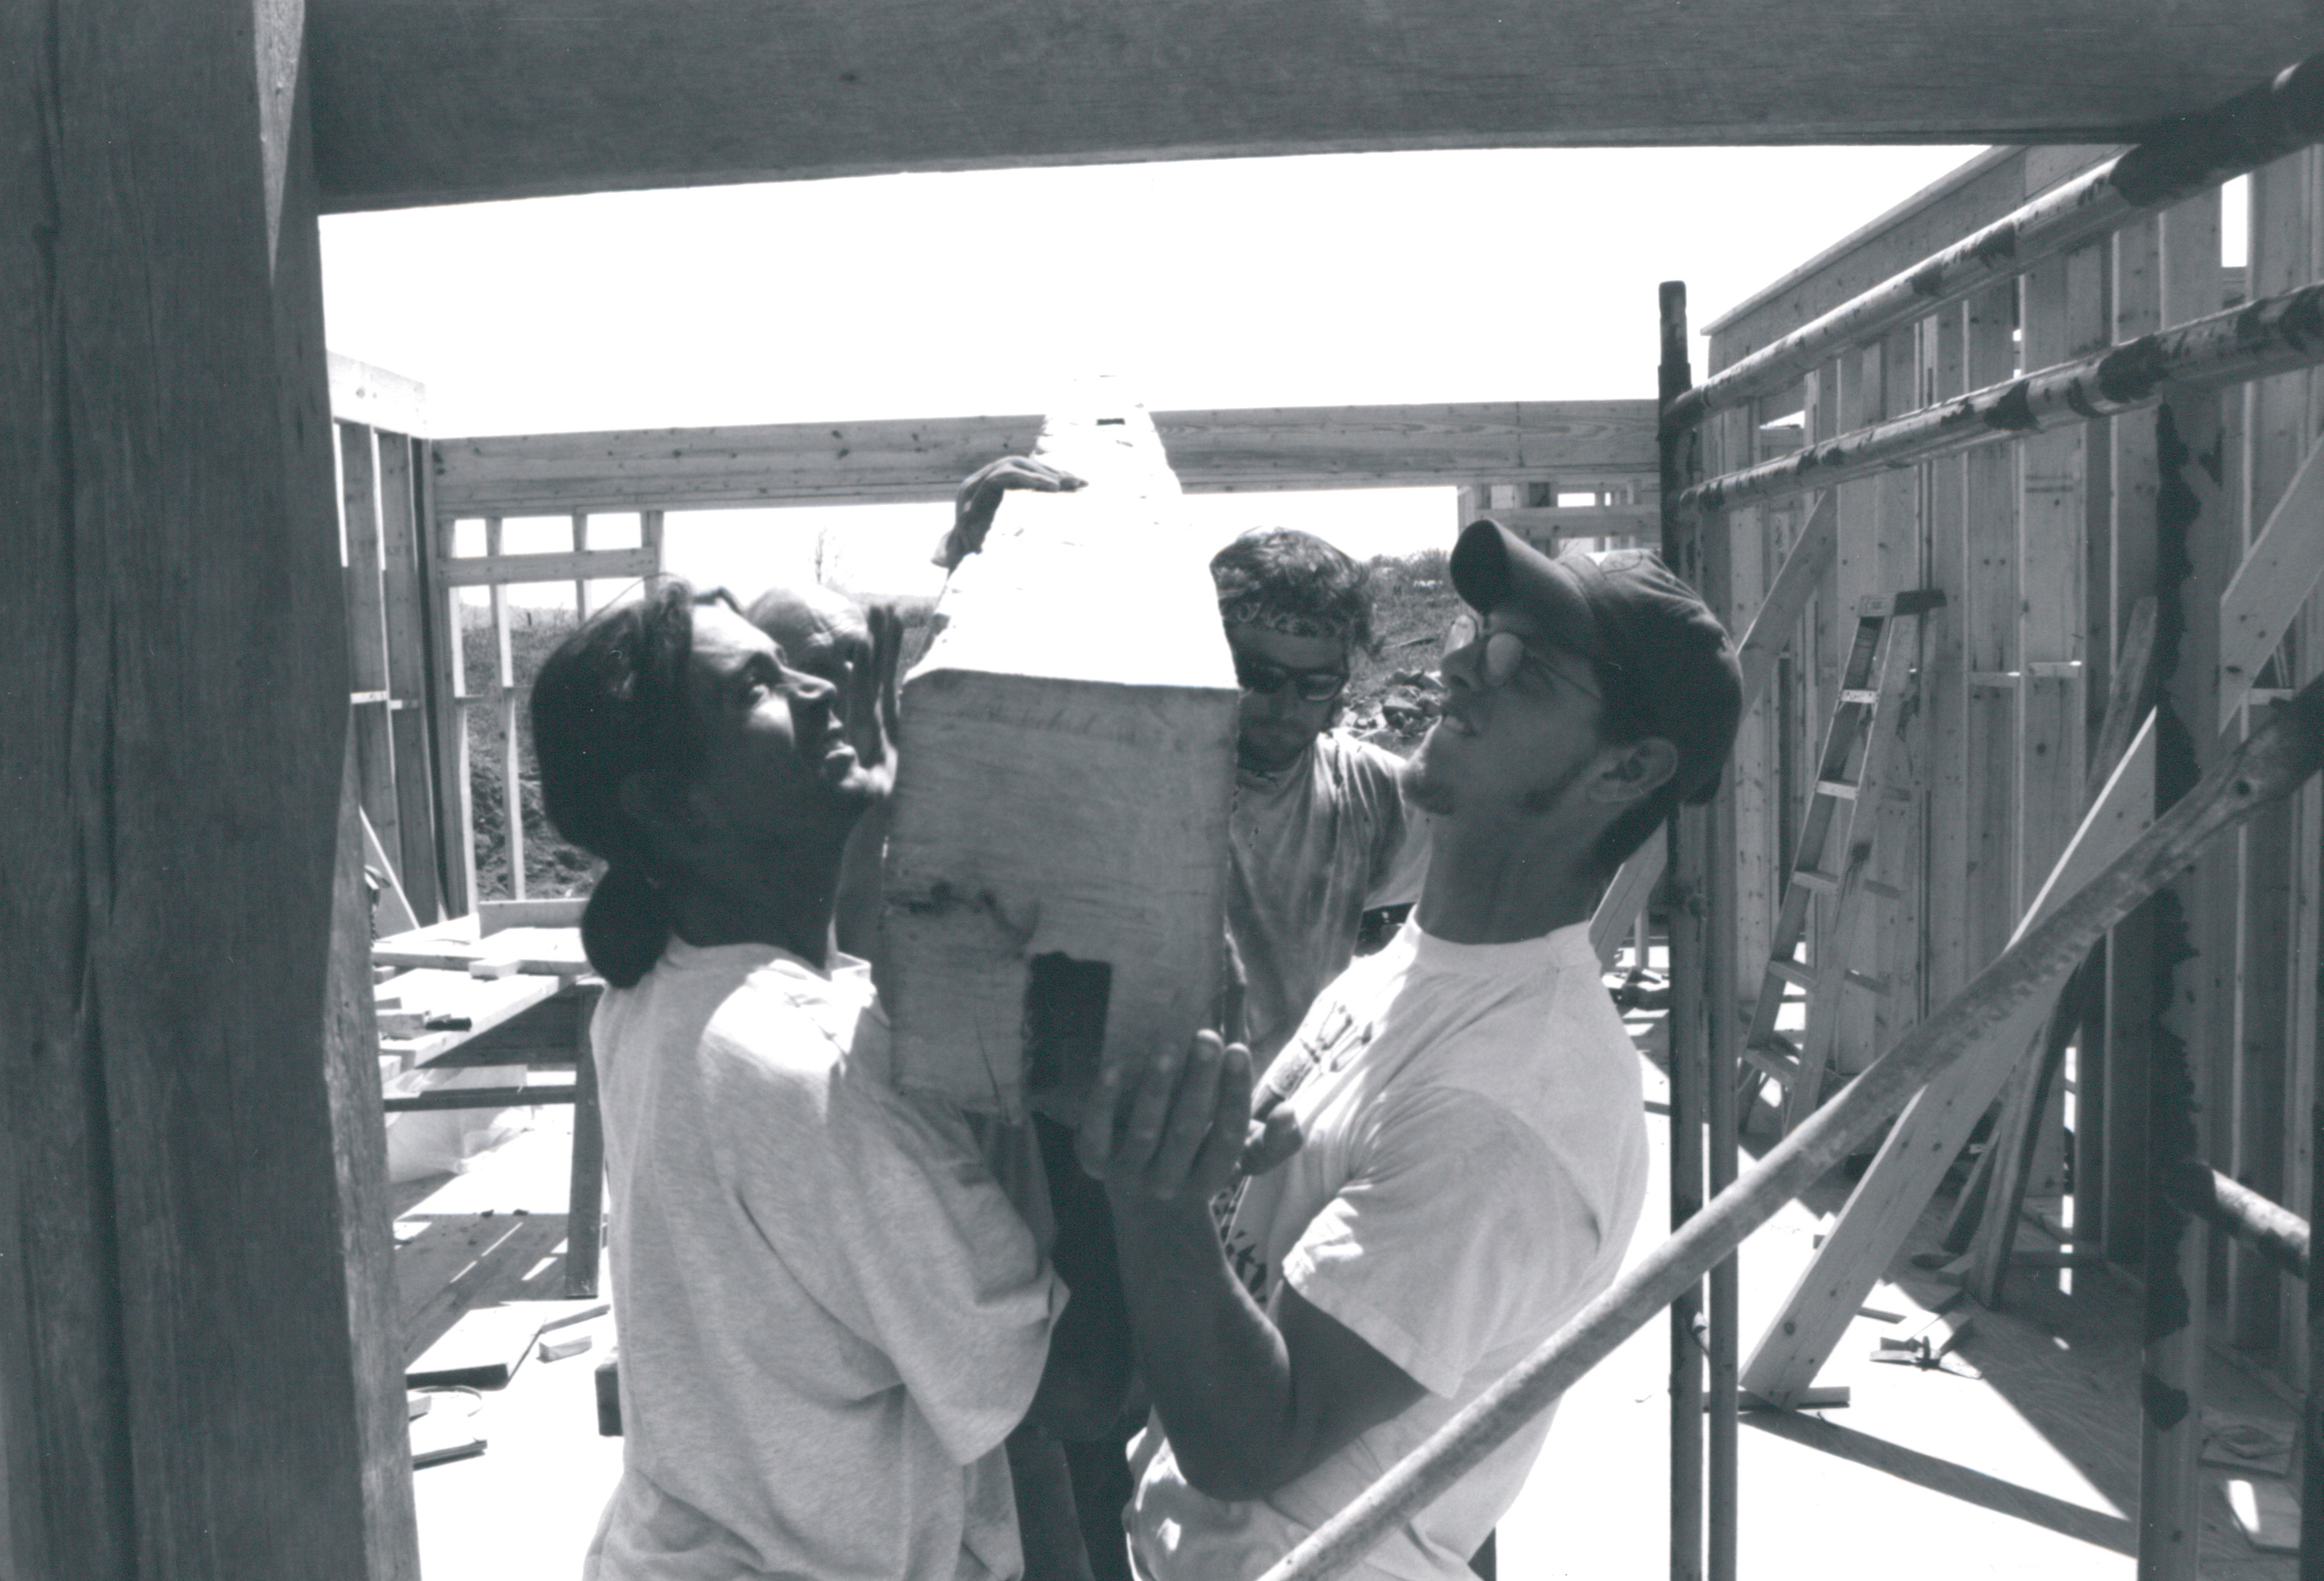
But today these men all have copies of these photos and the memory of that unified effort to lift this huge beam into it’s place of honor… one end at a time… from a lowly barn destined to be destroyed, to the centerpiece of a new home.
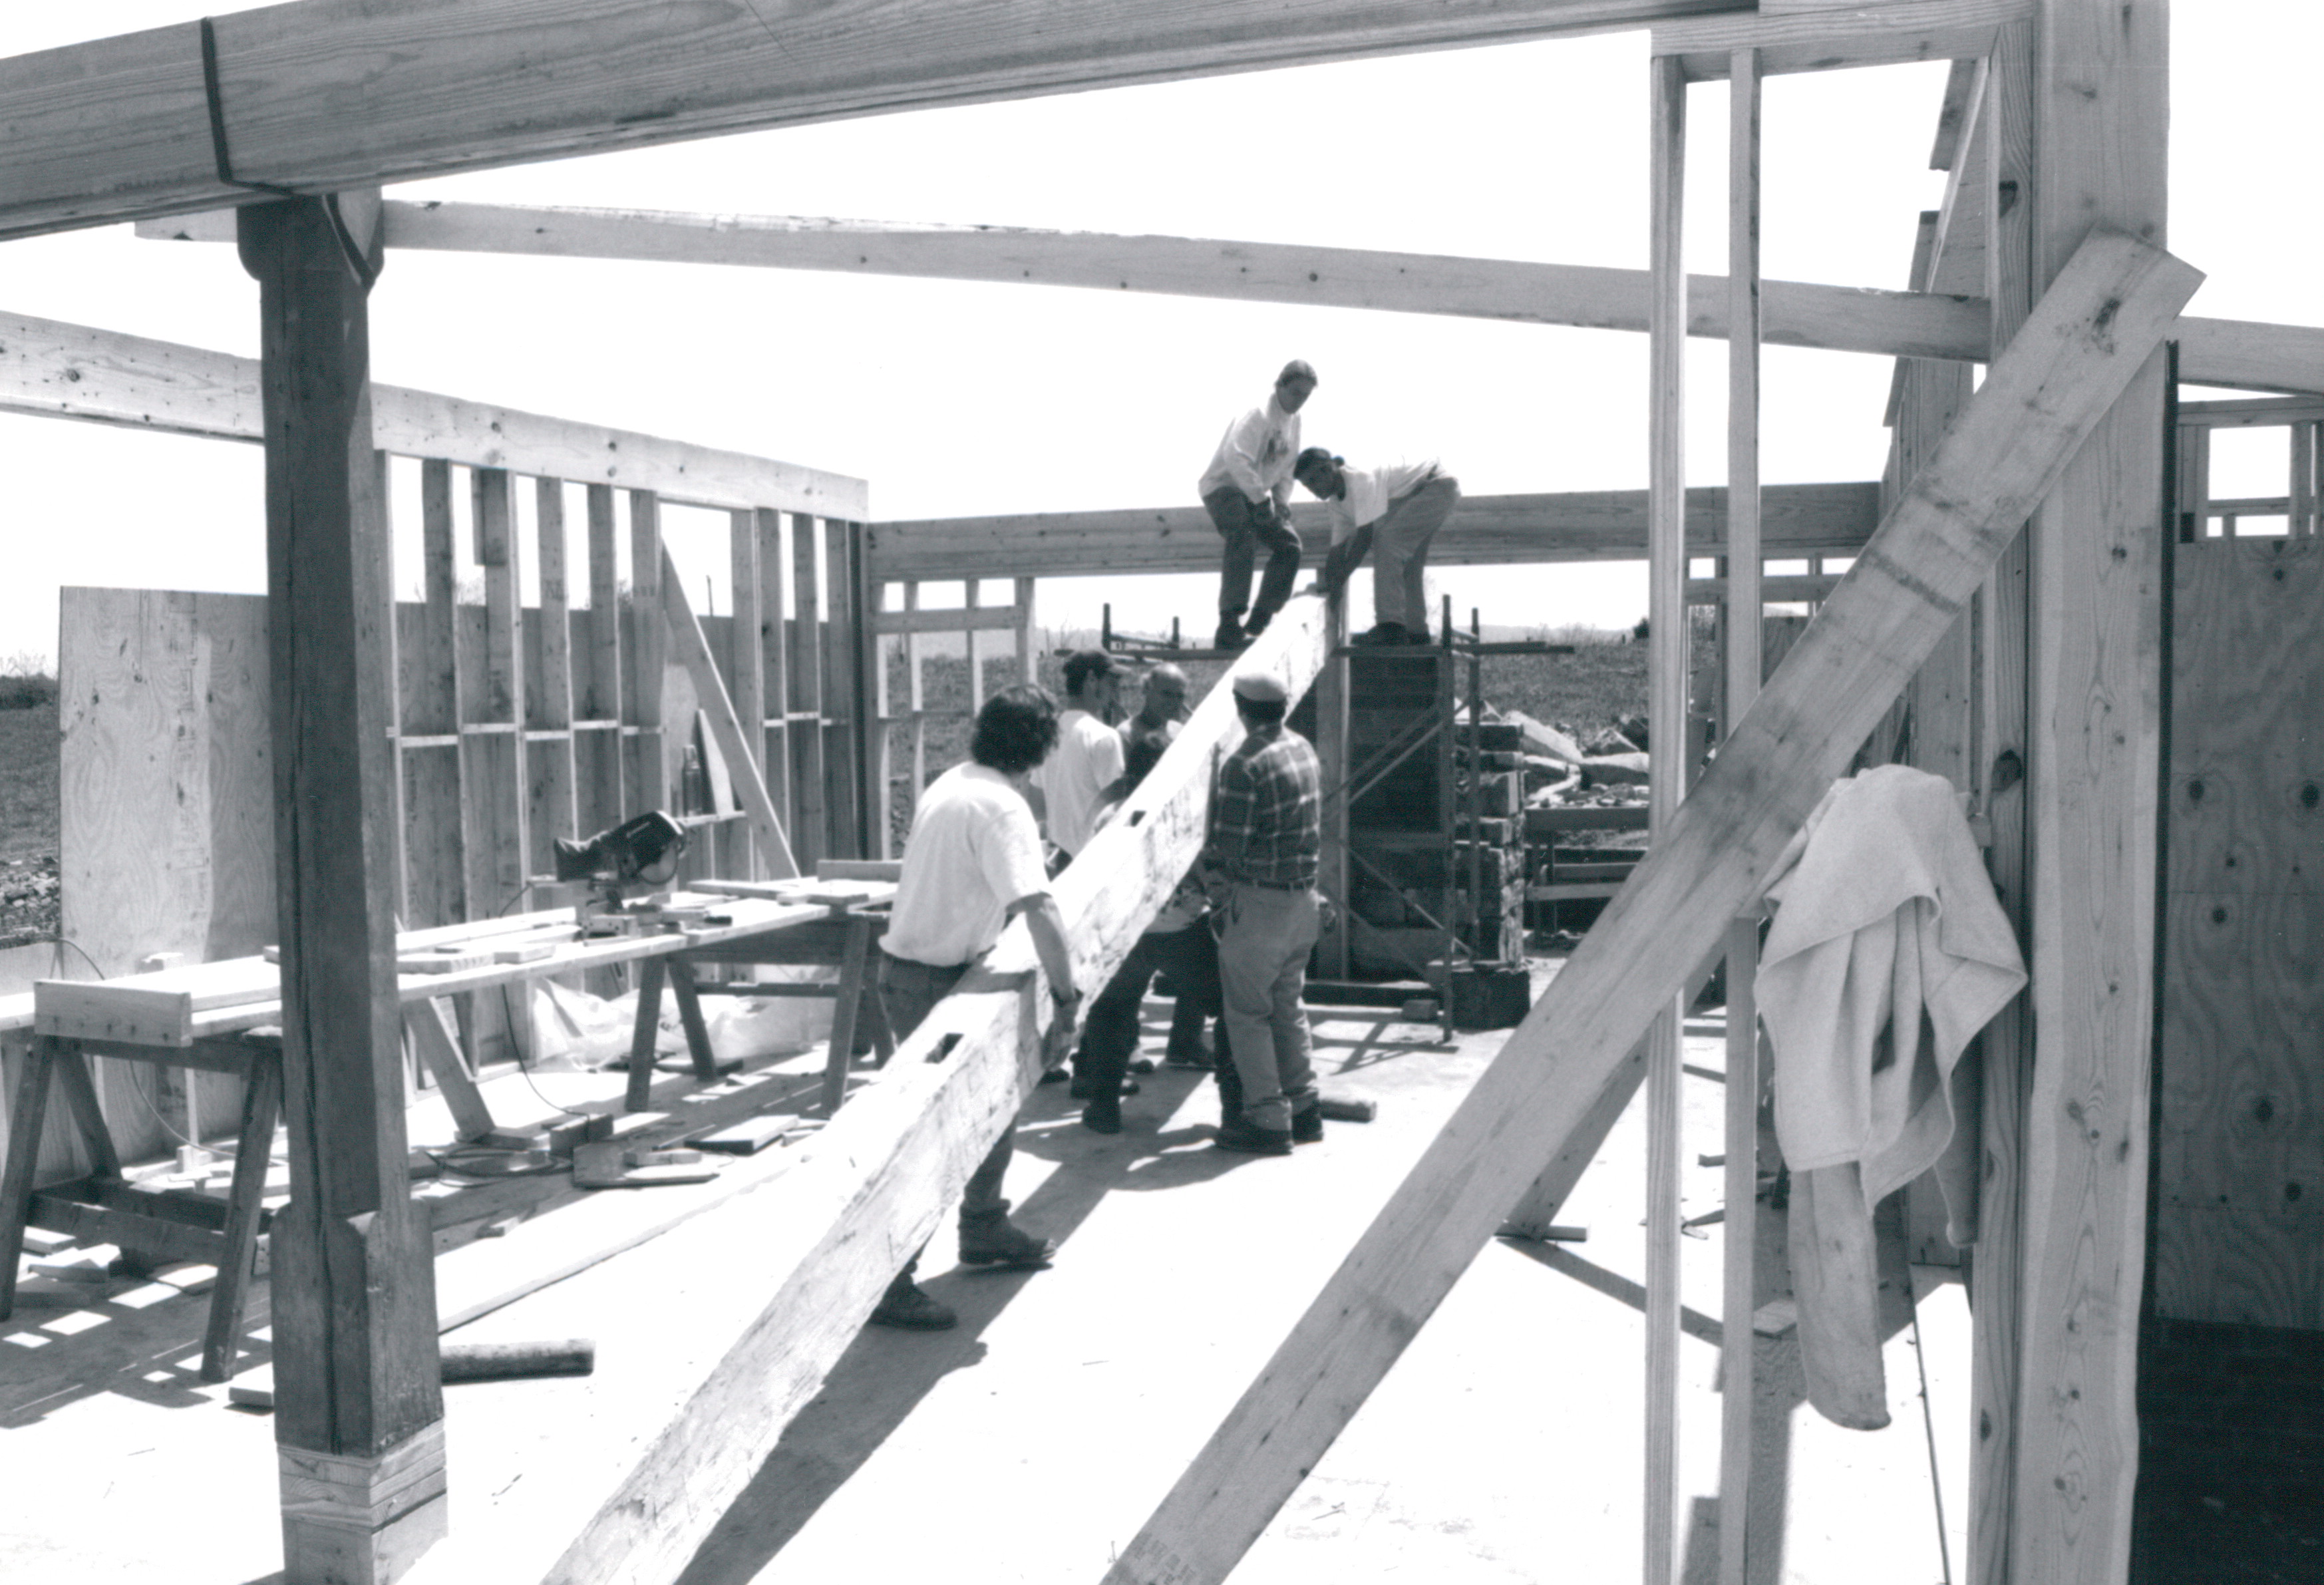

Building the garage at Western View… was a blast.
I had the time of my life.
There is nothing like building a small structure out of huge timbers. The opportunity to do something like this doesn’t come around that often, so I did my best to savor every moment of it. I often reminded the crew that “these are the good old days”. And I was right, they were indeed.
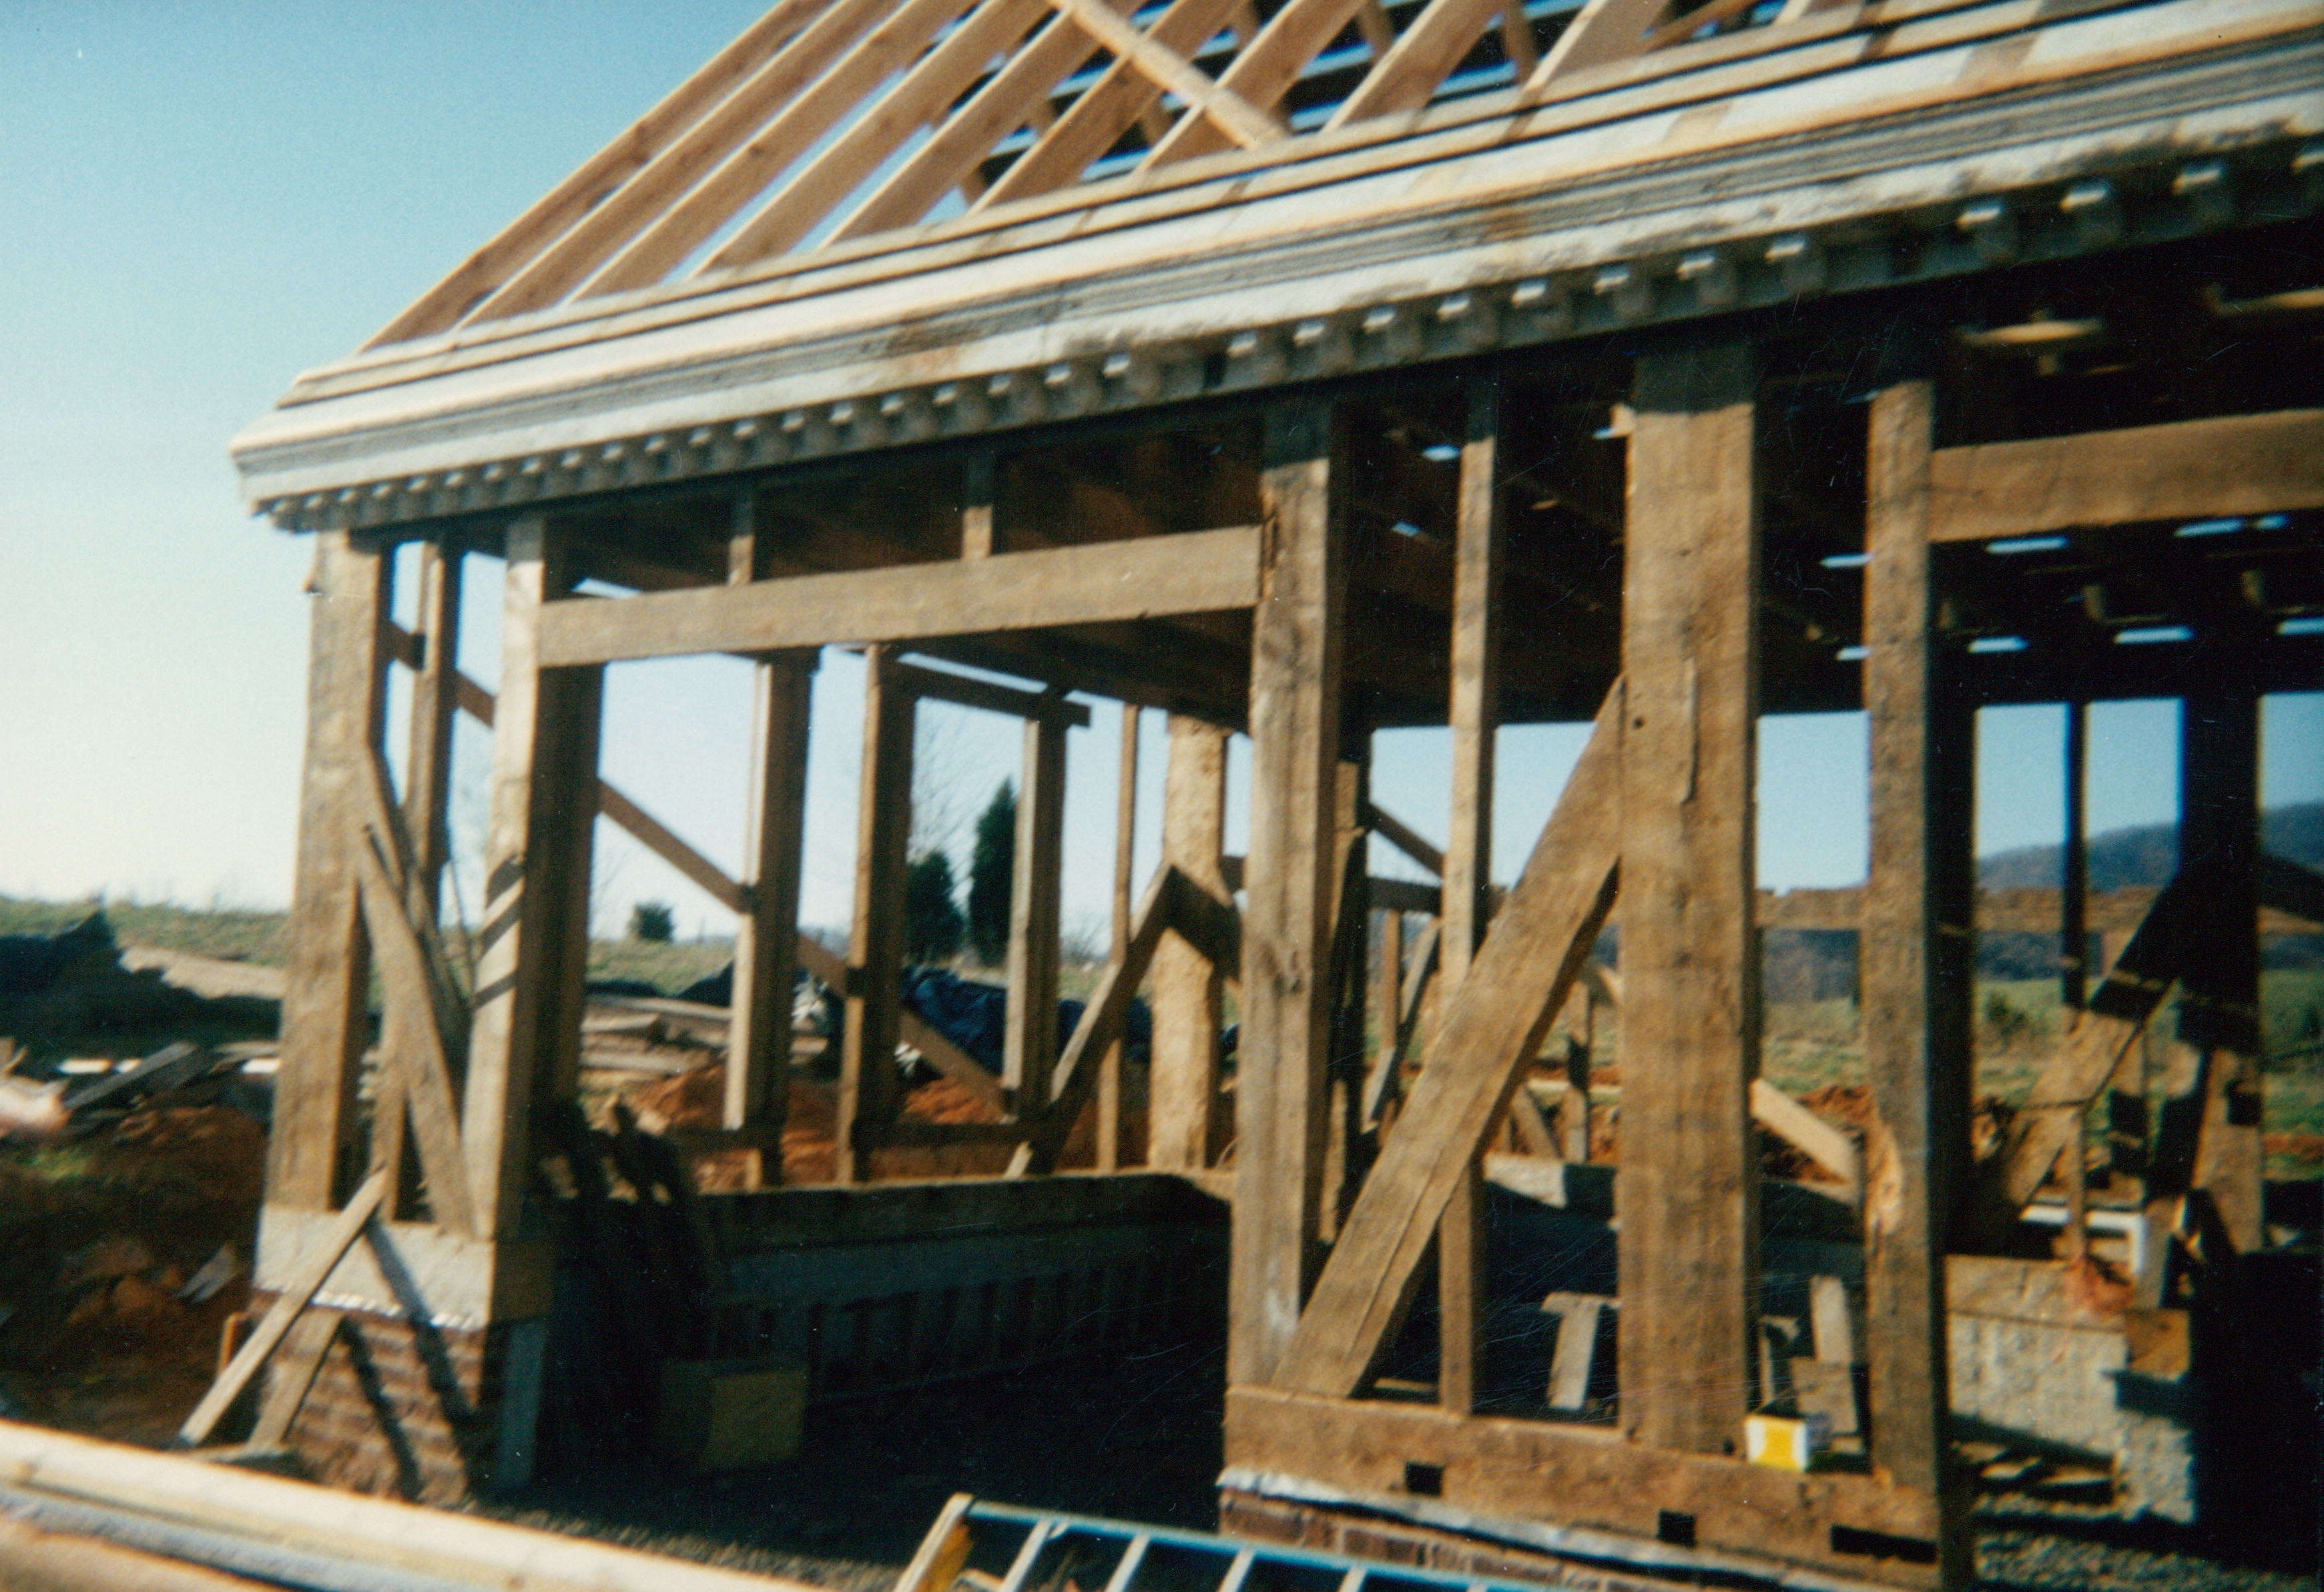
We made use of not only the old timbers from the Franklin home, but also the dental moldings, siding, and windows. The garage is a work of art… I swear it.
We enjoyed also the view of the Western View frame going up… the only time in my career where two different framed buildings were going up at the same time!
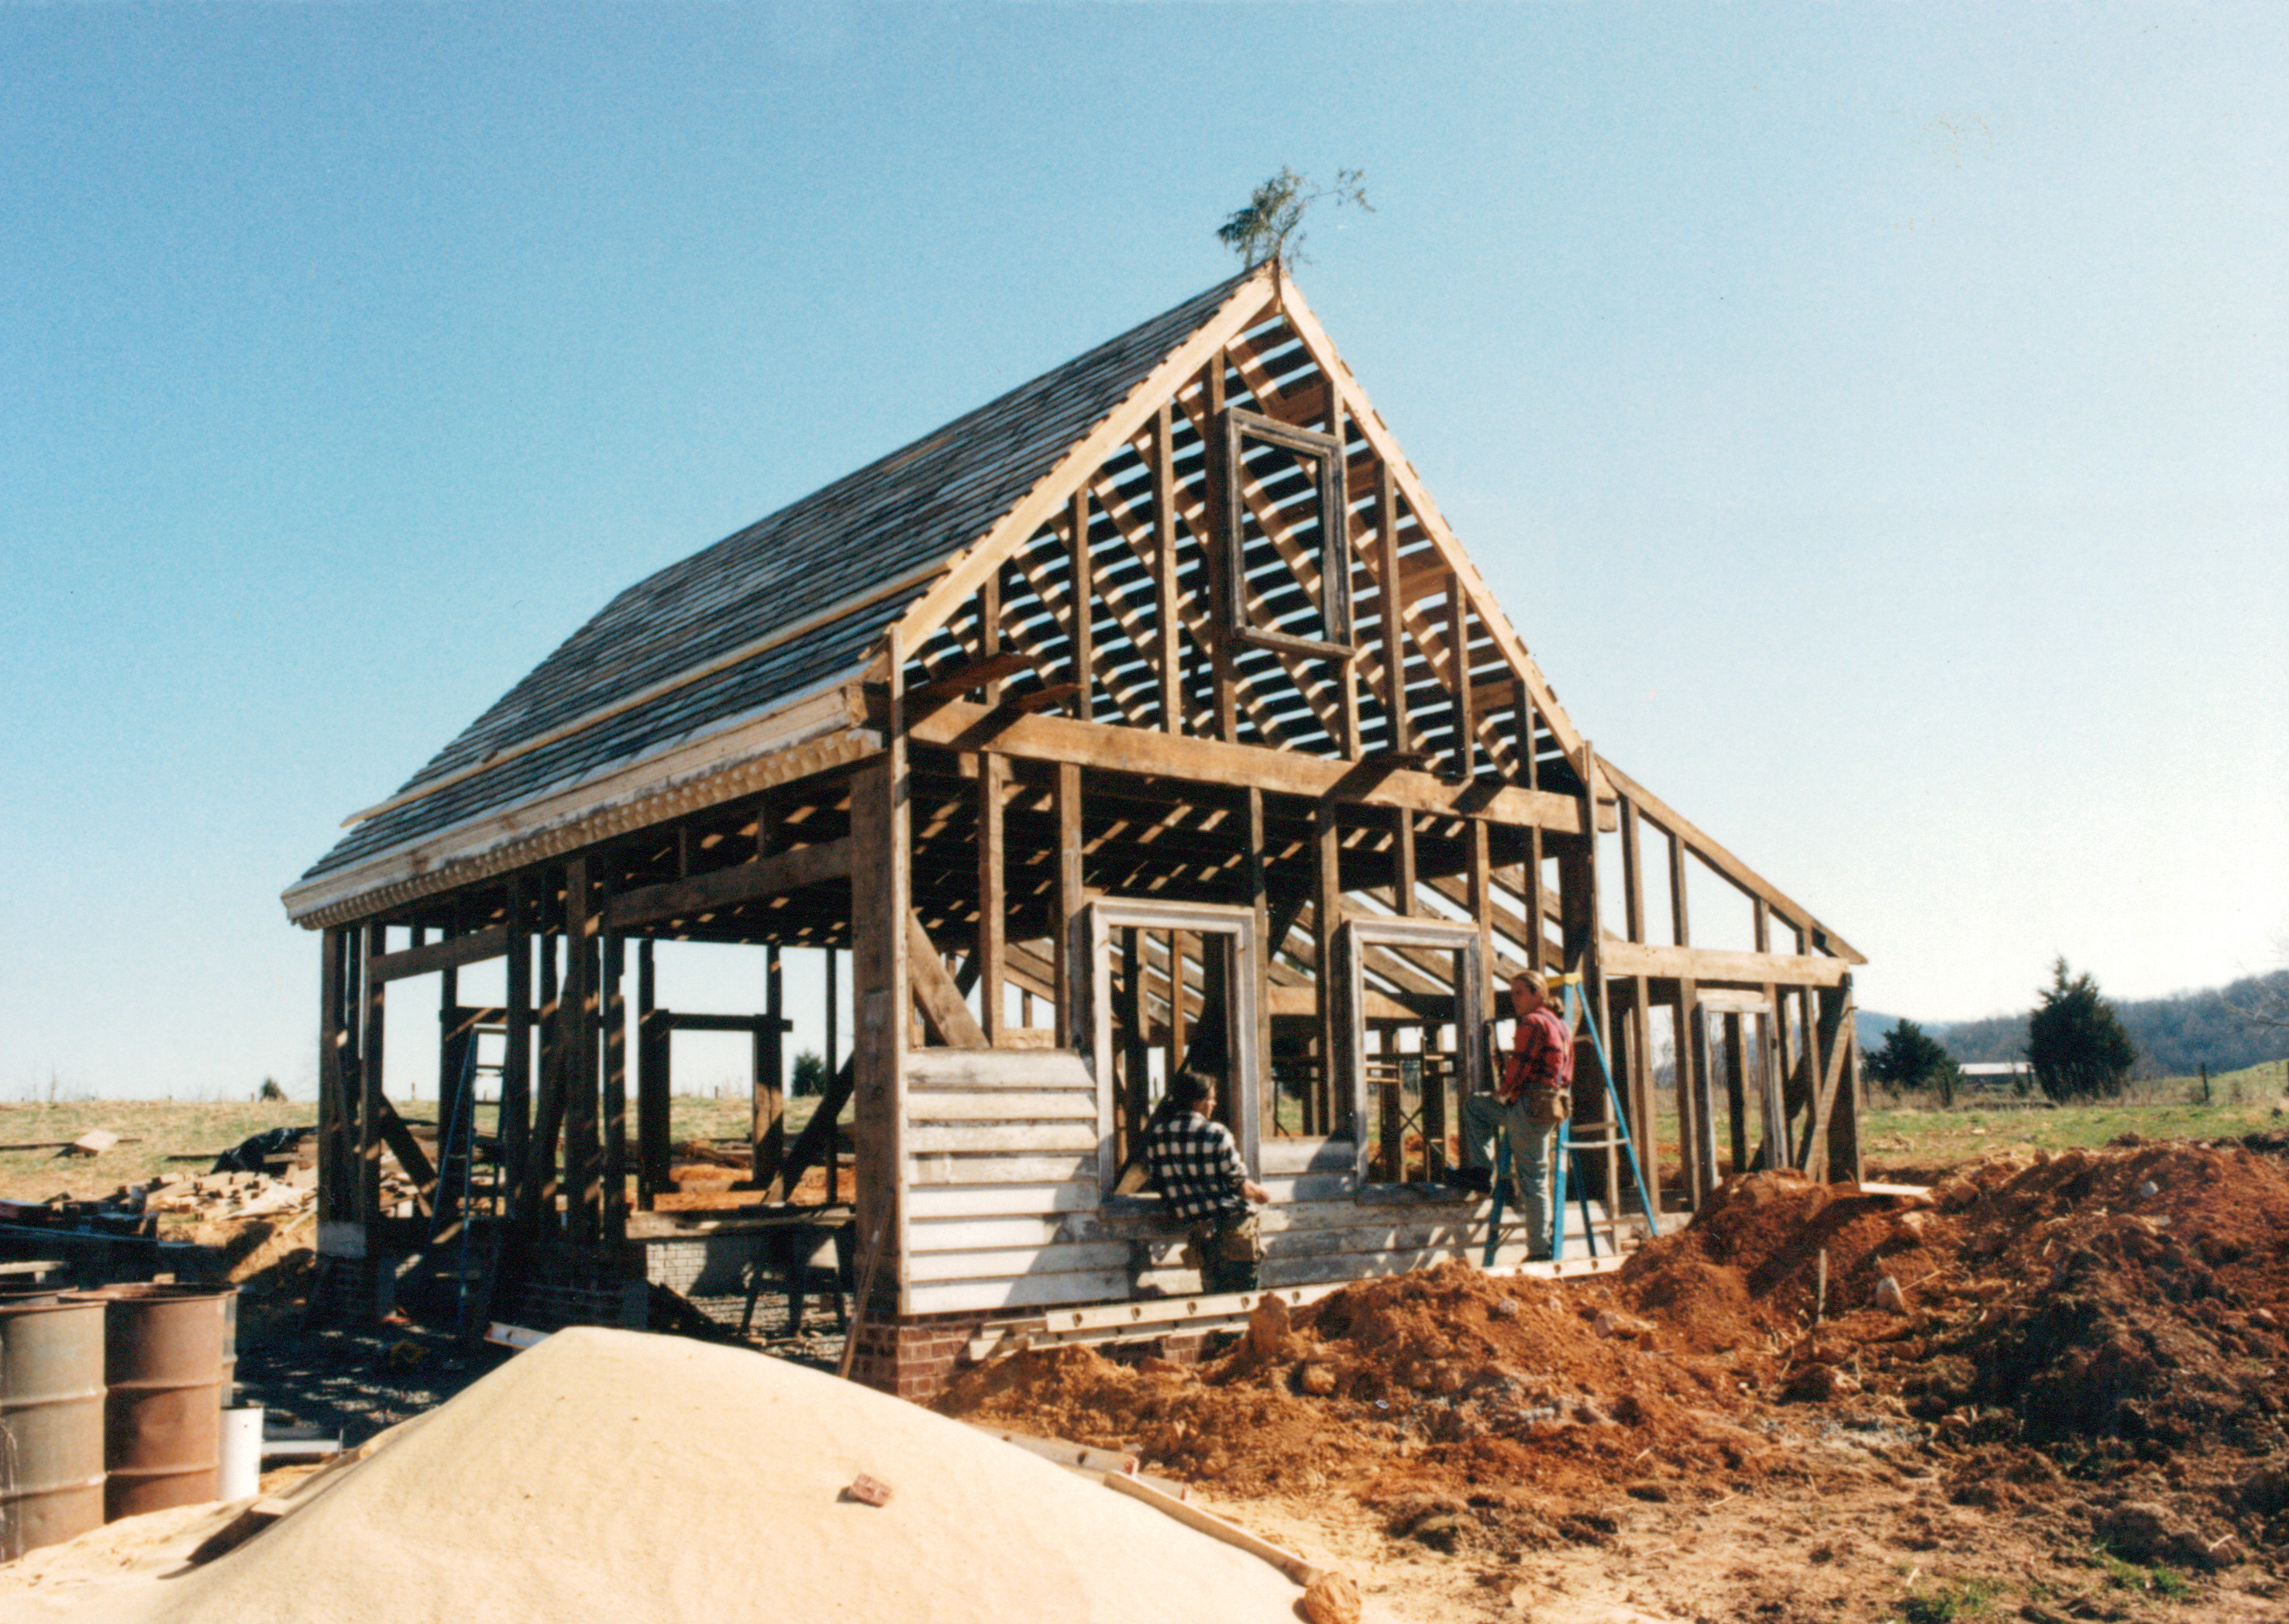
One last comment. Having a finished garage on site all during the construction of the house was a tremendous asset. It was our workshop, our dry storage, and our refuge when storms sprung upon us.
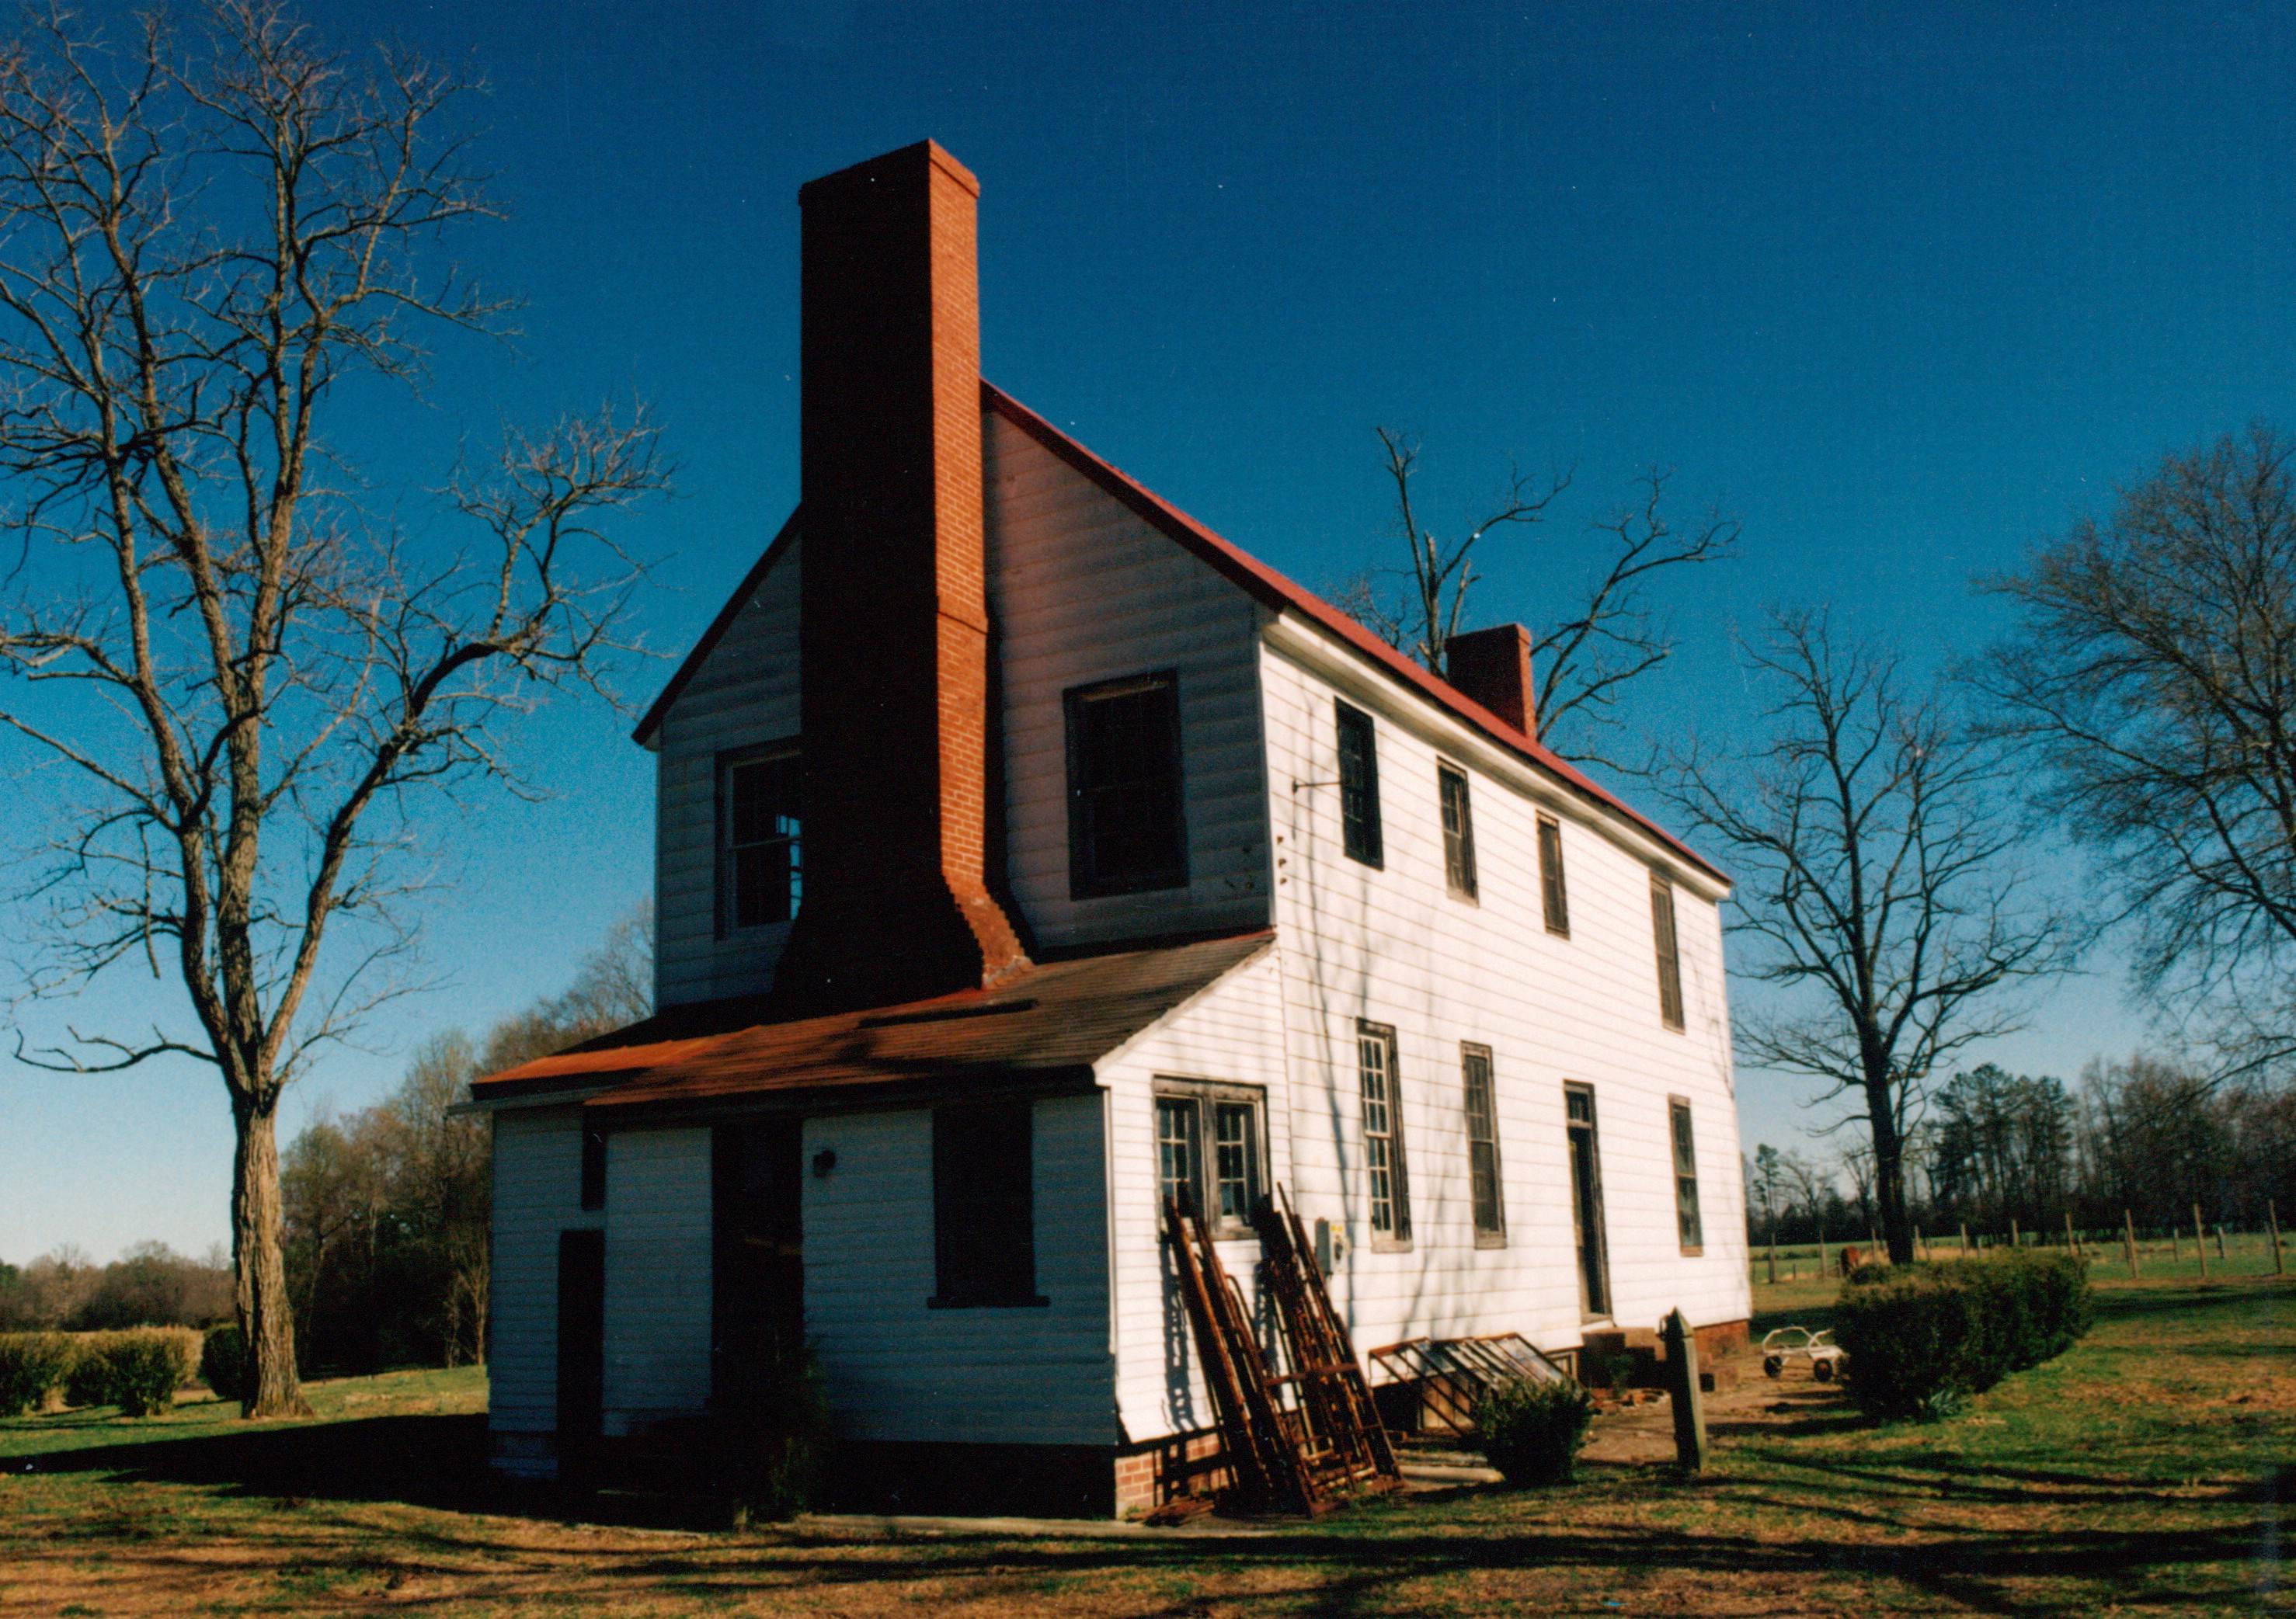
So, I needed a lot of interior salvaged materials to finish up Western View.
And as fate would have it, I received a call from a farmer down near Franklin who had an old house on his property that he was planning on removing, and he wandered if I might be interested in doing any salvage work on the neglected home.
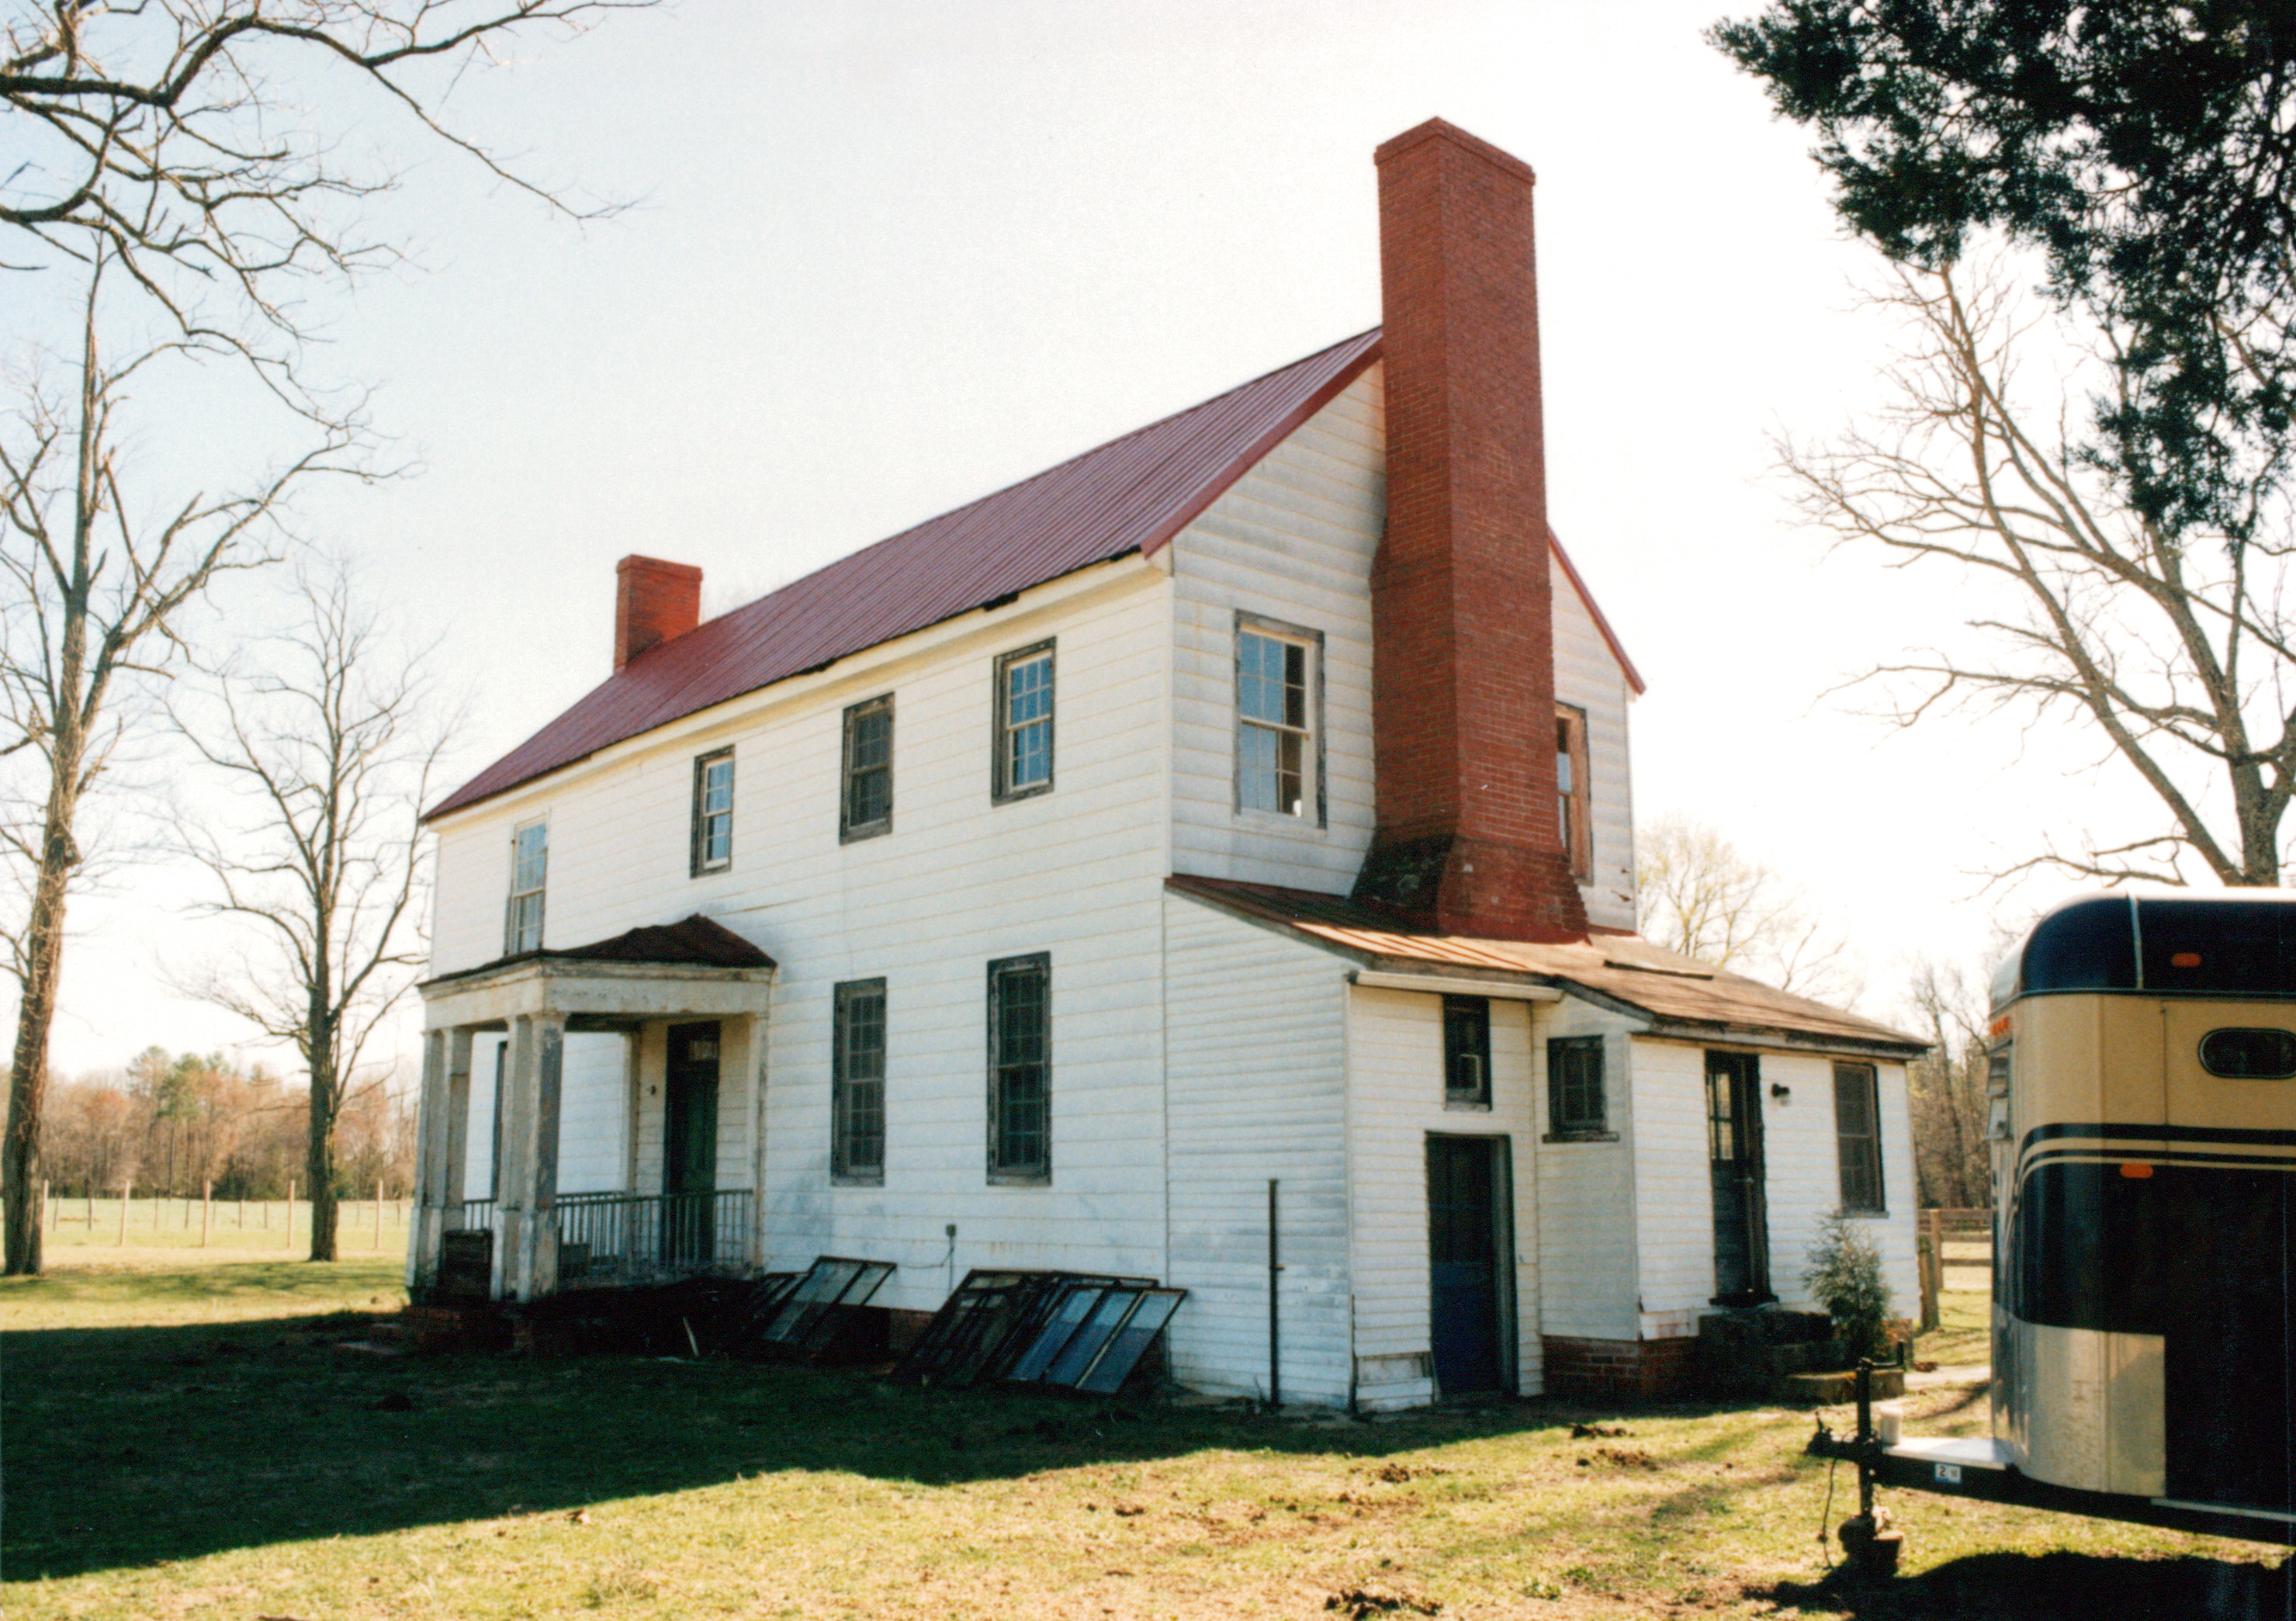
The house was just what I needed… lot’s of really nice interior woodwork. And when I crawled under the house, it was plain to see that the first floor system had a lot of rot and termite damage, which likely was spread throughout the frame… good, I didn’t need another frame anyway. We struck up a deal.
There are always surprises to be found when taking down an old house, almost all of those surprises are bad, but with this house we were surprised to find that a majority of the timber-frame was in very good shape, and, it was impressive to behold.
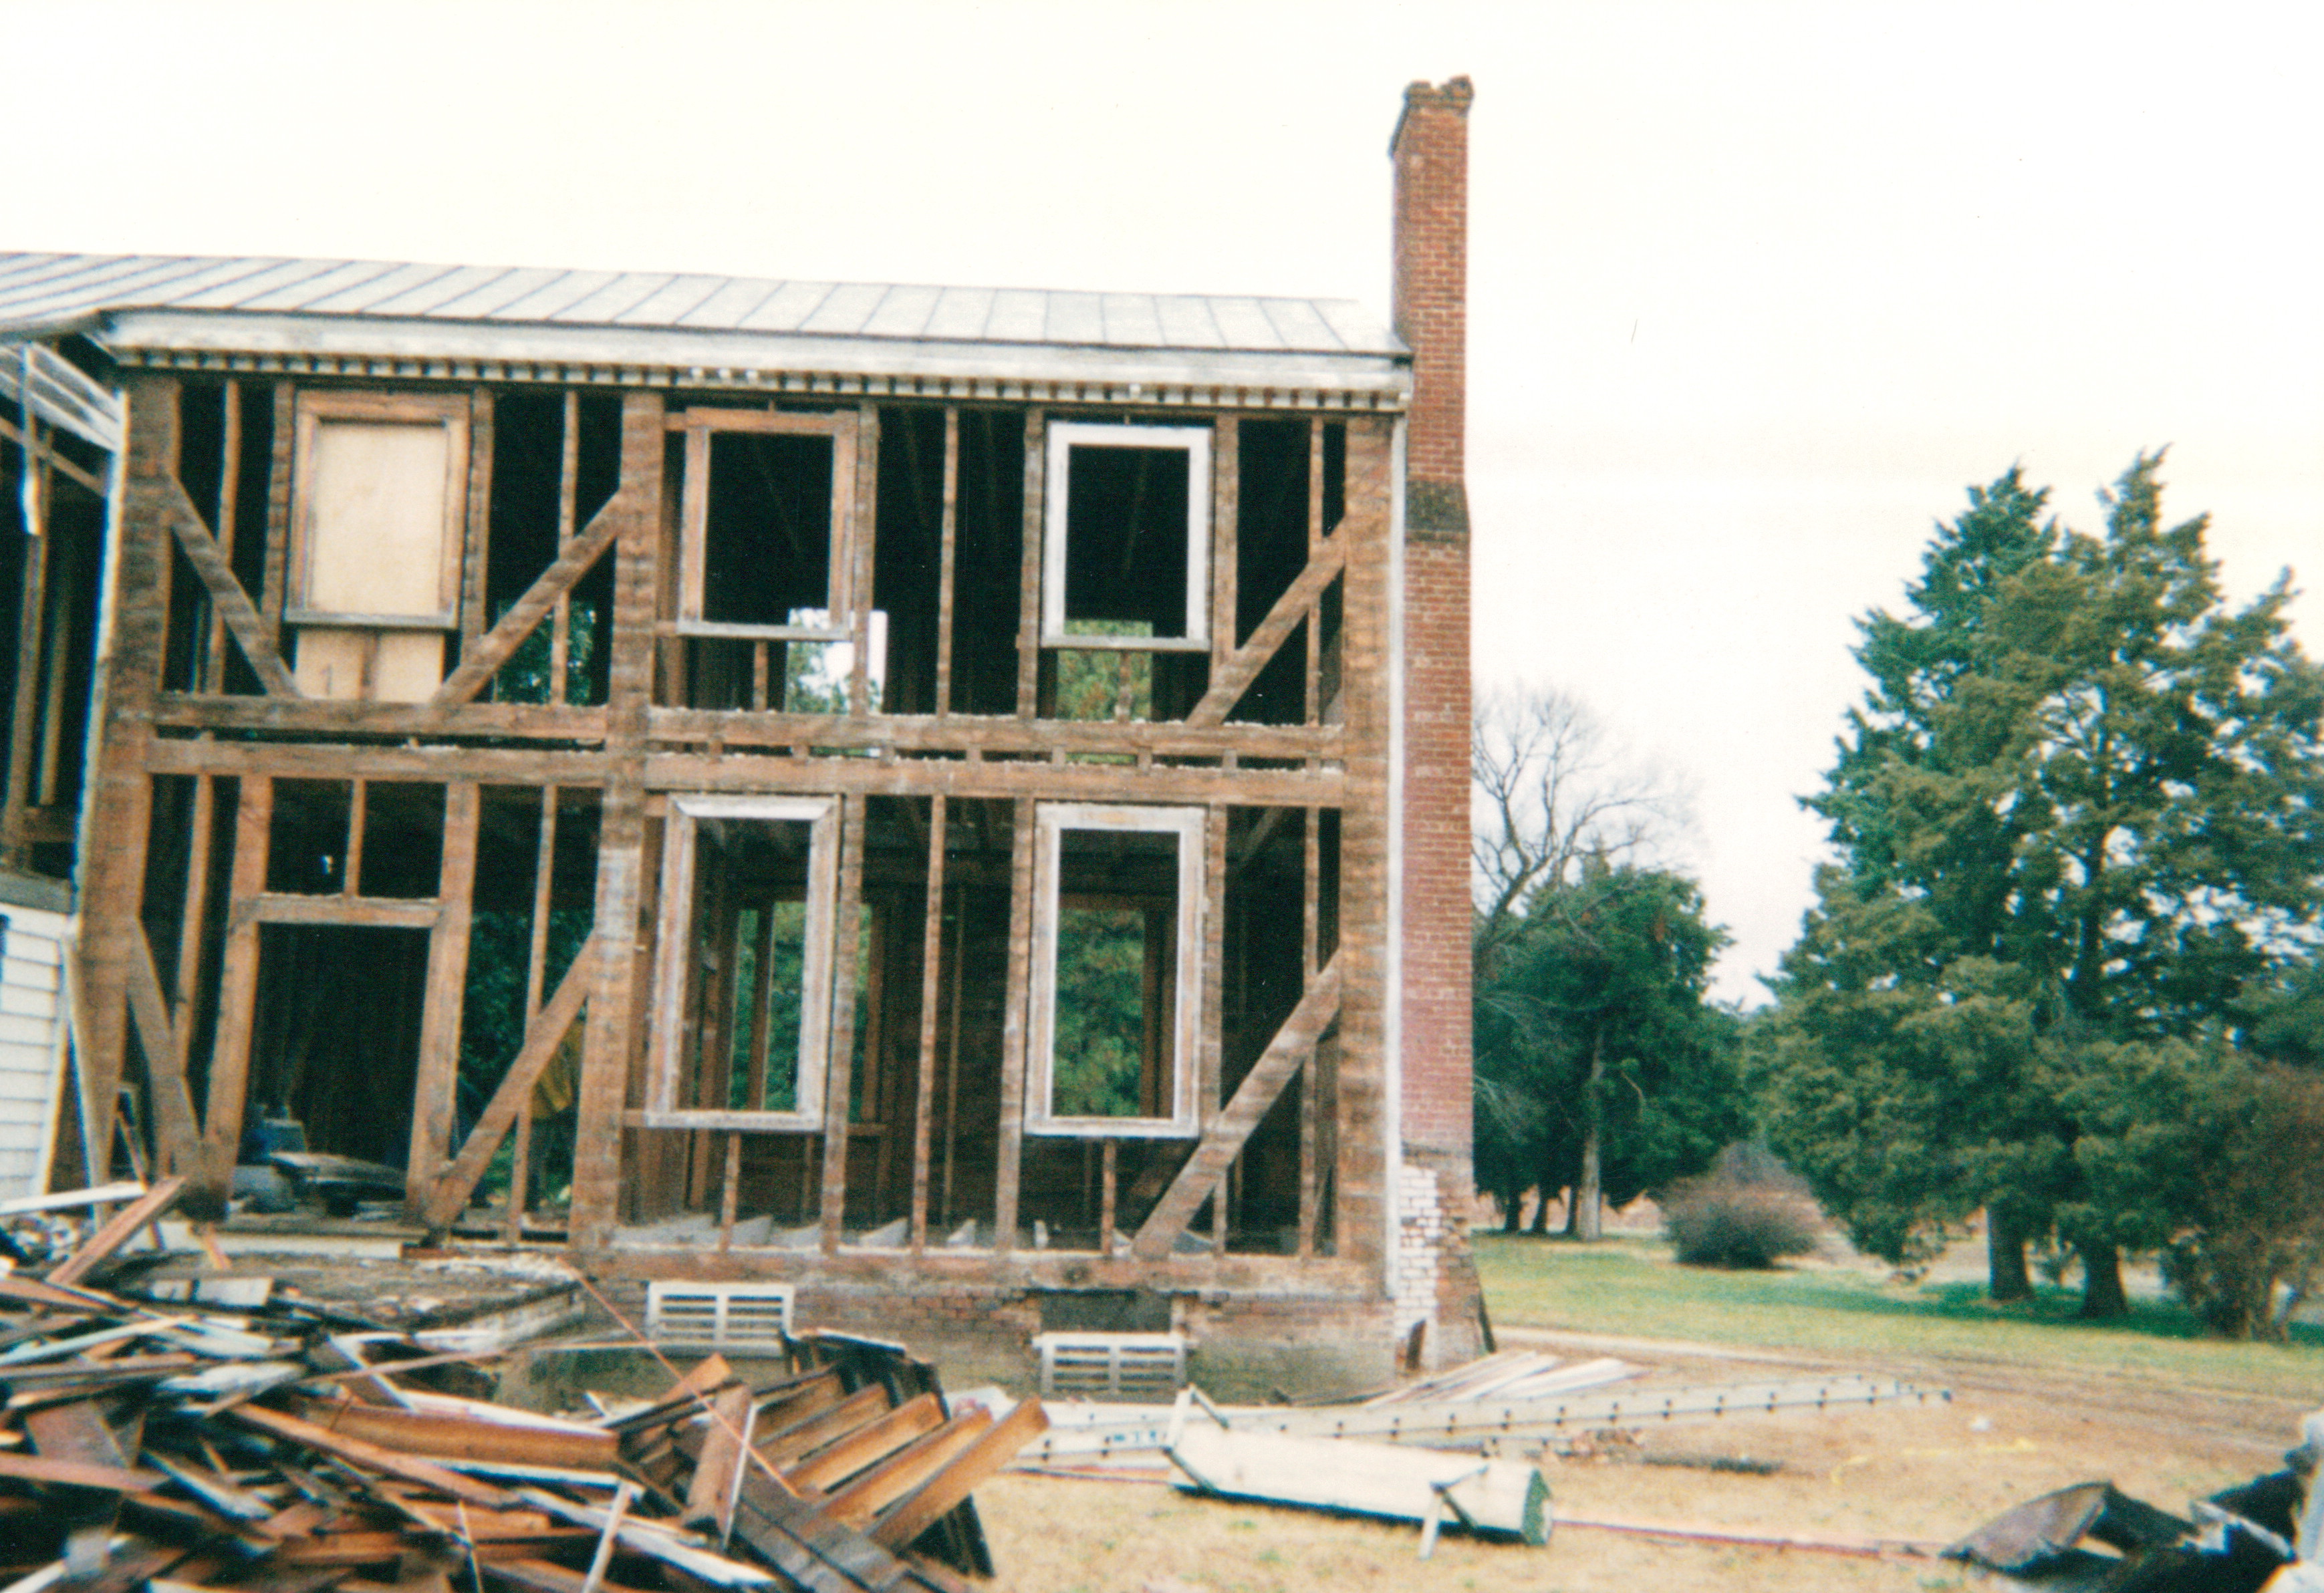
I tossed around some options with my client, from using these framing members in the rest of his house, to selling them to someone else and recoup some of our expenses, or perhaps we could build him the ultimate garage… a manly garage… yes, let’s do that.