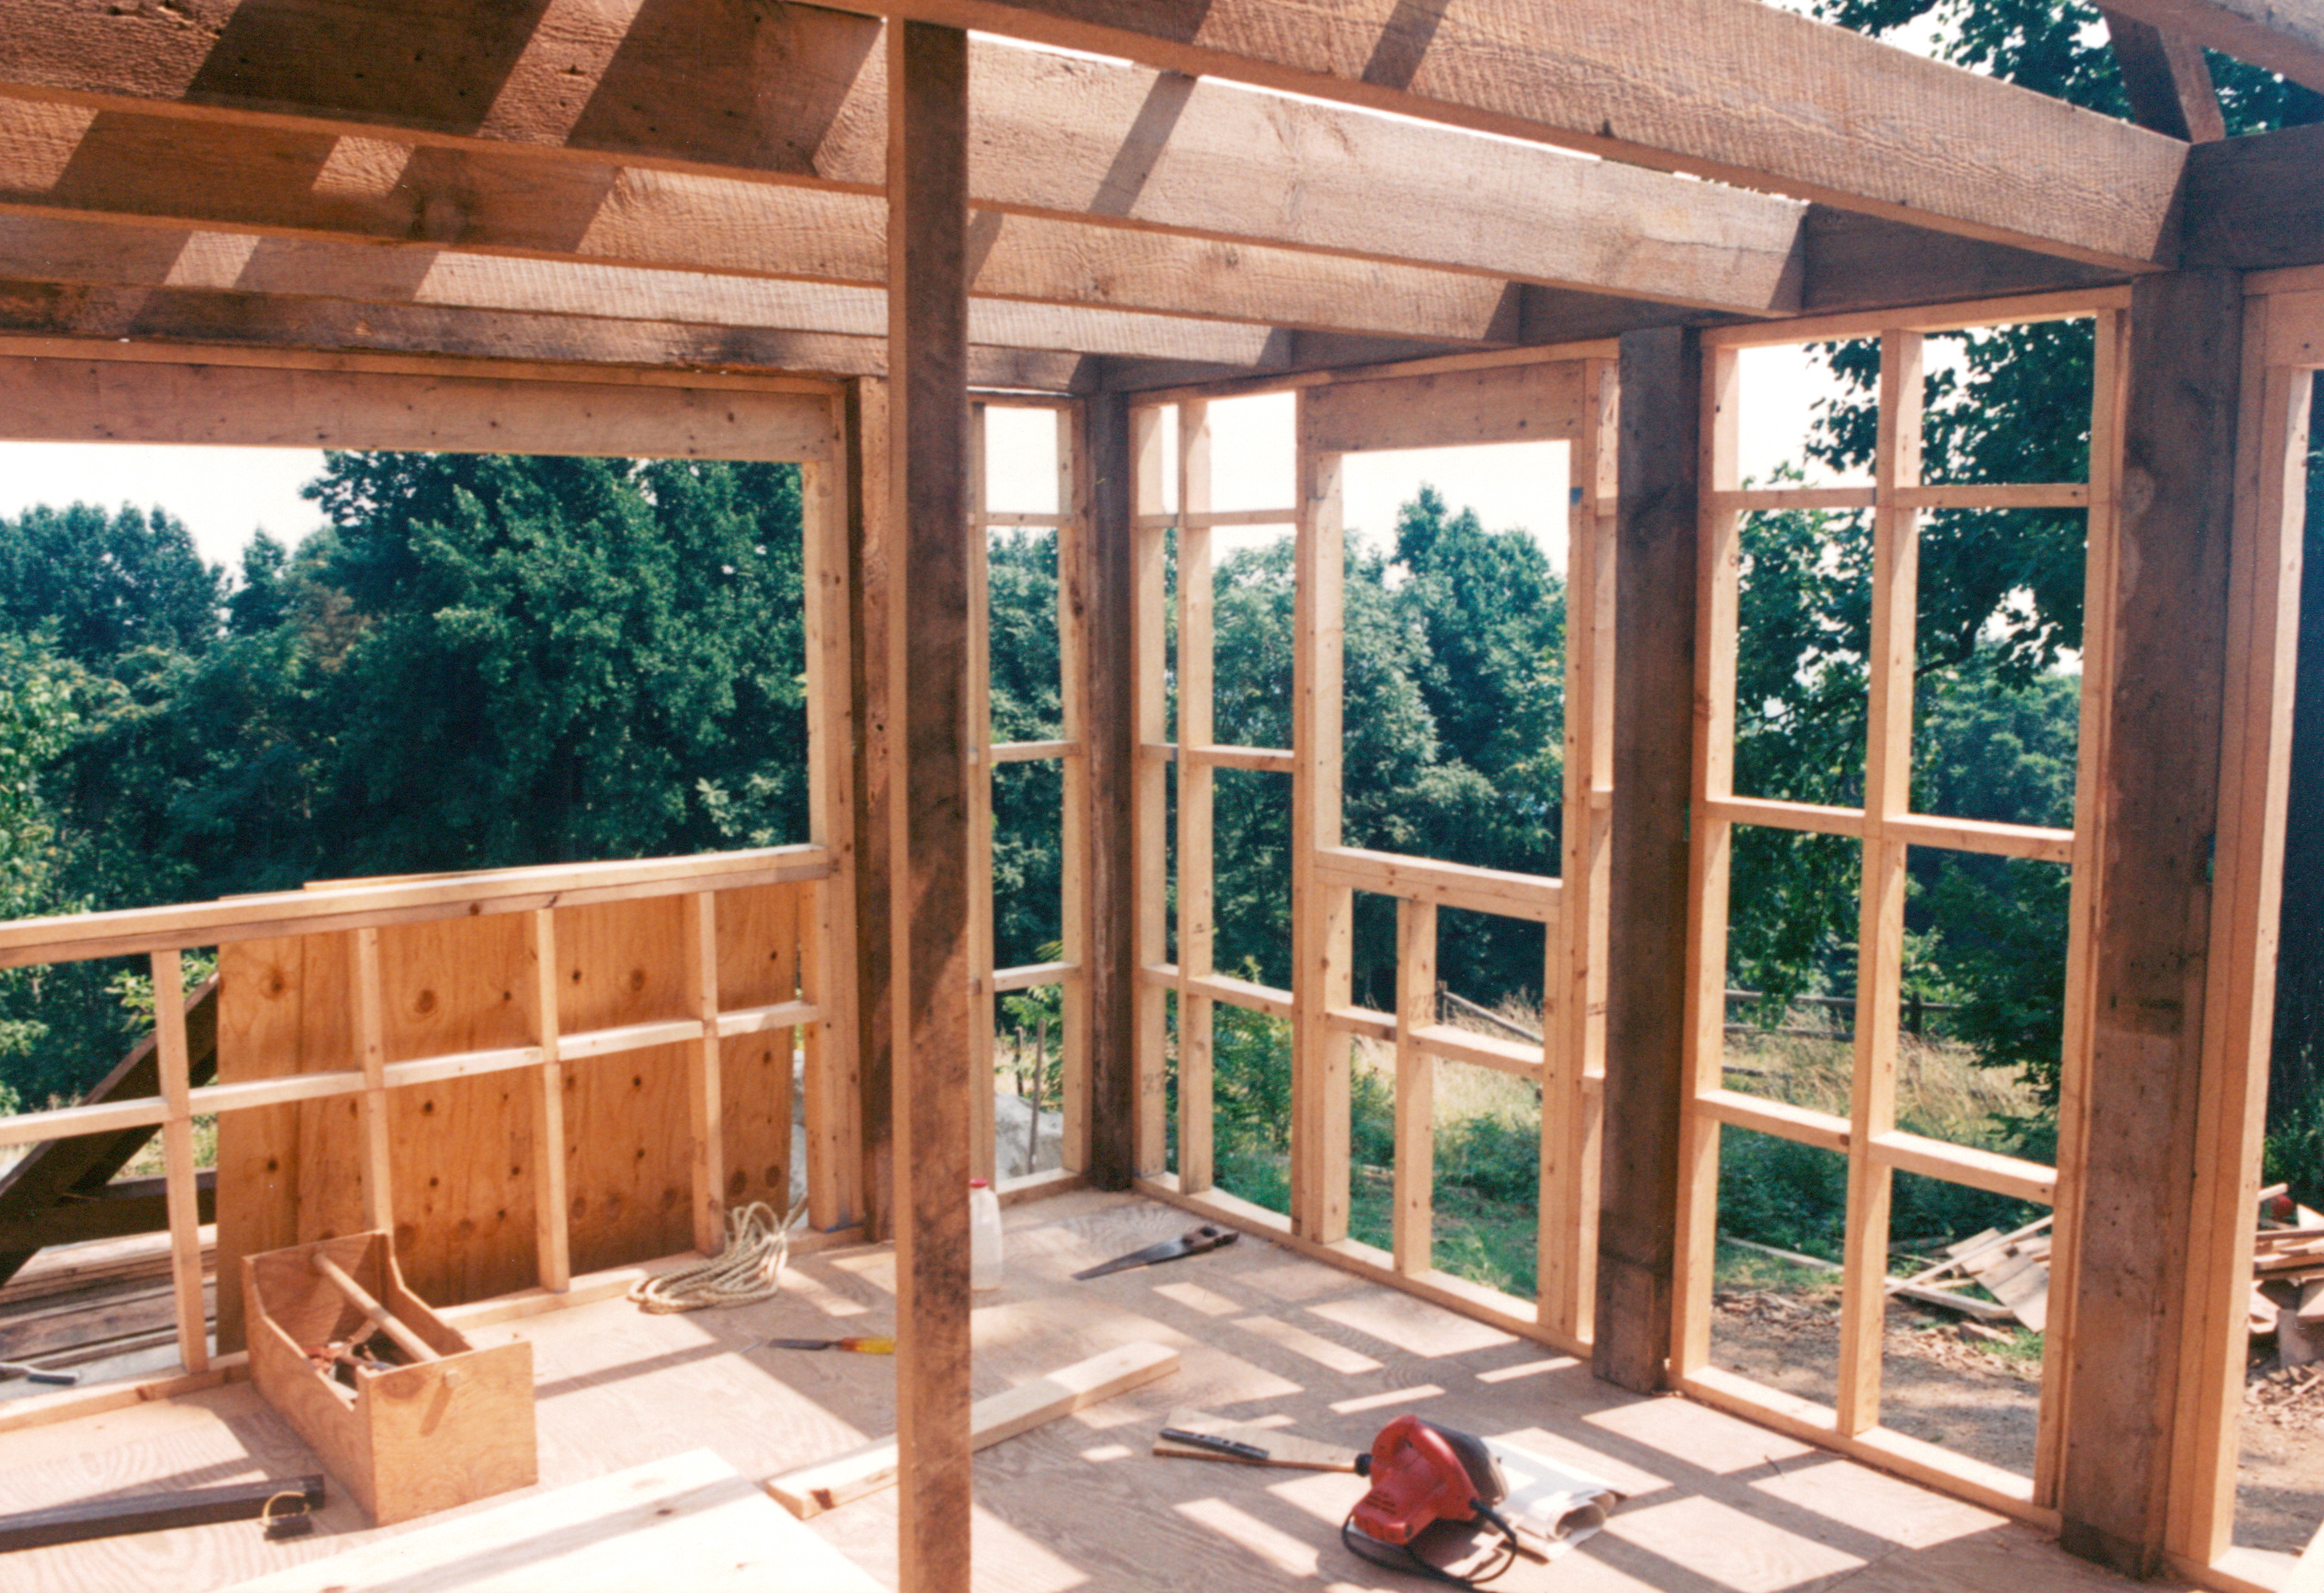
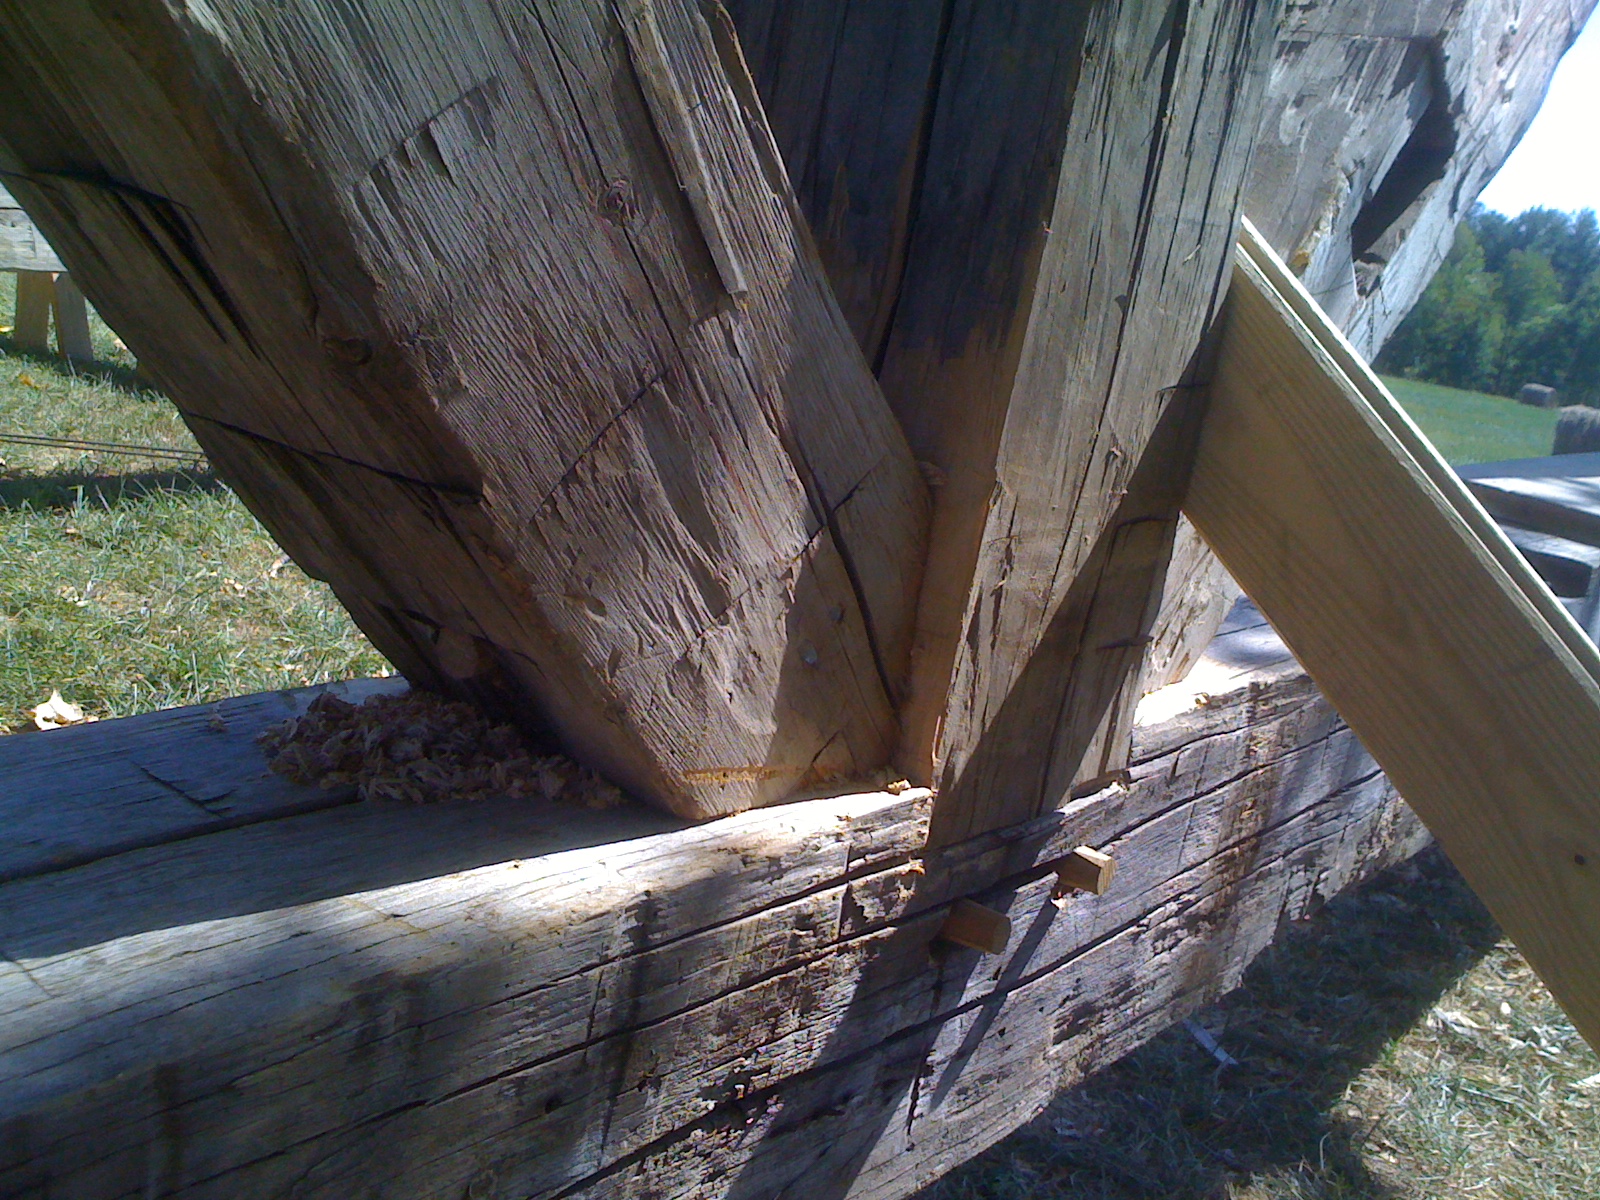
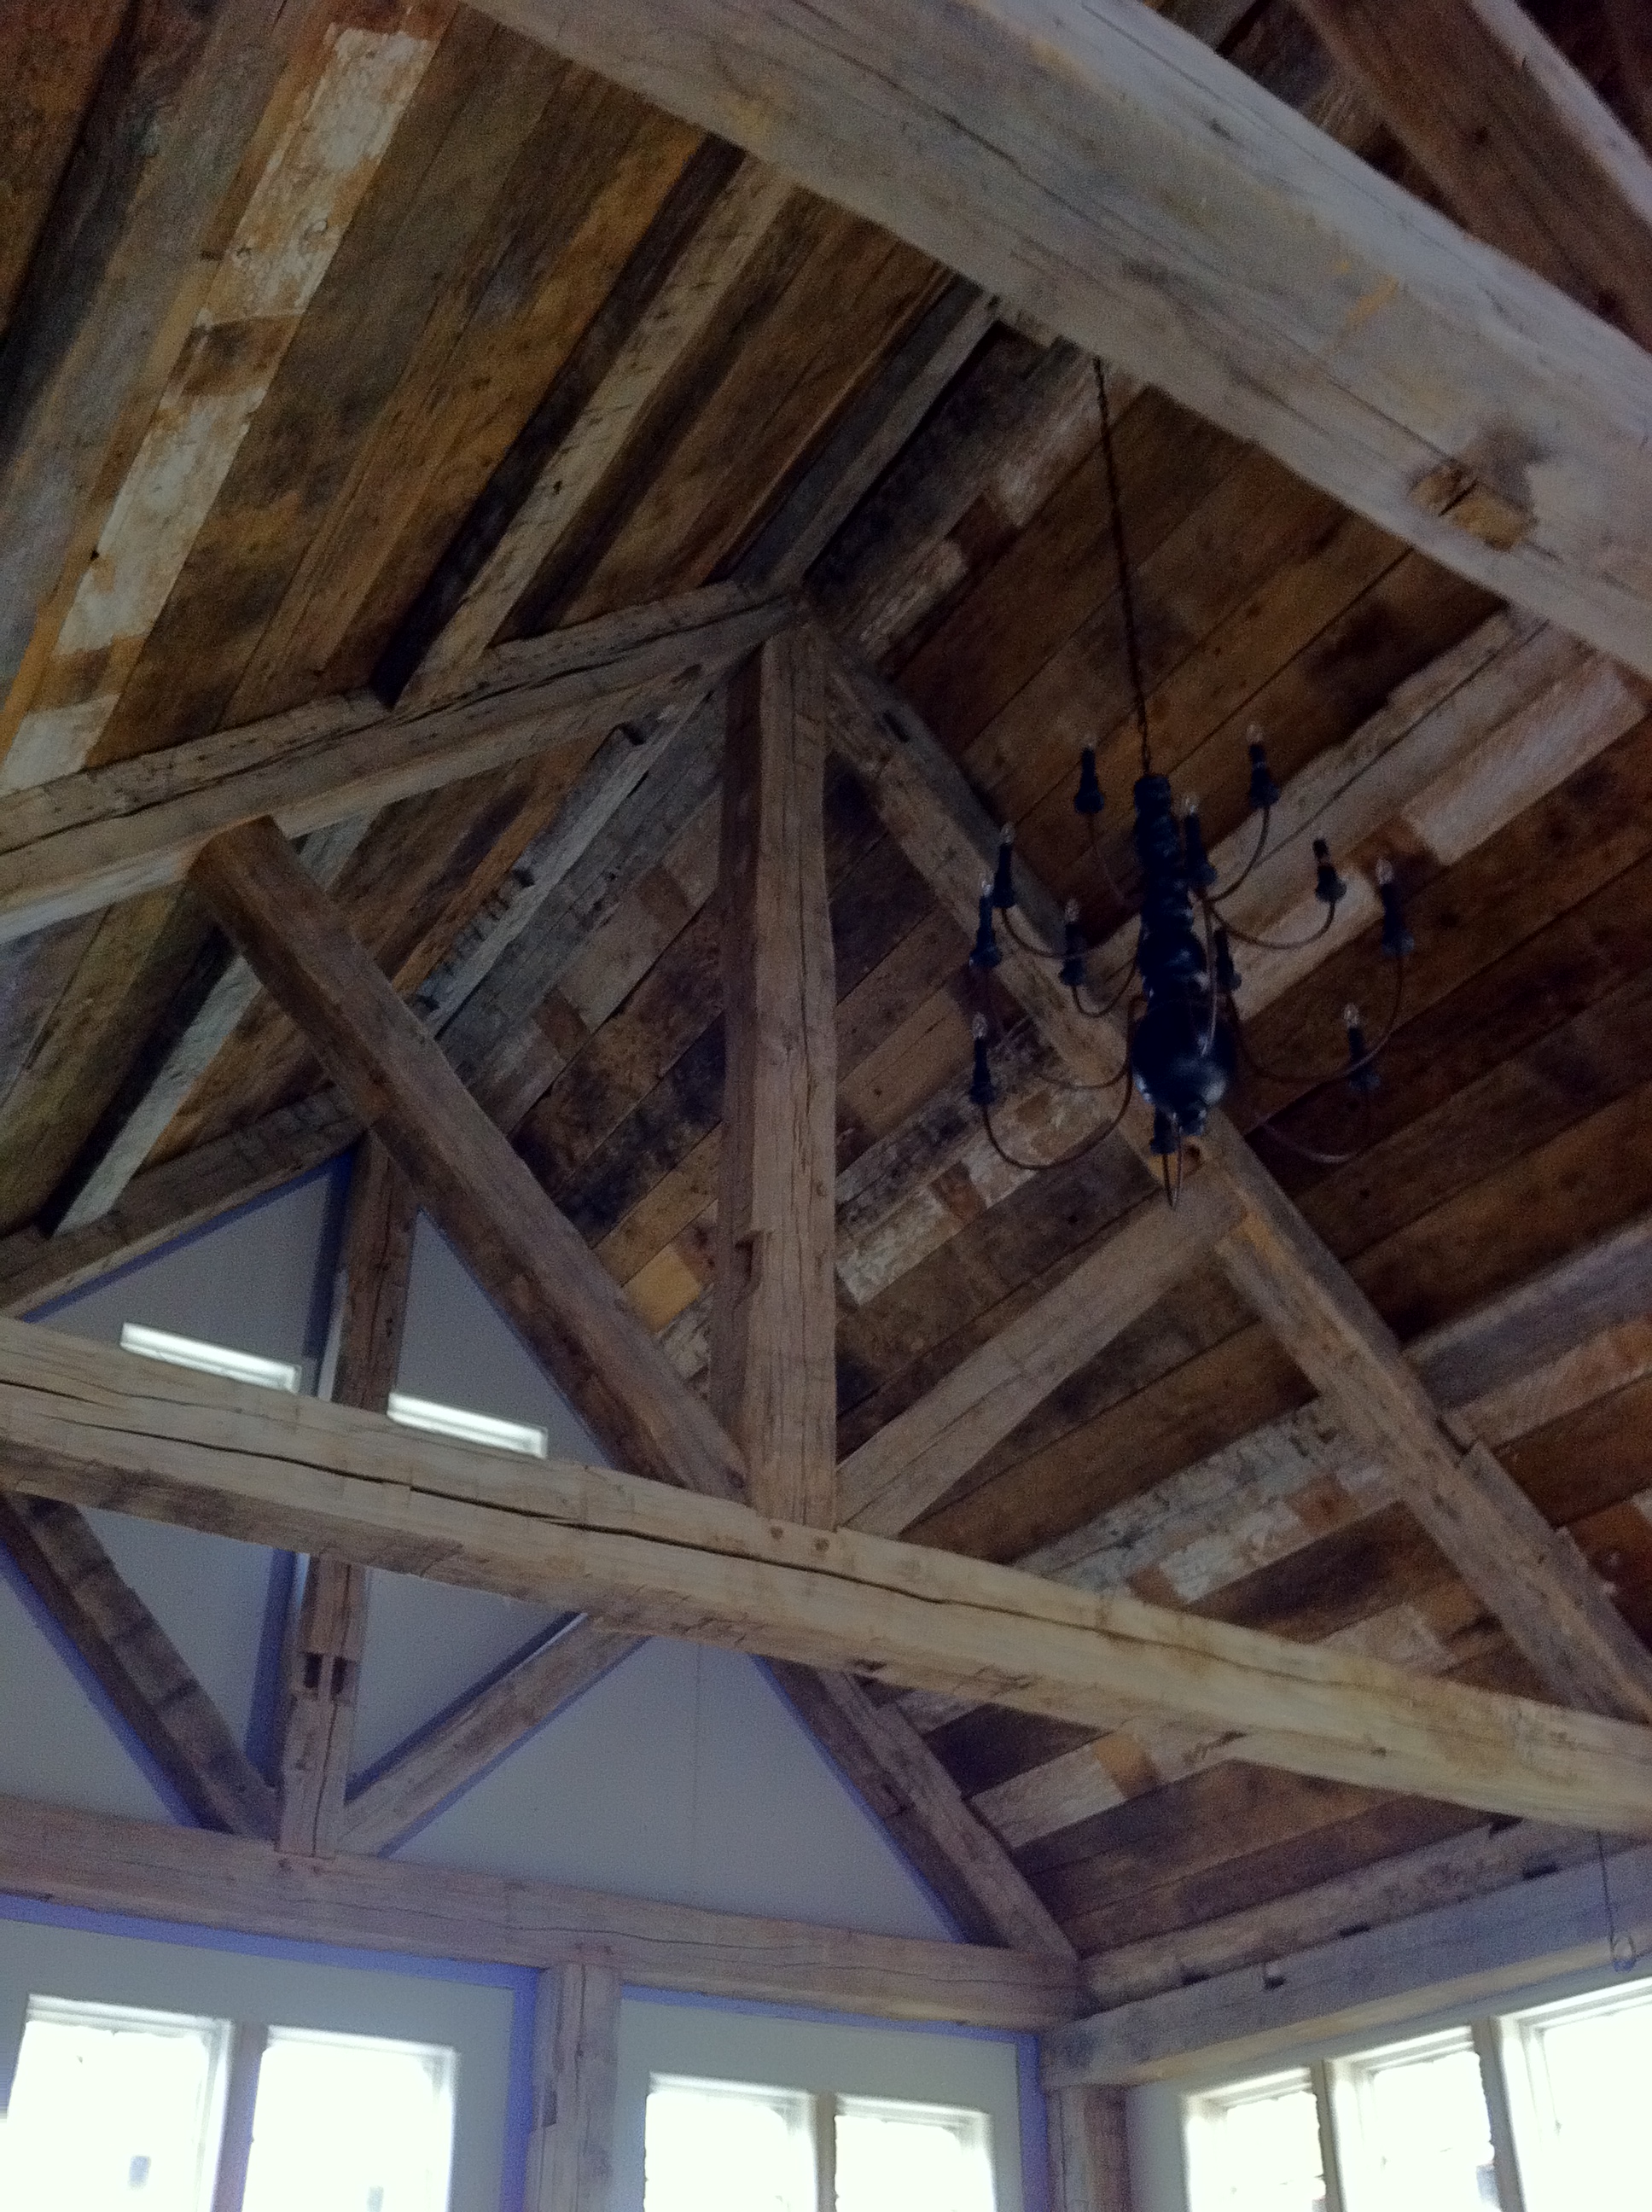
Finished interior where timber frame meets log cabin
Noah Bradley2019-06-29T11:00:24+00:00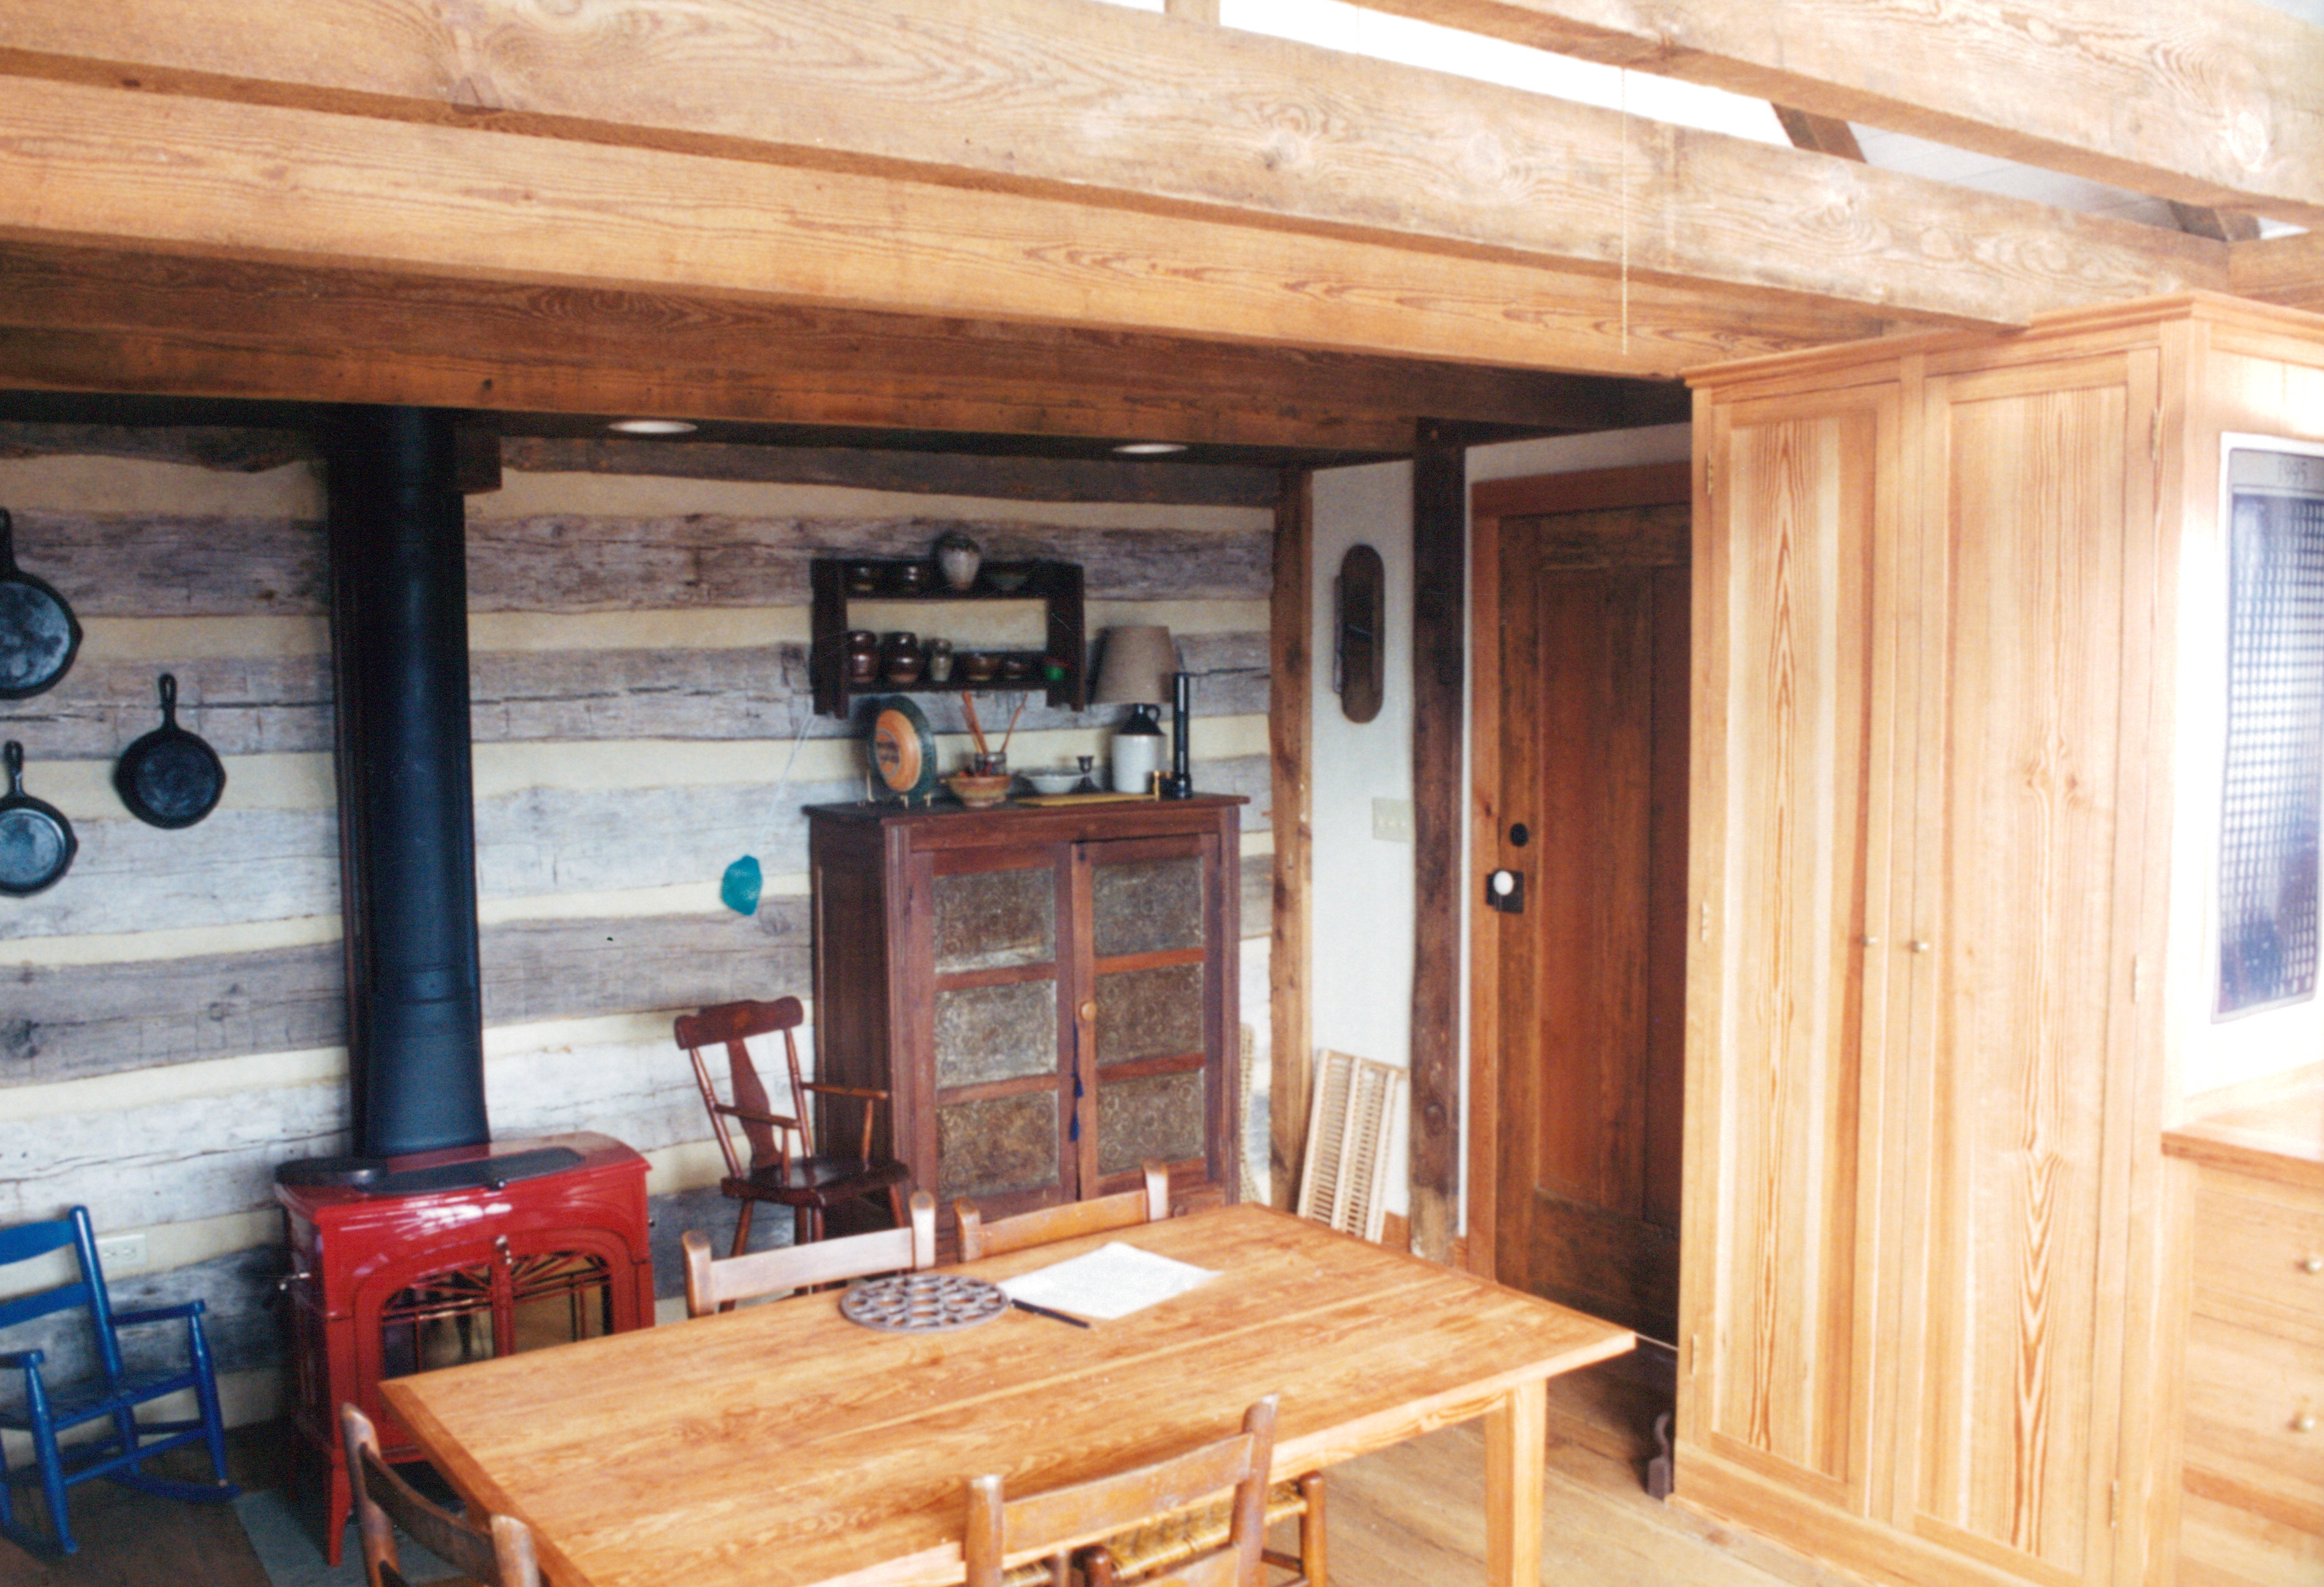
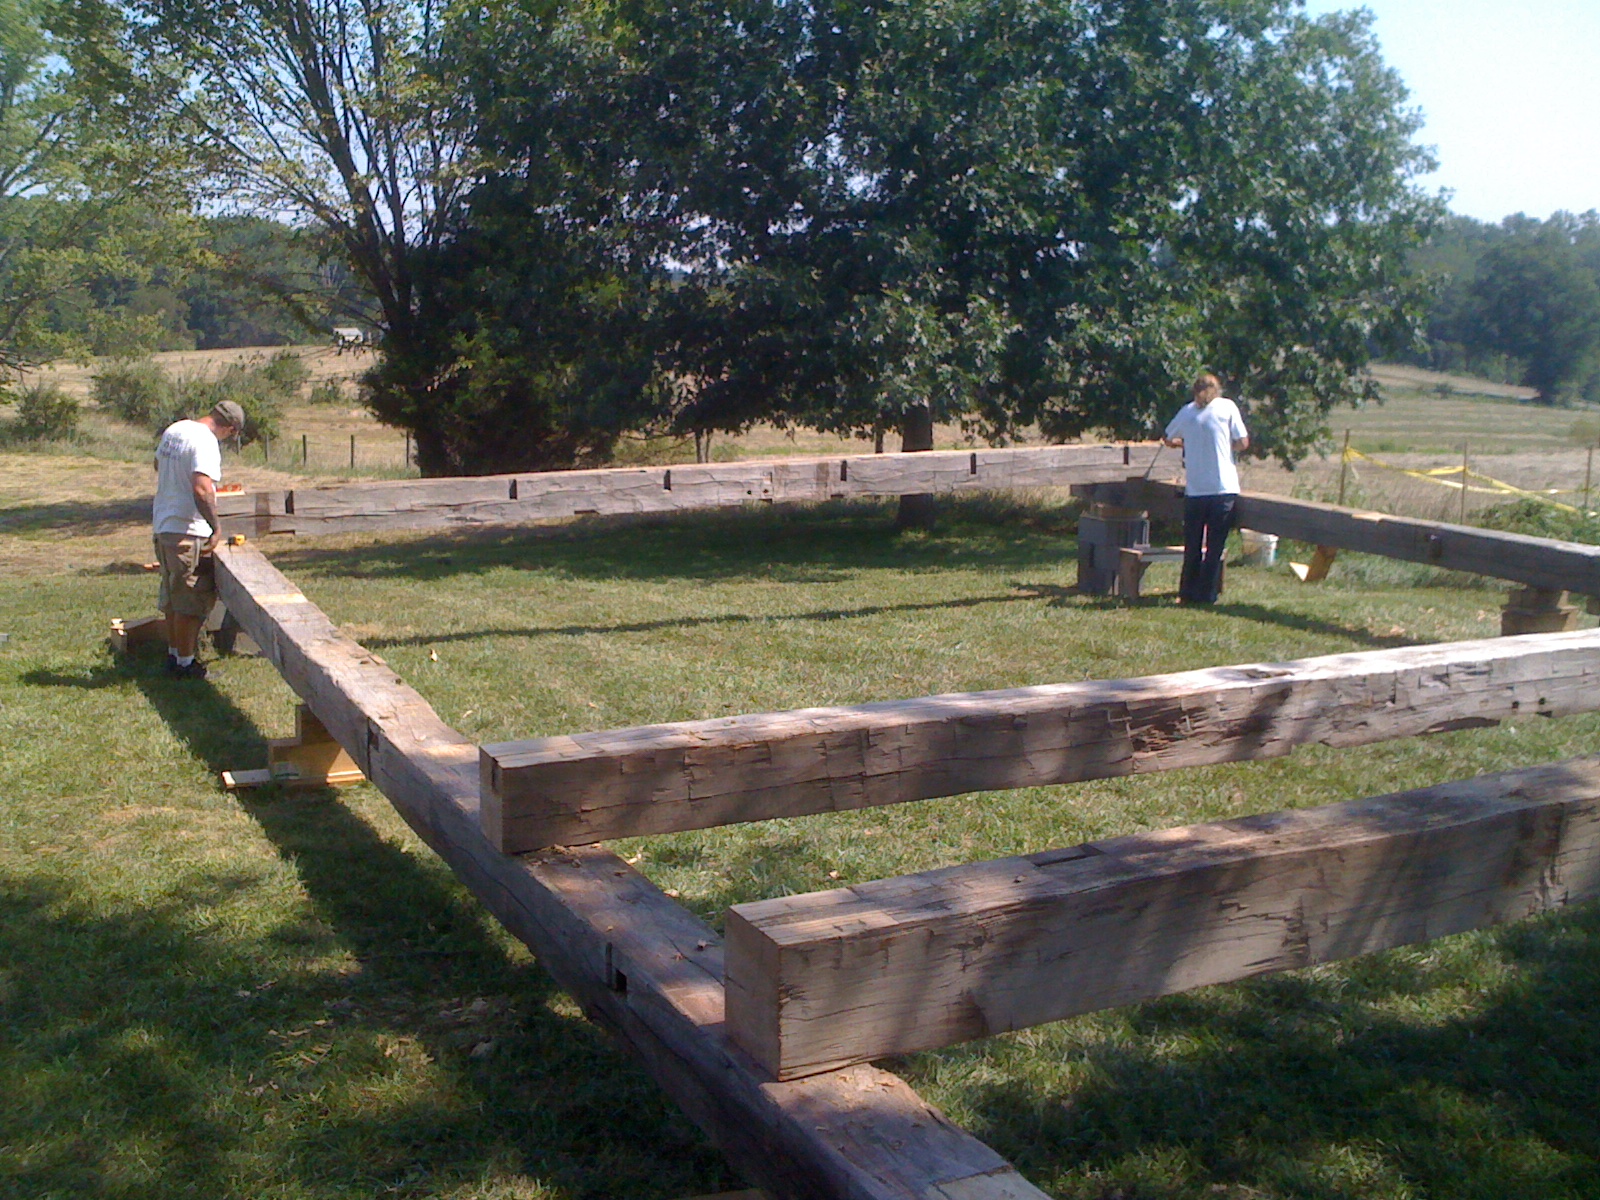
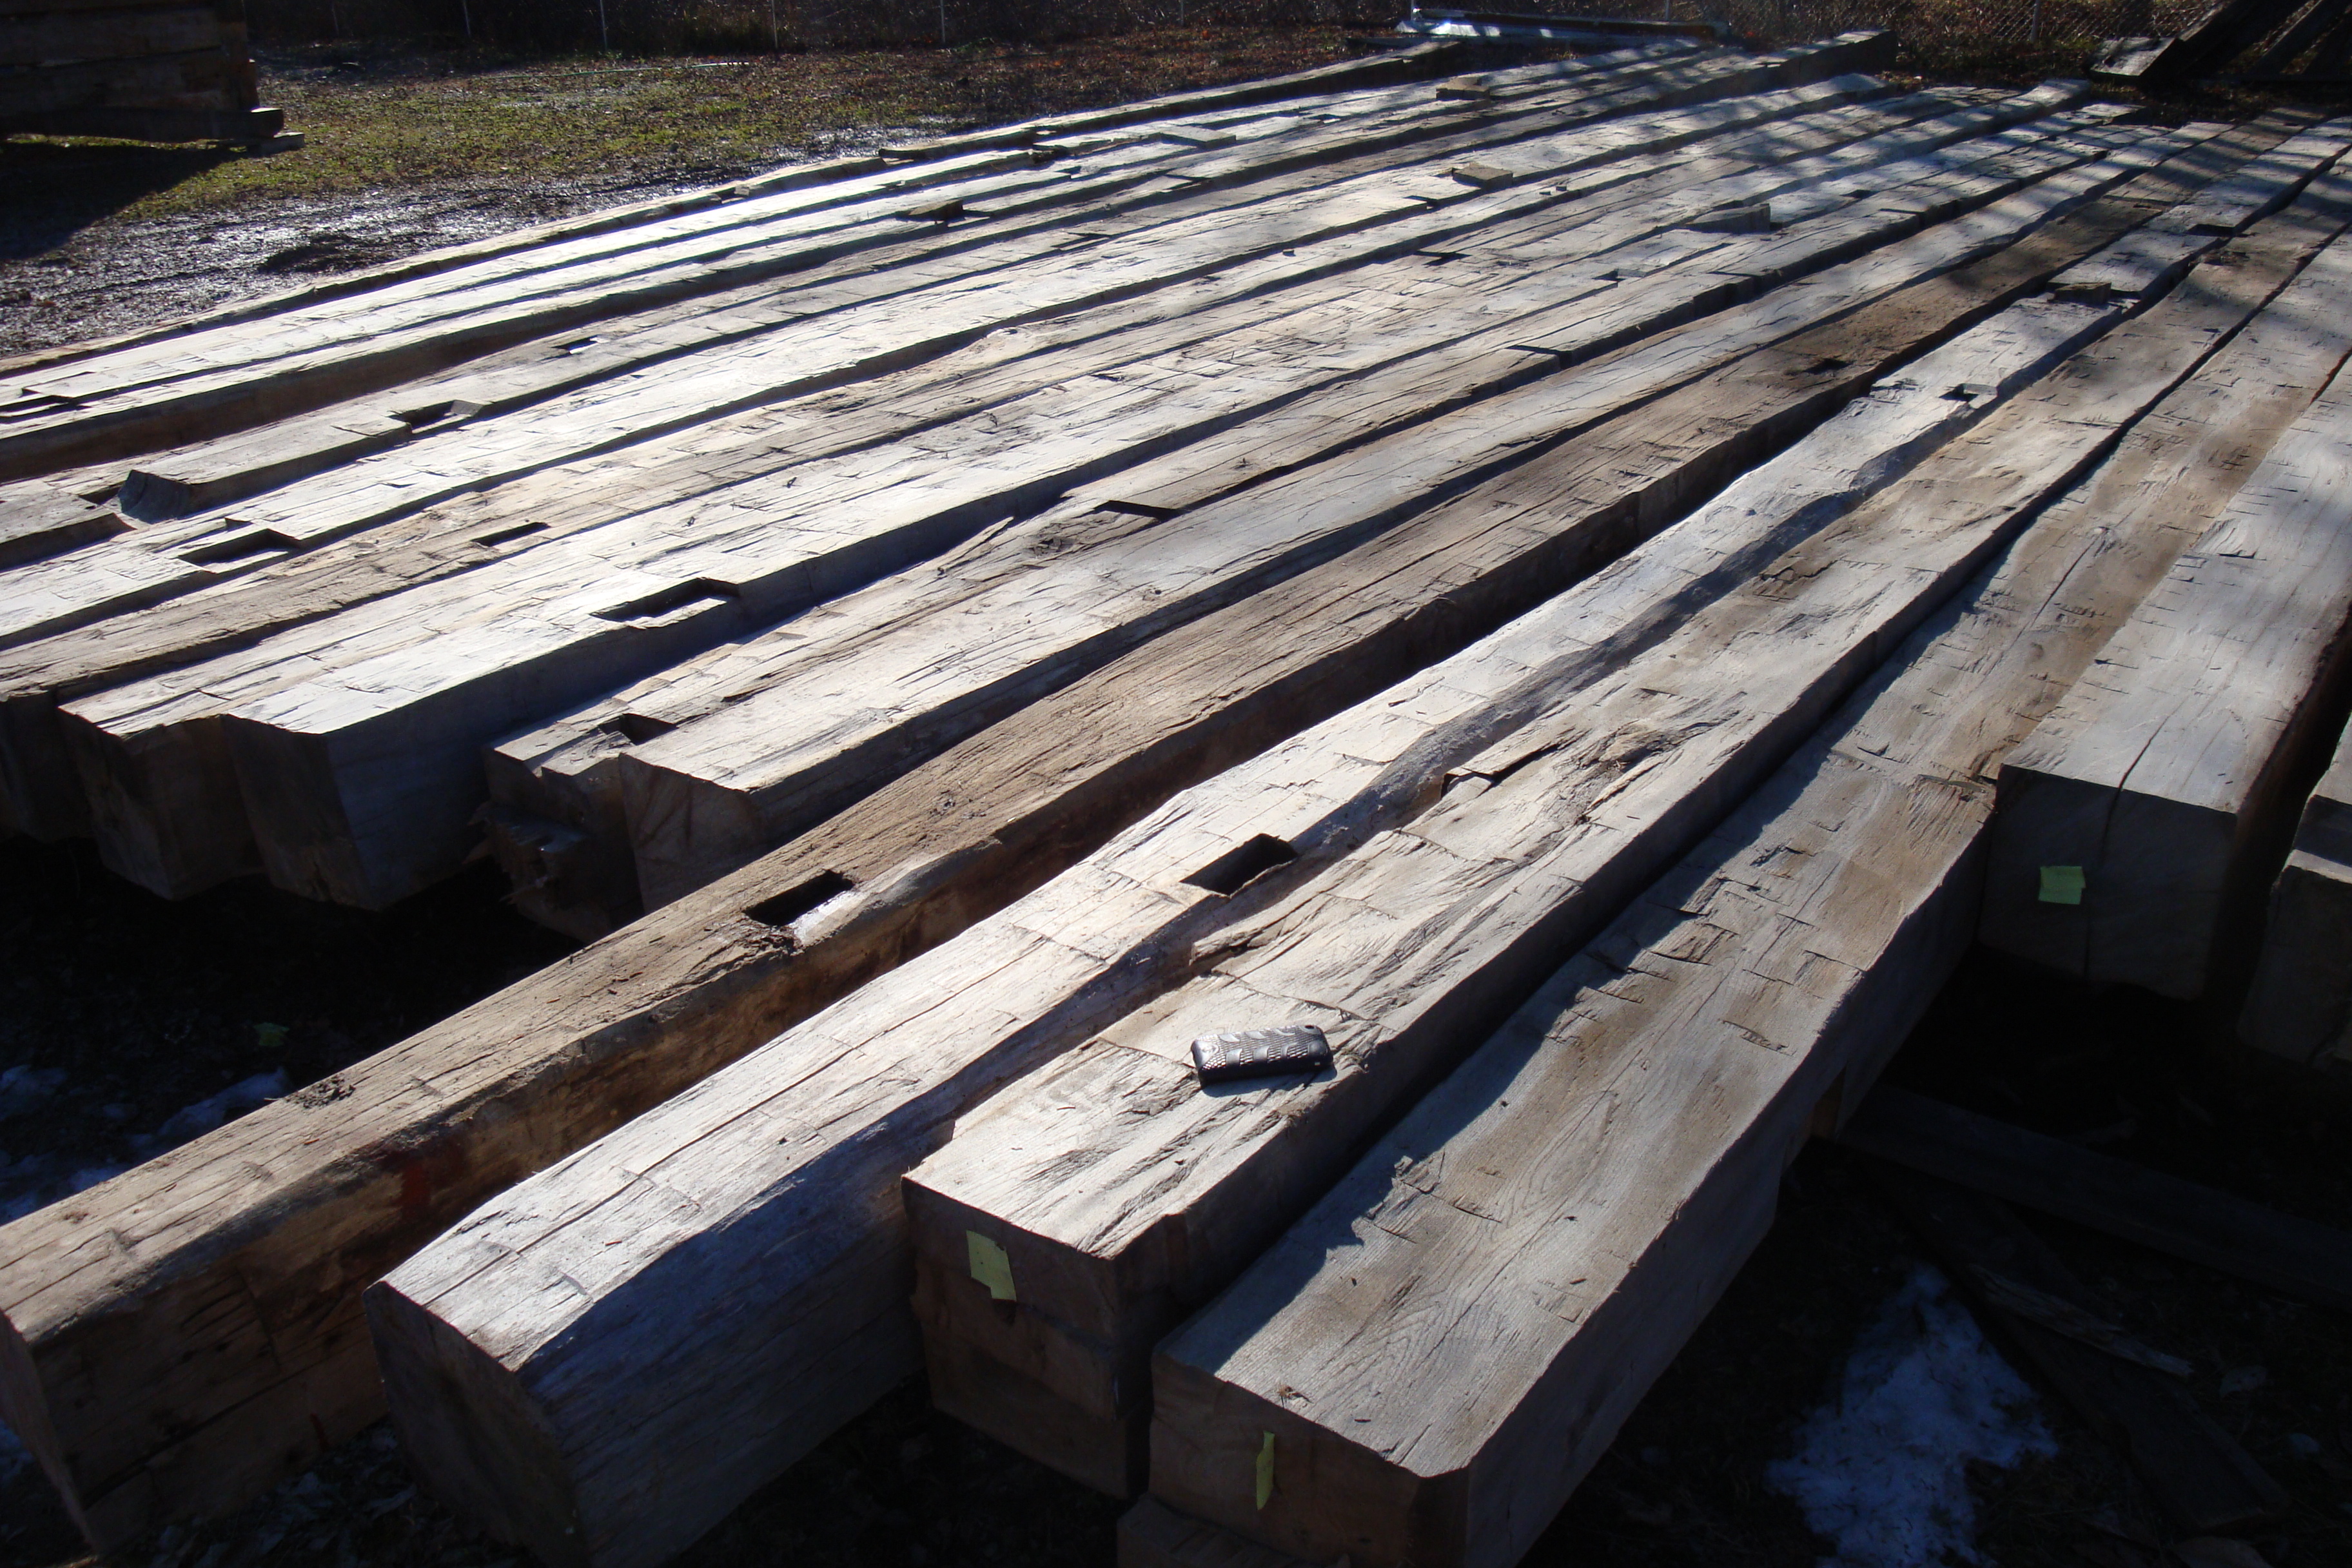
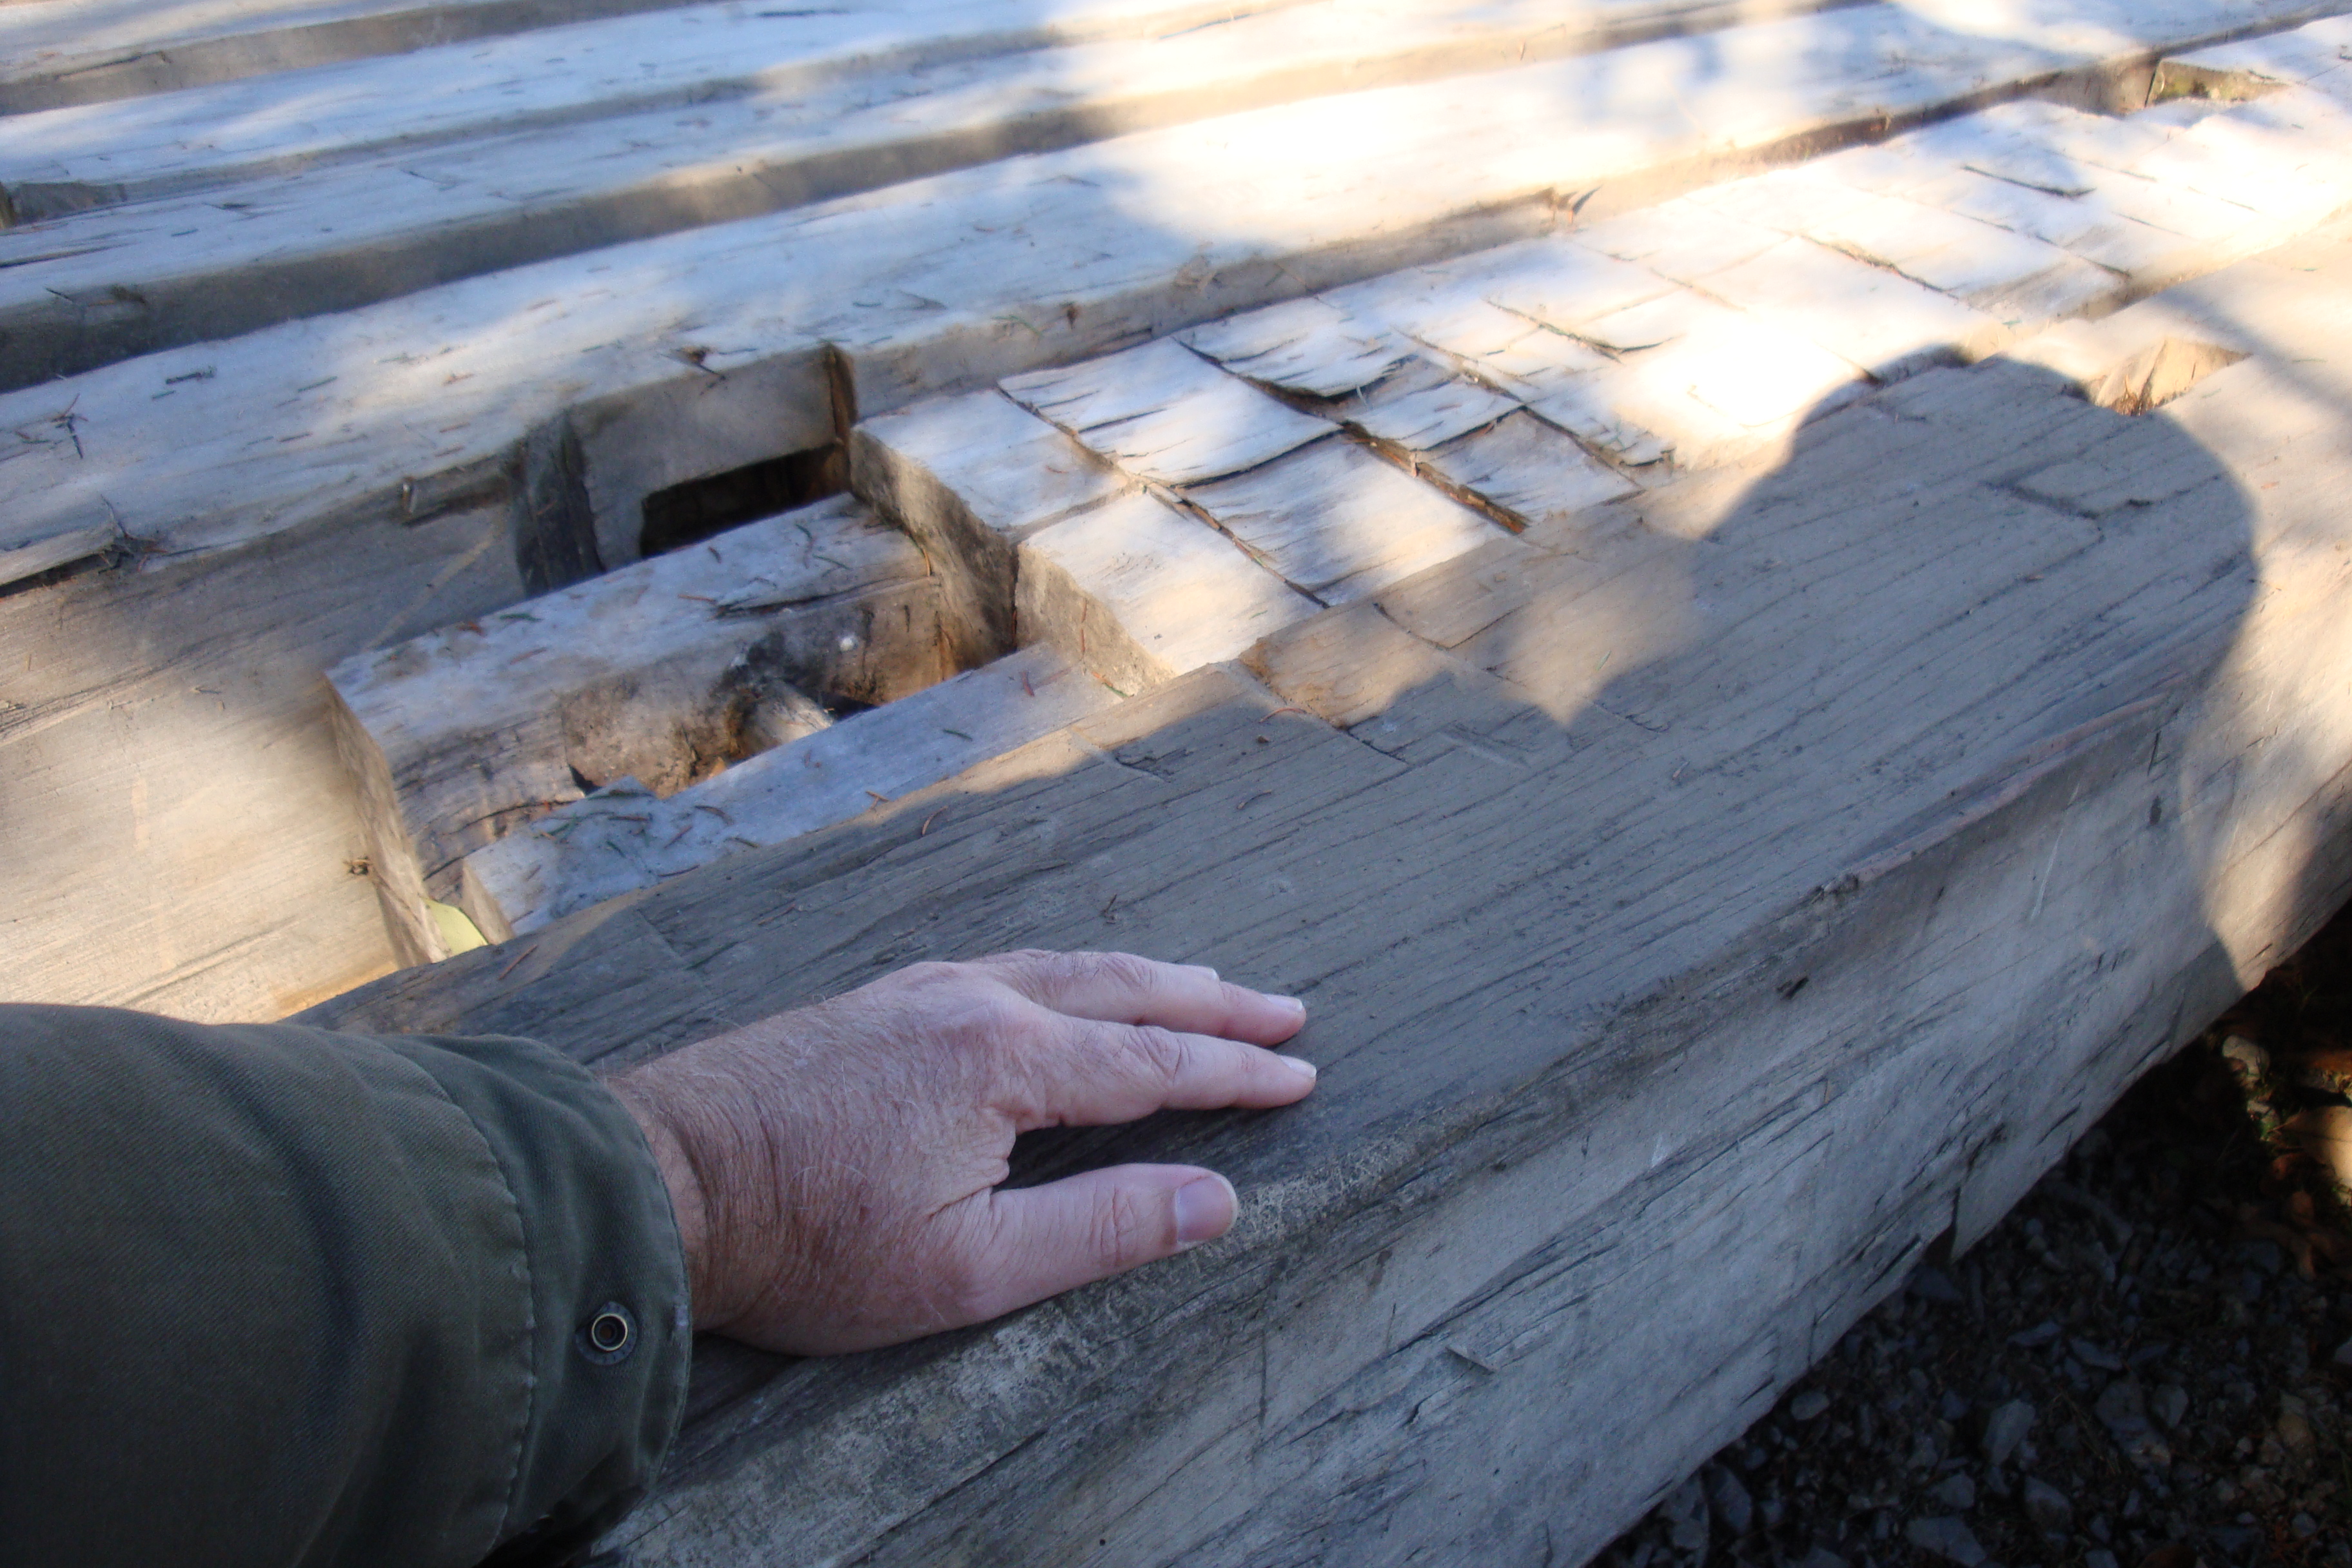
Here’s the finished room made from that old house. You can see the posts exposed in the corner where it meets with the log cabin, and you can see the antique joists above. (we not only built the log cabin, and this timber frame addition, but also the cabinetry, and even… the kitchen table)