Just the basics…
Noah Bradley2019-06-29T10:27:01+00:00
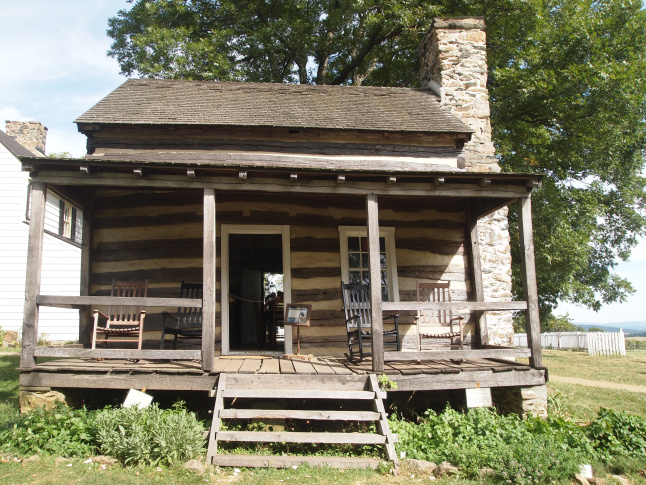
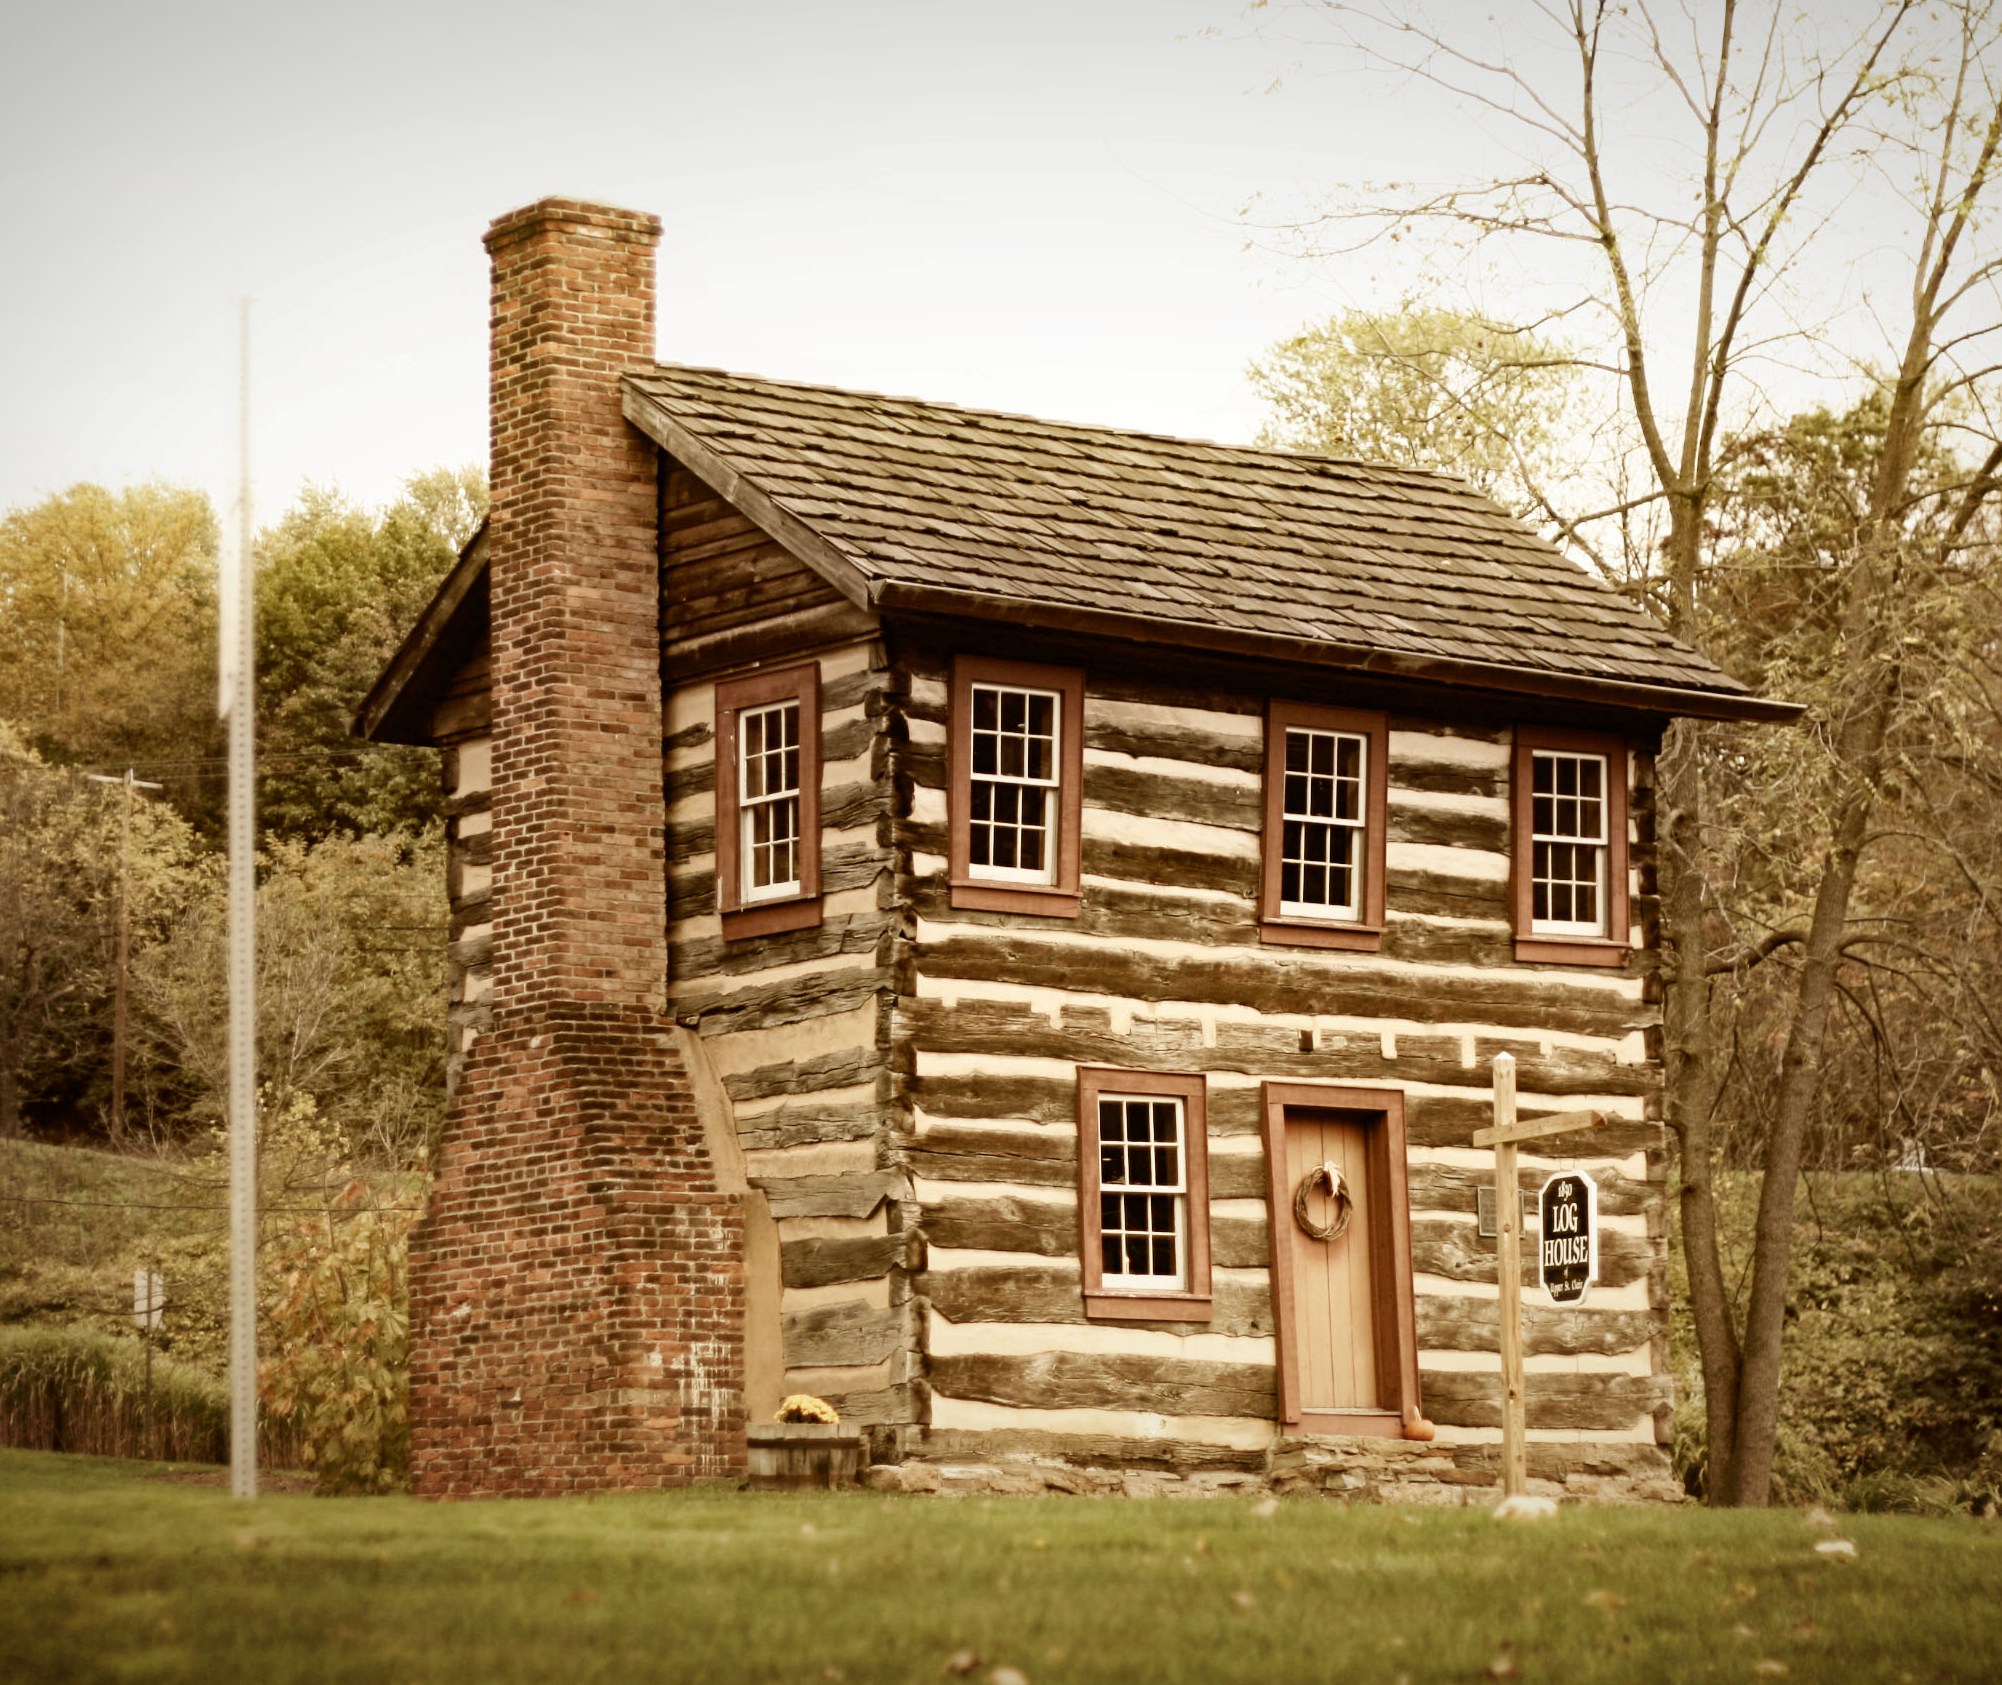
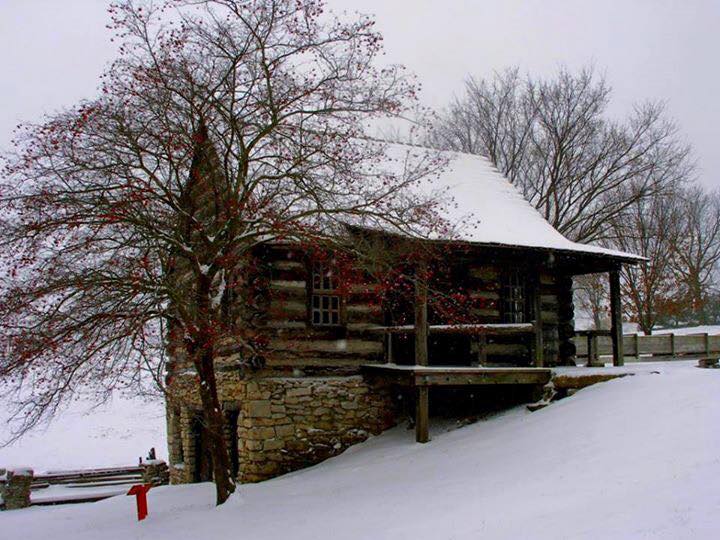
A log cabin.
A stone chimney.
A front porch.
A door.
A window.
And four rocking chairs.
Originally posted 2016-01-27 13:52:24.
Originally posted 2016-01-27 13:52:24.
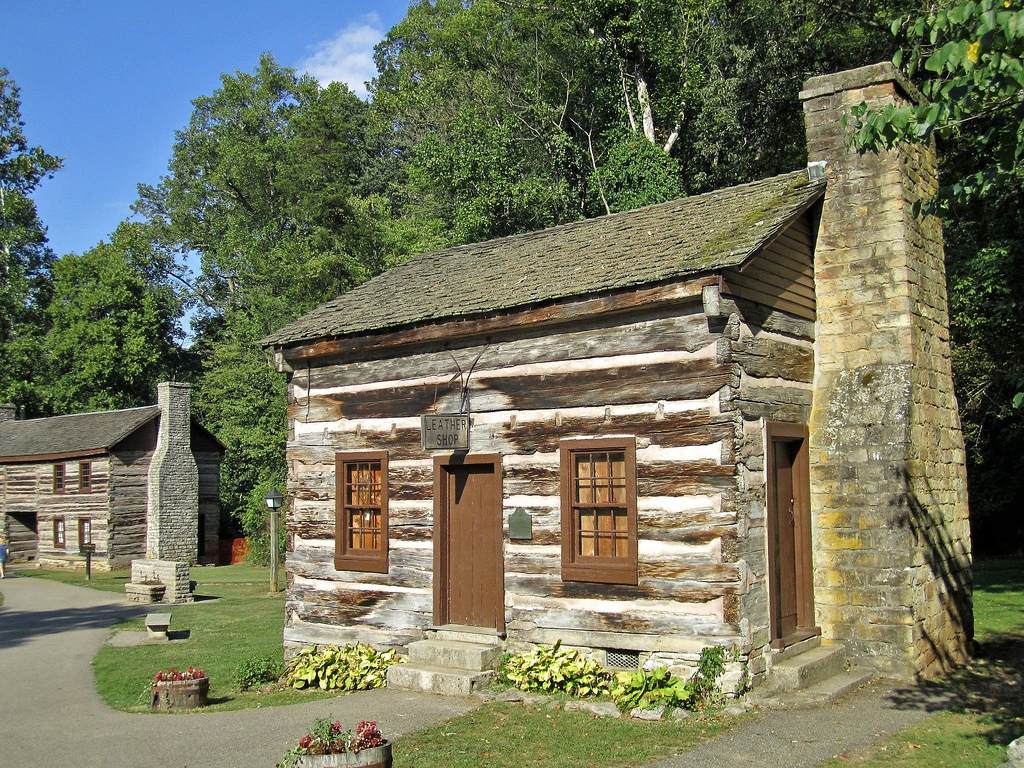
Now here is something you don’t see often.
A door next to a chimney.
It does look good there doesn’t it?
I do appreciate any opportunity I’m offered to gain an up-close look at a stone chimney.
I would think that the one downside to having a door here would be that anytime that door would be opened, while a fire was burning in the fireplace, that the draw would be affected and some smoke would enter the room.
Originally posted 2016-01-27 13:42:26.
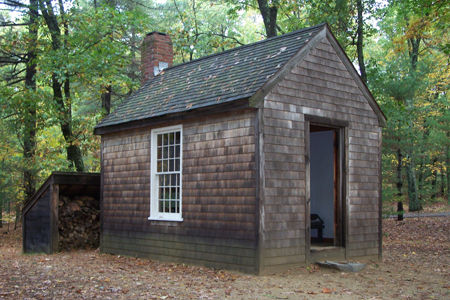
Some say that Henry David Thoreau was the founder of the current interest in tiny home living.
I have long admired Thoreau, and his book “Walden”, is among my favorites.
The idea of living free and simply holds a lot of appeal for this old boy.
But Thoreau only lived within such modest means for two years before moving on to a larger home.
Today many are starting with this size space and squeezing into it a kitchen, a bath, a laundry room, and a staircase.
Originally posted 2016-01-26 14:33:41.
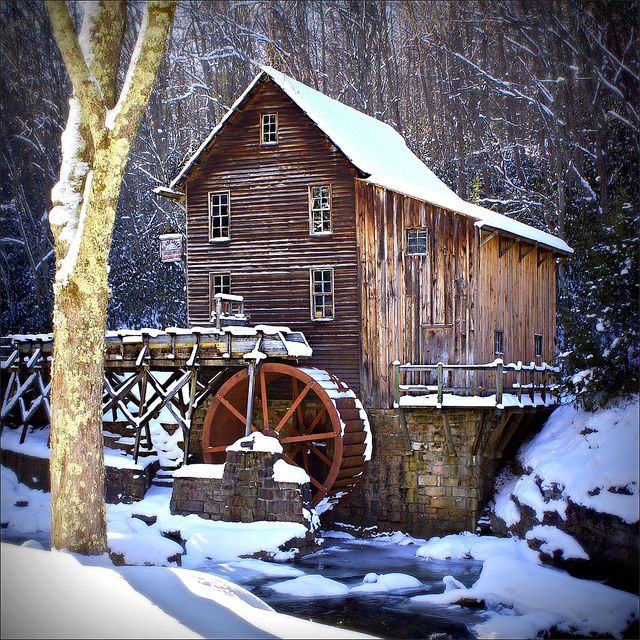
When it comes to timber framing there is not finer example to be found than those within a grist mill, where timbers needed to be large and plentiful to handle the weight and stresses of the machinery and grain found within a water powered mill.
Originally posted 2016-01-25 13:45:46.

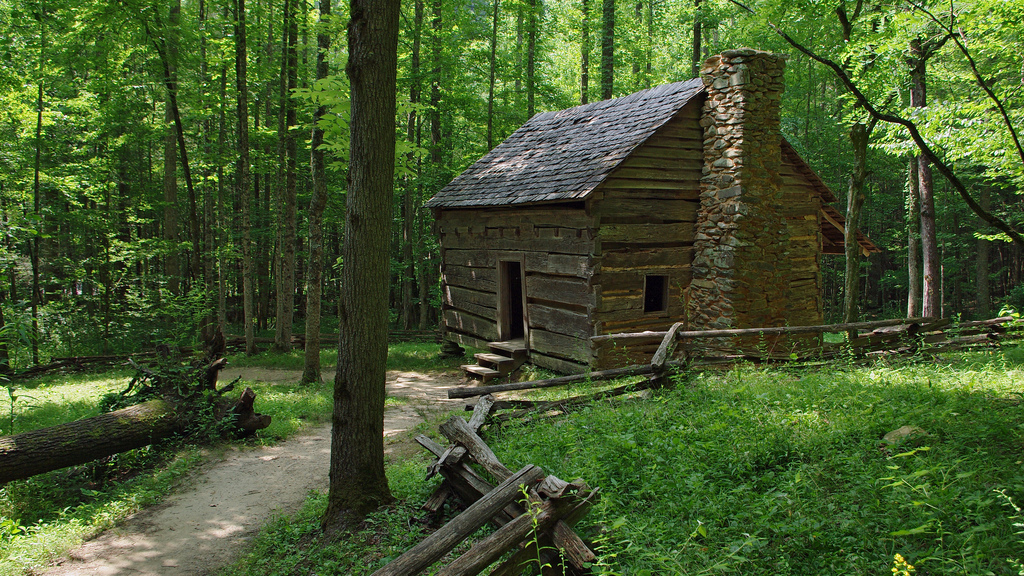
Often when we build we force nature to conform to our wants and needs… sometimes it’s best to let nature have it’s way and we choose to work with it, and not against it.
Originally posted 2016-01-25 13:32:51.
Originally posted 2016-01-25 13:19:57.
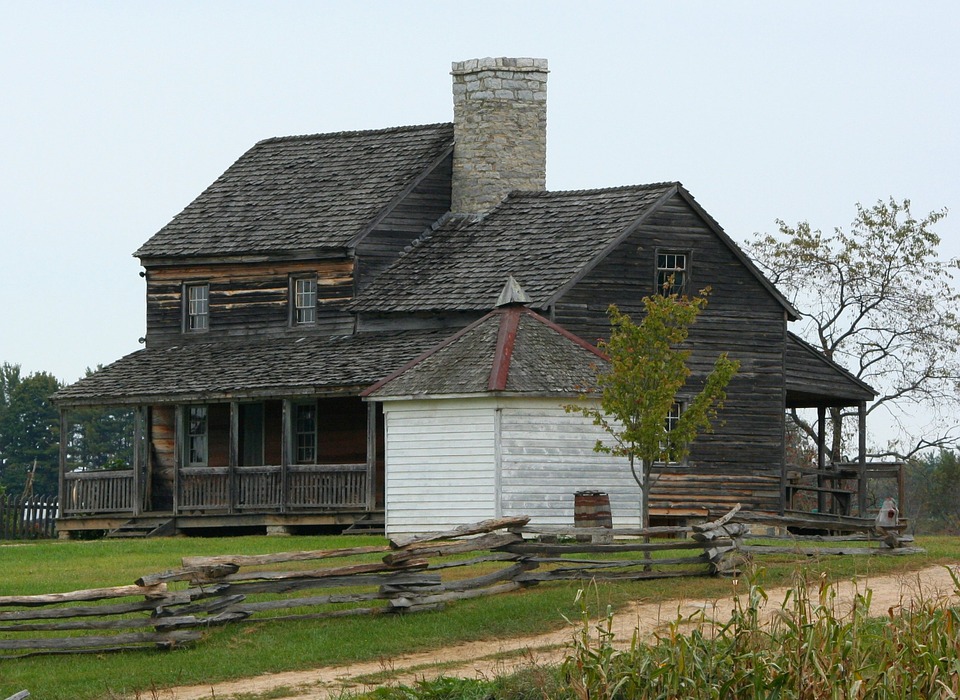
She is not the straightest cabin in the world.
And, the inconsistencies in workmanship reveal that this cabin was likely built by the homeowner and not a team of experienced builders. There is certainly no disciplined German workmanship on display with this fine old home.
That’s one of the things I love about cabins… they aren’t complicated enough to scare off anyone from building them.
Originally posted 2016-01-24 16:07:27.

I do like the little gap seen where an angle brace meets the post. So often today we come to expect perfection… something that is not seen often in handmade creations. I find that the quest for perfection holds so many back from ever attempting to do something, or to finish. Certainly strive to do something as well as you can, but beware of the curse of perfectionism.
Originally posted 2016-01-24 15:51:19.
Locasted at the Frontier Museum in Staunton, Viriginia… well worth the trip to see this and many other vintage styles of early American and European homes.
Originally posted 2016-01-24 15:27:47.
Originally posted 2016-01-22 14:13:42.