The Madison House… part 10
Noah Bradley2019-06-29T11:13:37+00:00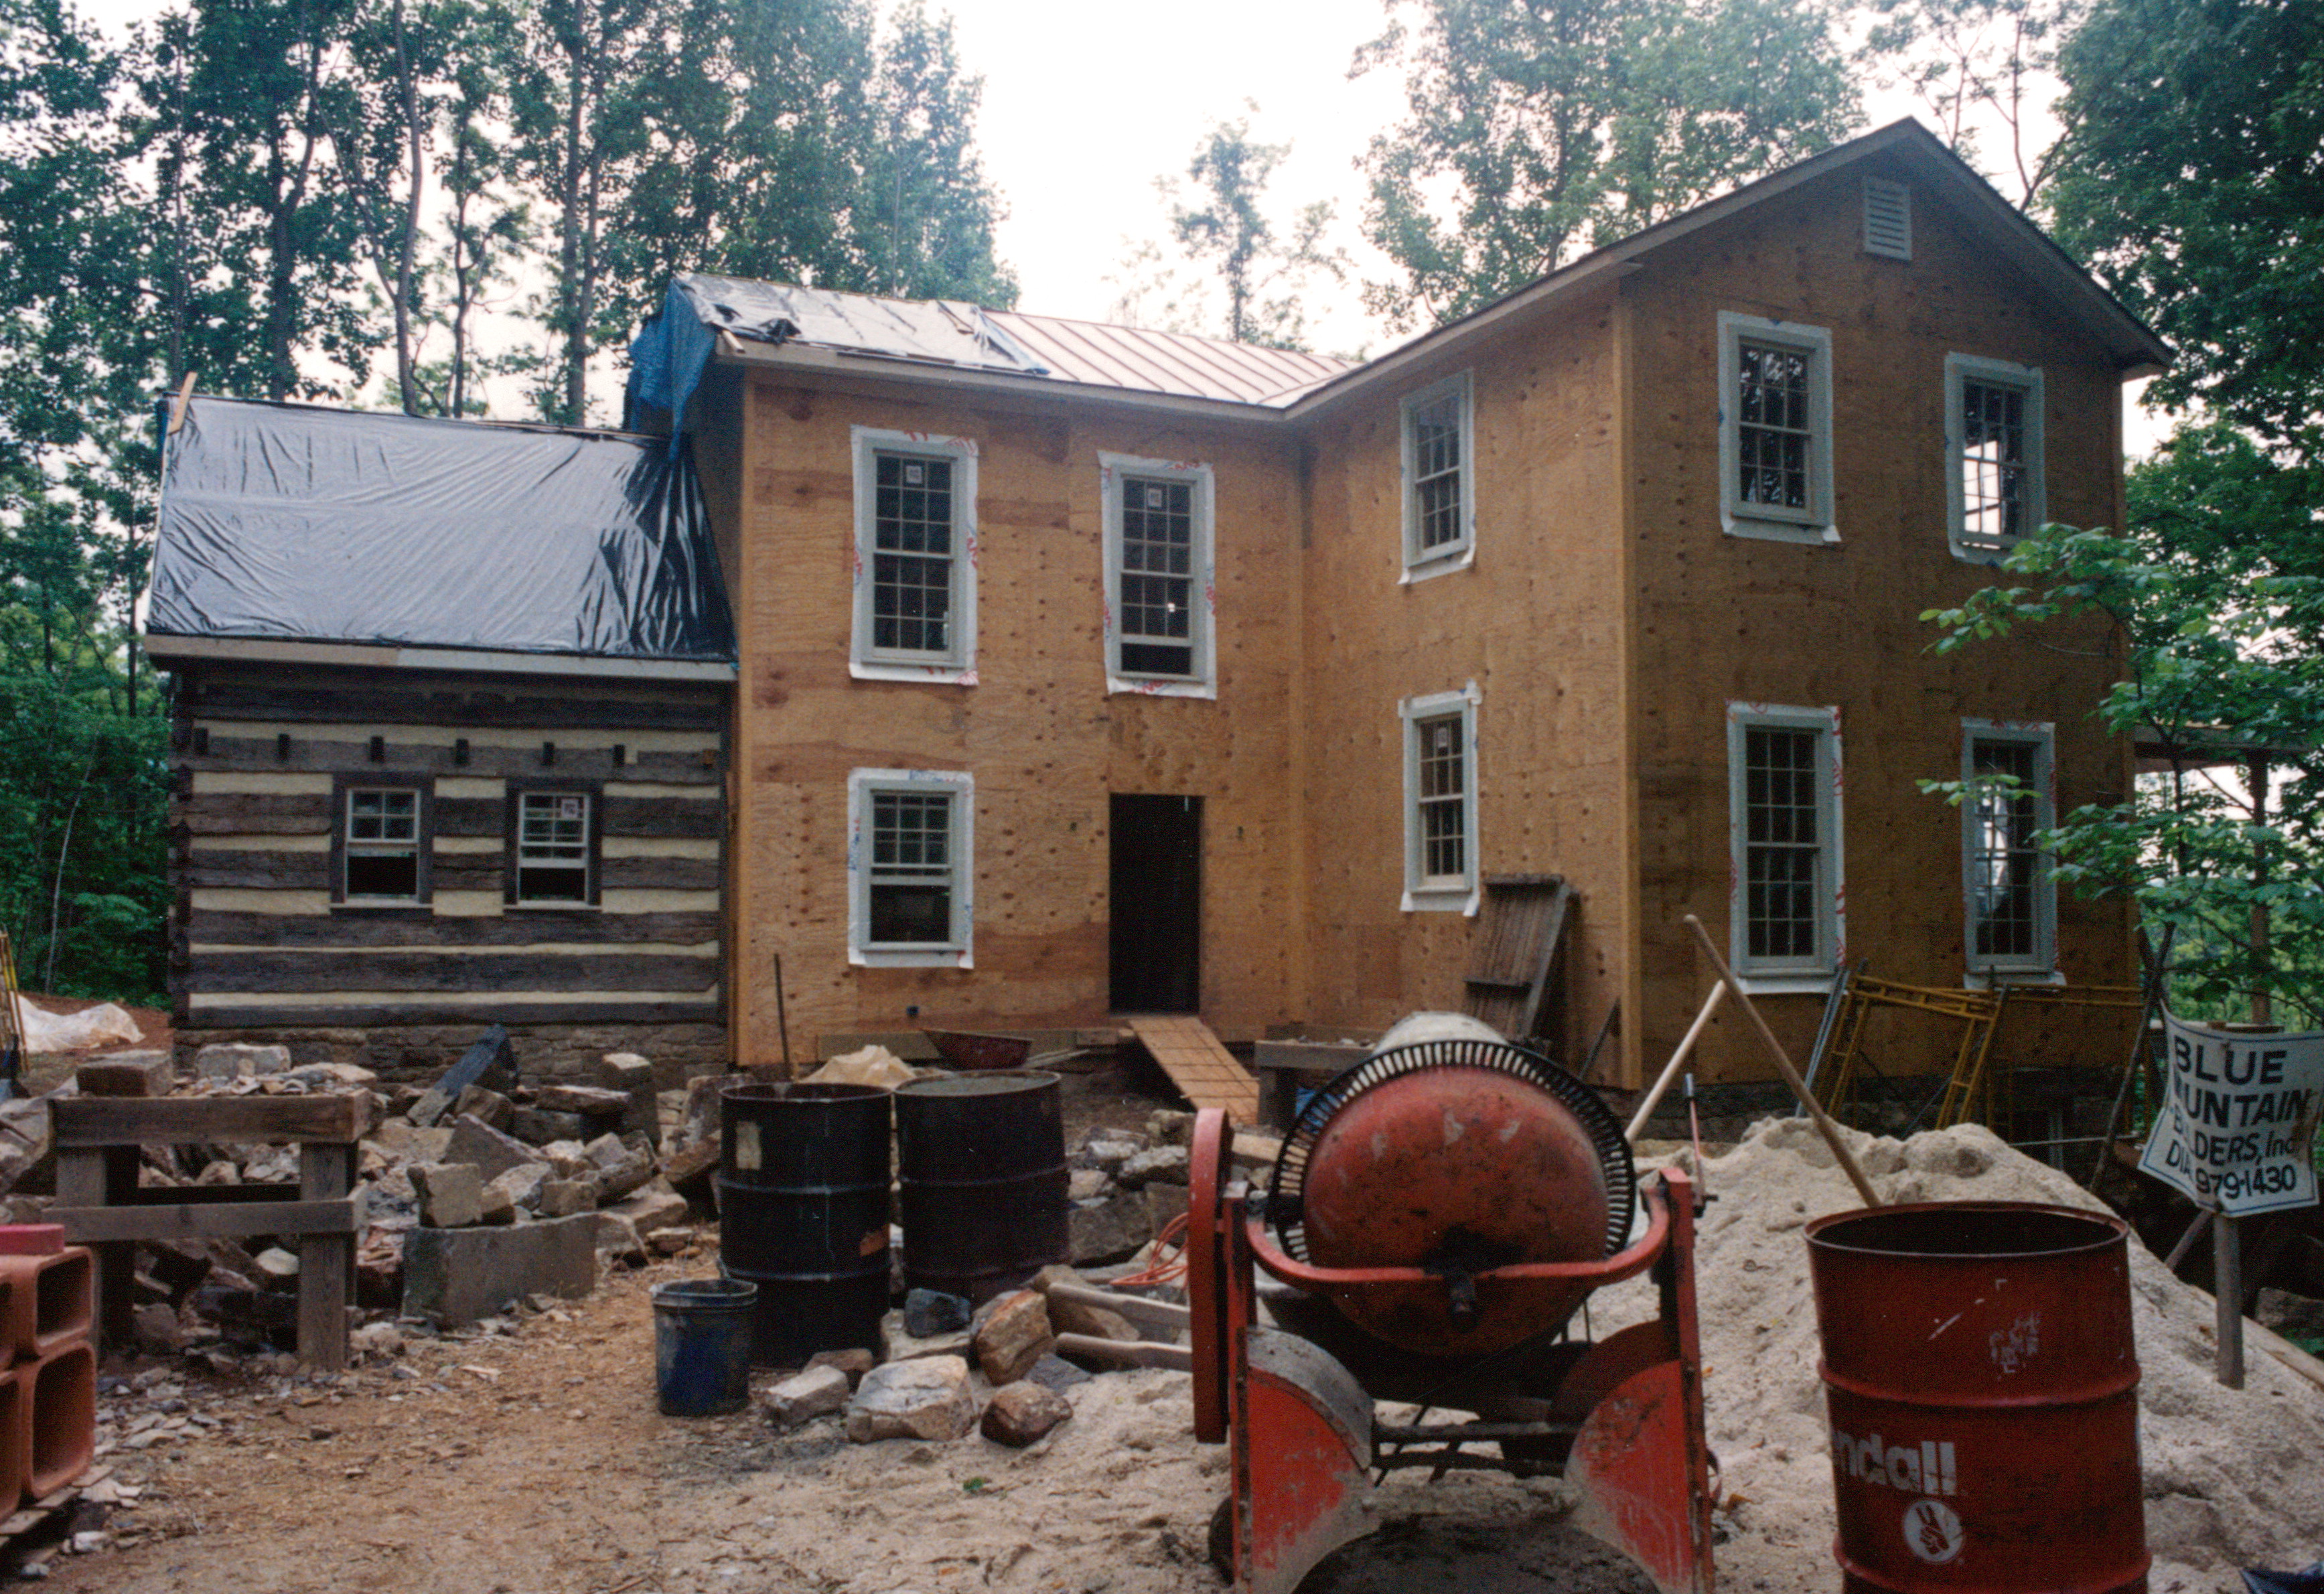
And then… BAM!!!
The peaceful tranquility of building the first floor deck by myself was gone.
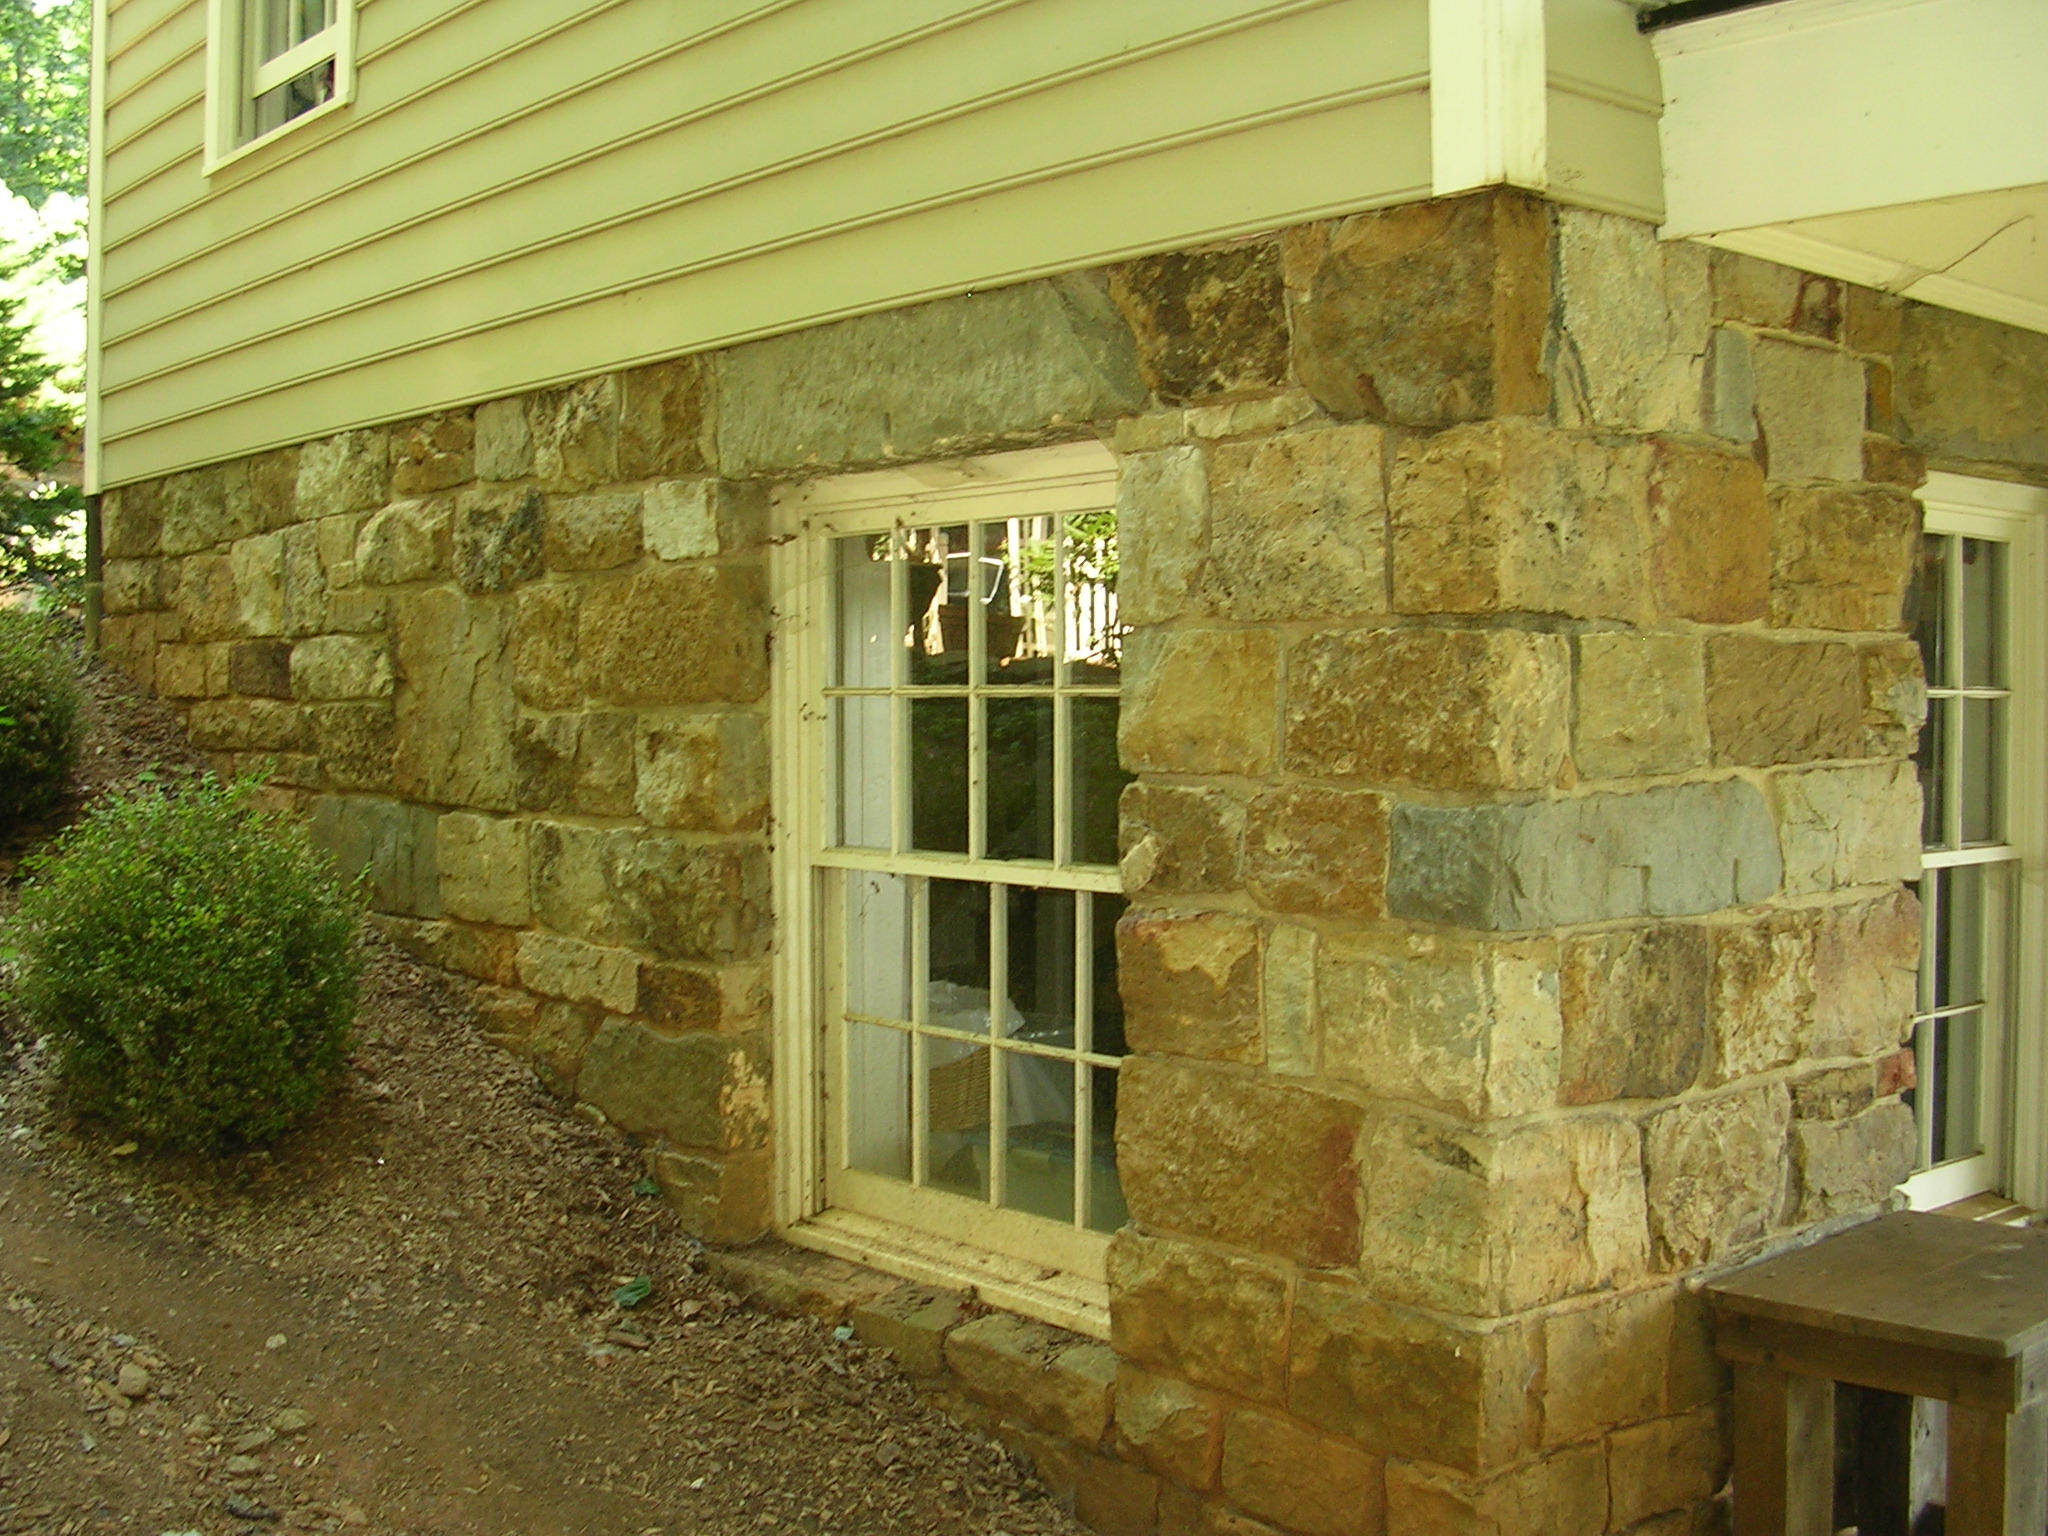
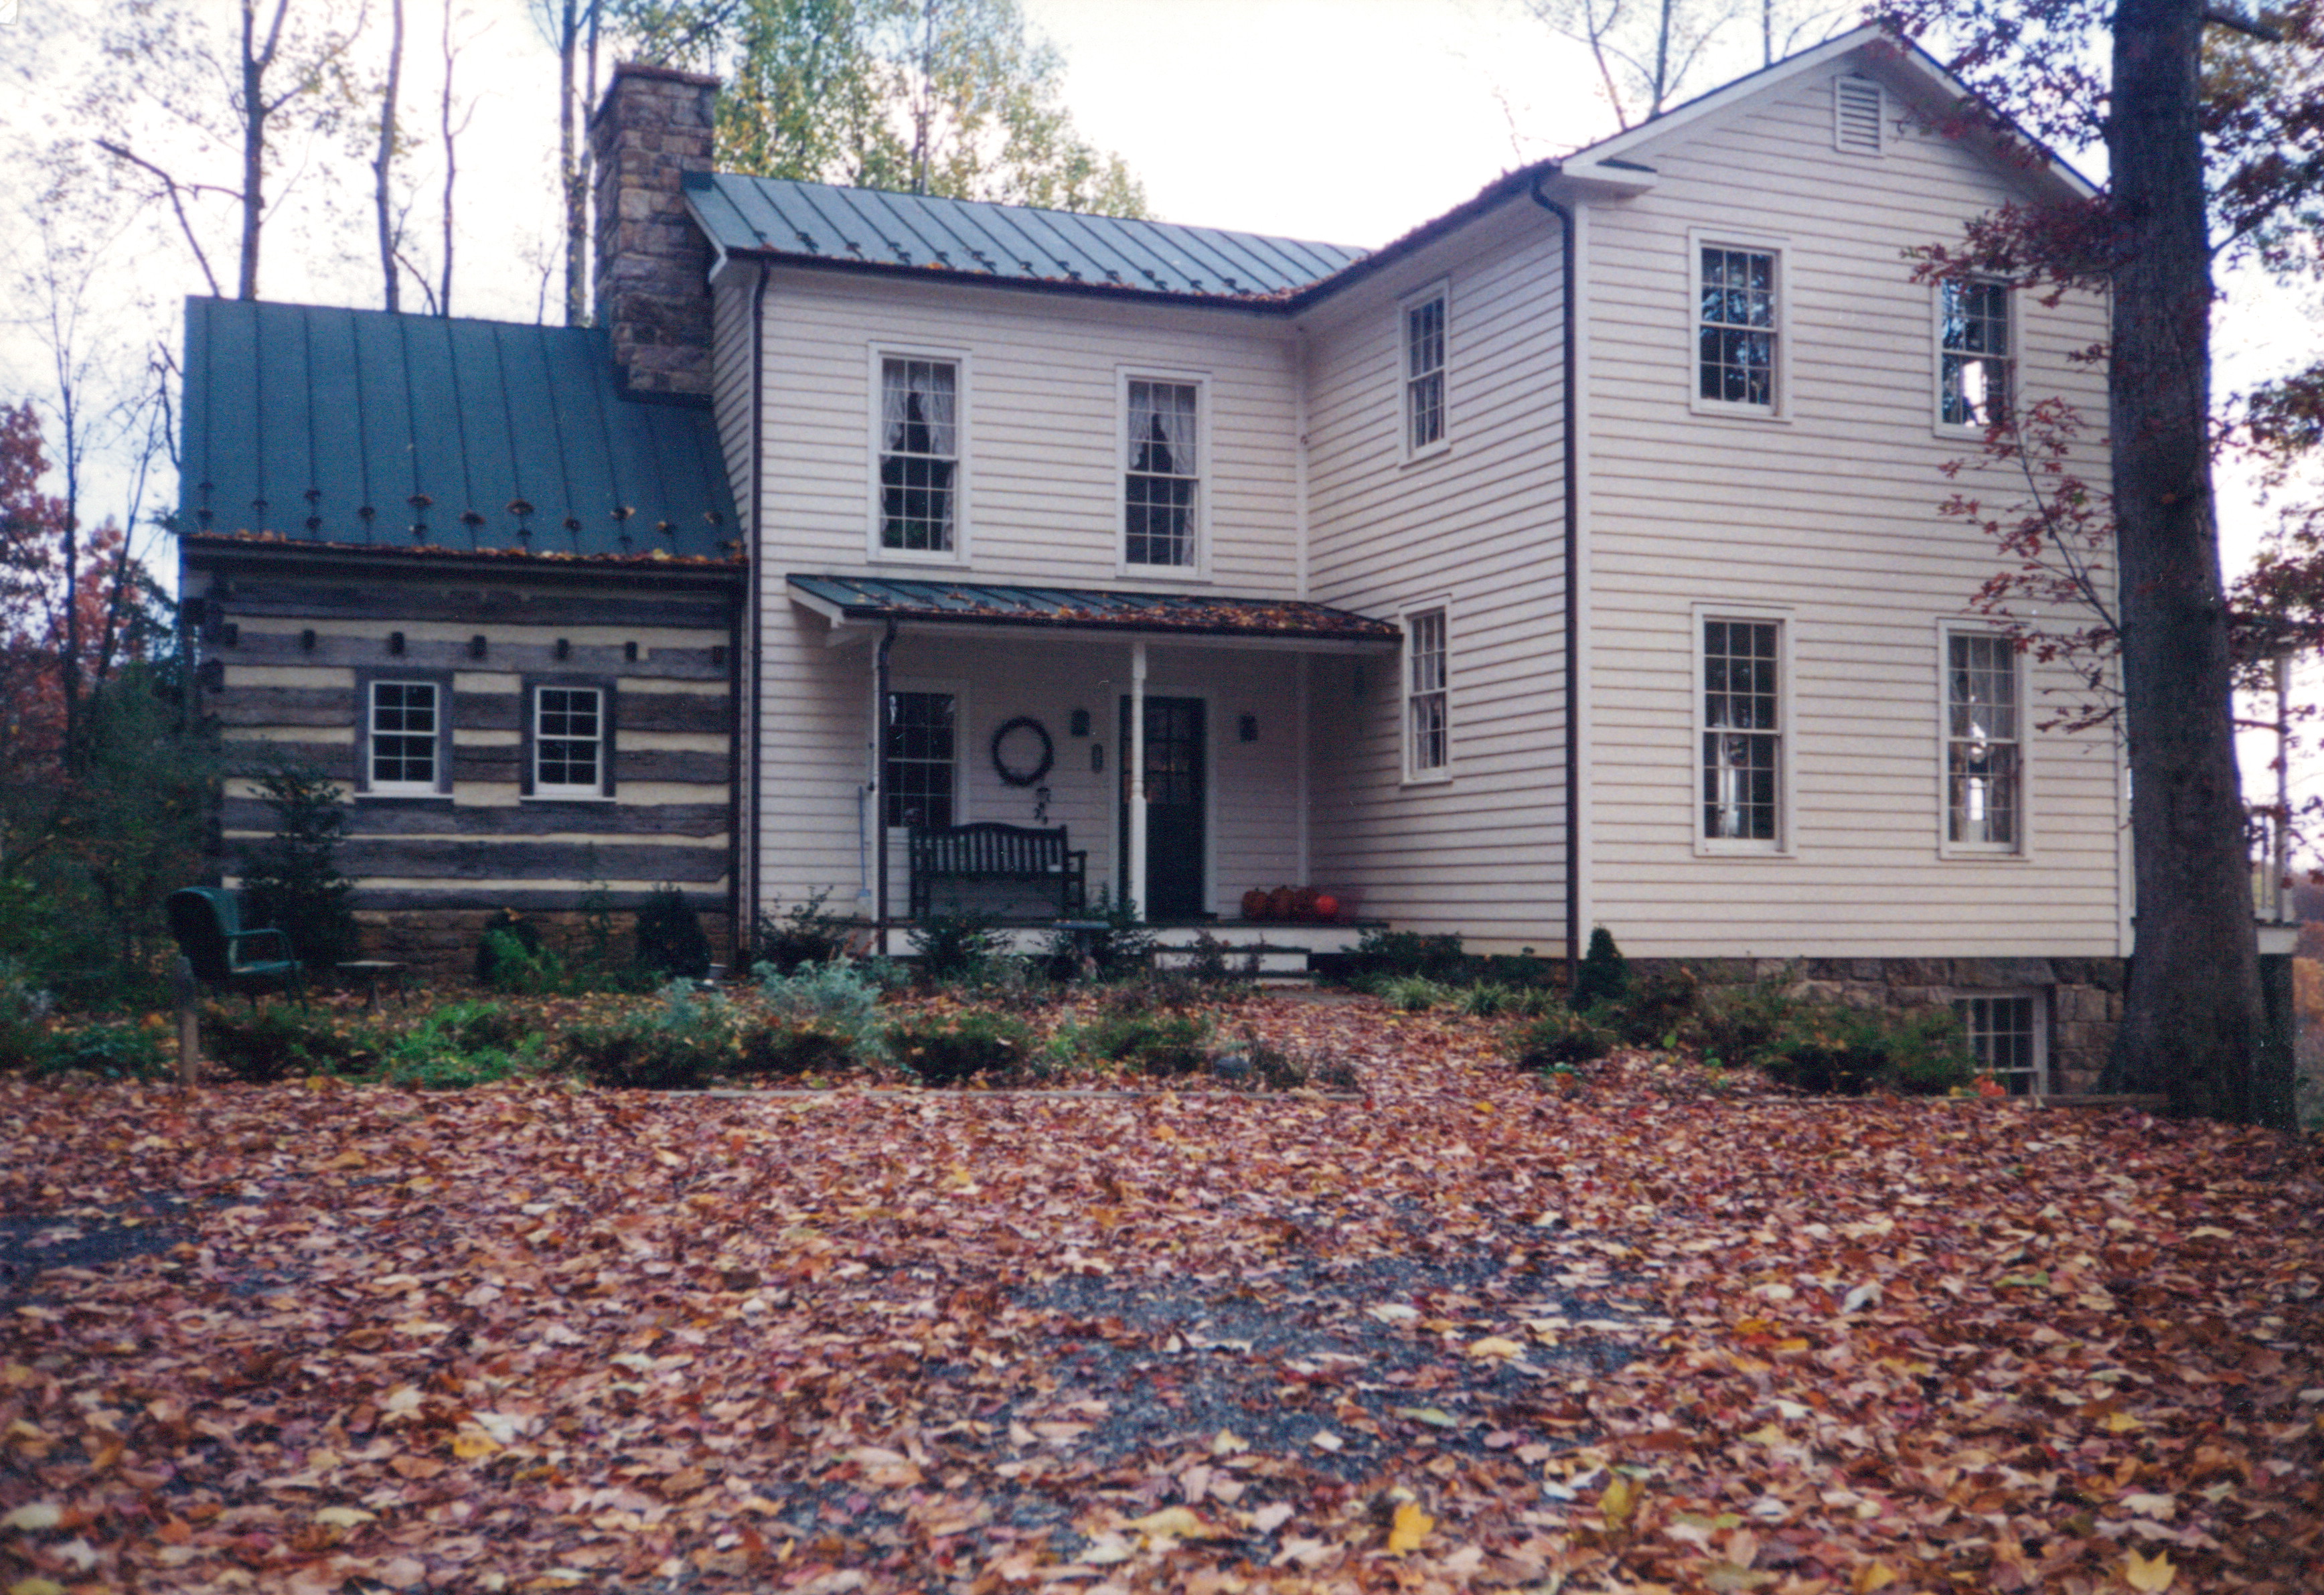
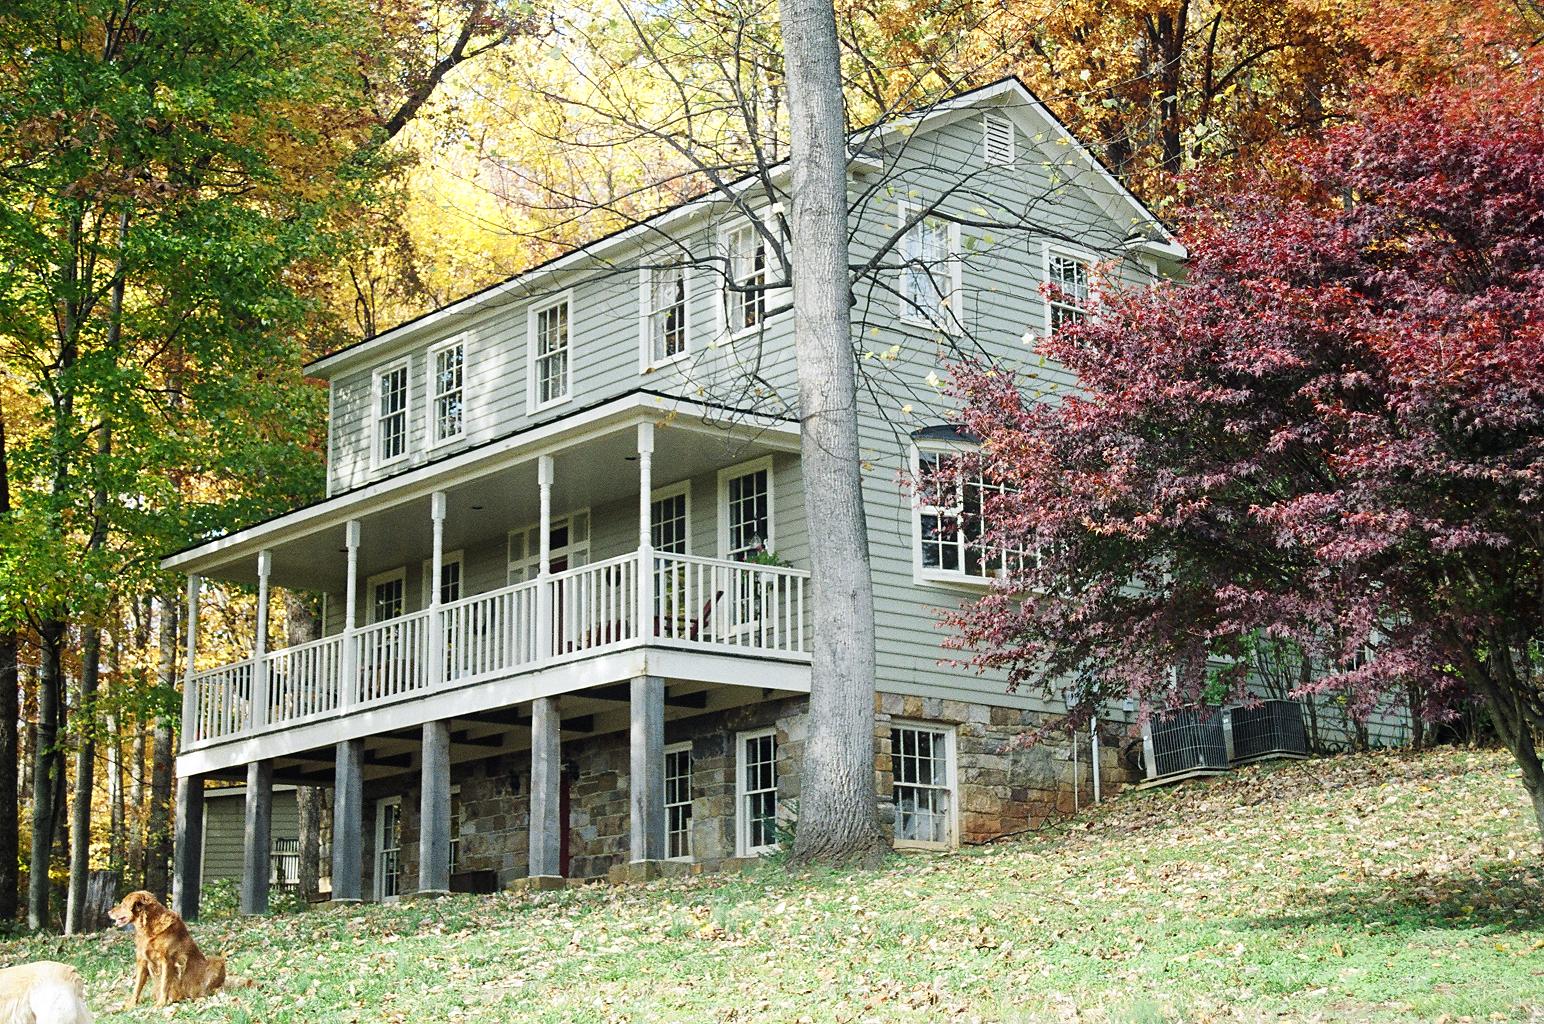
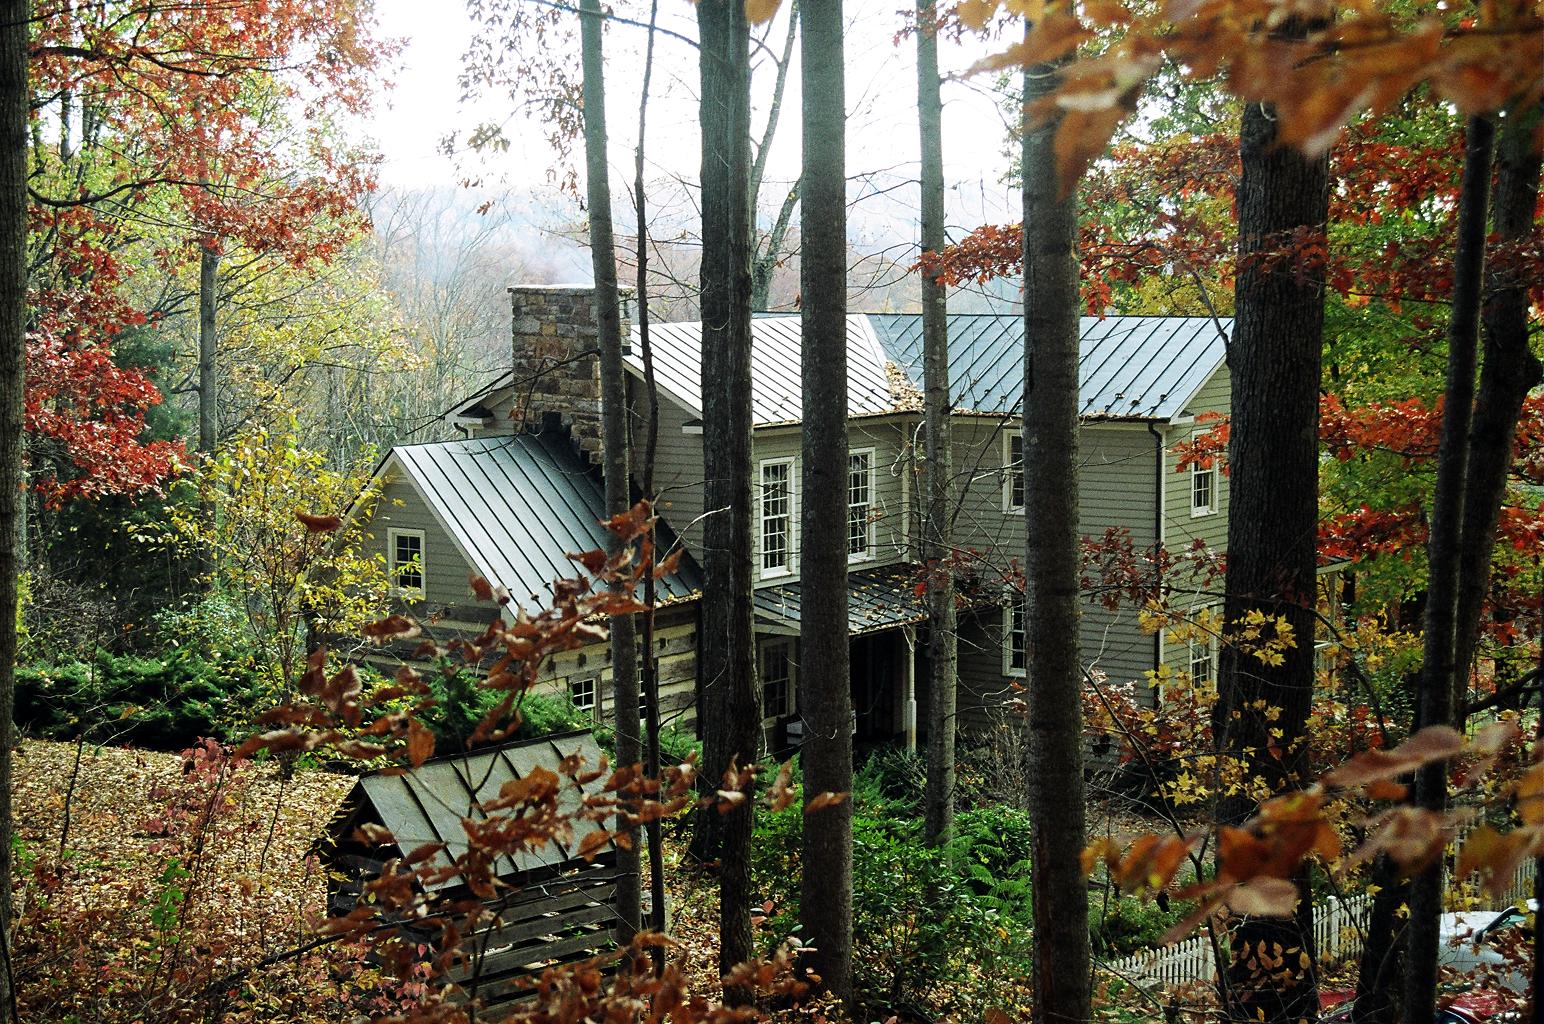
The construction process goes fast during this period. New walls go up all the time. Windows are being installed.
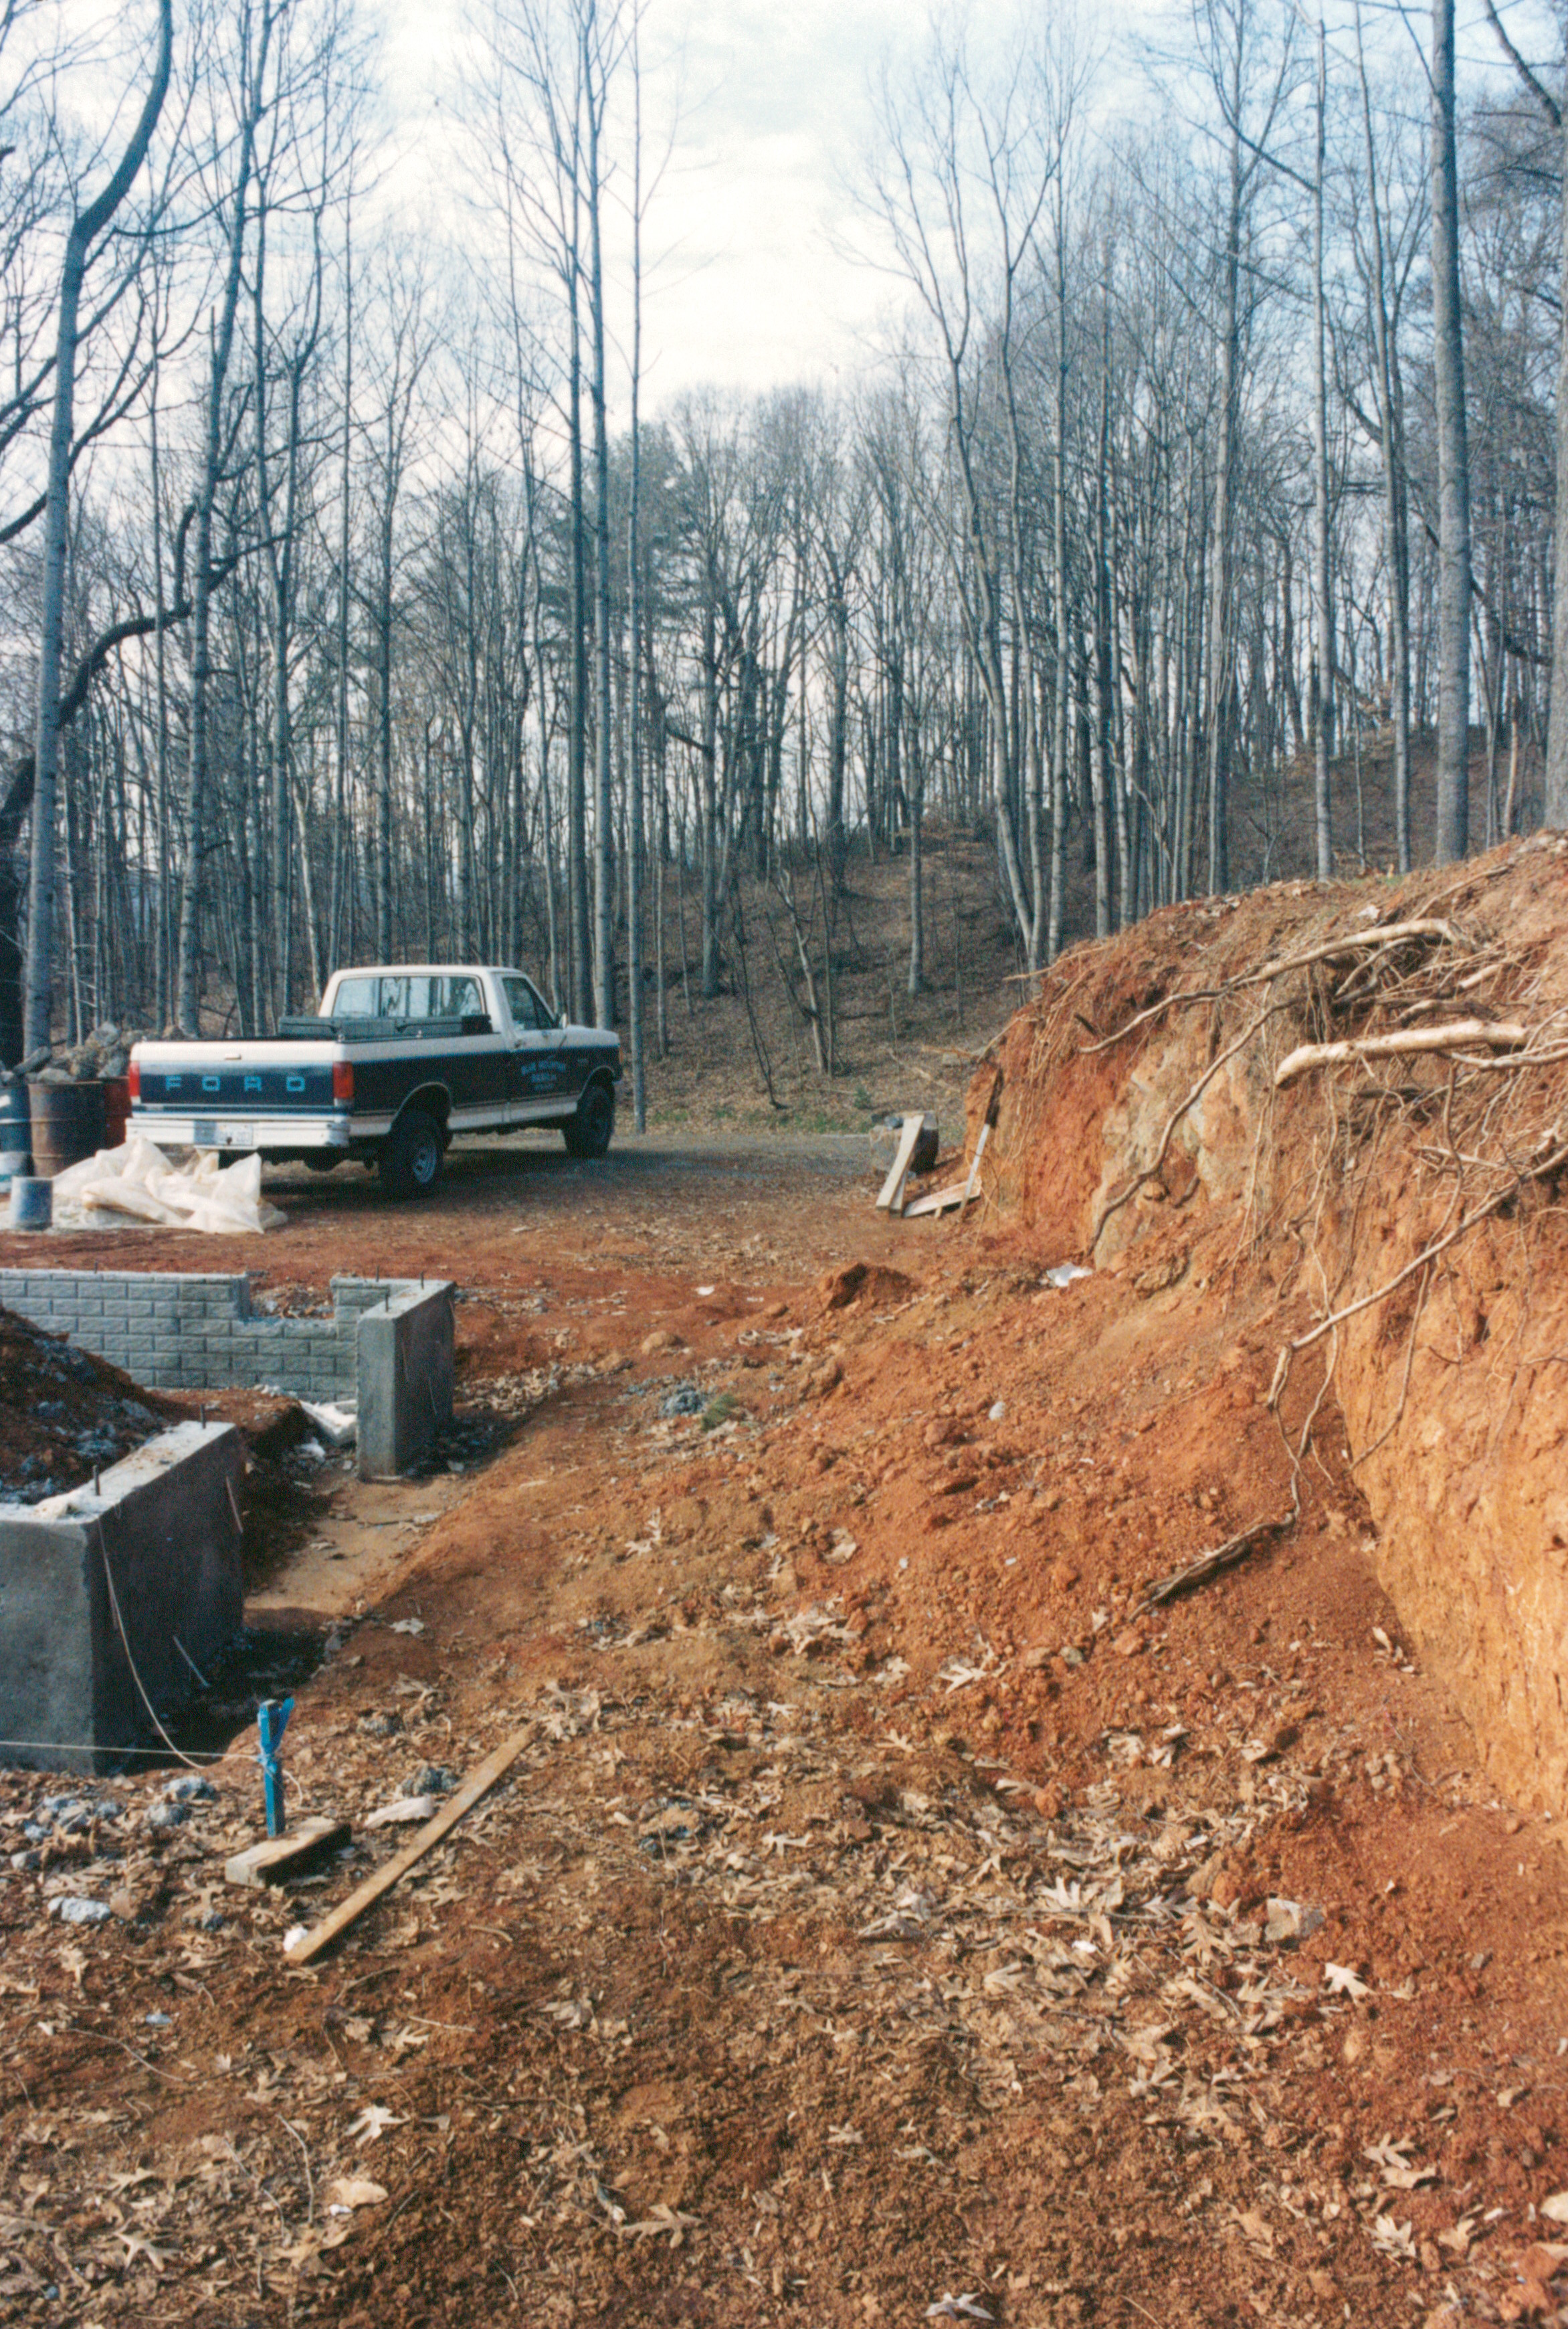
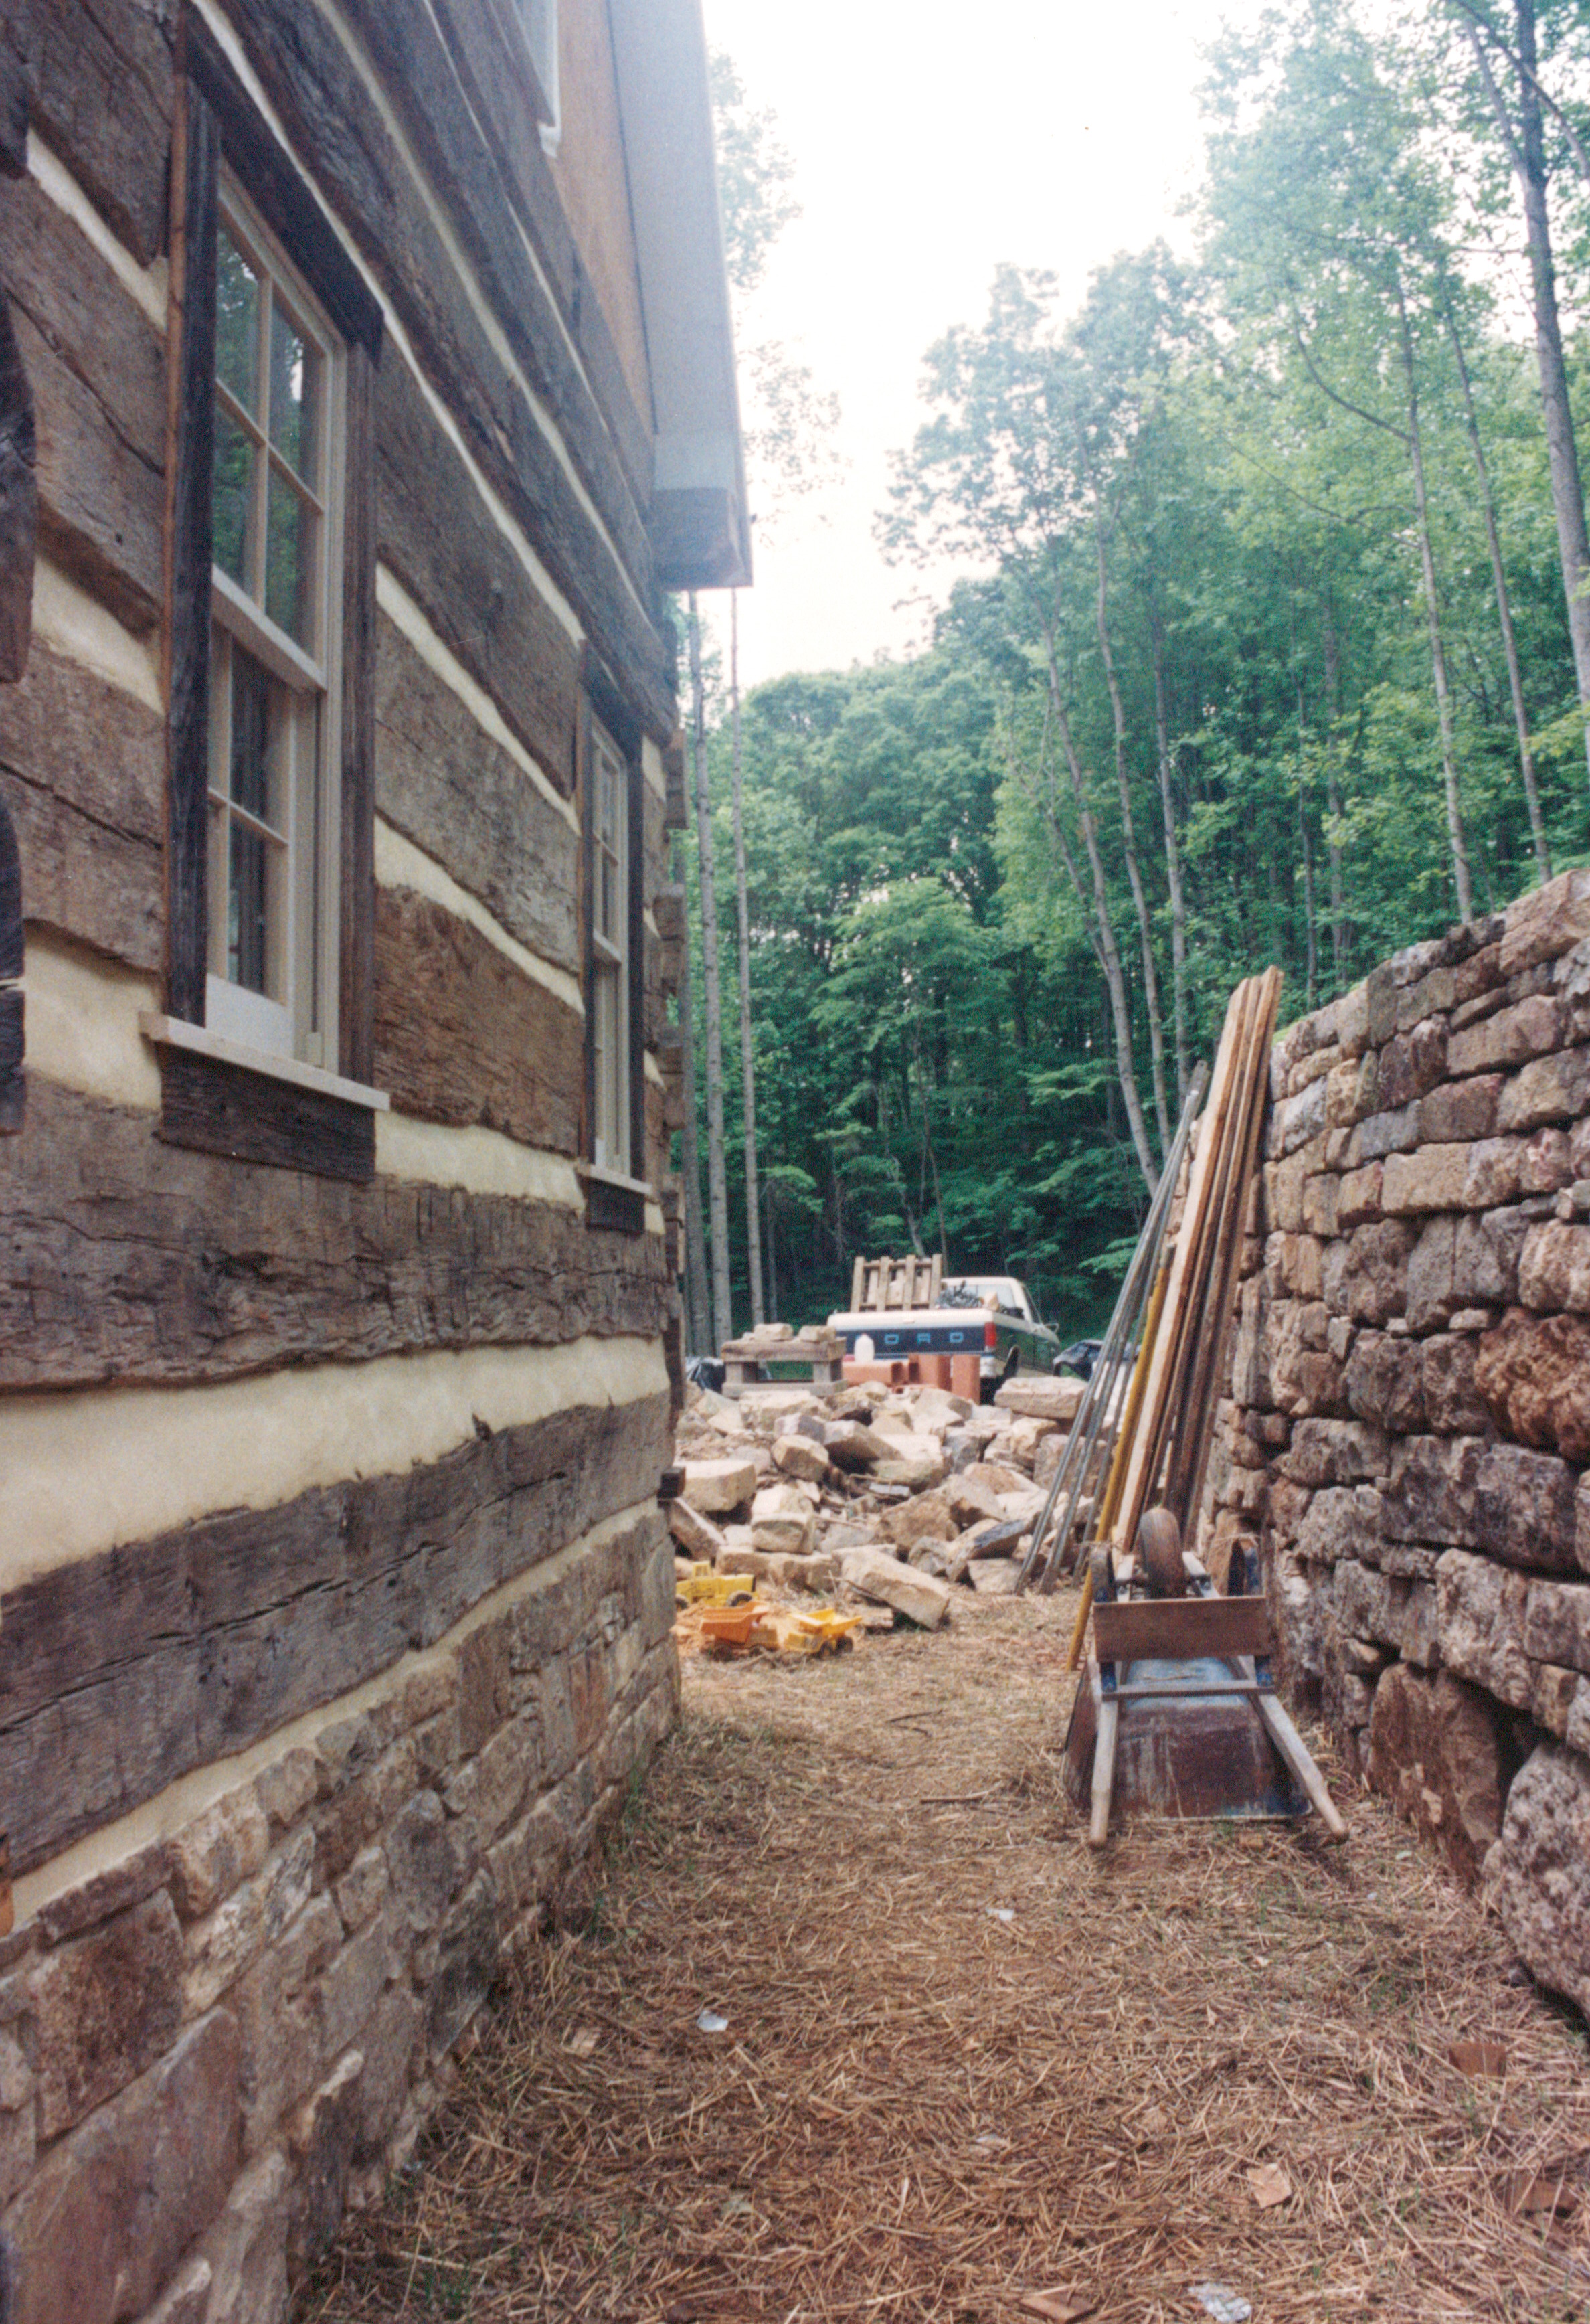
I can’t help but notice the mess… the chaos… of all the equipment and materials that are everywhere. Level areas are at a premium when you build on a sloped site and so any unused spot is quickly filled.
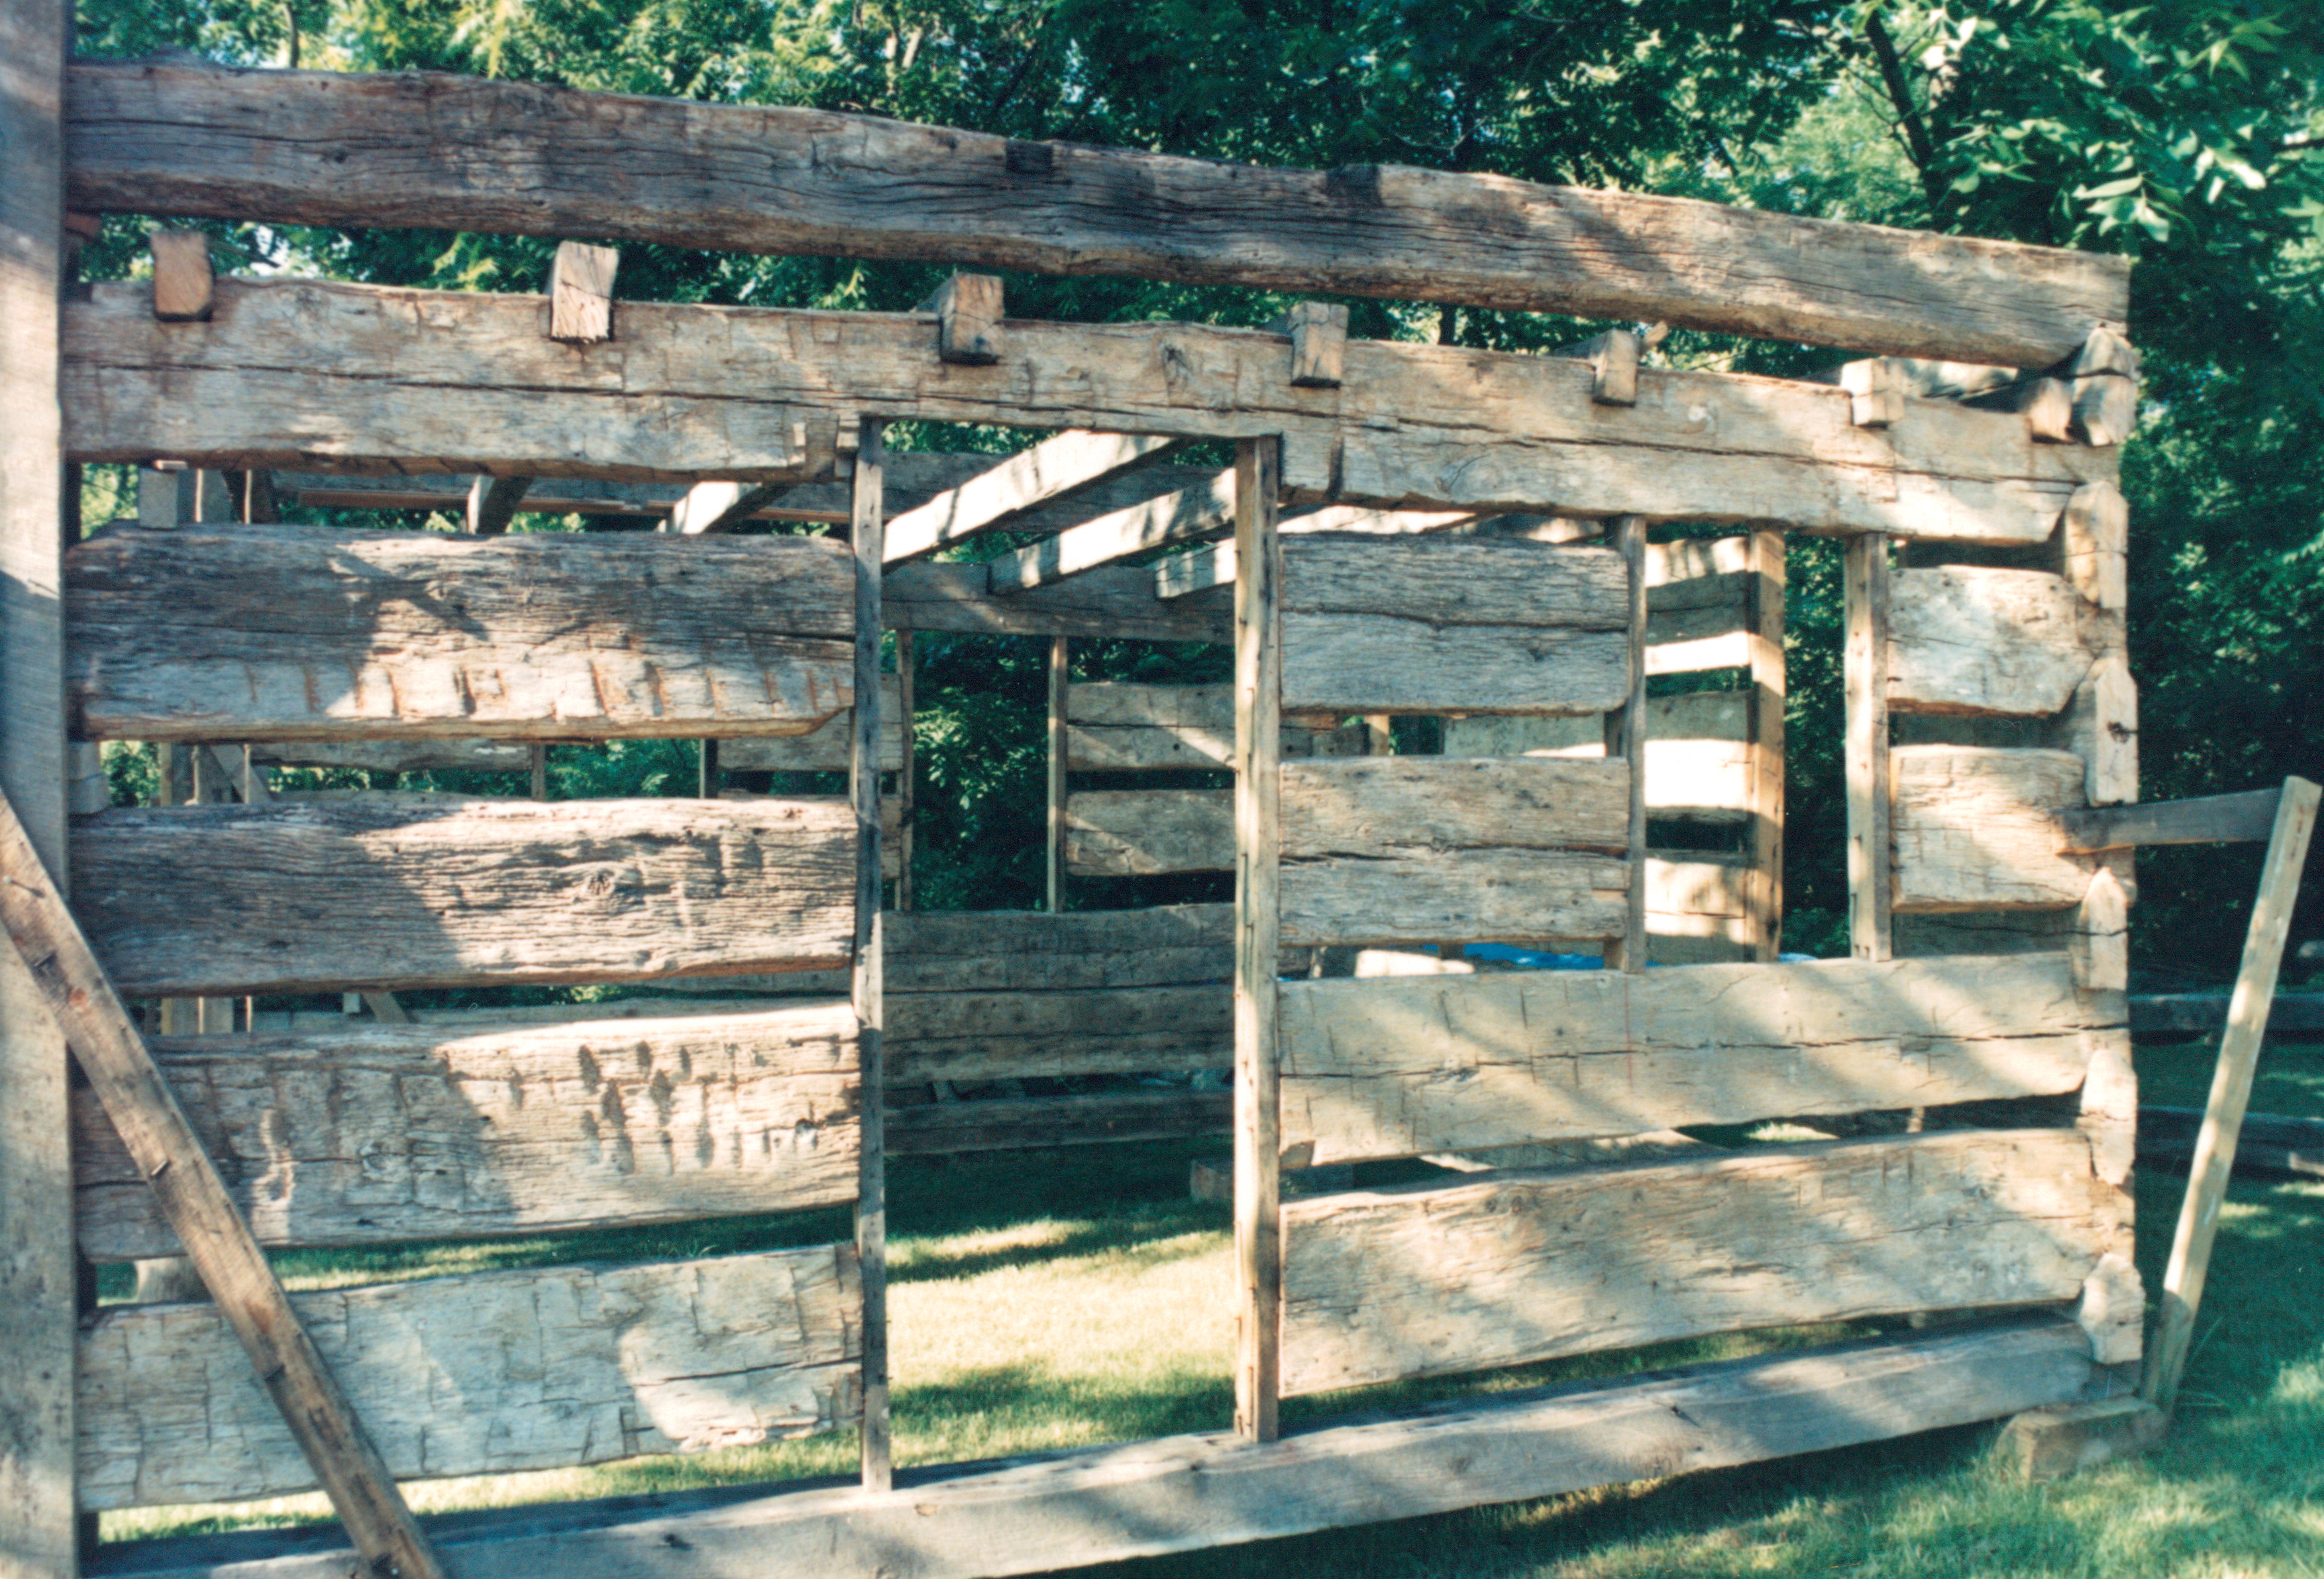
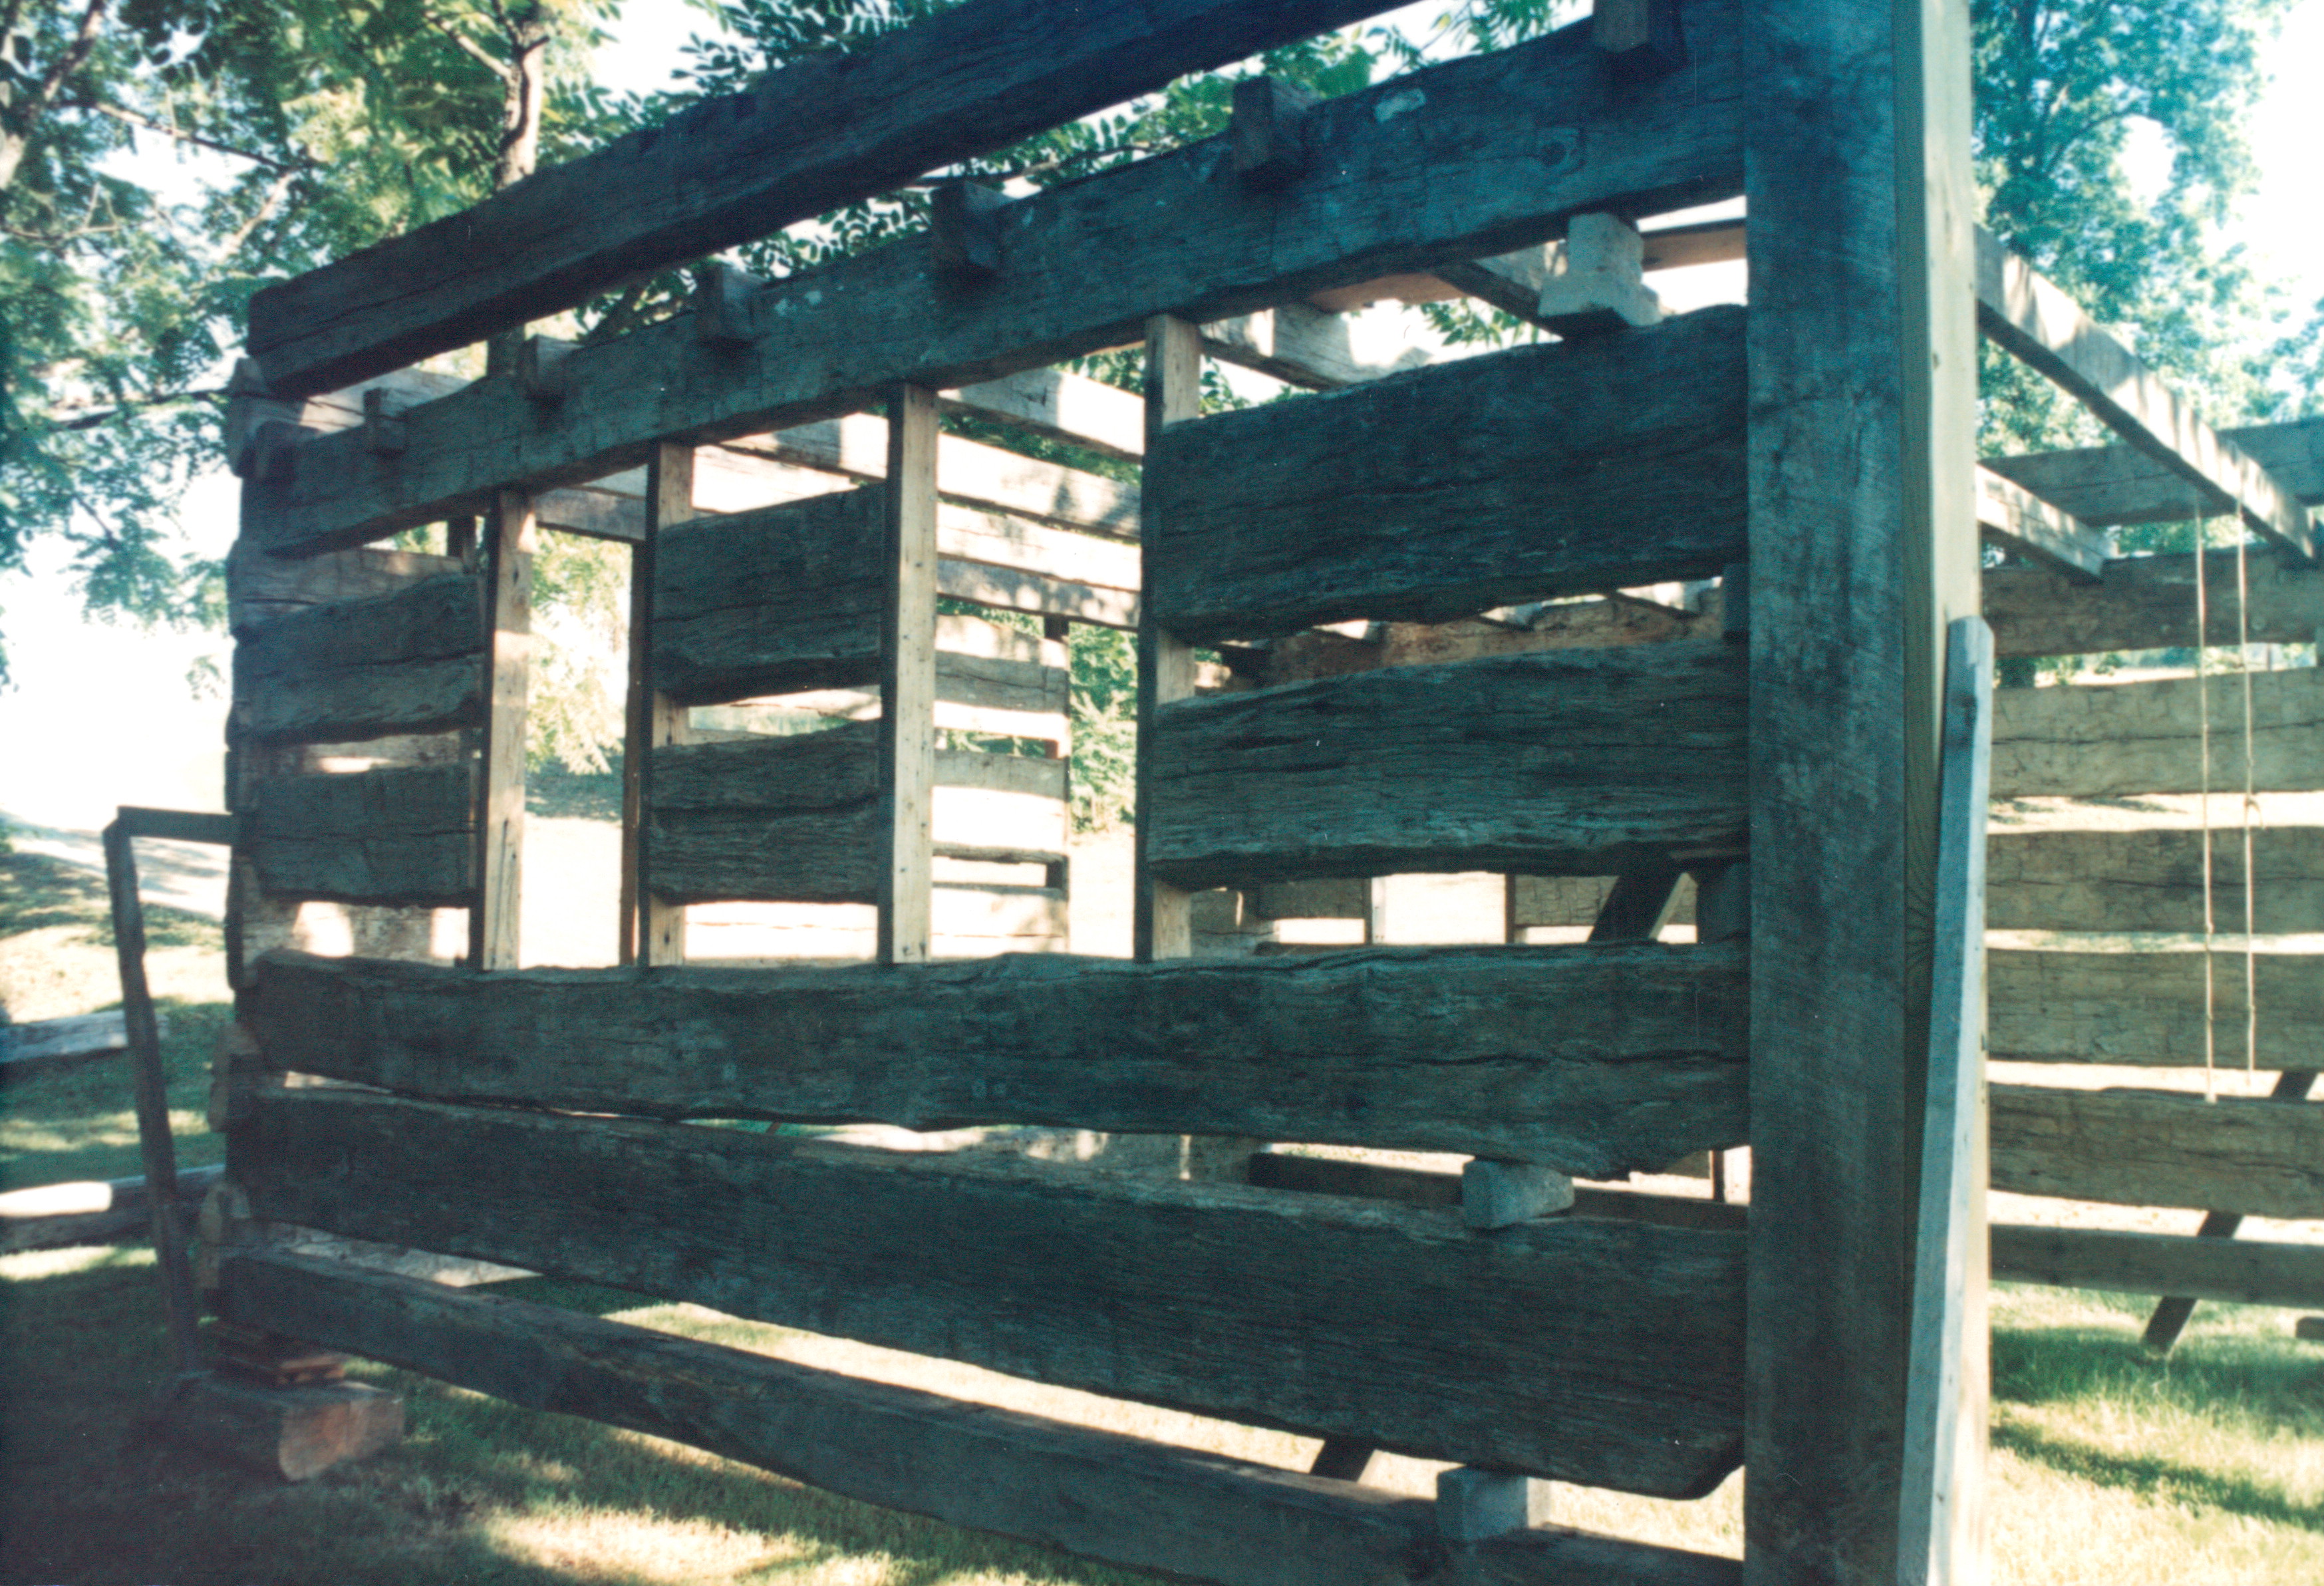
Once the rough carpentry was finished and the tradesmen began their work (plumbers, electricians, and such) my focus drifted to the log cabin work.