Four reasons to build your own house
Noah Bradley2019-06-29T11:09:28+00:00
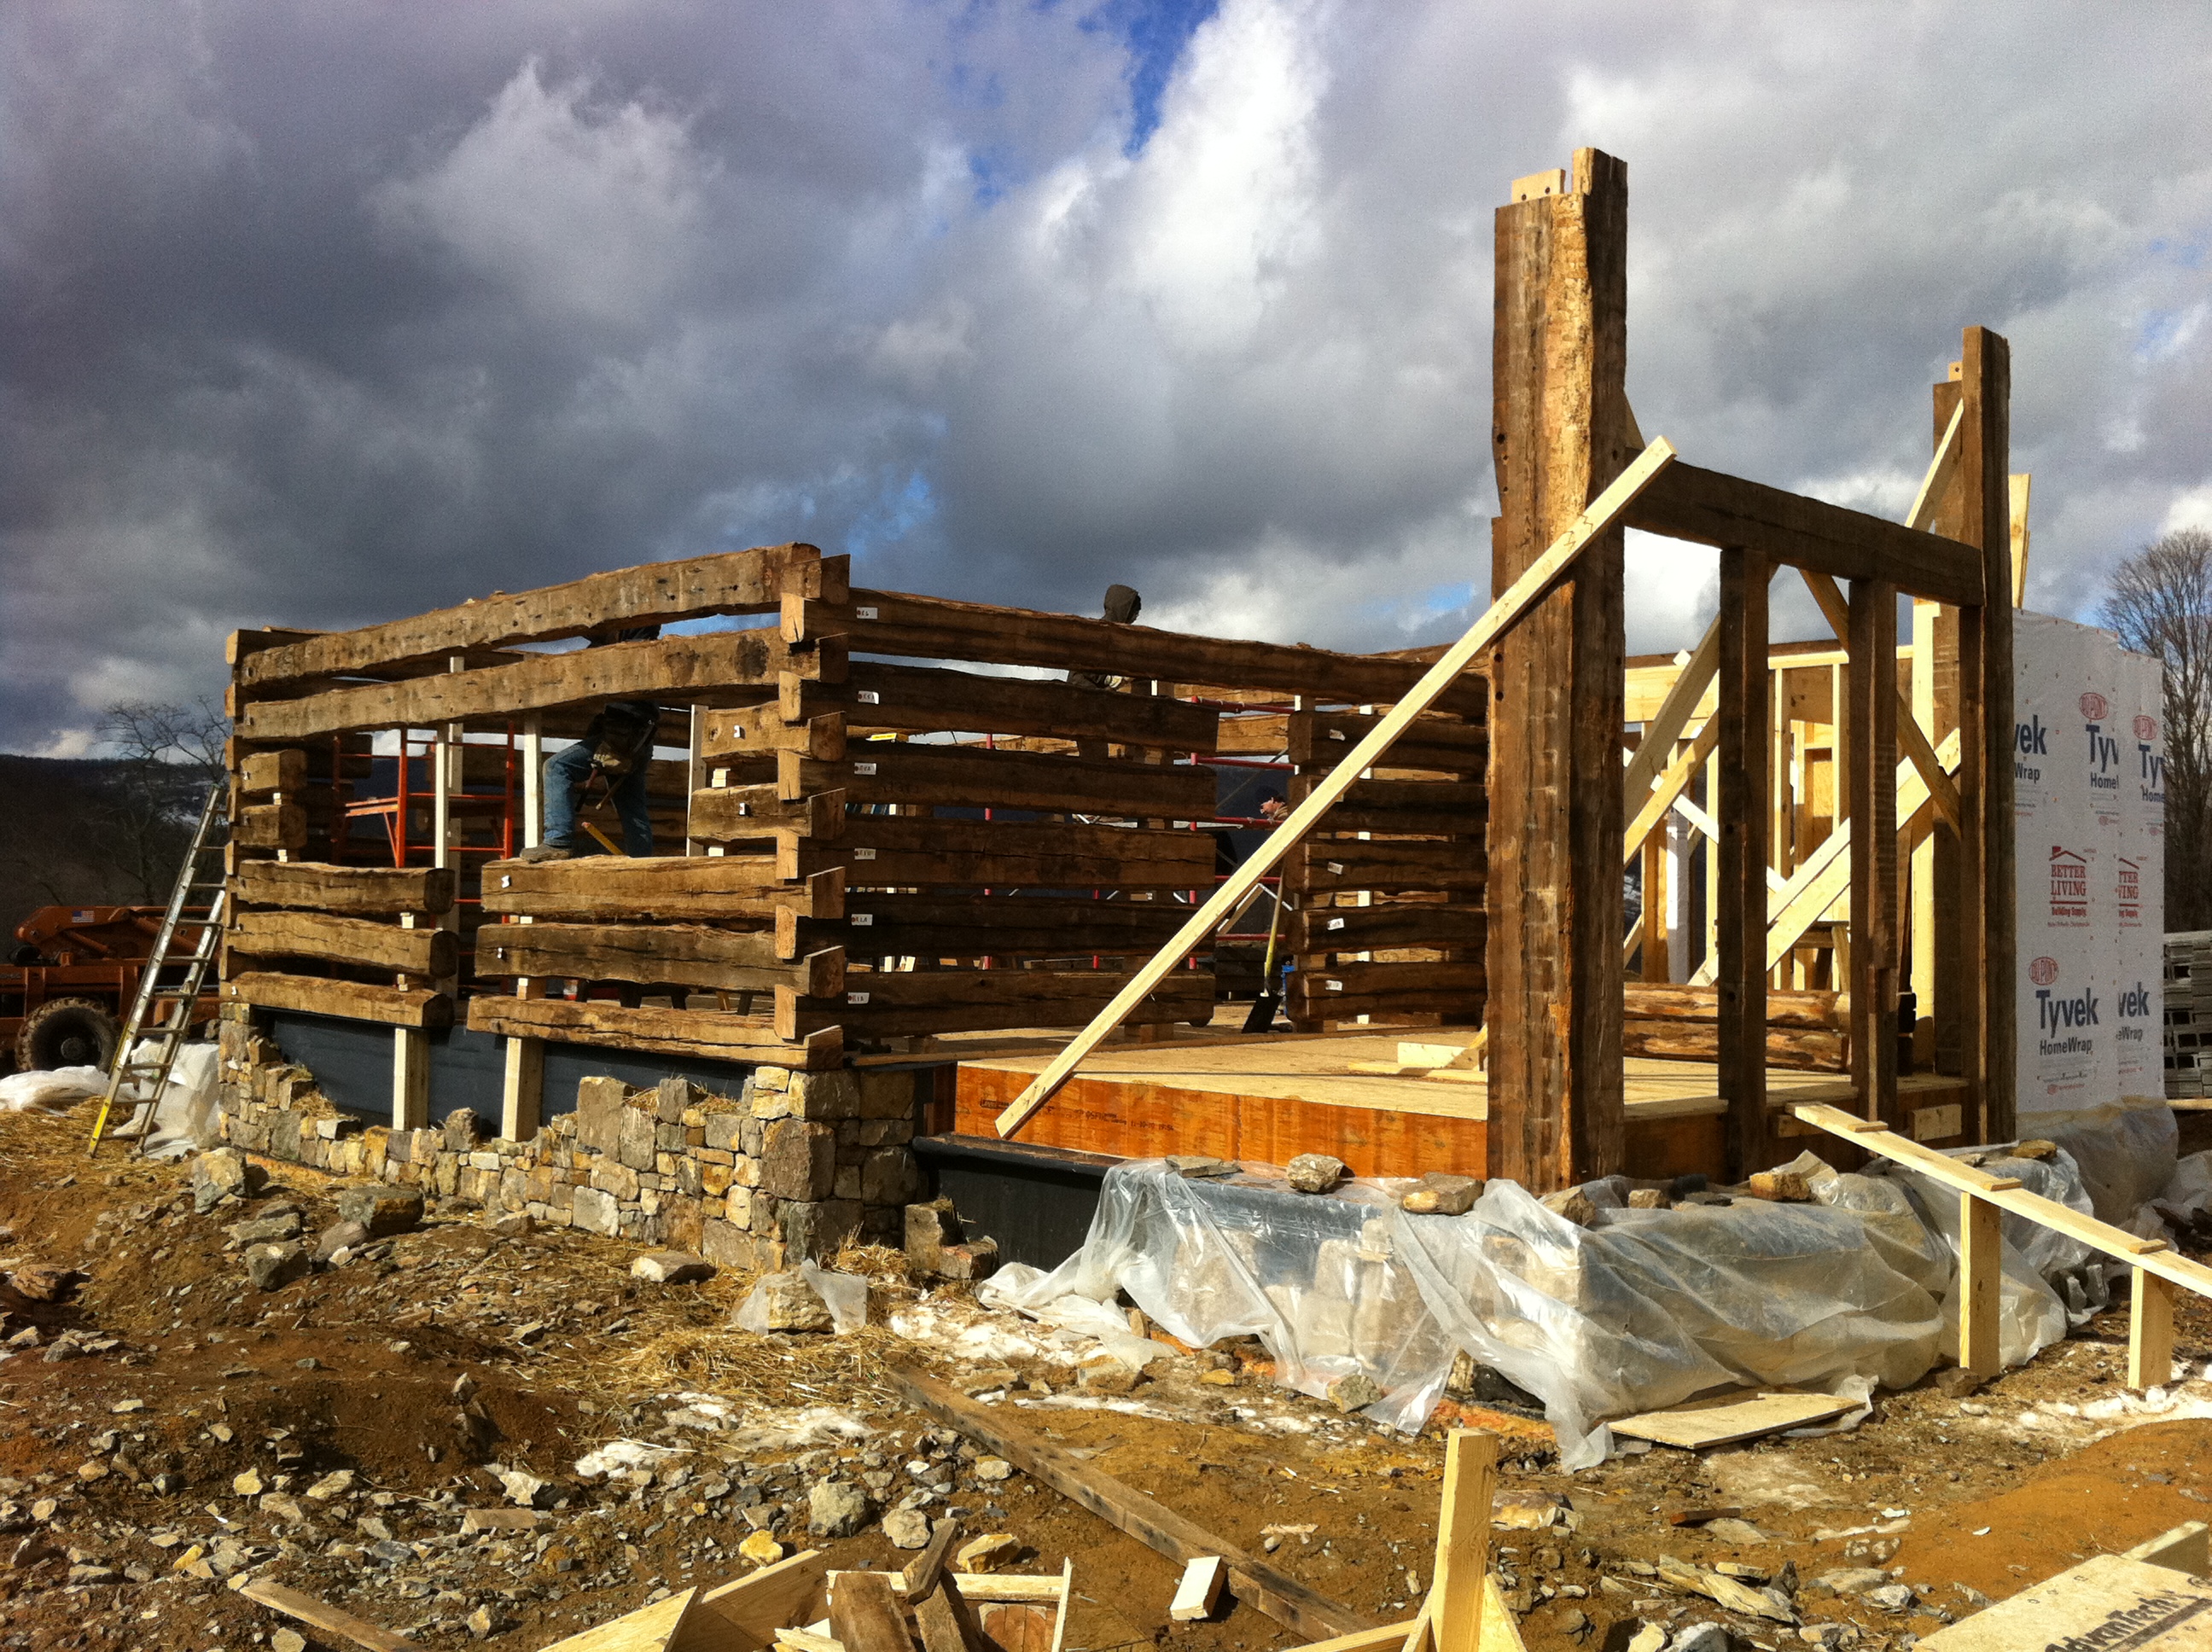
When I built my first house I did it for three excellent reasons.
But it turned out, there was a surprising fourth benefit to undertaking this challenge that proved even more life changing for me.
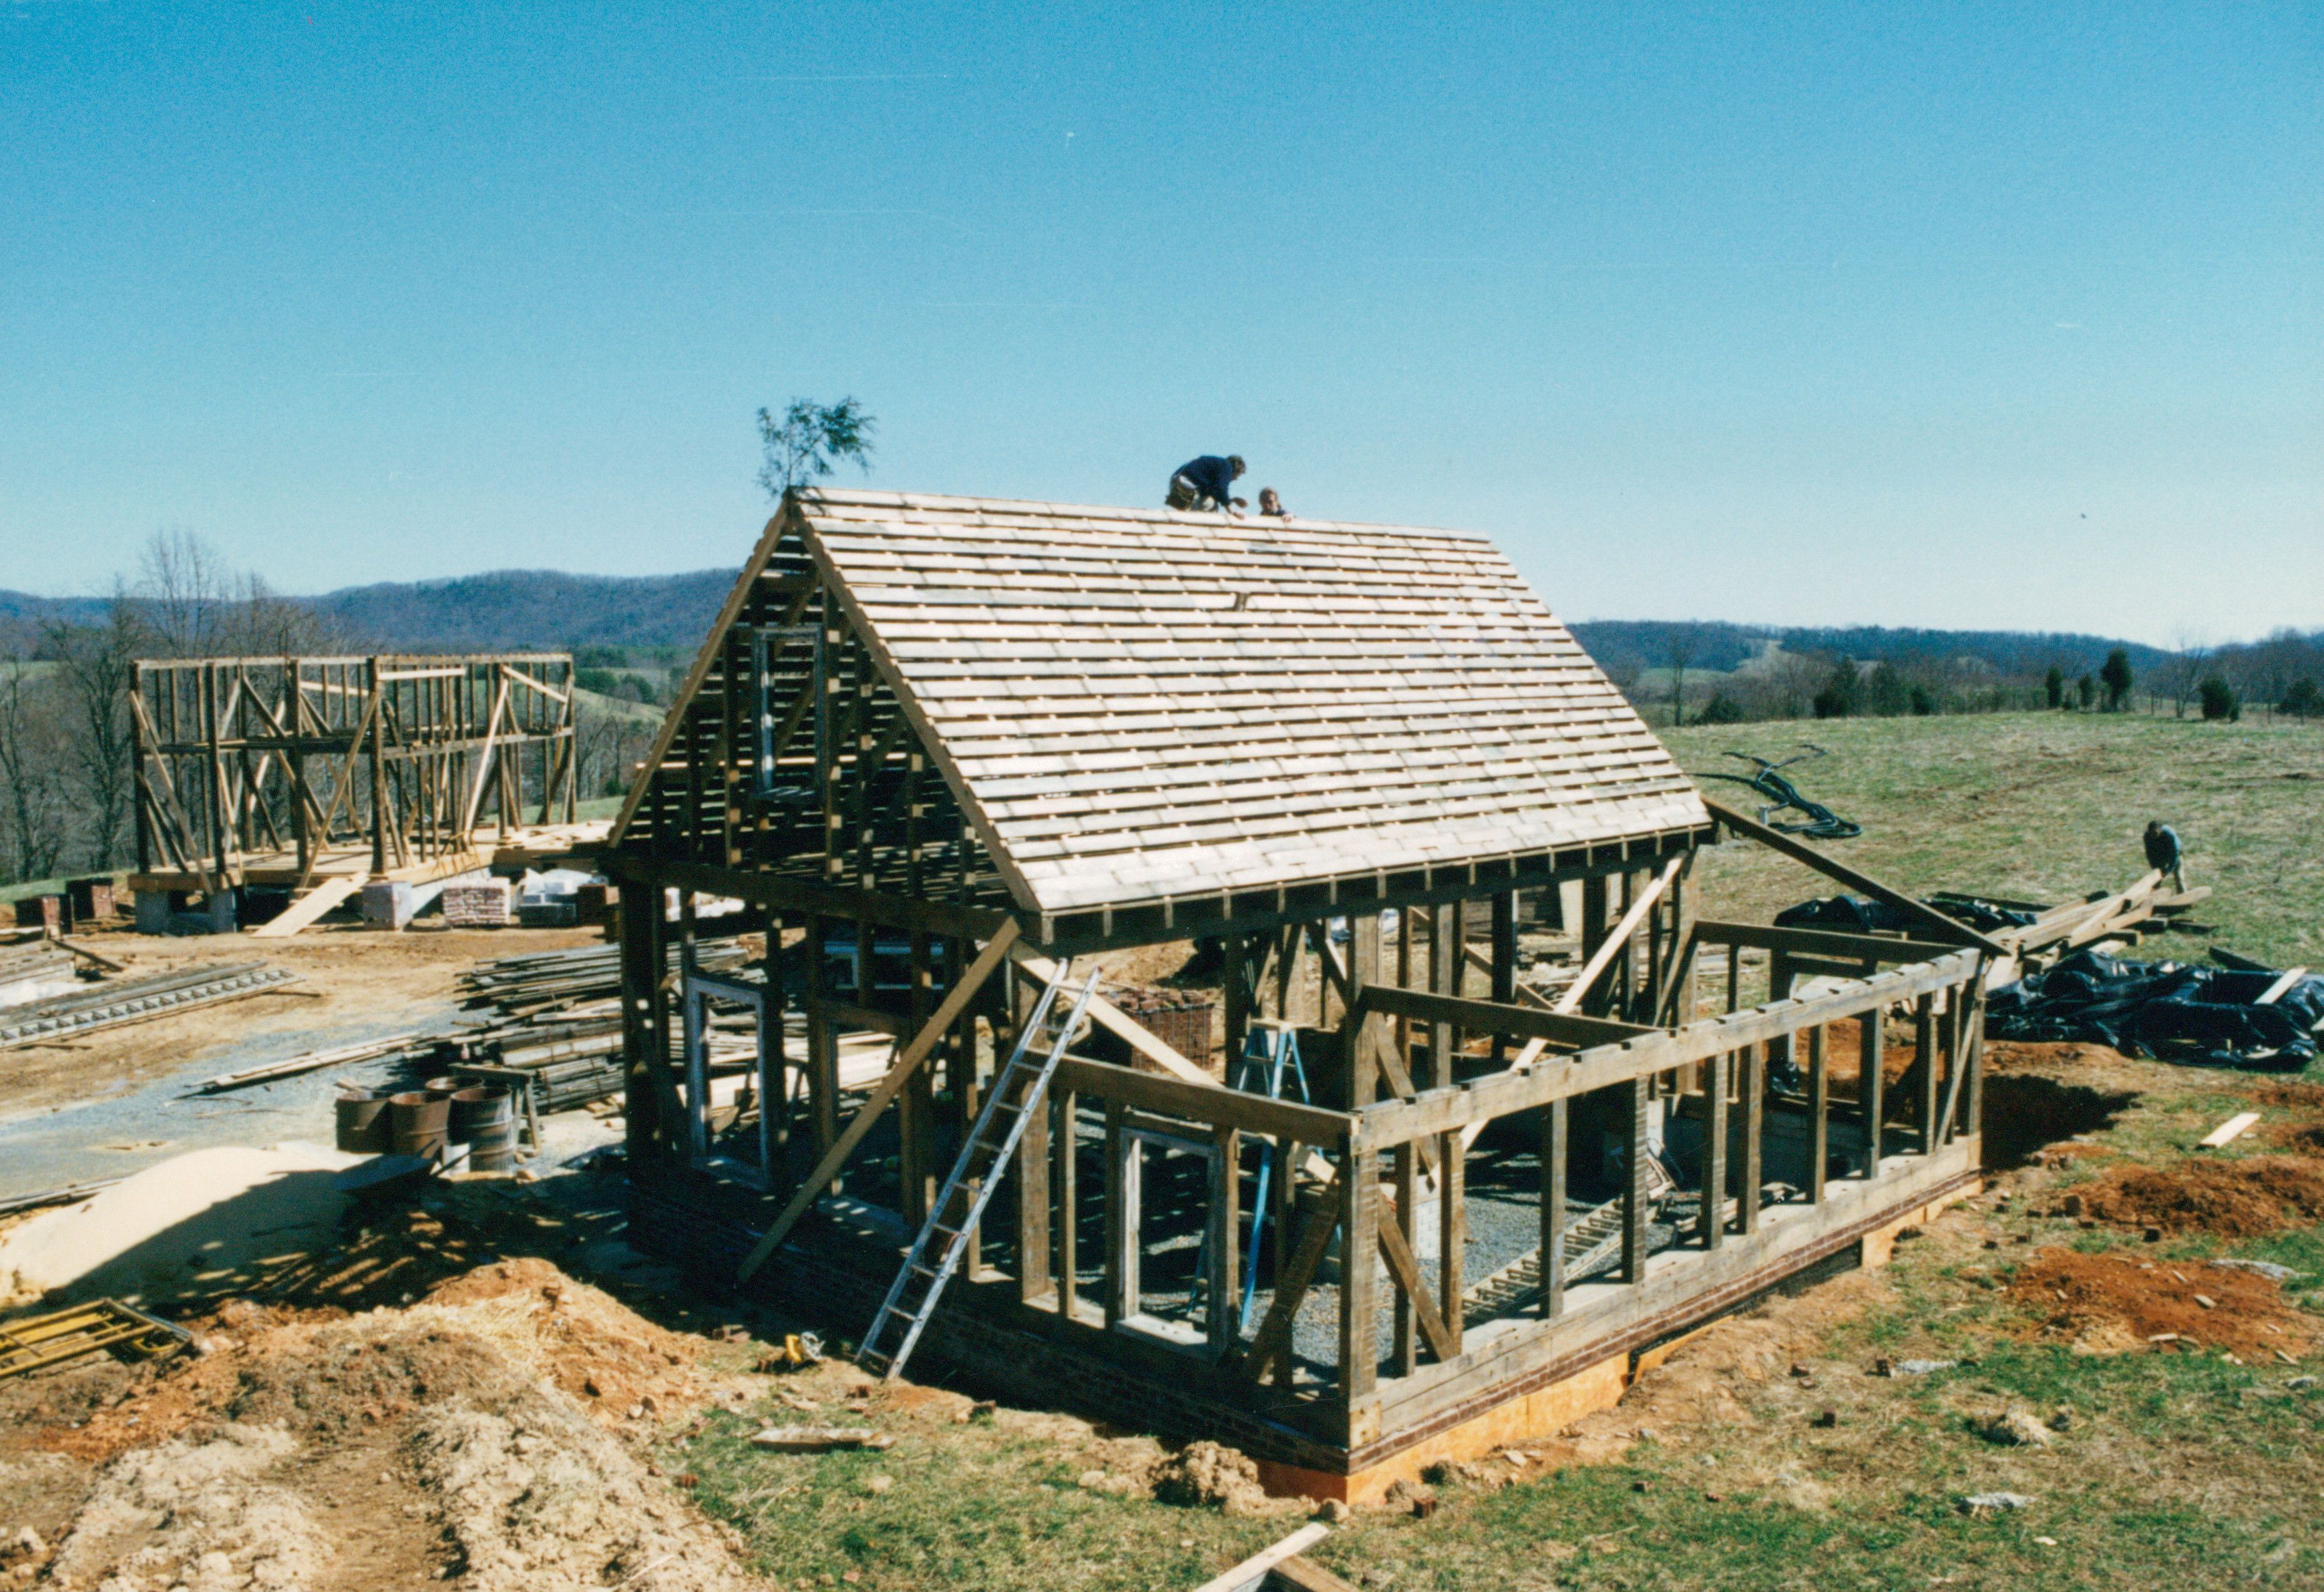
1) I wanted to live in a home that I built… one that was built exactly the way I wanted it to be, not like someone else felt like doing it.
2) I wanted high quality, but I wanted my cost to be as low as possible… the only way to get that was to do a lot of the work myself. I can’t expect others to work for low, or no, pay.
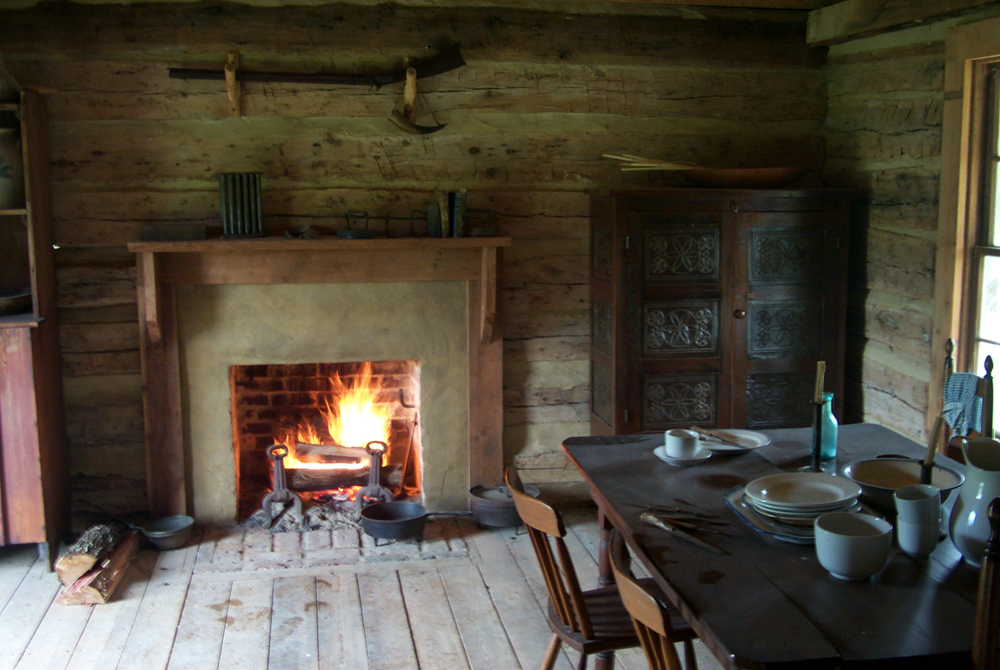
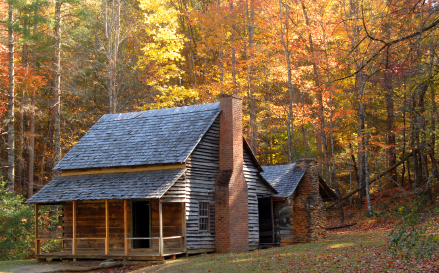
3) I wanted the lifestyle, and the freedom, that comes from having a dream home with minimal mortgage that would be paid off in just a few years.
4) This is the one that surprised me… I thought that building my own home was going to be a long labor-intensive ordeal to go through. But it turned out to be one of the most wonderful experiences of my life. Trust me, if you have any inkling to build your own home, don’t go through life and miss out on this experience.
Originally posted 2016-05-04 16:17:53.