Like no other
Noah Bradley2019-06-29T11:08:02+00:00
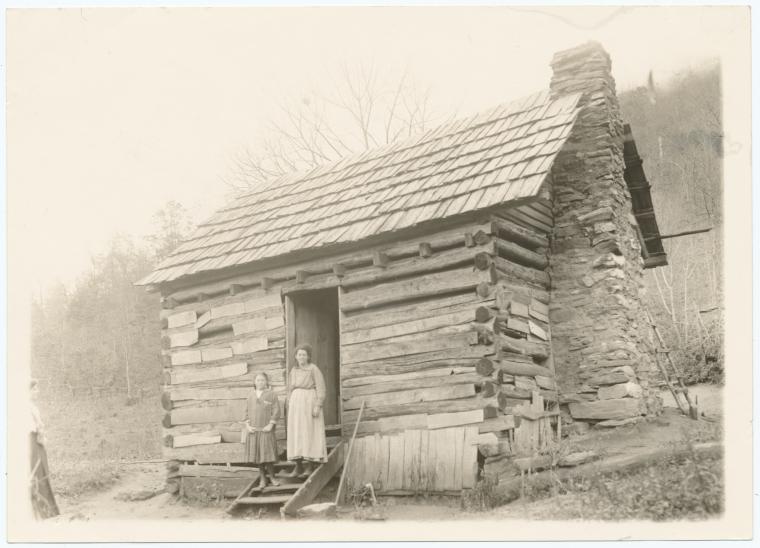
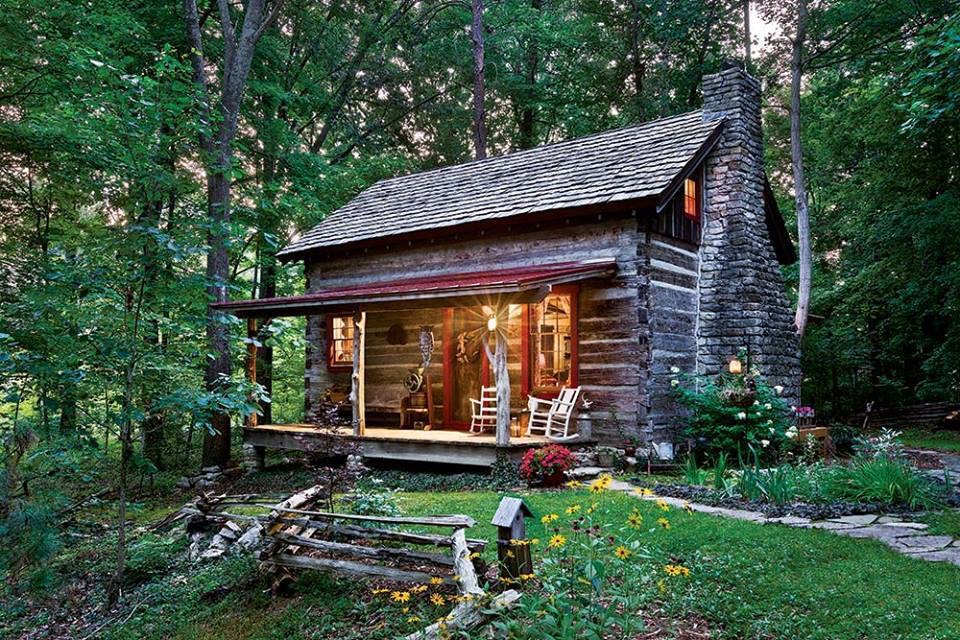
A big old porch on the front of this cabin with enough room to great plenty of visitors.
A big old porch on the front of this cabin with enough room to great plenty of visitors.
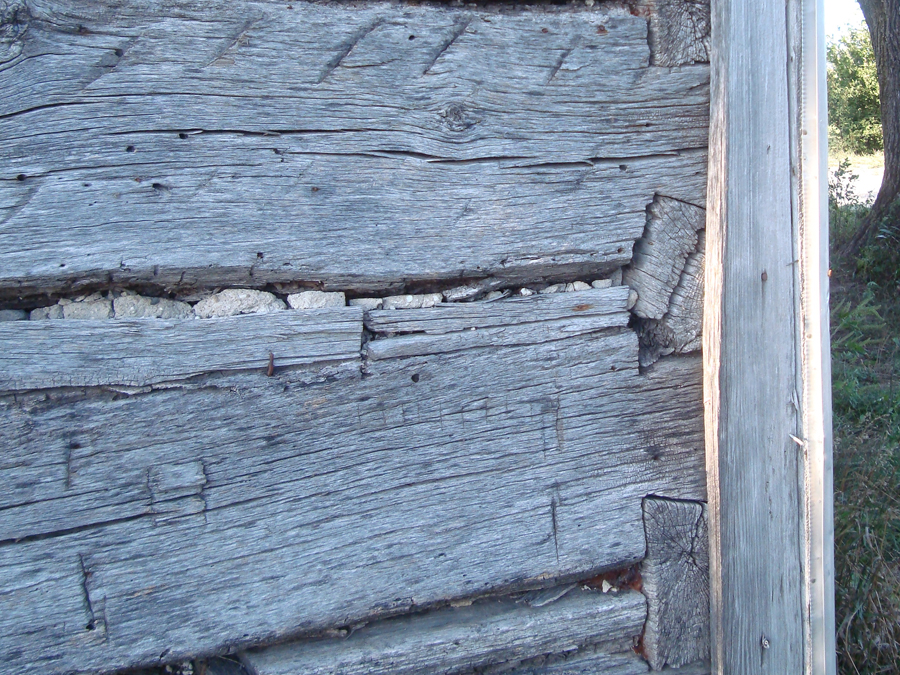
Notice the still remaining painted corner-board. This greyed and weathered cabin was covered in siding as so many old cabins were at the time. When nearly everyone lived in a log home having a wood sided home was highly desirable.
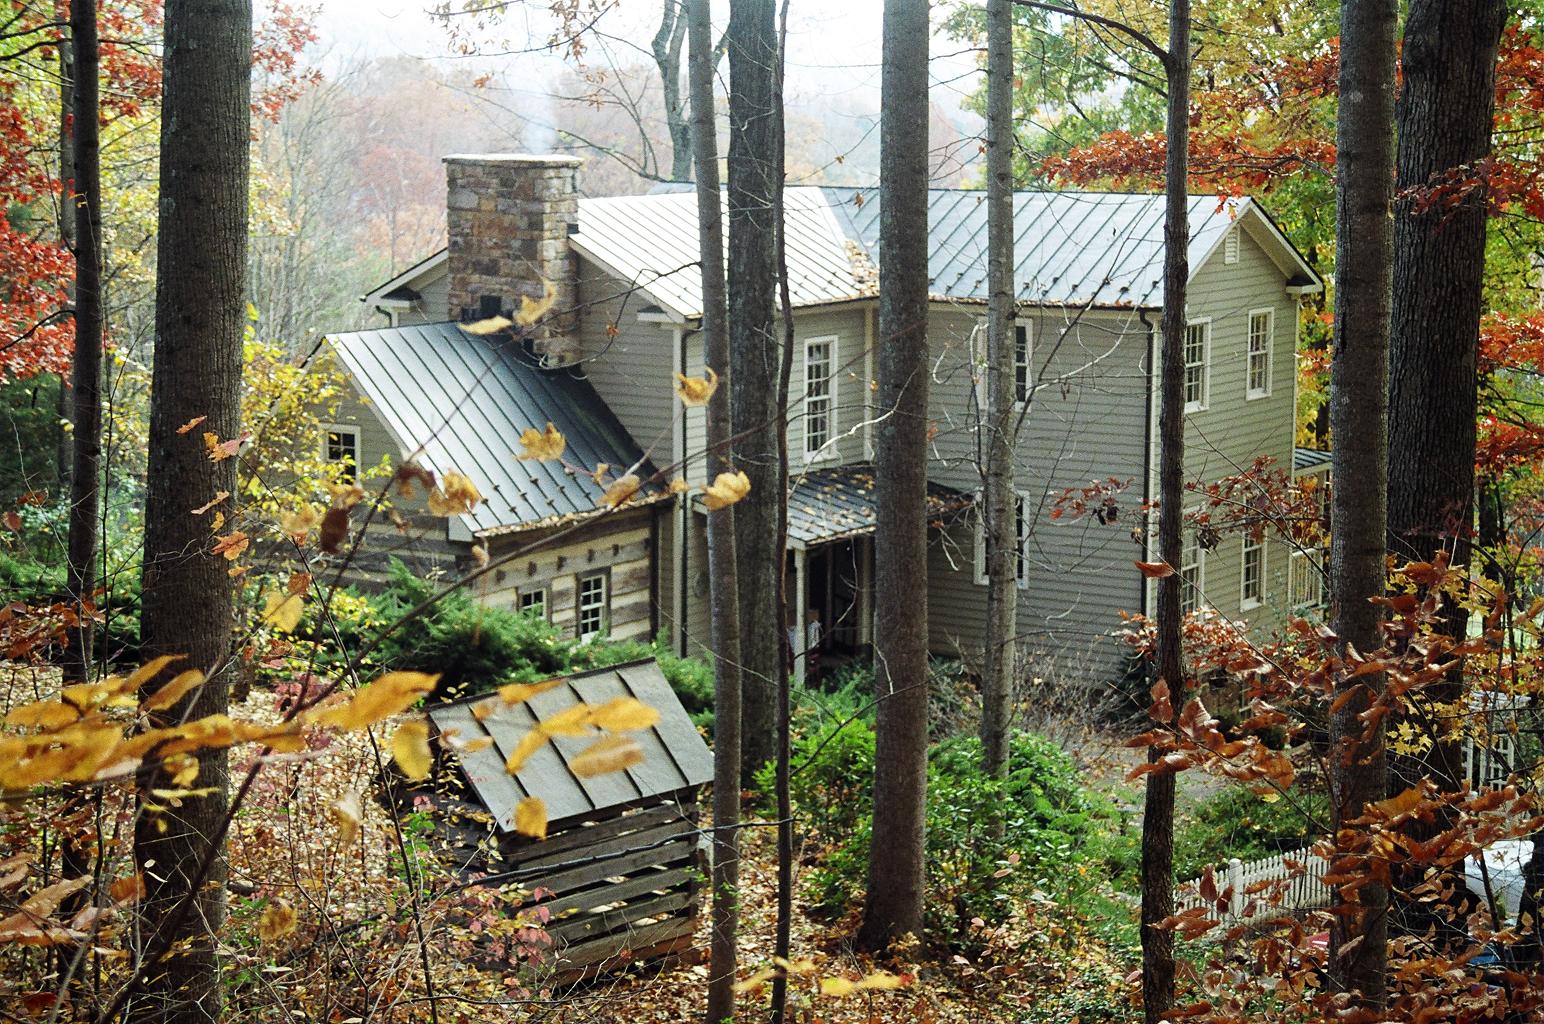
Many of the old farmhouses that we see today have logs hidden within.
Ok… Let’s have a discussion in “cabin perfectionism” today… A conversation for those interested in having a truly great cabin and not willing to settle for a good cabin. For those who want a “10”… not an “8”
Now, there is nothing wrong with having a “good” cabin. This is not a judgmental write-up, so please, no lectures on how mean spirited I am, or how I like to put down others work. Or, on how picky I am. What I am about to point out many wouldn’t at first notice but with time, and daily viewing, these details will grow to bother them. And then what? Live with it? or redo it?
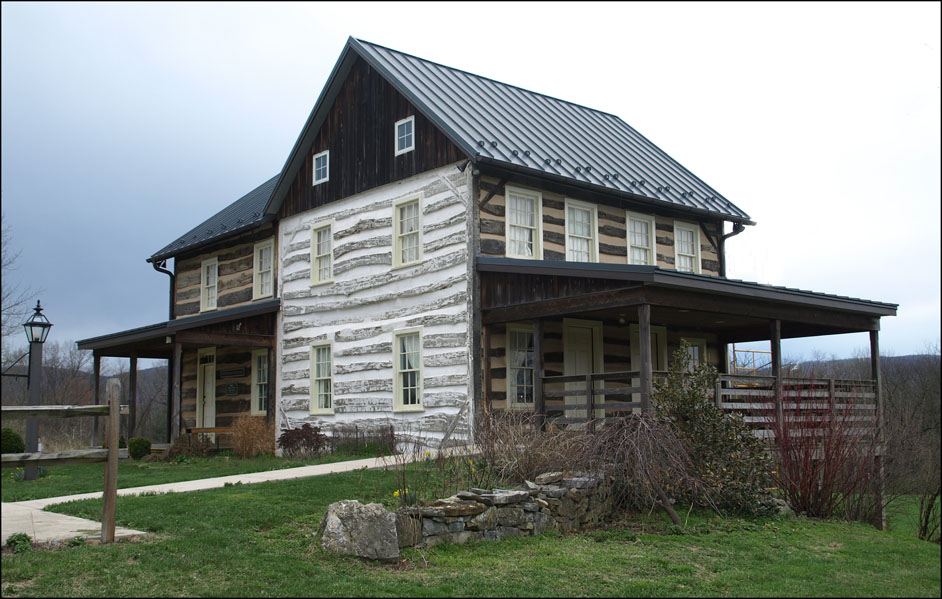
This is a nice cabin, in a nice location. We should all be so lucky to have a place like this. The logs are vintage and the cabin is historically proportioned. There are nice porches (perhaps the front porch is a bit too large, but a ten foot porch does give a lot of space). The windows are plentiful and attractive, she is a well lit cabin.
But somehow the cabin appears… harsh. Cold even. How can that be?
Two things…
One is the use of modern elements… mainly the manufactured metal roofing. This is the very same type of metal roofing that you see on Hardees and McDonald’s restaurants. A metal roof is wonderful on a cabin, but it needs to be a handmade one… not an industrial one. A roof contributes so much more to a home than most people realize, it’s not just to keep the rain off our heads. It is our first indicator of the quality of the home.
BTW… The modern cement sidewalk does the same thing. Another visual clashing. A few flagstones laid in the yard would have cost the same and looked so much nicer.
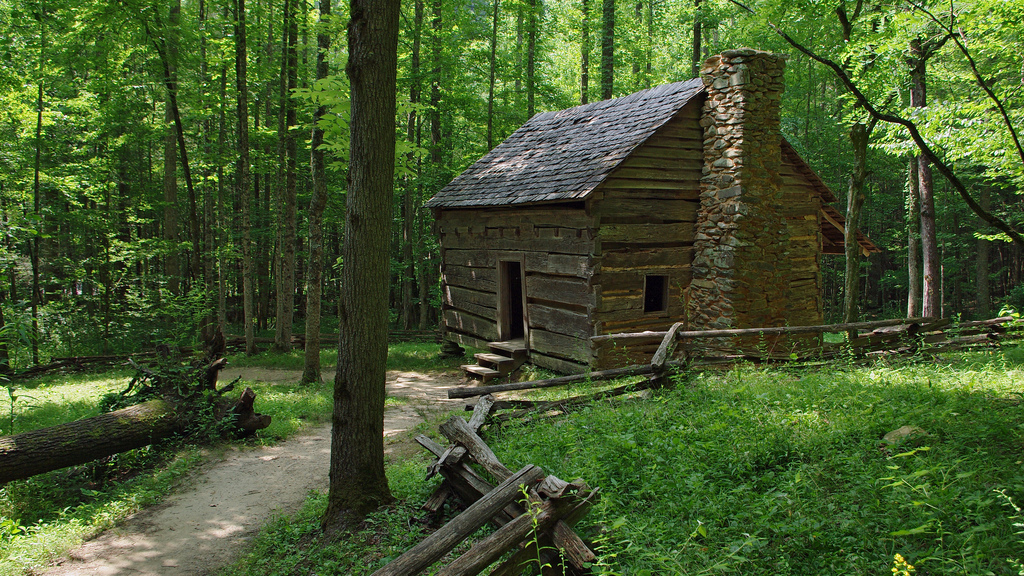
And, of course Number Two… no chimney! This home is like a canoe without a paddle… she is missing something so important… a chimney should be as valued as the logs themselves.
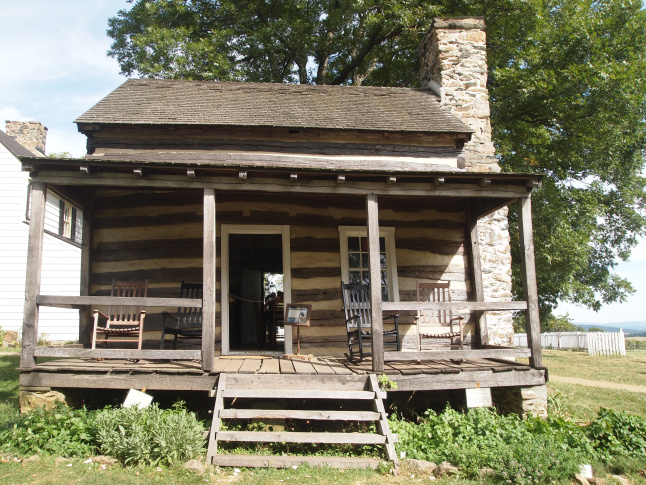
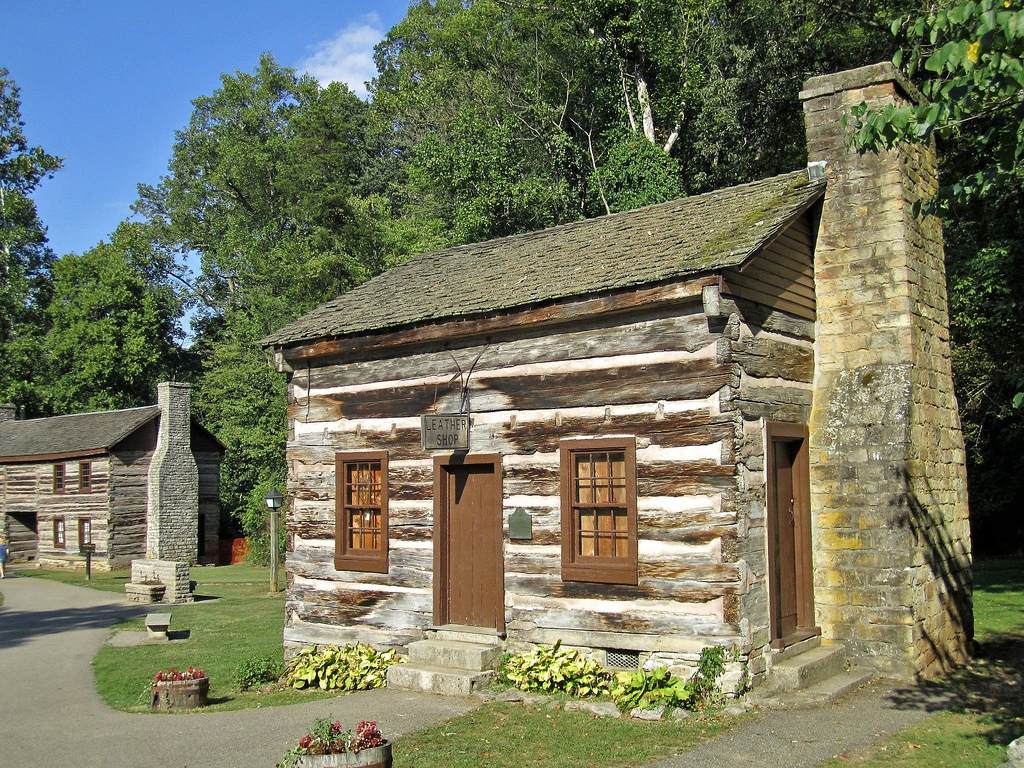
Now here is something you don’t see often.
A door next to a chimney.
It does look good there doesn’t it?
I do appreciate any opportunity I’m offered to gain an up-close look at a stone chimney.
I would think that the one downside to having a door here would be that anytime that door would be opened, while a fire was burning in the fireplace, that the draw would be affected and some smoke would enter the room.