Vertical corner post log home
Noah Bradley2019-06-29T11:06:42+00:00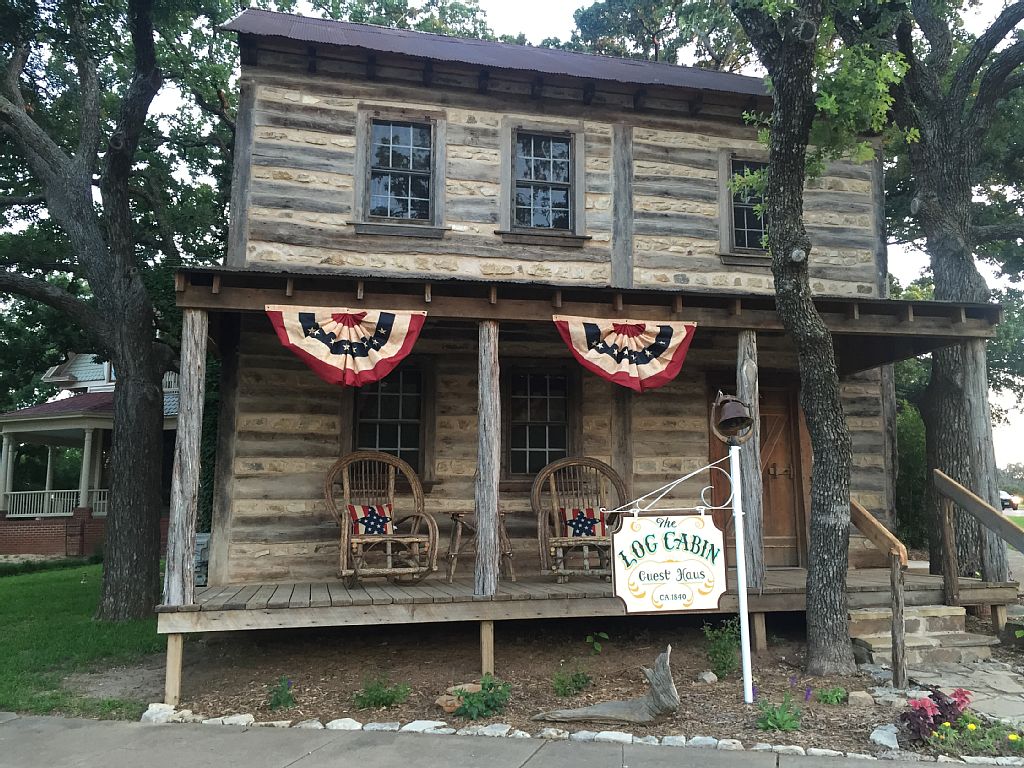
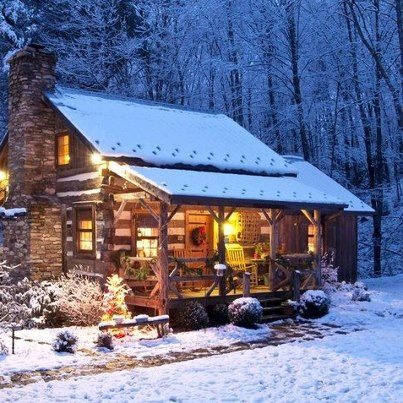
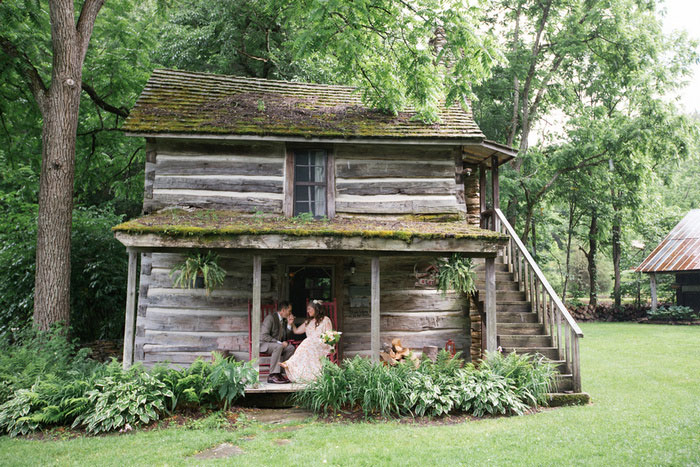
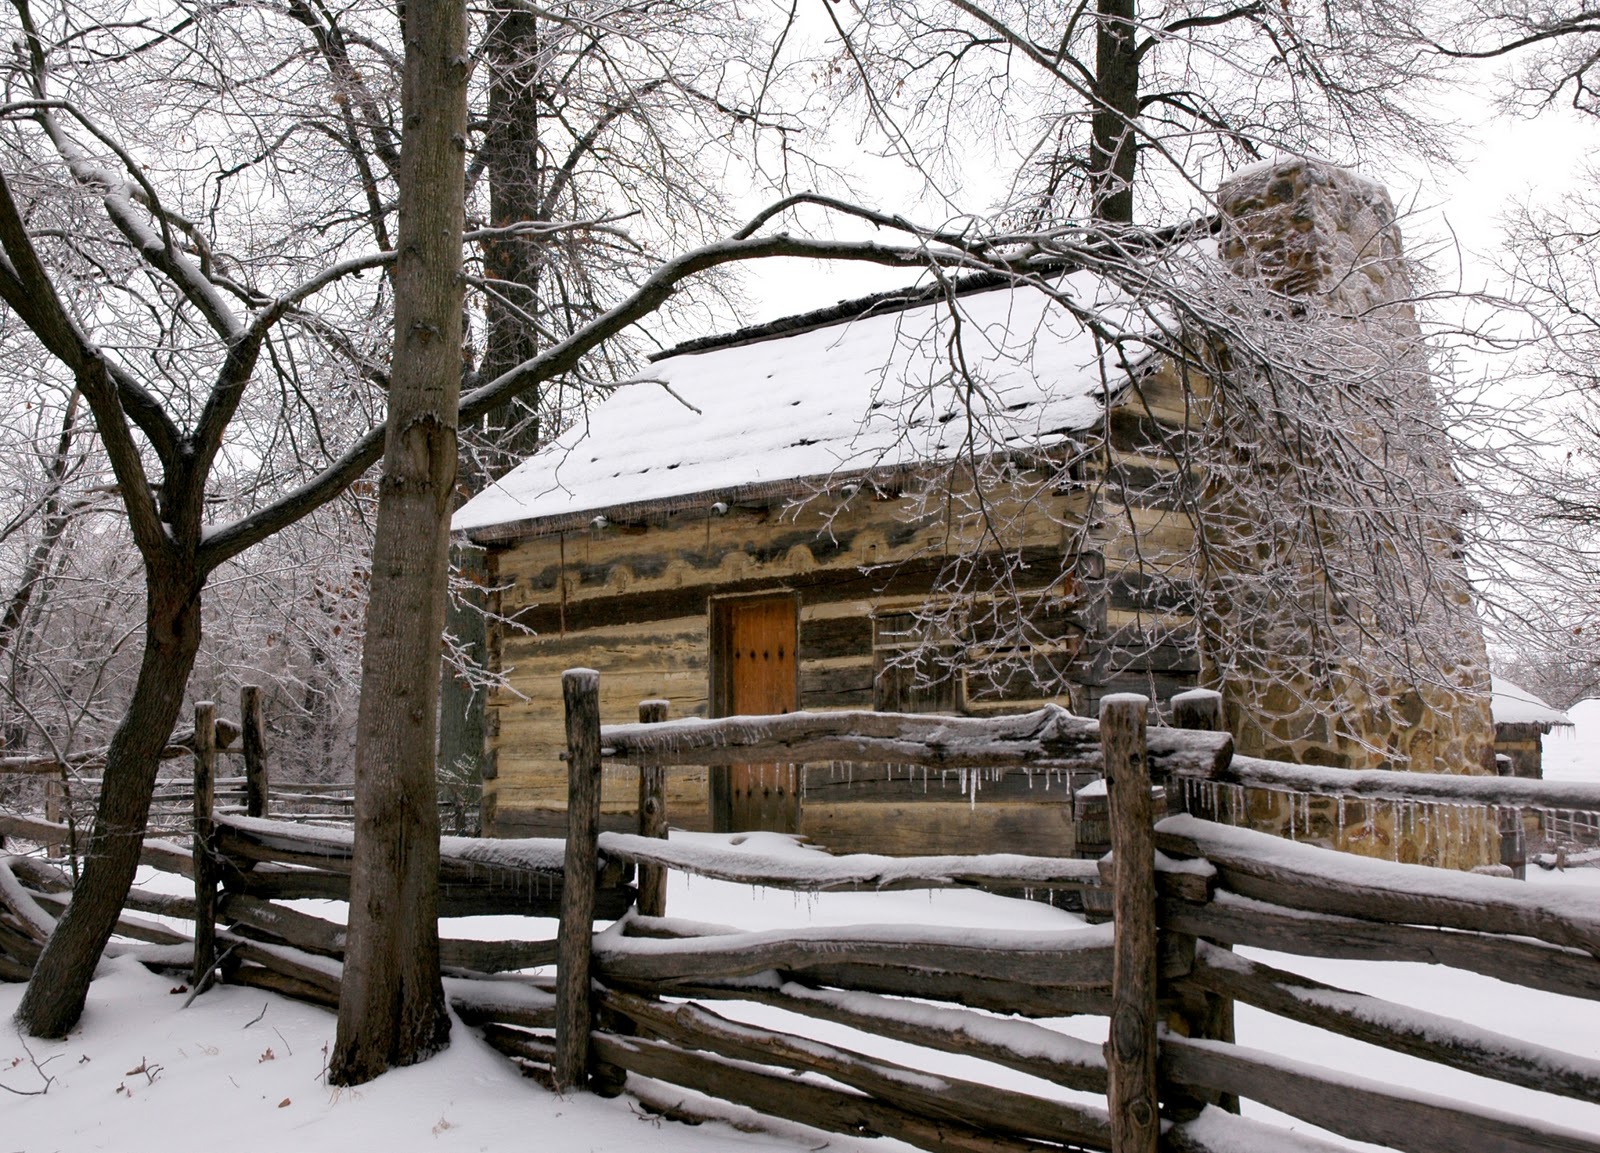
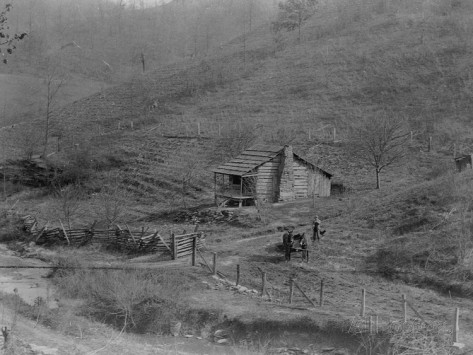
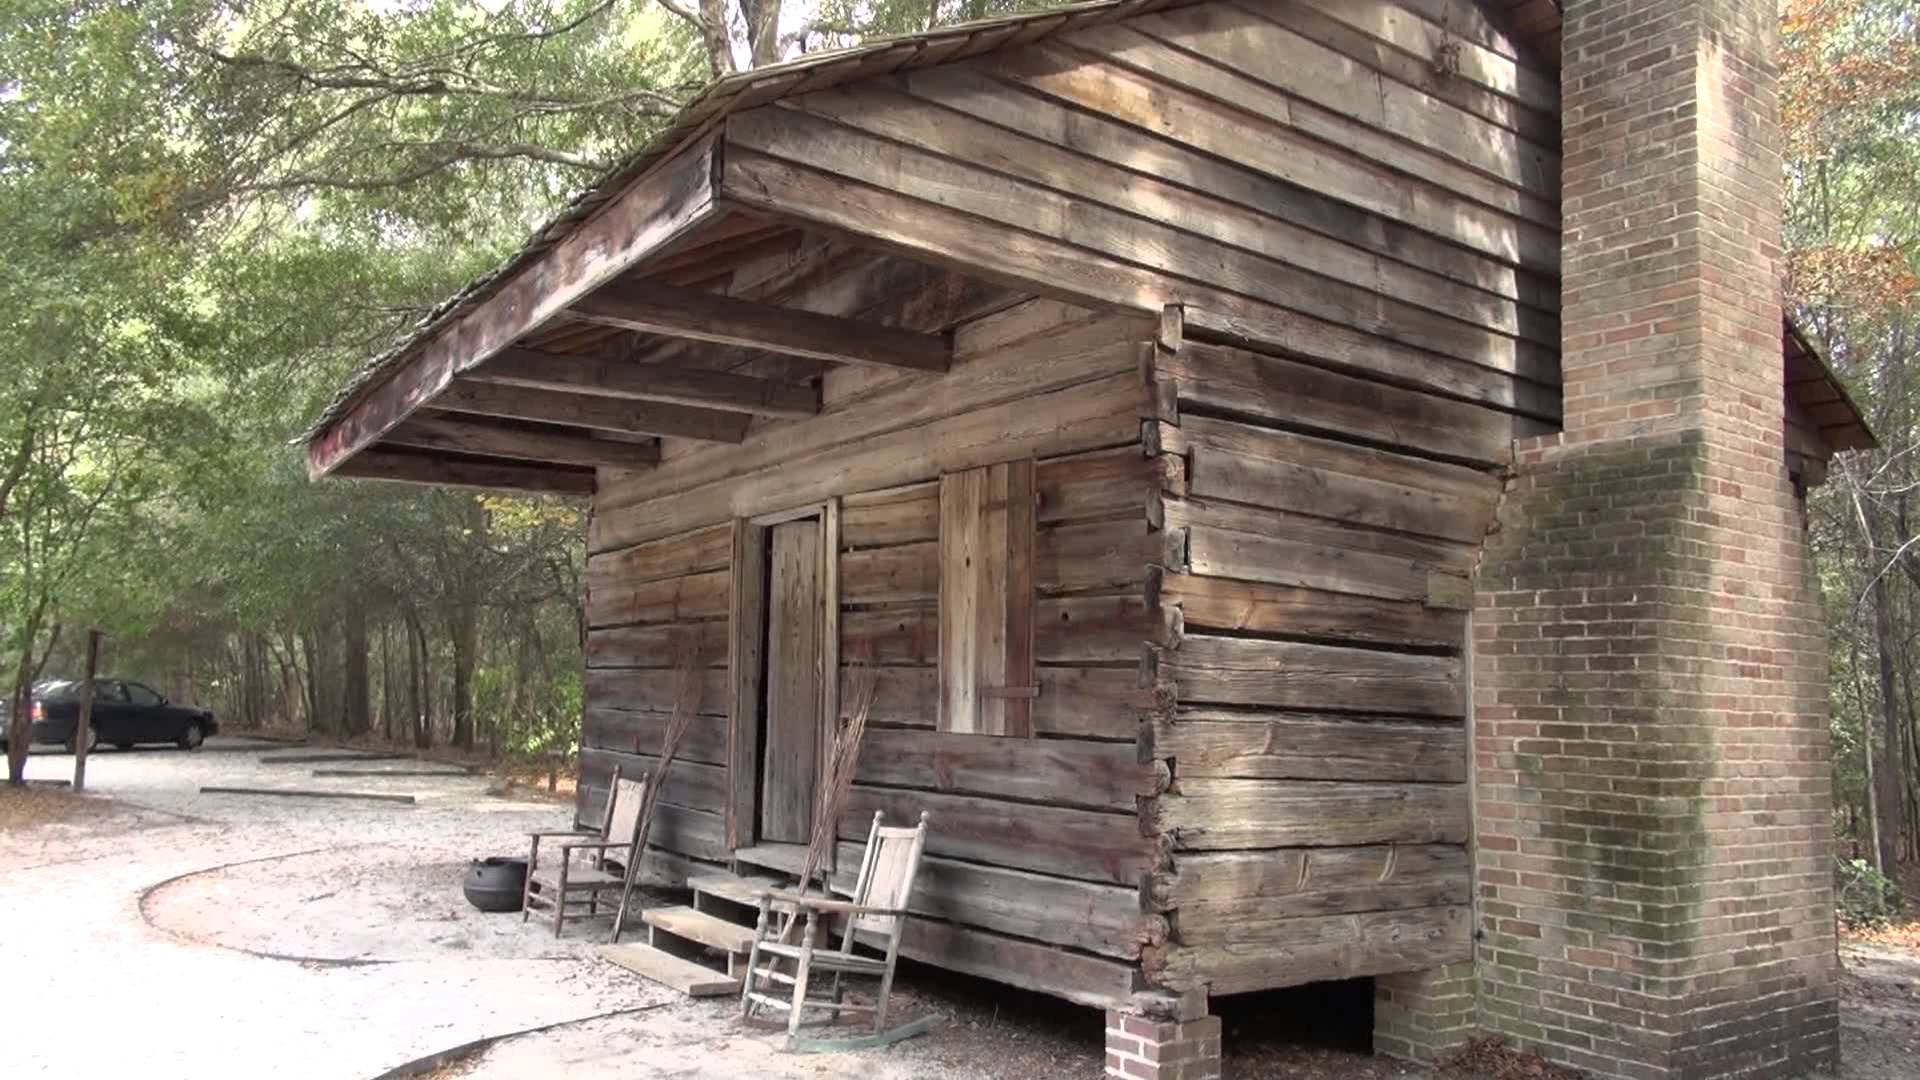
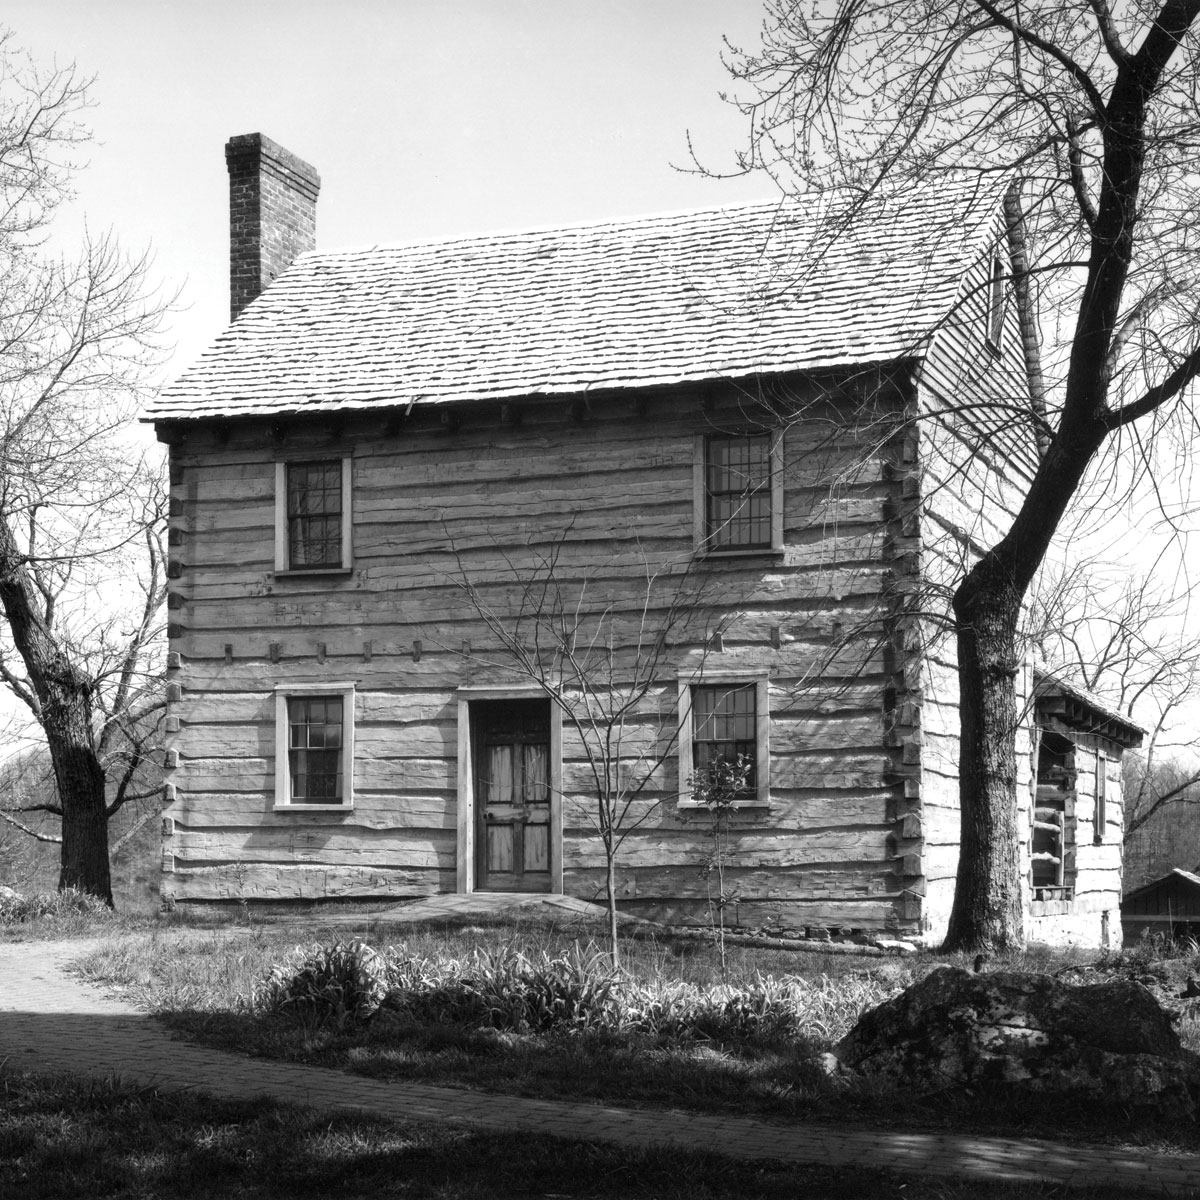
Here we have a different type of log cabin… one where the corners of the cabin are made up of vertical logs where the wall logs are pegged into place with mortise and tenon joints.
I’ve seen a few cabins built this way over the years. I would have thought that water would have gotten into these corners and rotted them out… but that has not been the case.