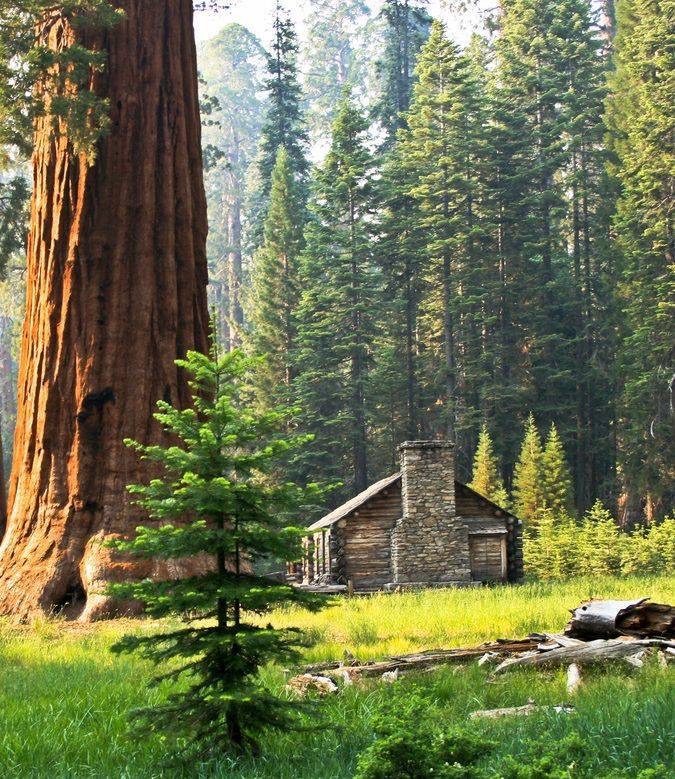
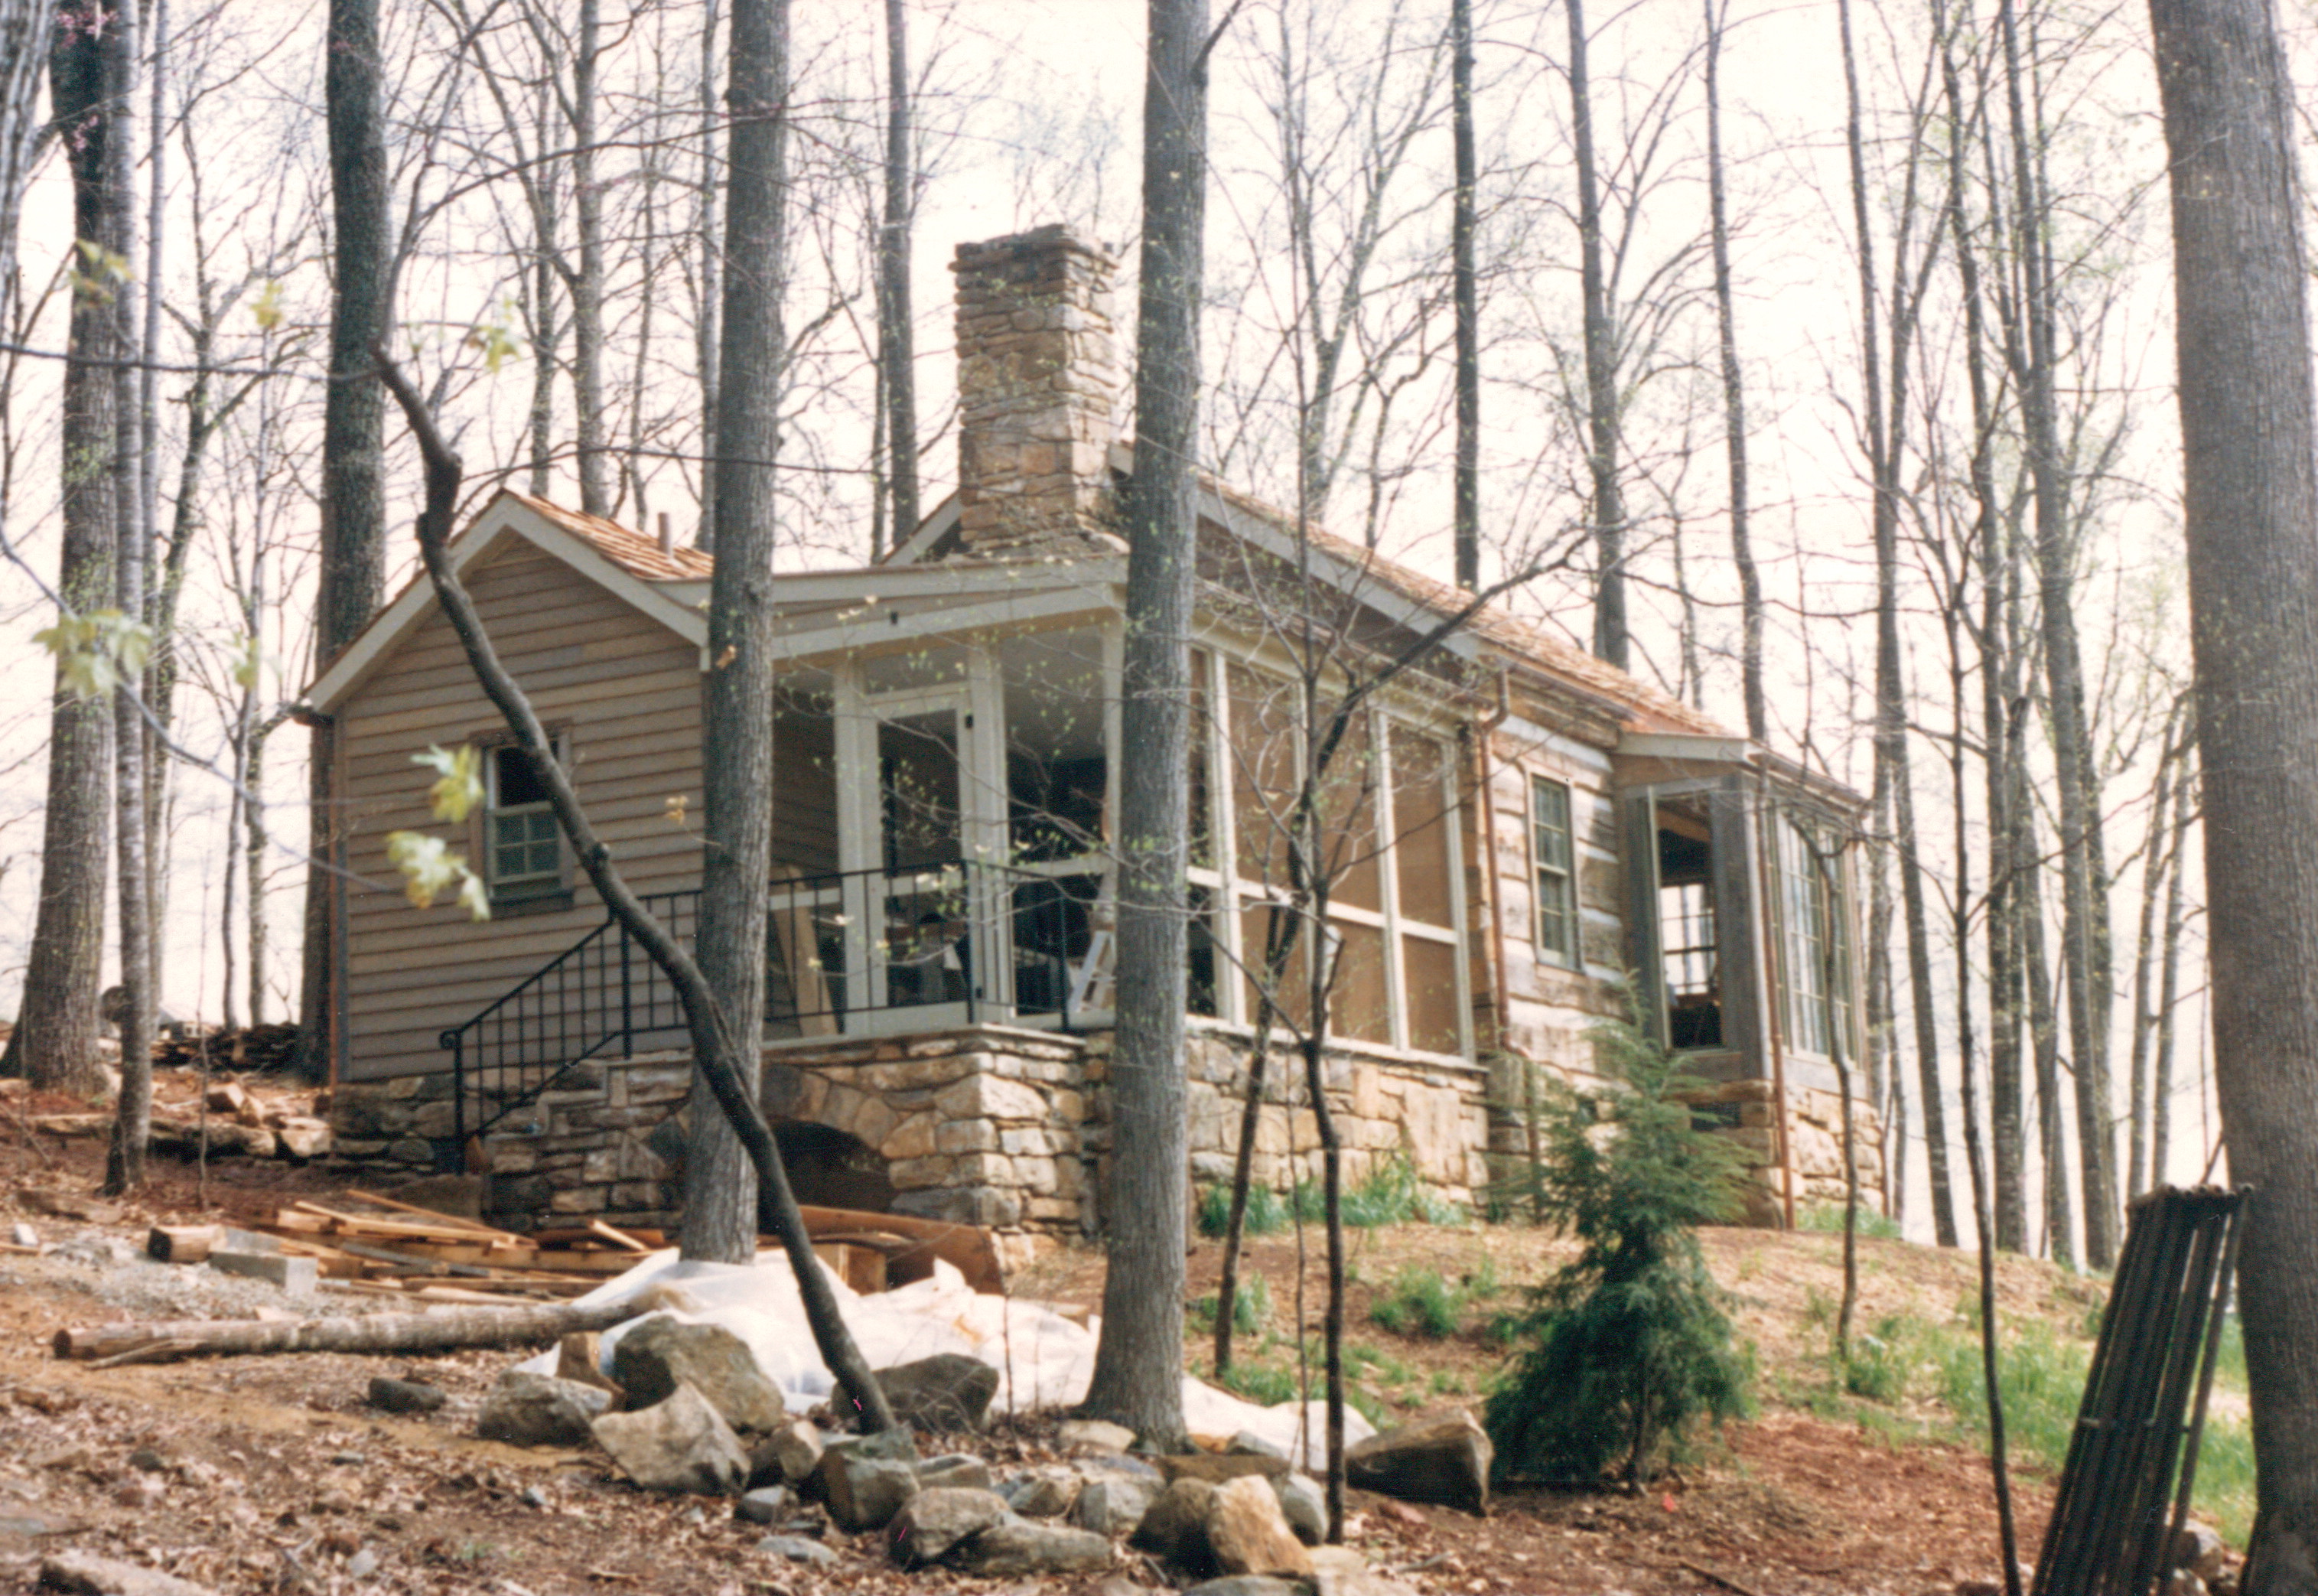
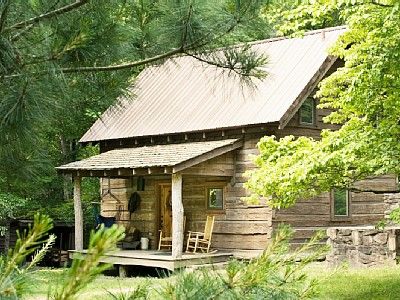
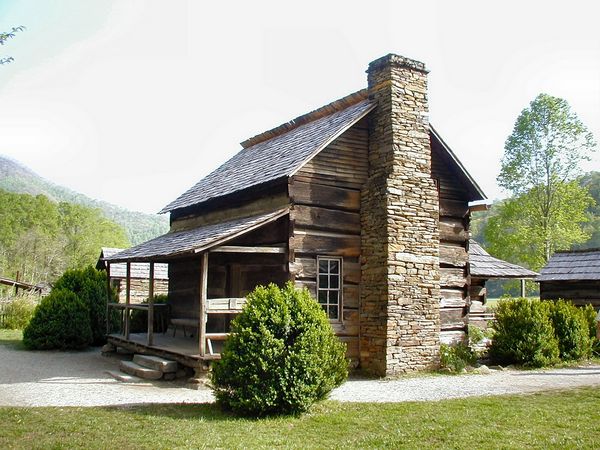
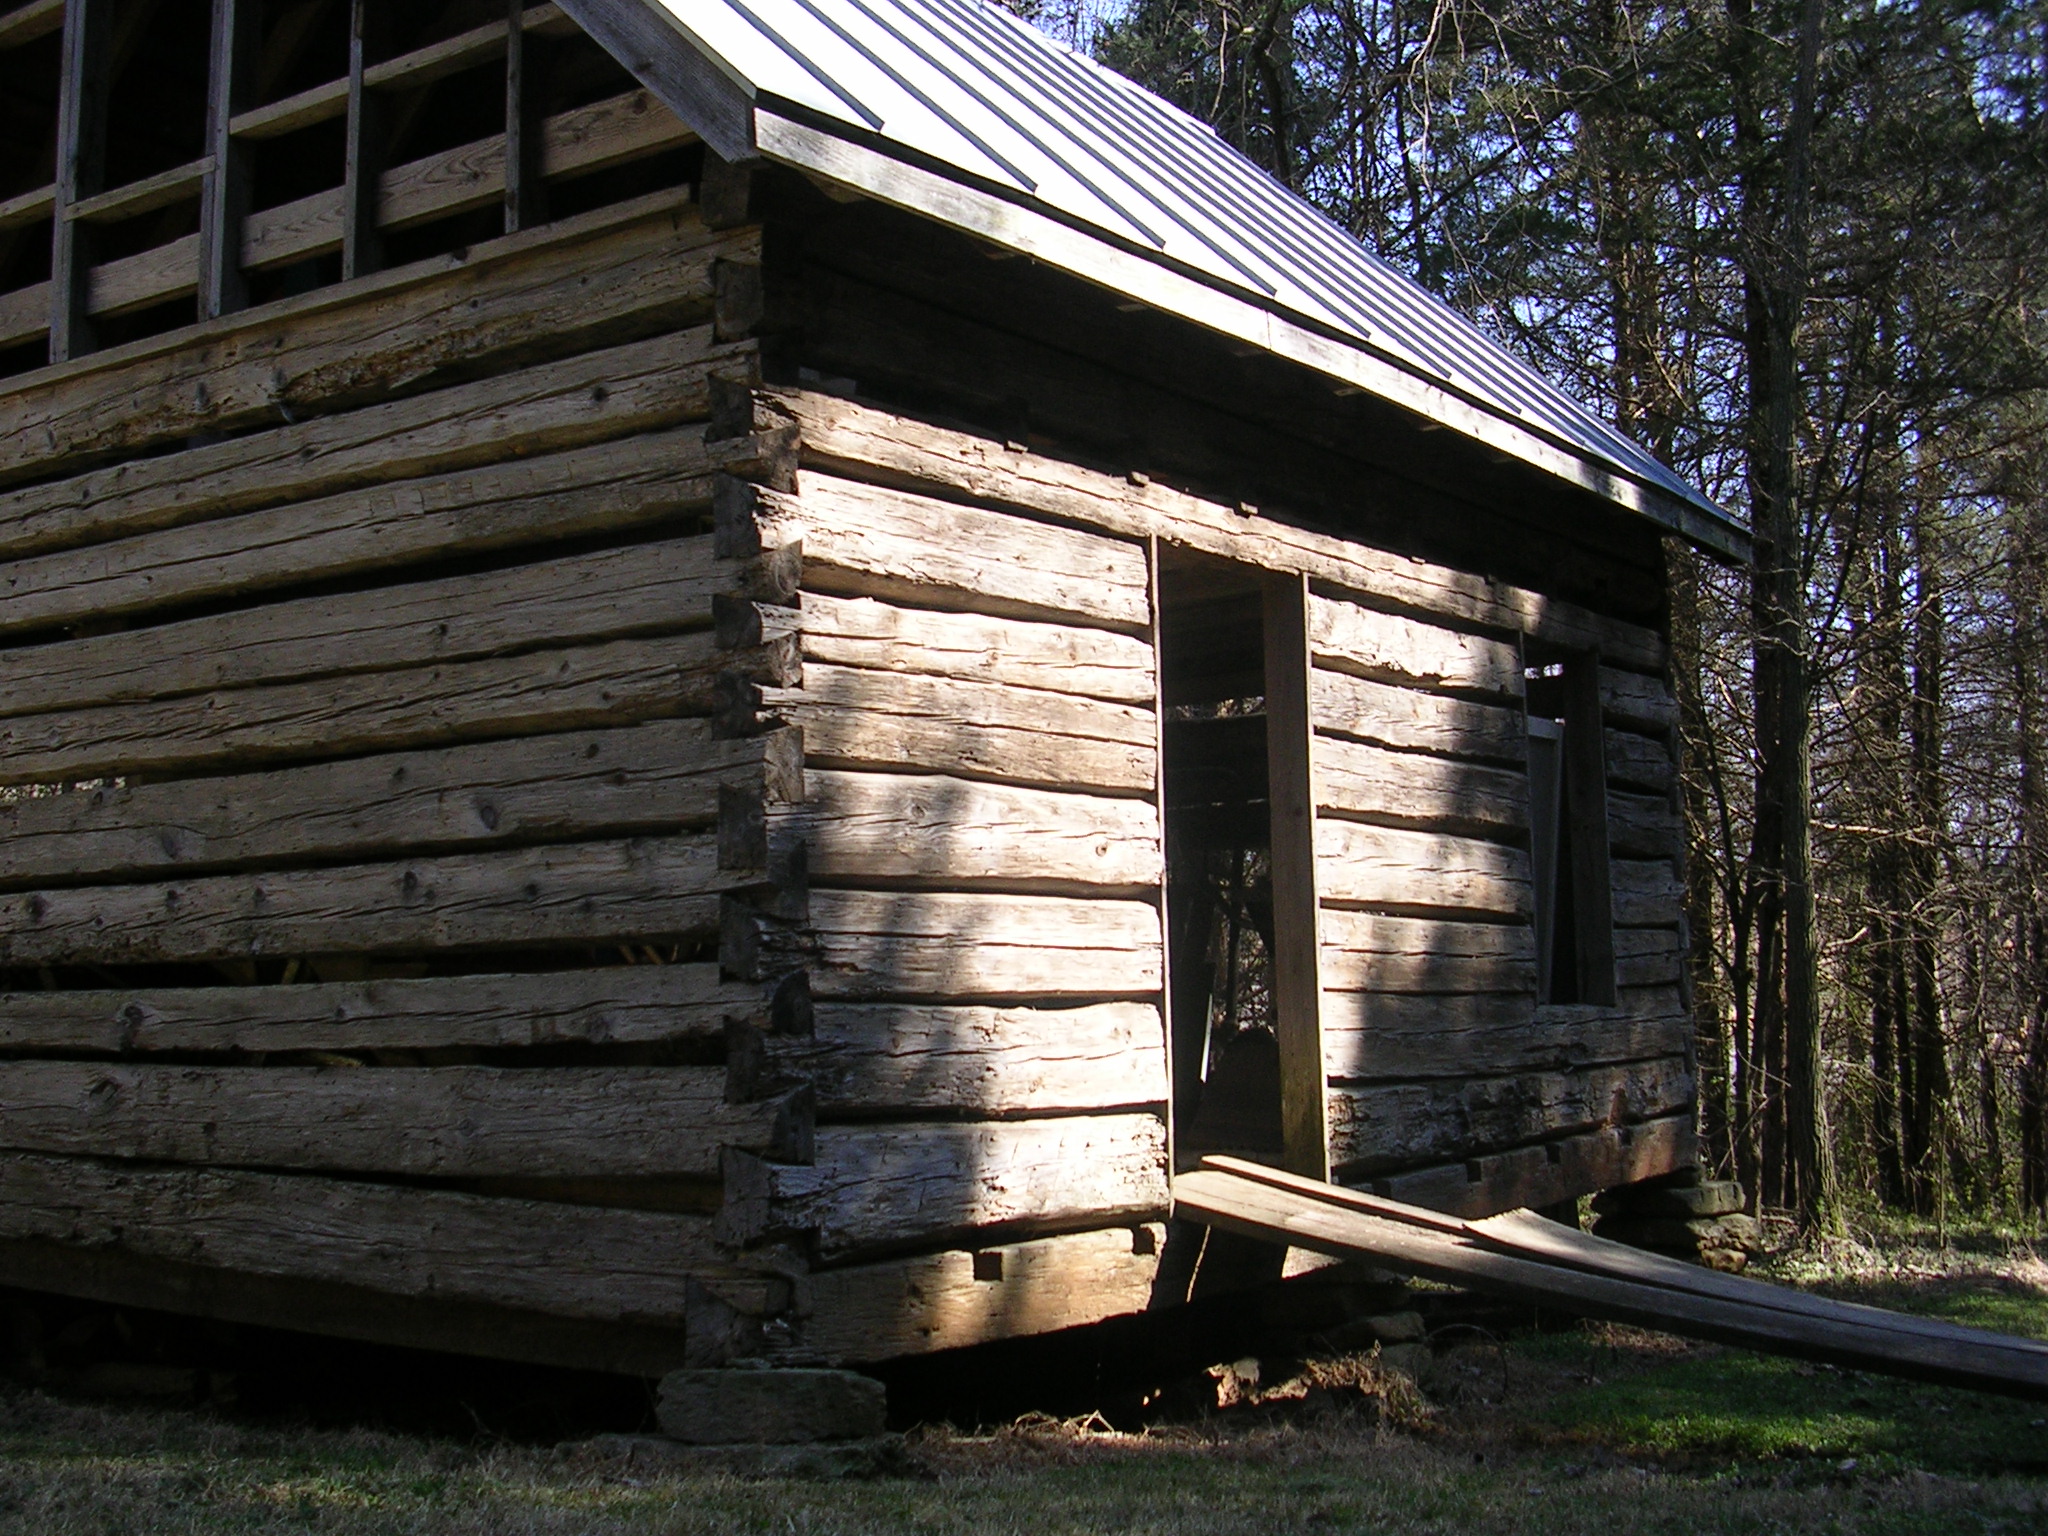
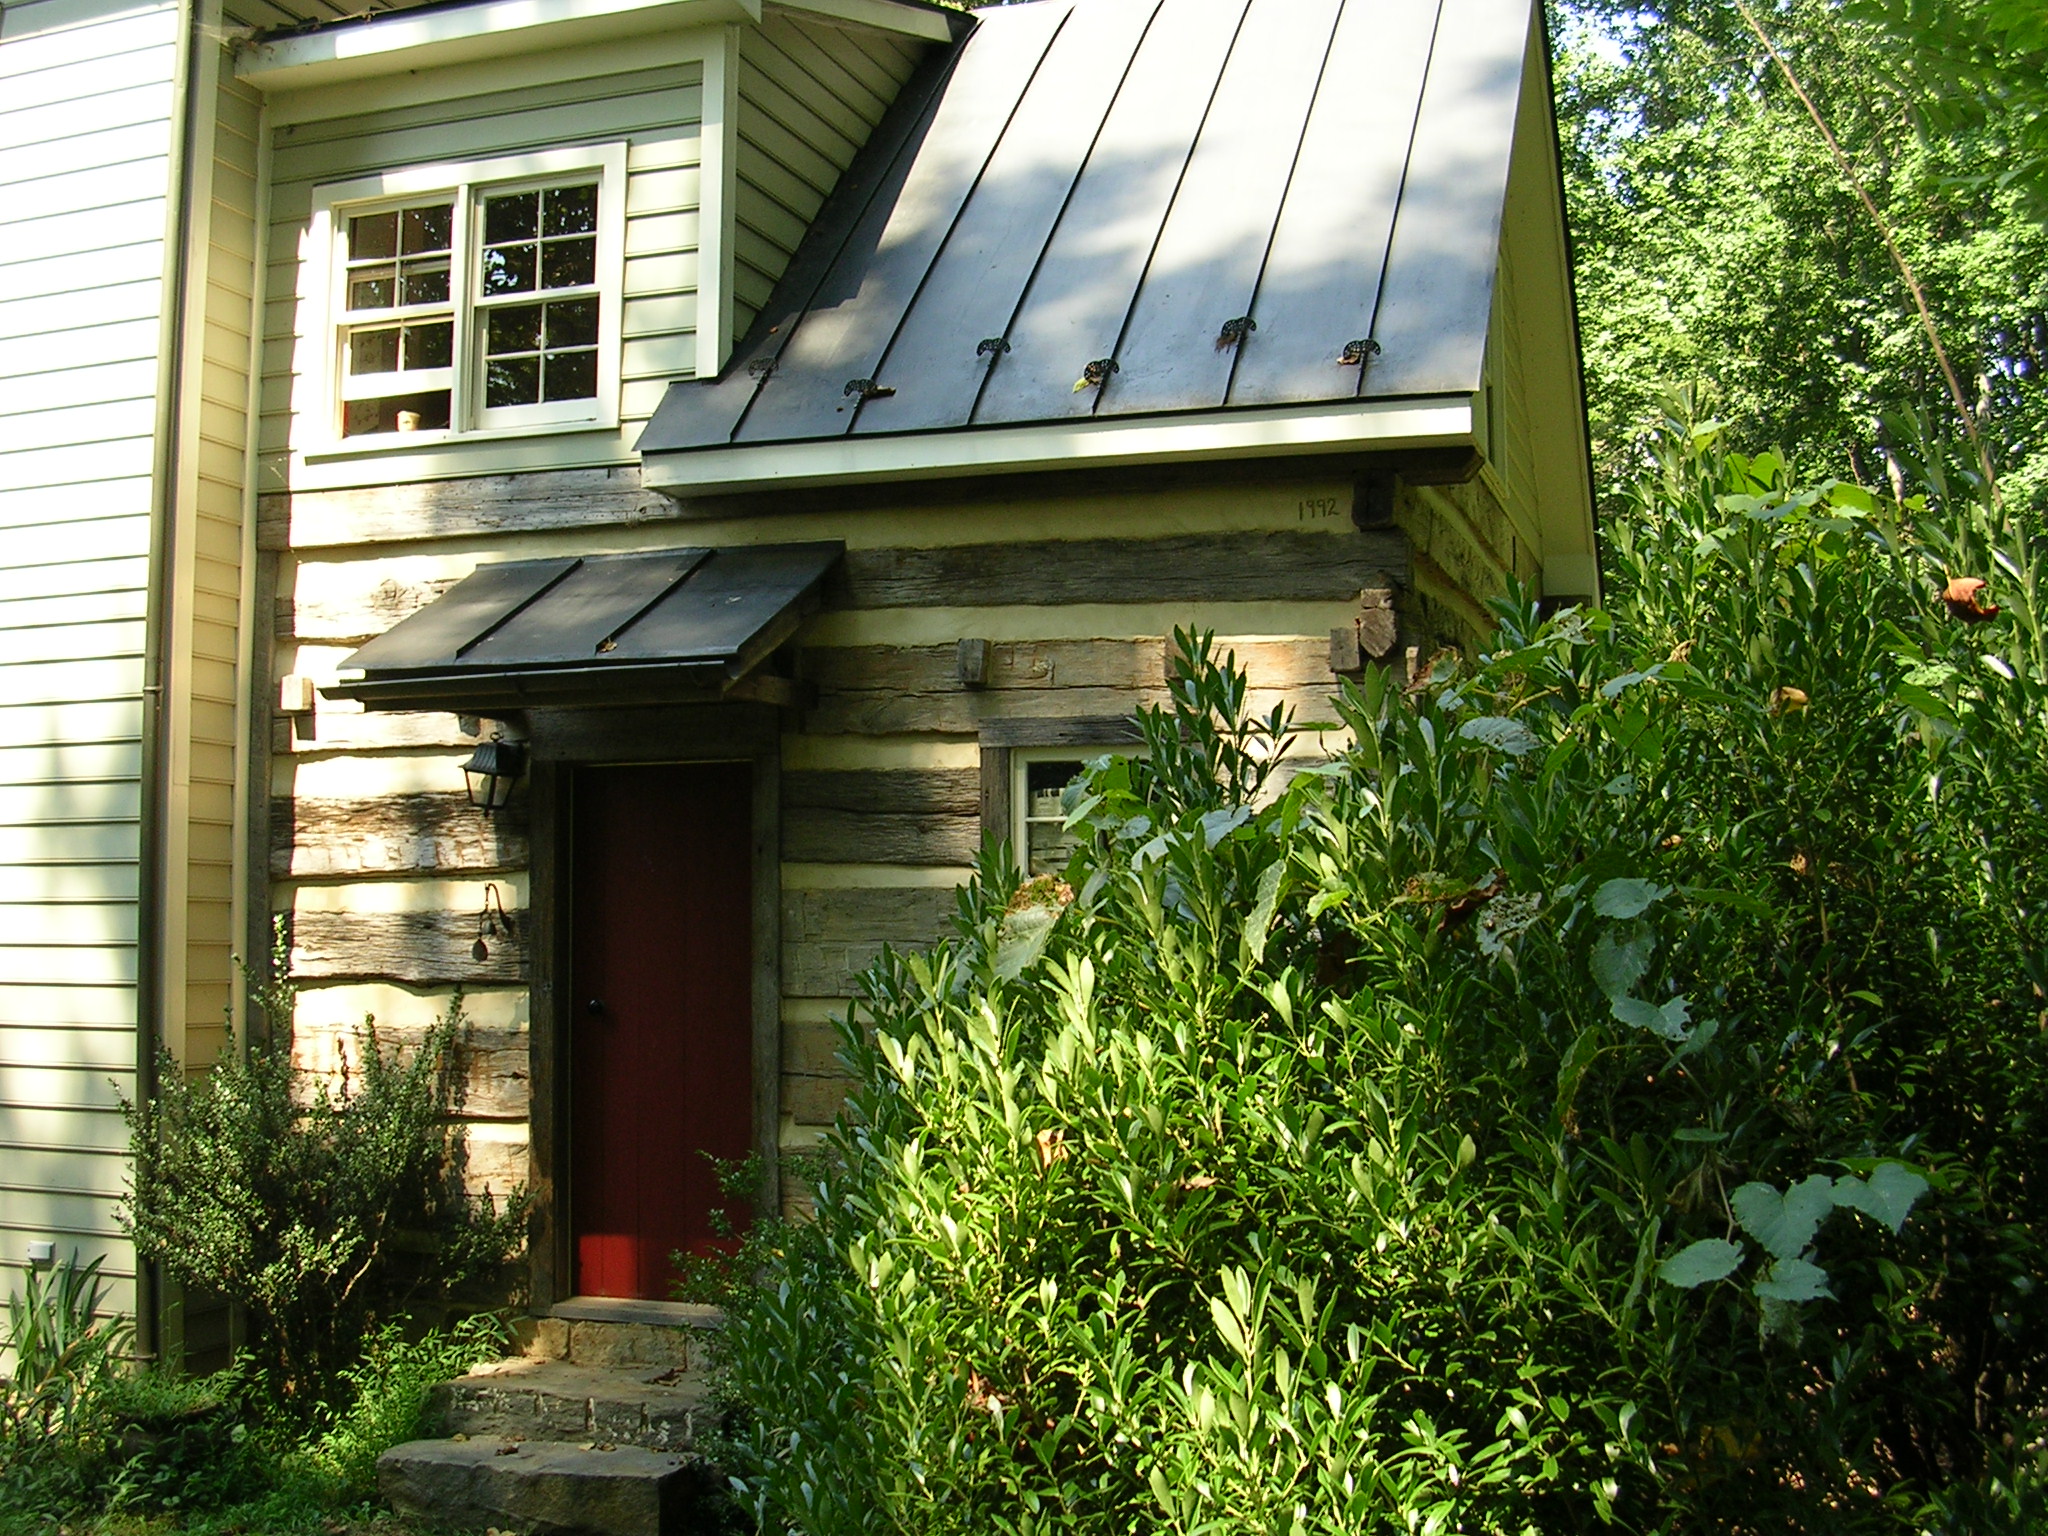
That cabin is new?
Noah Bradley2019-06-29T11:10:09+00:00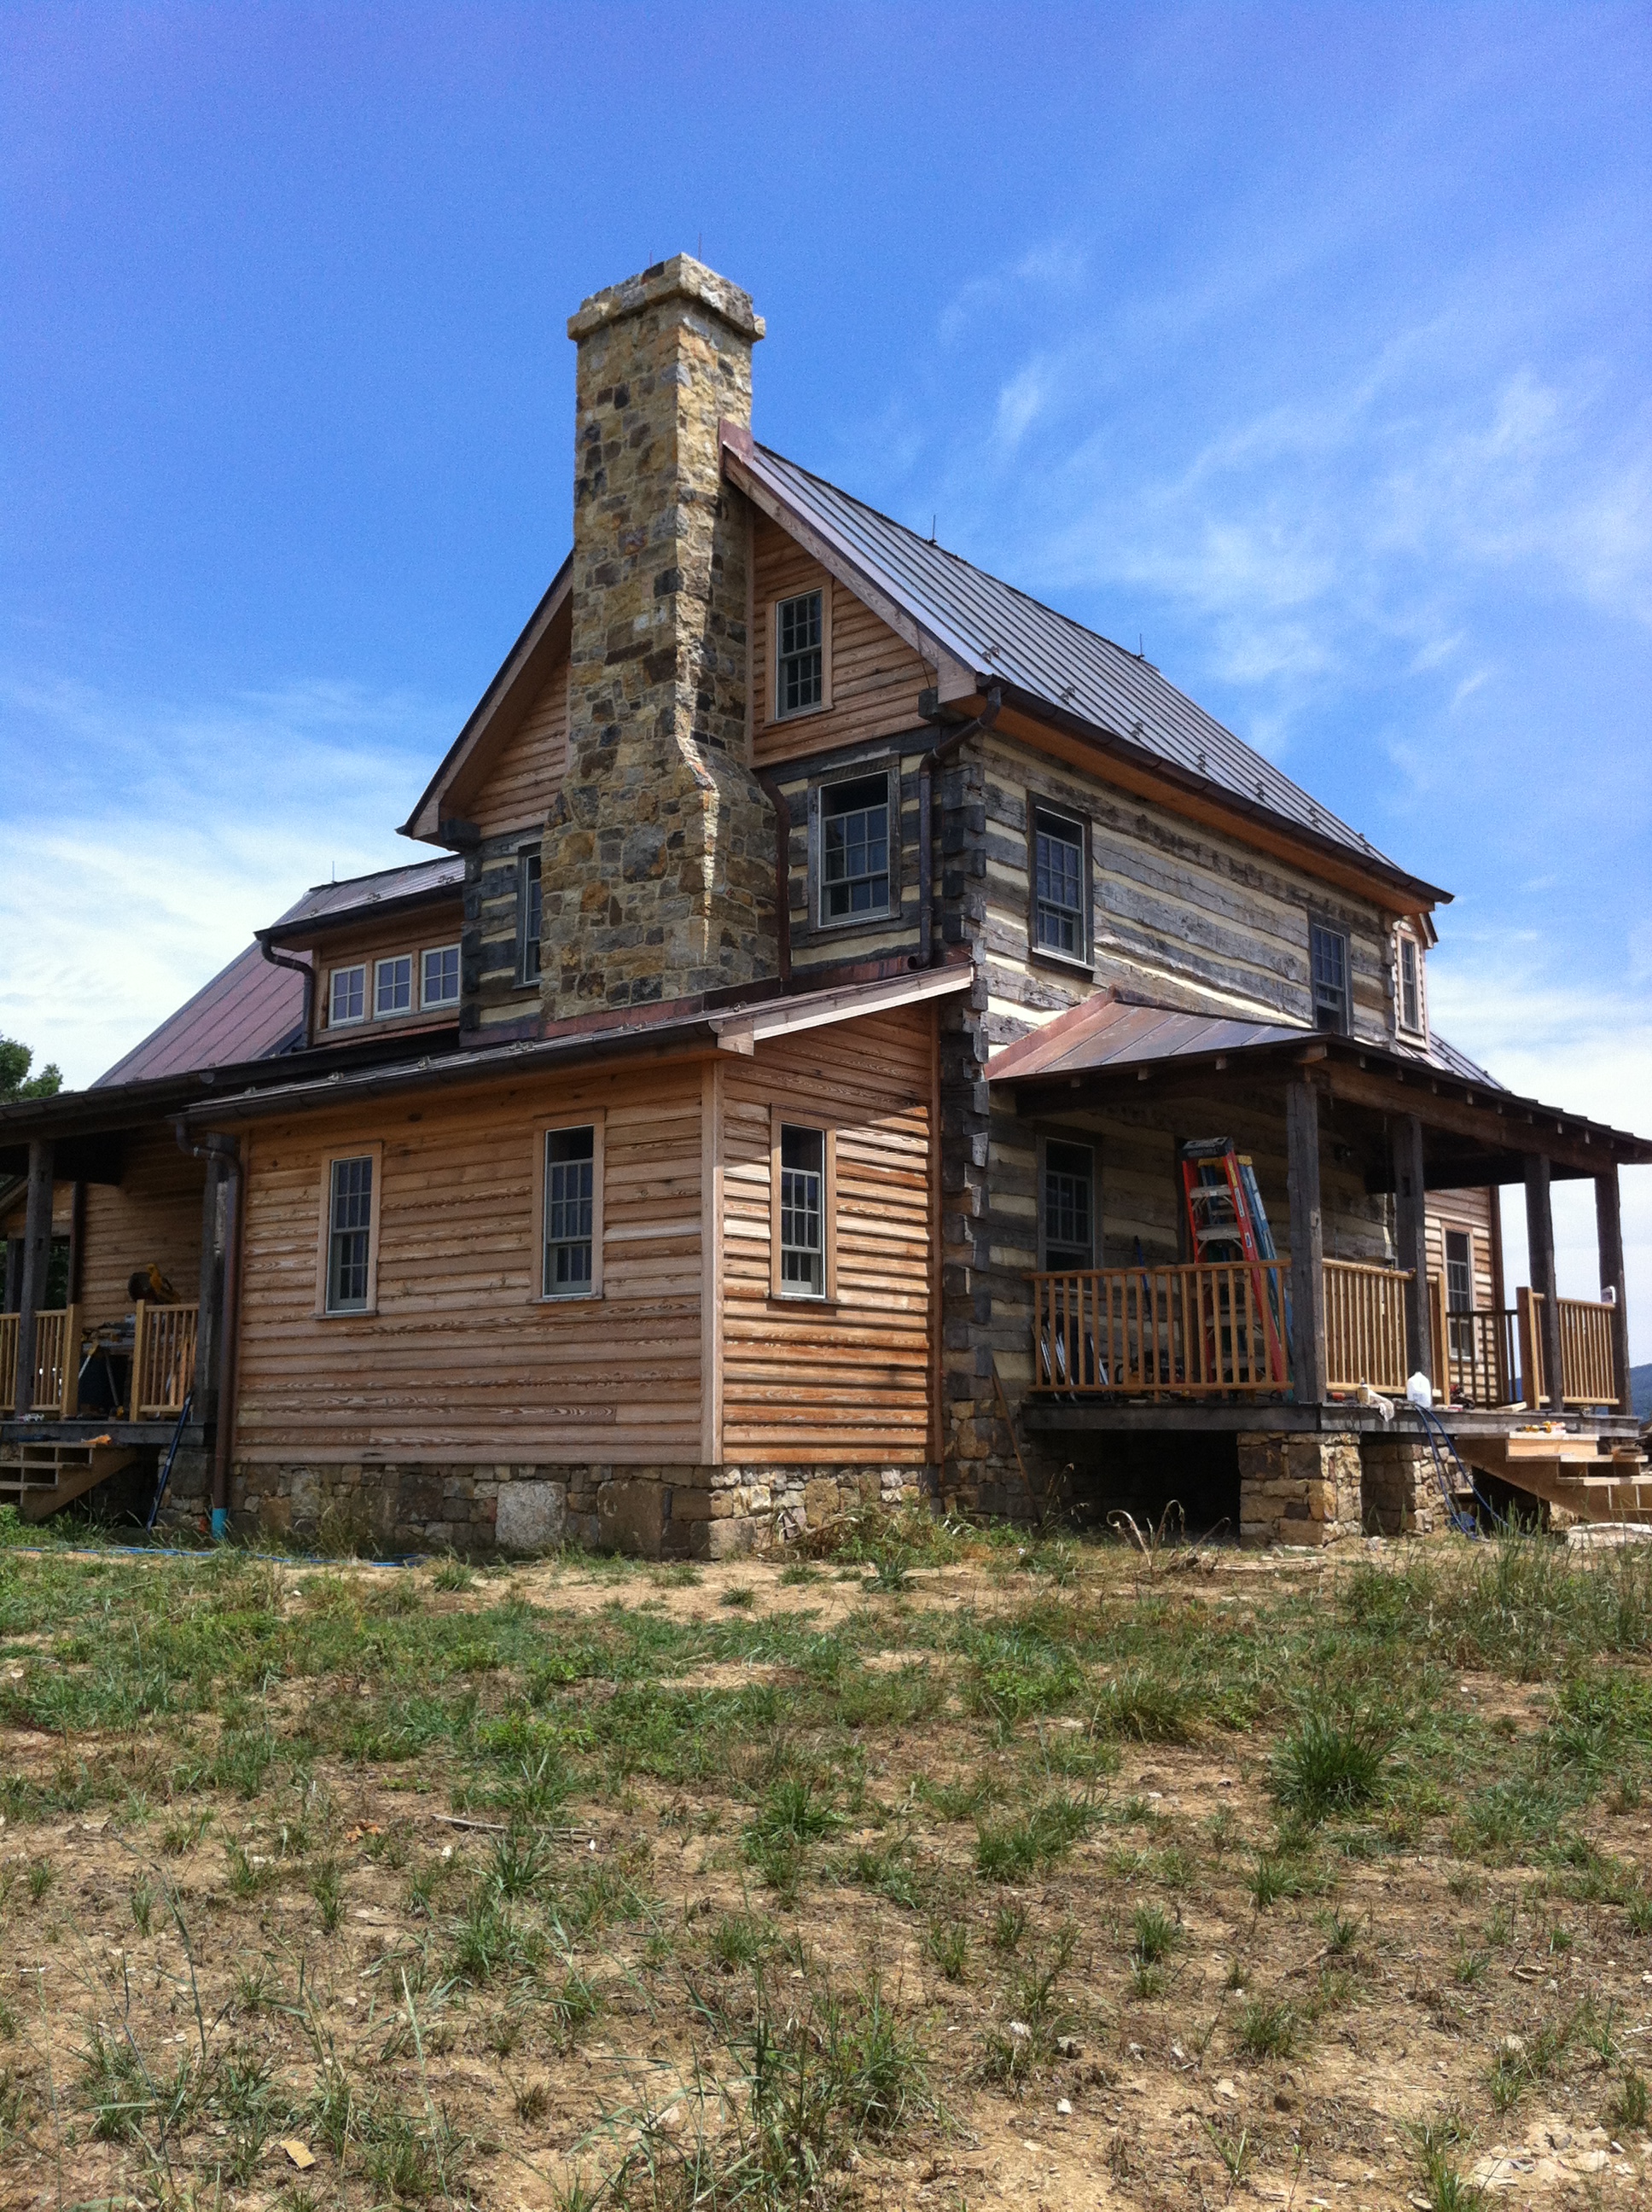
When we build we always try to build so that when we finish the cabin it looks as if it has always been there. So, when people look confused and ask us if it really is a new home we take that as the ultimate compliment.