29 06, 2019

The log farmhouse… part 3

2019-06-29T10:14:43+00:00

00000227

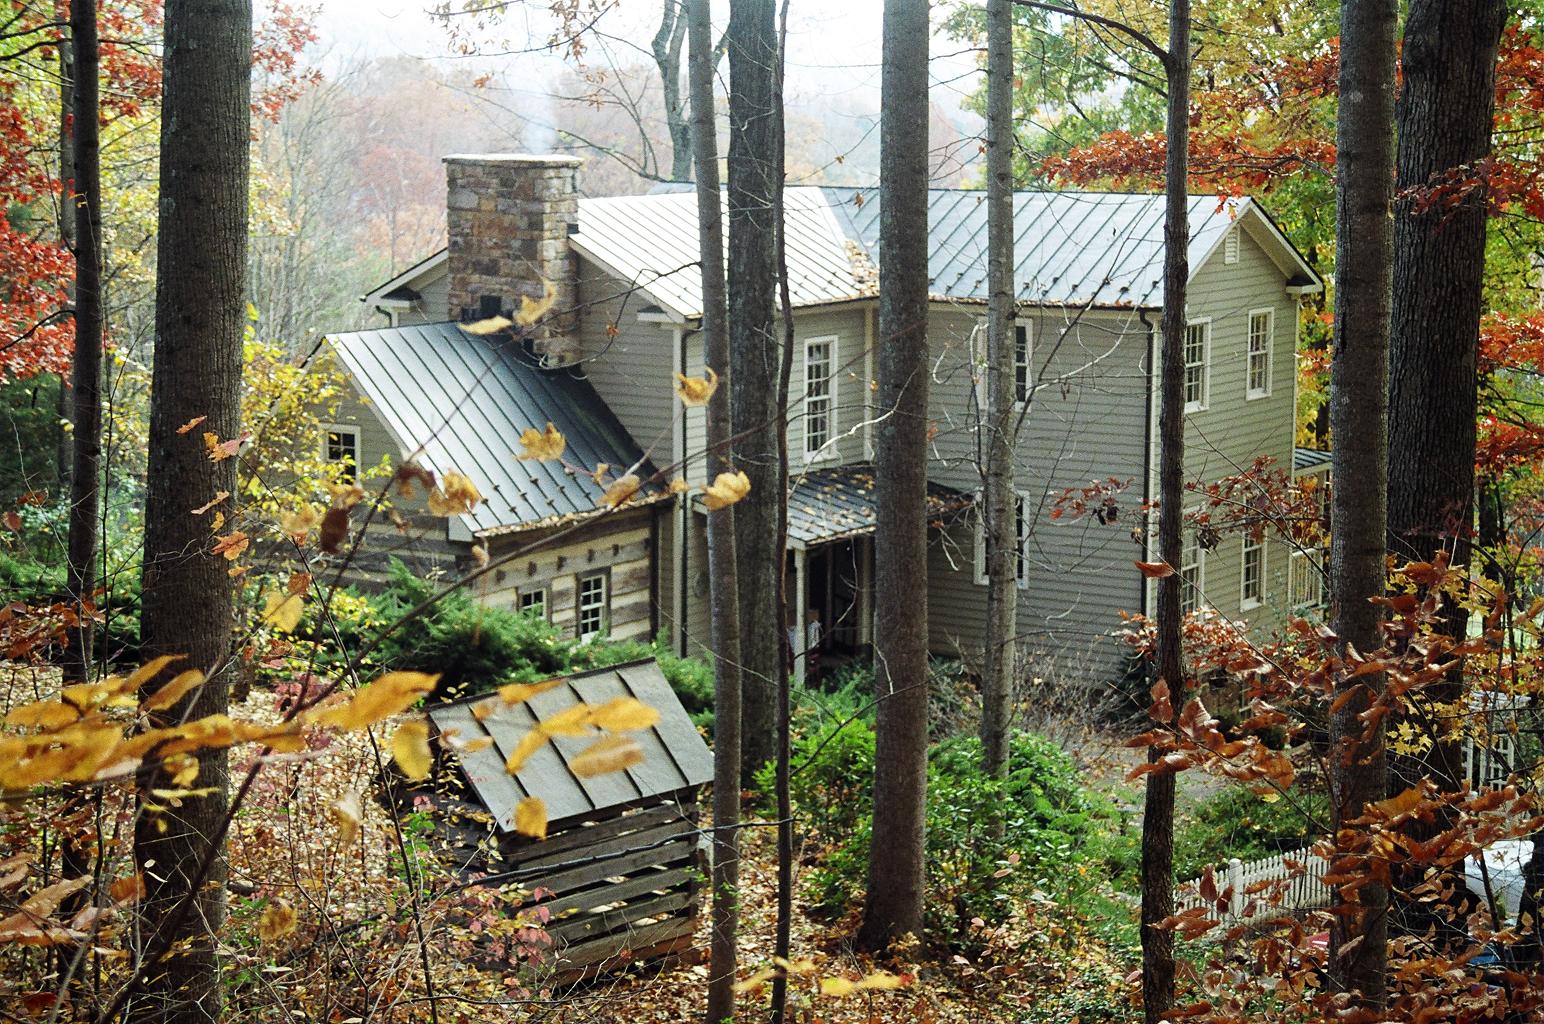
We would add a large vintage timber-framed addition to this house… a few years later… but that’s a story for another time…

Originally posted 2015-04-30 14:51:54.

The log farmhouse… part 32019-06-29T10:14:43+00:00
29 06, 2019

A log farmhouse… part 2

2019-06-29T10:14:42+00:00

00000239

We discovered that the first story and a half of this home was made of logs. But the remainder of the home’s second story was made of framed lumber, likely purchased from a sawmill in the early 1900’s.

There was a time when no one wanted to live in an old log cabin. And everyone wanted to live a modern farmhouse. (there goes that theme from the Walton’s playing in my head again)

I crawled up into the attic of the house. (no buzzards there… whew!) And I further discovered that the 1900 builders had reused the rafters from the original cabin. I could see the old notching in these rafters where the roof on the shorter cabin had had a 12/12 pitch and had now been changed to a shallower 8/12 pitch for this two-story farmhouse.

We debated what to do about this situation…

We could put the siding back up that we had removed. We could remove the siding that covered the logs all the way around the house (we thought that would look odd). Or, we could blow the entire top of this house off and either restore the original cabin to it’s original shorter form, or we could finish the cabin with old replacement logs creating a two-story cabin.

The owner decided to leave it like this for a few years so that she could enjoy looking at her logs, and then she would cover them back up.

What would you have done?

Originally posted 2015-04-30 14:27:31.

A log farmhouse… part 22019-06-29T10:14:42+00:00
29 06, 2019

A log farmhouse

2019-06-29T10:14:41+00:00

00000240

This is the log cabin that wanted to be a farmhouse.

I once received a call from a lady who had lived in a beautiful farmhouse for many years. The outside had clapboard siding, and the inside had plastered walls and elaborate heart-pine wainscoting and fireplace mantles.

She had always been told that the house was constructed of log and she really wanted to see and enjoy those logs, even if it was only for a few years.

But she didn’t want to alter the beautiful interior so she came up with the idea of exposing the logs on the outside and so she contacted me for help.

We started removing the siding on the front of the house and by the time we got to the top of the porch we discovered that she did indeed have a beautiful early 1800’s cabin, perhaps even a late 1700’s cabin.

But then… we discovered a unexpected problem…

Originally posted 2015-04-30 13:58:04.

A log farmhouse2019-06-29T10:14:41+00:00
29 06, 2019

The Tiny cabin… part 4

2019-06-29T10:14:36+00:00

00000414

There’s not a whole lot of space to be found inside this cabin.

Originally posted 2015-04-27 15:59:04.

The Tiny cabin… part 42019-06-29T10:14:36+00:00
29 06, 2019

The Tiny cabin… part 3

2019-06-29T10:14:35+00:00

00000415

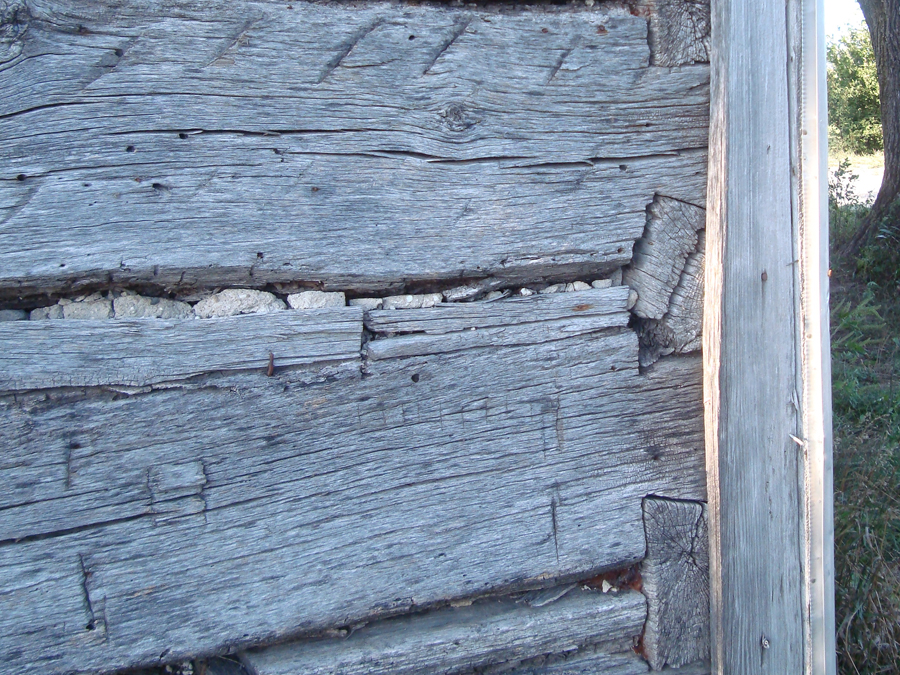
I have never seen more finely crafted chinking than what I saw on this little cabin.

Look at how nicely fitted each piece is that fills in the gaps between the logs.

I did not see any indication that any further methods were employed to keep out weather, which would tell me that this wood chinking was installed to keep out four legged creatures, not drafty air.

Originally posted 2015-04-27 15:41:25.

The Tiny cabin… part 32019-06-29T10:14:35+00:00
29 06, 2019

The Tiny cabin… part 2

2019-06-29T10:14:34+00:00

00000411

The notching was well done on this small cabin… nothing fancy here, no dovetails, nor v notches… just a basic square notch… but it worked, it held up well, it did it’s job, for more than a century.

Do you have a desire to build a log cabin for yourself one day?

Consider building one of these for yourself.

Start small.

A person by themselves could knock one of these out this summer… and it would still be around for others to enjoy well into the 2100’s.

Originally posted 2015-04-27 15:17:44.

The Tiny cabin… part 22019-06-29T10:14:34+00:00
29 06, 2019

Tiny cabin

2019-06-29T10:14:33+00:00

00000410

We once restored a small log cabin.

A very small log cabin.

Was it lodging for the mother-in-law when she came to visit?

Perhaps.

lol

Originally posted 2015-04-27 15:04:08.

Tiny cabin2019-06-29T10:14:33+00:00
29 06, 2019

The Free Union house… part 14

2019-06-29T10:14:17+00:00

00002105

This photo is easy to pass over… after all it’s just another construction shot. There is little design to be found here… but, there is a lot of detail.

Any construction firm can throw an old cabin up. But, will they do it justice?

Keep this photo handy and when it comes time for you to build your cabin, let this be your standard, or if you hire a builder, hand him this photo, and insist that his work be of this quality… or better.

Originally posted 2015-04-21 13:20:46.

The Free Union house… part 142019-06-29T10:14:17+00:00
29 06, 2019

The Free Union house… part 13

2019-06-29T10:14:16+00:00

00002073

The copper roof is being installed… one sheet at time.

I like copper.

It looks good. In fact, it looks gorgeous.

And, it needs zero maintenance. That’s nice.

It also lasts for a very long time (longer than people)… which means that when viewed from a long term perspective it is often the cheapest form of roofing.

And, if the homeowner does decide to sell the home, the extra cost of copper is recovered due to a higher home value of having a high quality roof.

Originally posted 2015-04-21 13:05:04.

The Free Union house… part 132019-06-29T10:14:16+00:00
29 06, 2019

The Free Union house… part 11

2019-06-29T10:14:14+00:00

00002086

I know what you are thinking… “where are the floaters?”

Well… we haven’t gotten to them yet. 🙂

When we are building a log cabin all attention is given to the corners. That is where the height of a log cabin comes from.

And, the corners is where all the weight of a log cabin is transferred to. They deserve all of our attention.

When we are building a cabin we get to set some nice short logs in the corner, then we get to set some spanners which tie everything together. Eventually, we will get the top log set in place and then it will be time to turn our attention to the floaters.

You can see in this photo that there is a huge opening on the front of the house. This is where the front door and windows will soon be.

The little logs that will soon fill in between the door and the windows are the “floaters”, they have no notching, they bear no weight, they just fill in an empty space, they are held up by nails and sometimes pegs, but there is no notching here, so in a way… they just “float”.

Originally posted 2015-04-20 15:54:34.

The Free Union house… part 112019-06-29T10:14:14+00:00
Go to Top