Log cabin restoration… part 4
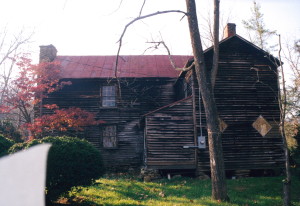
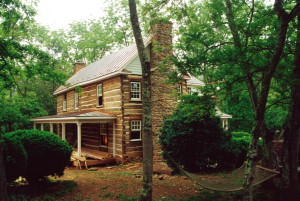
Noah Bradley2019-06-29T10:37:42+00:00I liked the look of the addition off of the back of the house. It was pleasing to the eye and really gave the impression that this was a huge home, and I suppose at the time that it was built, this was indeed, a grand home, likely filled with a large active family.
But this rough-sawn framed addition, upon closer inspection revealed a lot of problems and no redeeming materials, nor craftsmanship. It was clearly built by “the lowest bidder”. So sad.
The addition would need to be removed and a new improved back-section of the house added back.
Originally posted 2015-06-08 14:41:58.
Log cabin restoration… part 3
Noah Bradley2019-06-29T10:37:41+00:00Houses in this condition are rare today.
It seems that homes are either well maintained and improved as the years go by. Or they fall into disrepair and neglect, and then are trashed by renters before they are finally destroyed.
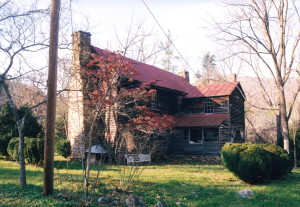
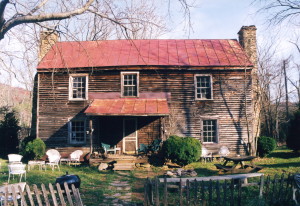
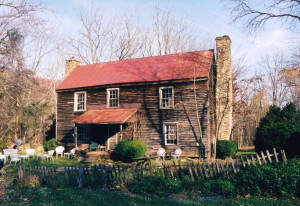
This home’s occupants though always cared for the house, seeing to it that it never leaked or went cold during the winter, but beyond that most basic level of care, no upgrades were ever made.
Underneath the old siding on this house was one well-crafted log home which my new client wanted revealed.
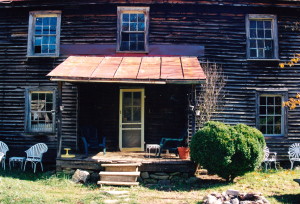
And this little front porch, as cute as she was, needed to be enlarged.
Originally posted 2015-06-08 14:29:23.
Log cabin restoration… part 2
Noah Bradley2019-06-29T10:37:40+00:00The bride was barefoot.
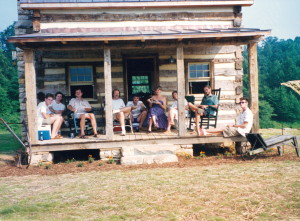
Way back in the 1980’s, when I was a carpenter, a dear friend of mine rented this old house which was located up a local holler here in the Piedmont region of Virginia. That friend eventually got married to a fine young lady in the back yard of this house and there I witnessed my first barefooted bride.
I remember little else about that wedding. I’ve attended so many over the years that they all tend to blur into one giant celebration. But for some reason there is something memorable about toes sticking out beyond that elegant dress.
It was about 20 years later that I received the call from the owner of this home that he wanted me to restore this home to her former glory for him to use as his primary residence. I had previously built his brother’s house and he was pleased with my work and his brother’s praise of the experience.
It’s funny how things work out in this life. There are so many “dots” in this life that one day connect, or so it seems.
Originally posted 2015-06-08 14:04:42.
The Ruth cabin… part 18
Noah Bradley2019-06-29T10:36:48+00:00After five years the cabin had aged well. The siding was well on it’s way to turning grey. The copper roof was now a chocolate brown… the “new penny look” of fresh copper was gone.
That’s one of the great things about building a home with a traditional design and in using antique materials… the home improves with age… every year that goes by your home gets better.
Wouldn’t it be great if everything worked that way?
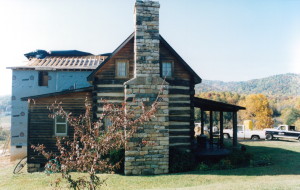
You can see the cabin’s addition rising on the far side. I’ll share some photo’s and stories of that addition with you over the coming days.
As always, thanks for letting me ramble on!
Originally posted 2015-05-27 13:18:30.
The Ruth cabin… part 17
Noah Bradley2019-06-29T10:36:47+00:00So, we finished up this little cabin.
We packed up our tools and went on to build many other structures, some that I’ve already shared here with you.
On occasion over the coming years I’d run into the cabin’s owners at the local deli and they would share how much the cabin meant to them… how it had created so many precious memories for them. It always warms my heart to hear such things.
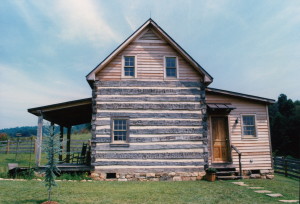
I had left this side of the cabin rather plain, but prepared for an addition that would one day occur which would convert this weekend cabin into a full-time residence. I wondered if I would be the one that they would call. I wondered if I would still be building twenty years later.
But that call came only five years later.
The pull of rural life grew stronger for these folks. Each weekend stay at the cabin had grown harder and harder to leave for their return to the urban lifestyle. They had figured out a way to make the transition sooner.
Originally posted 2015-05-27 12:55:35.
The Ruth cabin… part 14
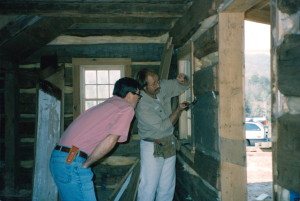
Noah Bradley2019-06-29T10:36:44+00:00Here’s a photo of me.
ok.. I admit it, it’s a younger me. 🙂
In this photo I’m demonstrating to my client how to apply the wire mesh lathing that will soon hold the chinking that fills the gaps between the logs.
This client, and his family, pitched in and helped a great deal during the construction of their little cabin. We call that kind of effort “sweat equity”.
Sweat equity does more than save money for the client (as if that wasn’t enough). It also helps them bound with their home, and it gives them a greater understanding of the amount of work that goes into building a home like this.
I want to encourage all of you… every single one of you… that you too can build your dream cabin. All it takes is two things… the proper knowledge and skill set… and that future cabin (or other dream home) needs to become your top priority… your main focus… your obsession.
Originally posted 2015-05-26 14:10:39.

